
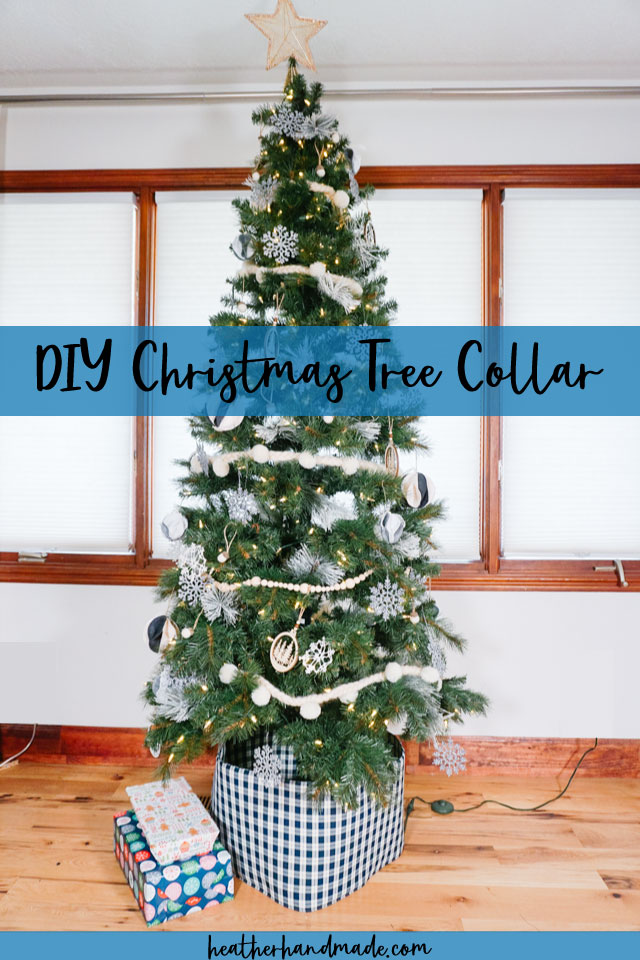
DIY Tree Collar for a Christmas Tree

This post may contain affiliate links.
Learn how to make a DIY tree collar for a Christmas tree with fabric. This easy Christmas sewing project can replace a tree skirt.
I love Christmas tree skirts and and the different beautiful designs, but with children and a dog I feel like I’m always fixing and smoothing it out. It gets pushed aside so easily!
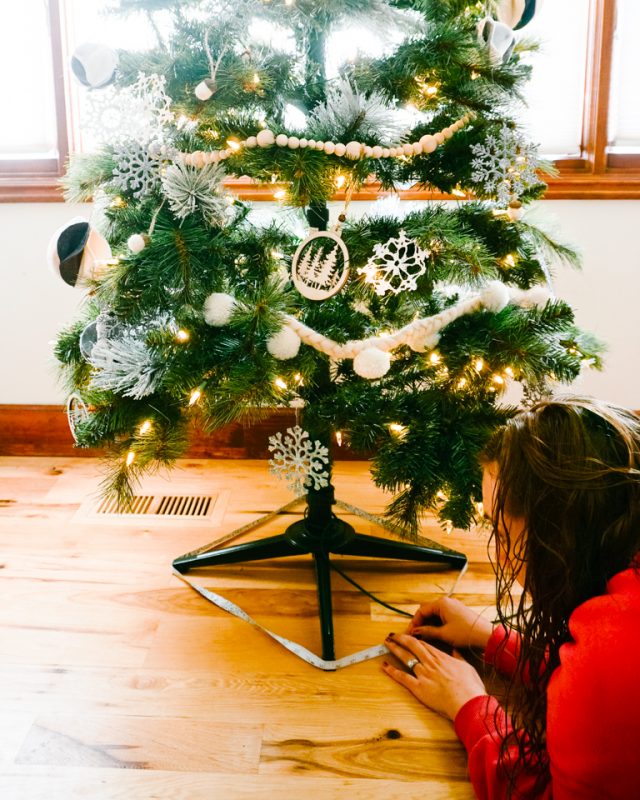
This year I decided to try out a DIY tree collar to see if I would like it, and if it would make my life easier since I’d never have to adjust it once I set it up. After trying it out for a week, I LOVE it!

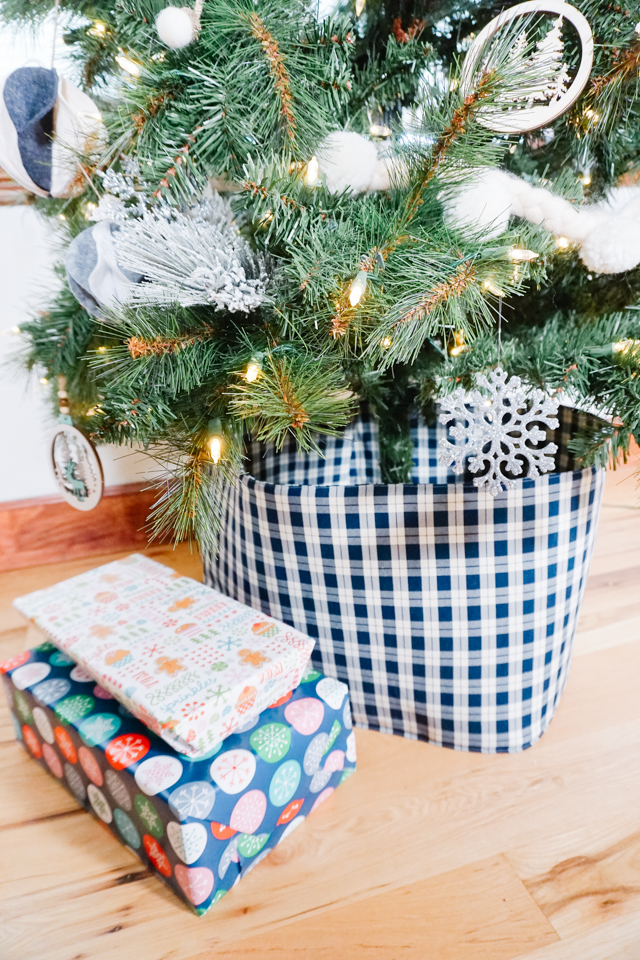
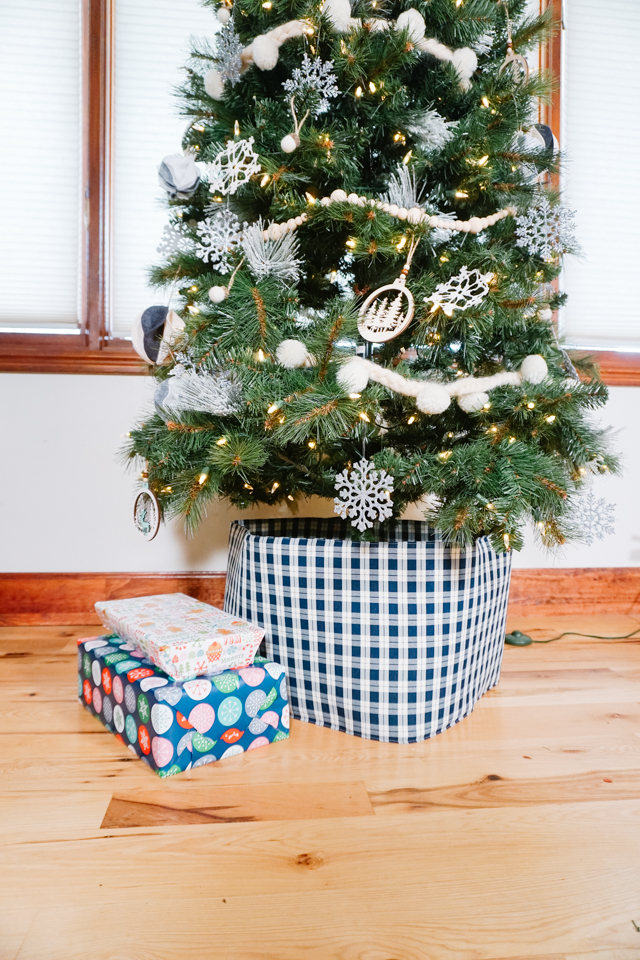
I chose to make my Christmas tree collar in a cylinder shape to make measuring and cutting a lot easier. This does make it so that when you look at it from a particular angle you can look down inside the collar, but it doesn’t bother me at all. It’s really not that noticeable.
I love that it looks like a bucket, it’s simple and clean look, and I never have to adjust it. Not only do I show you how to sew up the tree collar, I’ll teach you how to measure your tree base and then create a pattern from that.
What fabric should I use for a DIY Christmas tree collar?
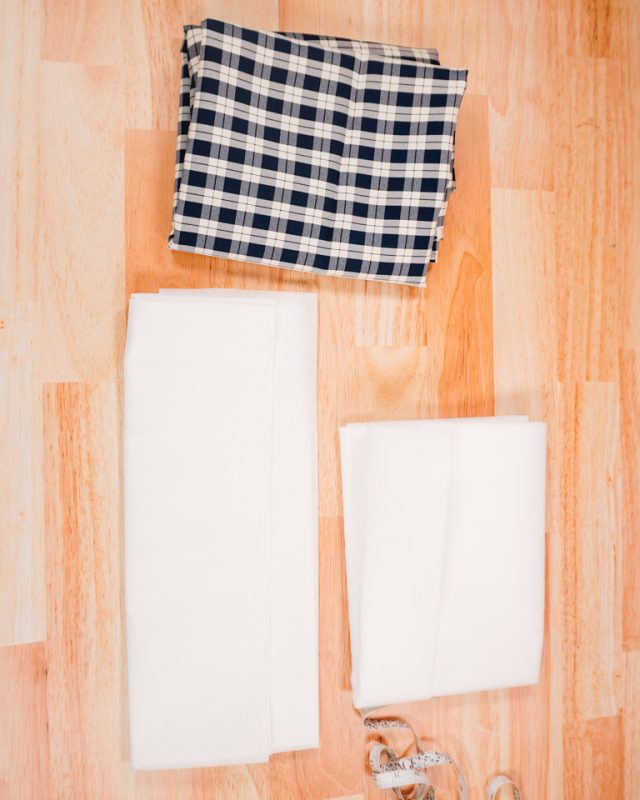
Use a heavier strong and durable fabric like canvas, denim, wool, or corduroy. The tree collar needs to be strong enough to stand up without bending or tipping over.
How does the DIY tree collar attach?
The tree collar is completely separate from the Christmas tree base. It is looped around the base, and the the tree collar is overlapped over itself and attached with snaps, Velcro, or buttons and buttonholes. I used Velcro for a little bit of flexibility in size.

How can I make my DIY tree collar stand up?
It’s very important that the fabric is stabilized and strengthened to keep it standing. I used a mediumweight interfacing on both the inner and outer fabric pieces. Then I used fusible fleece on both the inner and outer fabric pieces.
It worked well once I was done, but I sewed some quilting stitches vertically every 4 inches. The quilting added just a touch more stabilization, and I was really happy with the result.
Should I prewash the fabric?
If you think you will ever have to wash the Christmas tree collar, then you should prewash the fabric. It will remove any shrinking or color bleeding. I did prewash my fabric just in case.
Do you love to sew? Try one of these sewing projects:
- Christmas sewing projects
- DIY stockings and free patterns
- DIY Christmas pillow ideas
- Free Christmas sewing patterns
- DIY tree skirt ideas

DIY Tree Collar for a Christmas Tree
Supplies
- 1-2 yards of cotton canvas (depends on the size of your tree base and the width of your fabric)
- 2 yards of medium weight interfacing
- 2 yards of fusible fleece
- 12 inches of Velcro
- Sewing tools
- Sewing machine
Measure from the floor up to the lowest branches. Mine measured 12 inches.
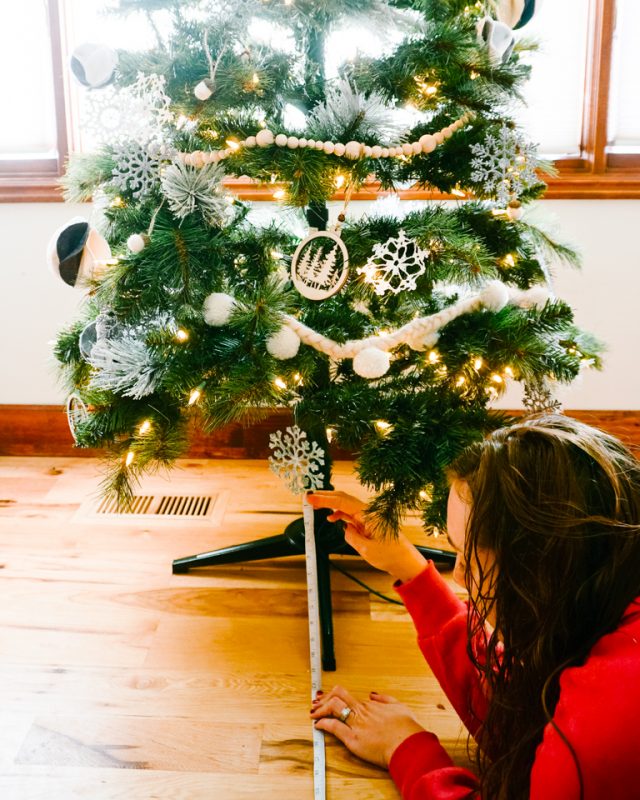
Measure all the around the circumference of the tree base. Mine measured 64 inches.
Draw out a short and long rectangle. The height will be the height you measured, like 12 inches. The length will be the circumference you measured, like 64 inches.
Add 1 inch to both the height and the length for the seam allowances. Then add some length for the part of the tree collar that will overlap. I did a 2 inch overlap.
My final rectangle was 13 inches tall and 67 inches long. Use this to determine how much fabric you’ll need and to cut out your pattern pieces.

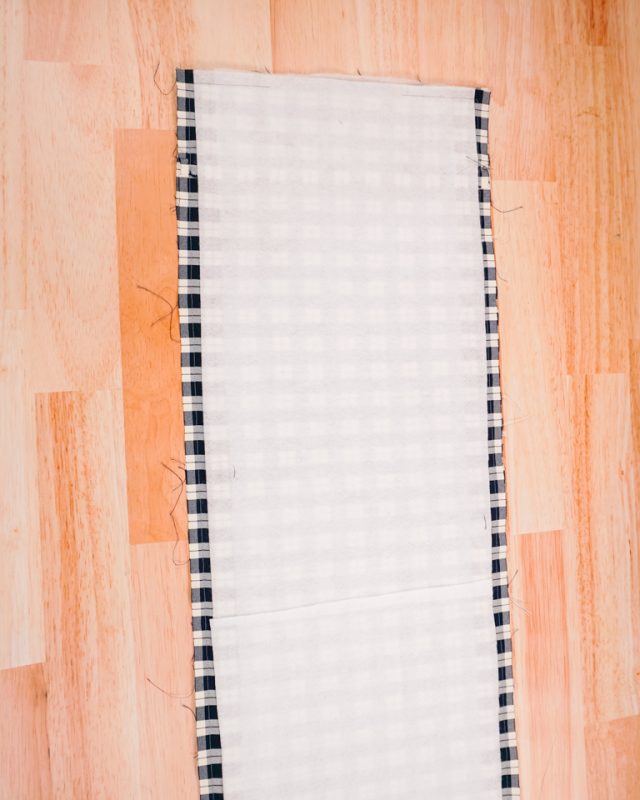
Cut out two rectangles from the fabric with the measurements you found. My fabric was almost wide enough so I cut across the grain and then added a small piece at the end to get the length I needed. (I just sewed the pieces on and then treated the finished rectangle like one piece of fabric.)
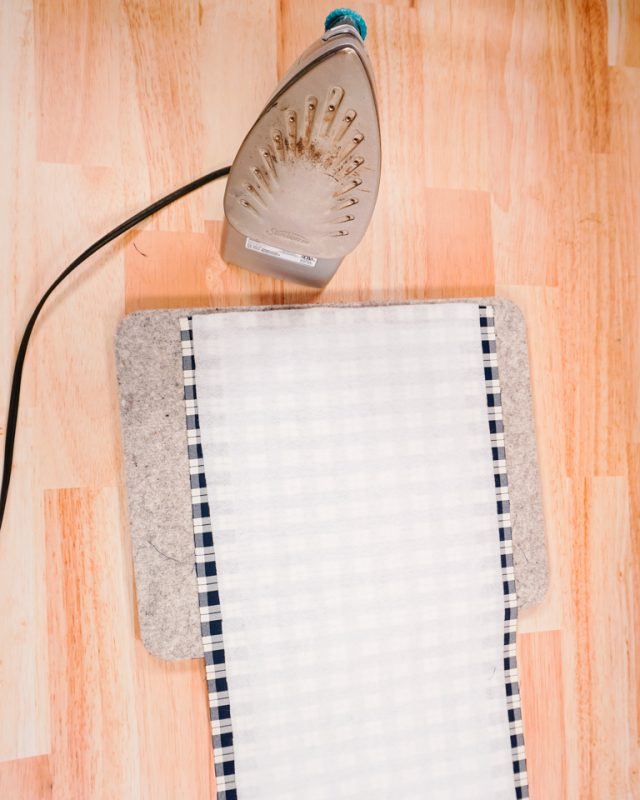
Apply the interfacing to the wrong side of both rectangles.
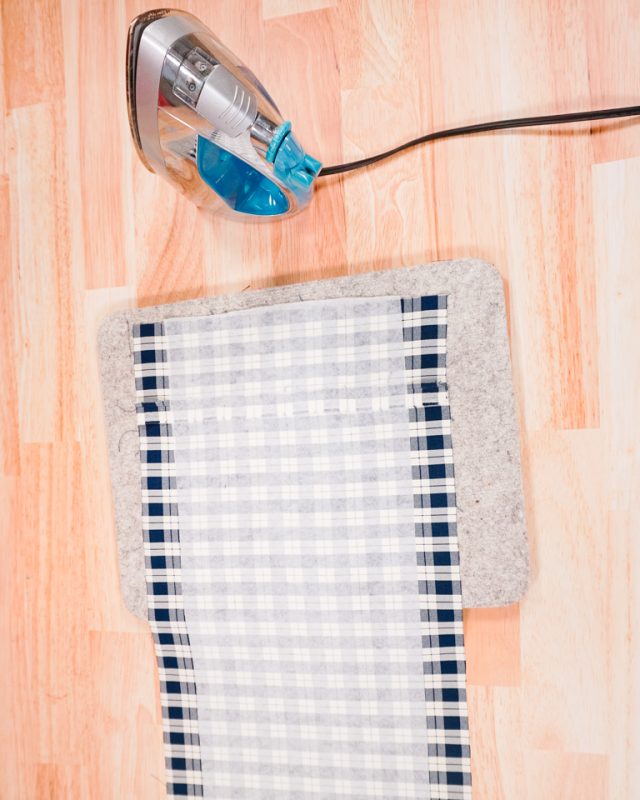
Apply the fusible fleece to the both rectangles on top of the interfacing. There are now three layers all fused together.
Place the rectangles right sides together matching up the sides and the corners. Pin the layers together.
Sew around the rectangle with a 1/2 inch seam allowance. Leave a 6 inch hole on one short end for turn. Pivot at the corners and backstitch when you start and when you stop.
Trim all 4 corners to reduce bulk.
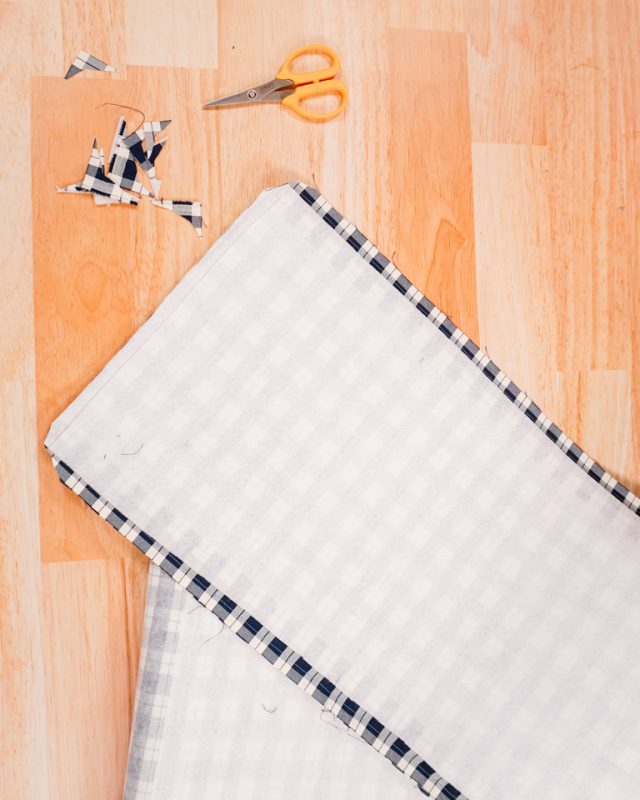
Turn the rectangle right side out through the hole.
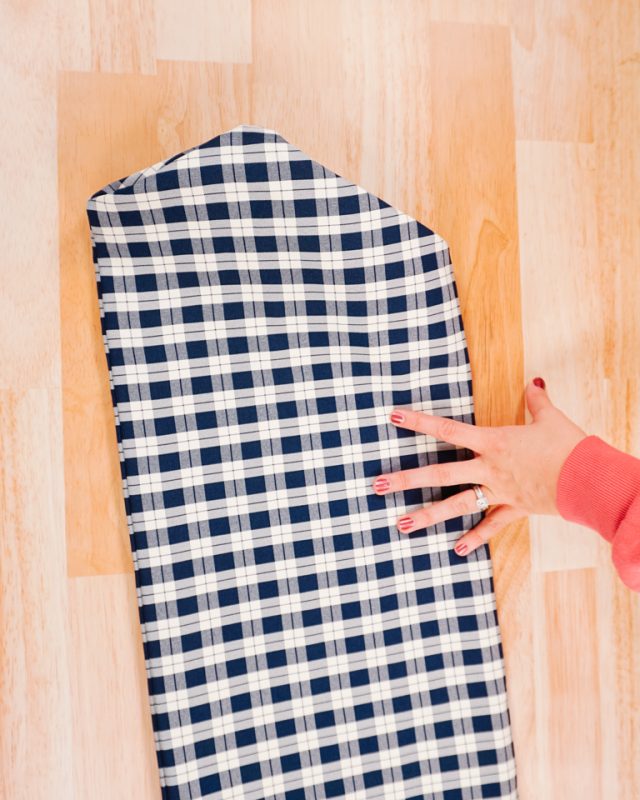
Poke out the corners carefully.

Press all the seams and edges flat. Tuck in the seam allowance in the hole and press in place. Pin the hole closed.
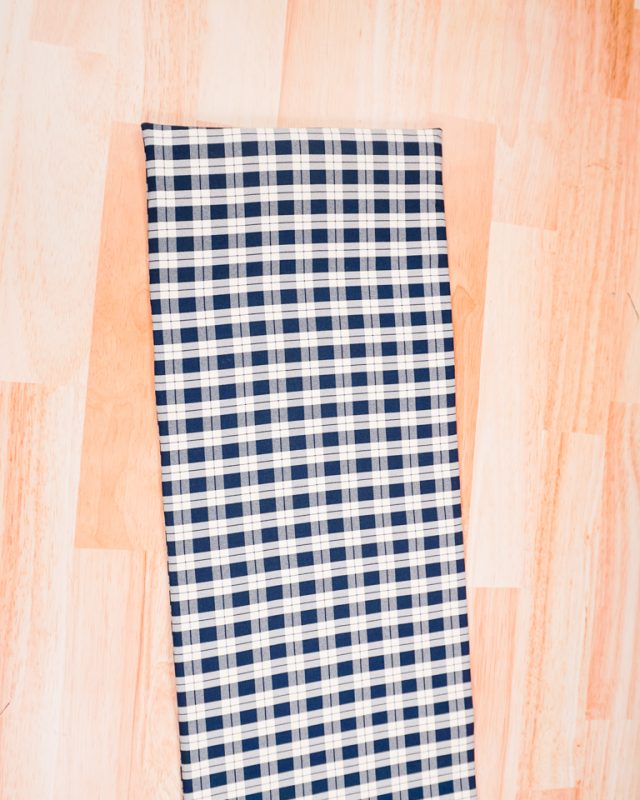
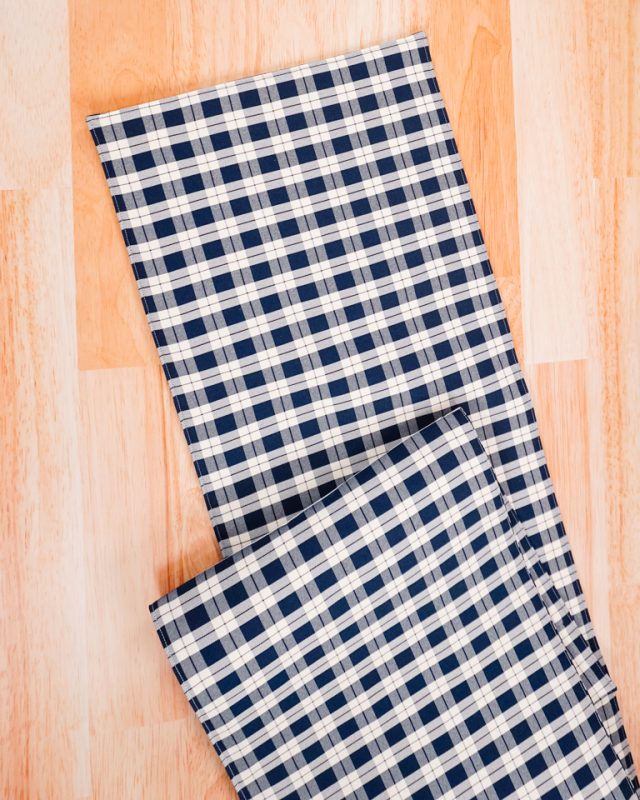
Edgestitch around the rectangle 1/8 inch from the edge. Edgestitch over the hole to close it.
Optional: add vertical quilting lines about every 4 inches for extra stability.
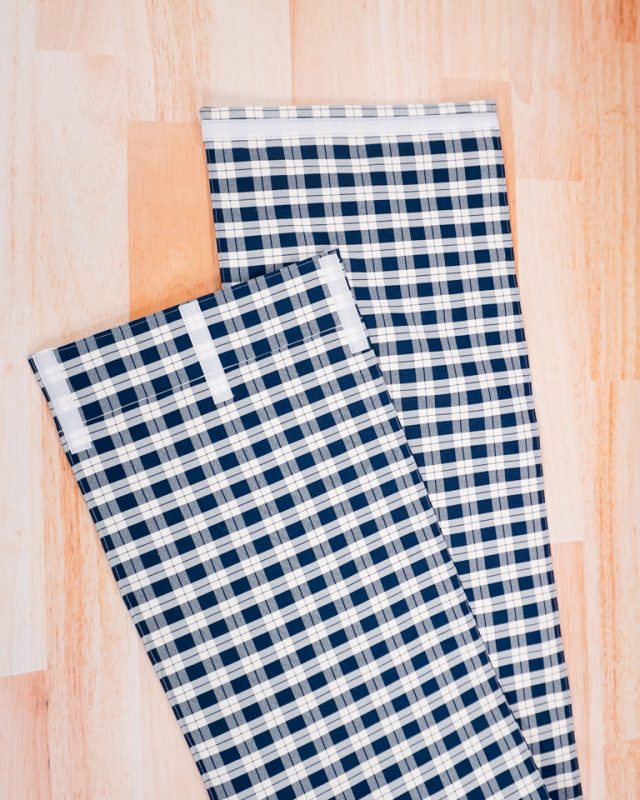
Cut the Velcro loop side 12 inches long. Cut the Velcro hook side into 3 pieces 4 inches long each.
Sew the long loop piece vertically onto the side of the rectangle that will overlap onto the other side. Sew the 3 hook pieces horizontally onto the under side of the rectangle at the top, middle, and bottom.
Loop the DIY tree collar around your tree base and Velcro in place. You finished!
If you make something using this sewing project, I’d love to see! Please share it on social media with the hashtag #heatherhandmade and tag me!

I believe small sewing moments can create great joy. Find your own “right” way to sew. -Heather
I made one. I might have made it just a tad to short, but it looks great and I put the Christmas skirt around it. It looks really nice! Thanks for the pattern.
That sounds awesome!
I love this tree collar. I am going to make one for my tree to hide the base better on our artificial tree!
That is so cute! And way more simple to make than I thought.