
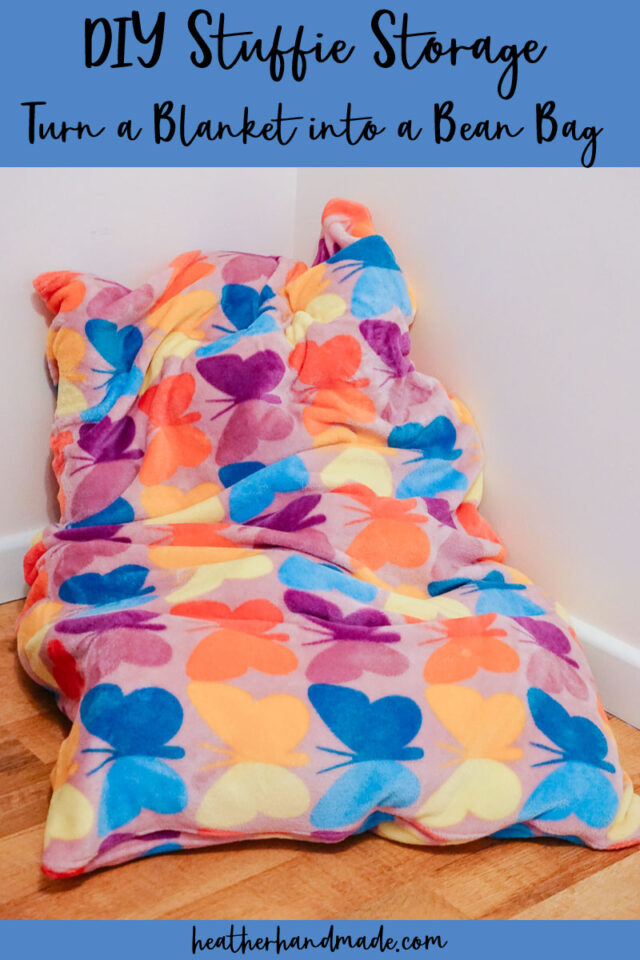
DIY Stuffie Storage: Bean Bag from a Blanket

This post may contain affiliate links.
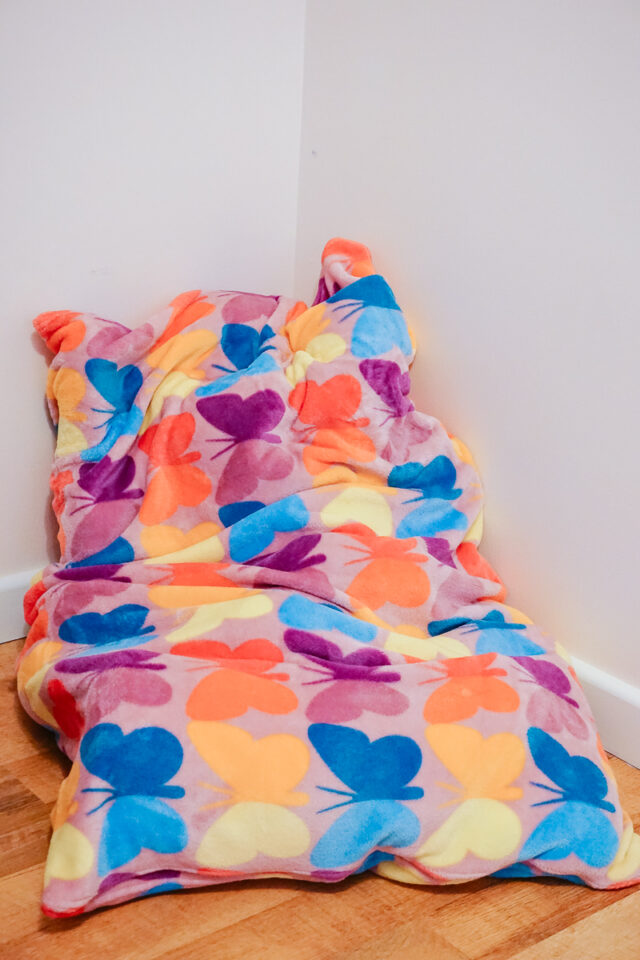
Learn how to make a DIY stuffie storage by turning a blanket into a bean bag. This home sewing project is the easiest bean bag you can make.
My daughter has decided to collect all kinds of stuffed animals. She loves soft things and loves animals. This creates a problem with stuffies being everywhere in her room. They are all over her bed, her floor, her shelves, etc. What do you do with all the stuffies?
My older kids got bean bags for their rooms, so my daughter wanted one too. I realized I could turn one of her throw blankets into a DIY bean bag and then stuff it with all the stuffies. This gives her the soft, cushioned seat that she wanted and it cleans up all the stuffed animals like I wanted!

What blanket can I turn into a bean bag?
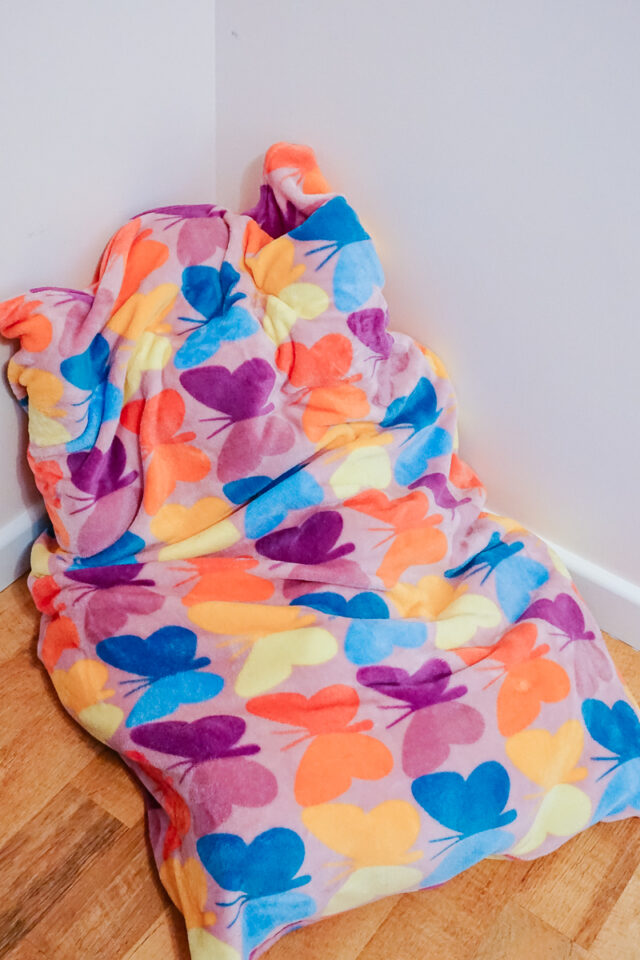
Any blanket large enough to be folded in half can be turned into a bean bag. I used a fleece blanket with hemmed edges. You can try using a flannel blanket, a minky blanket, a quilt, or a comforter. Any of these will work!
How else can I stuff the bean bag if I don’t have enough stuffies?
I stuffed all of my daughters stuffies into her blanket bean bag and it was full, but could use a little more filling. I added in a throw blanket and that filled it out nicely.
Chop up some fabric scraps, put it in a drawstring bag, and put it inside the bean bag for free filling. You can also buy bean bag filling, keep it in a bag, and put that inside the bag bag.
Love to sew? Try one of these sewing projects:
- Easy gifts to sew
- Beginner sewing projects
- Upcycled gifts to sew
- Home sewing projects
- Gifts to sew for kids
- DIY bean bag chair
- Blanket sewing projects
DIY Stuffie Storage: Blanket to Bean Bag
Supplies
- 1 throw blanket – fleece, flannel, minky, quilt, etc
- 18 inch zipper
- Sewing tools
- Sewing machine
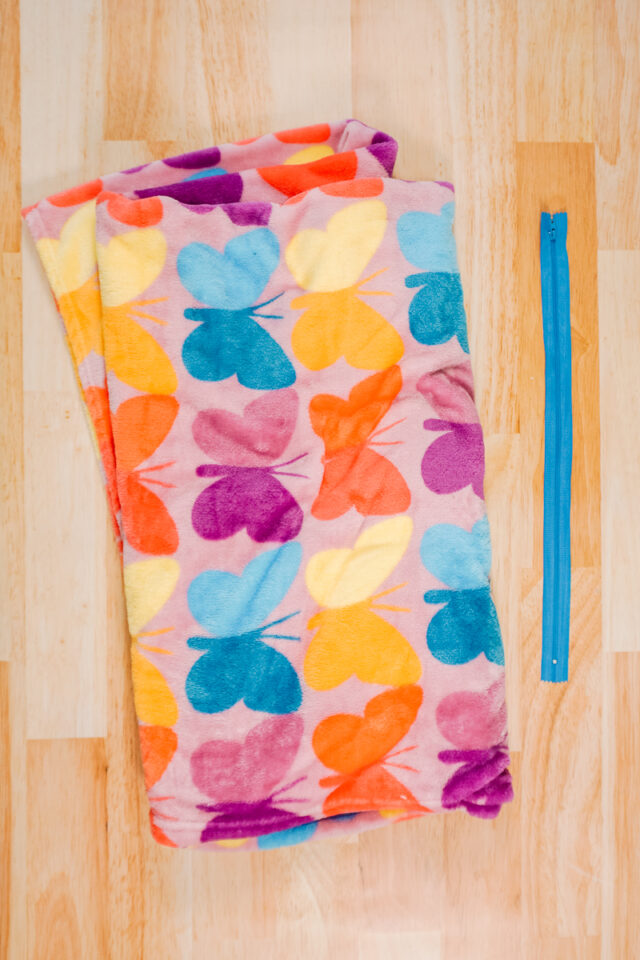
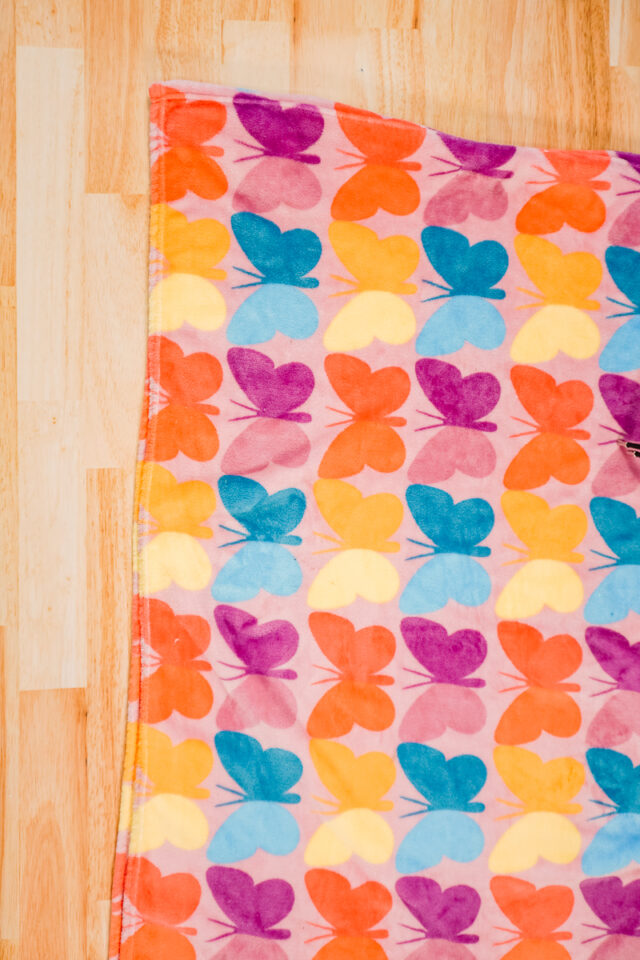
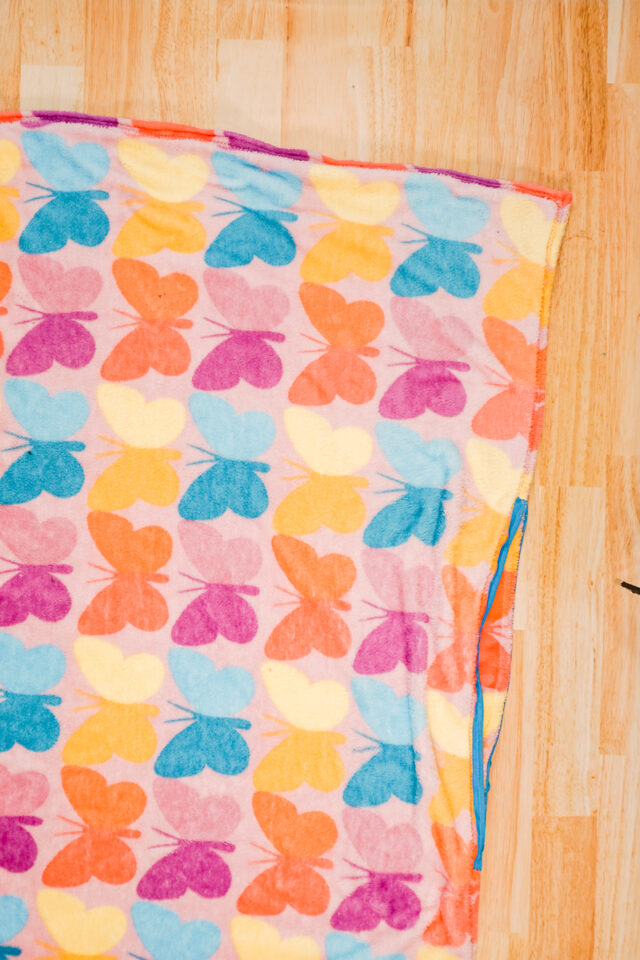
Find the long sides of the blanket and fold it in half through the long side with wrong sides together.
Find and mark the center of the short ends of the blanket.
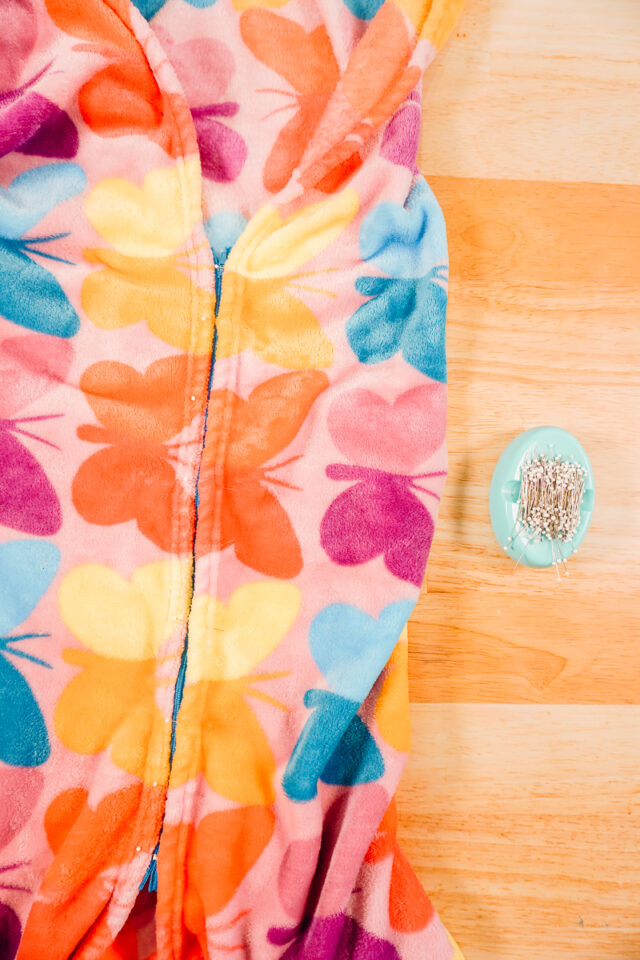
Find the center of the zipper. Match the center of the zipper tape with the center of one side of the blanket.
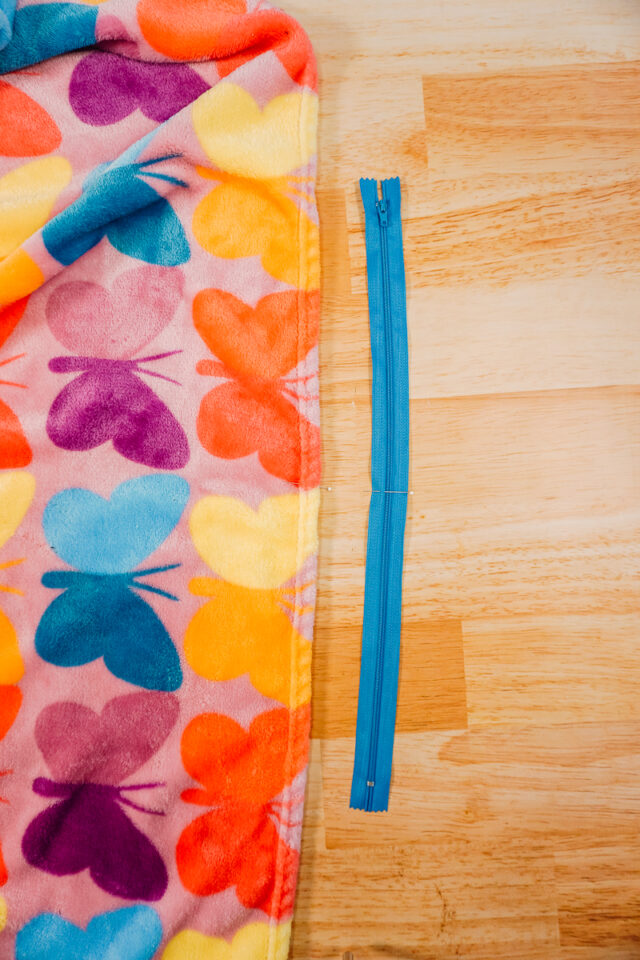
Pin the blanket edge onto the zipper tape.

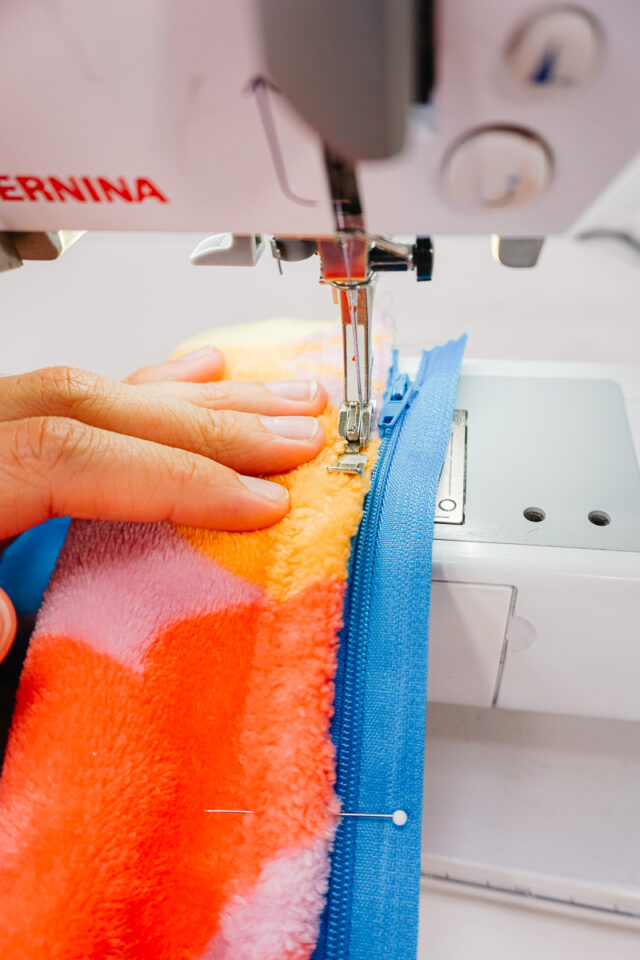
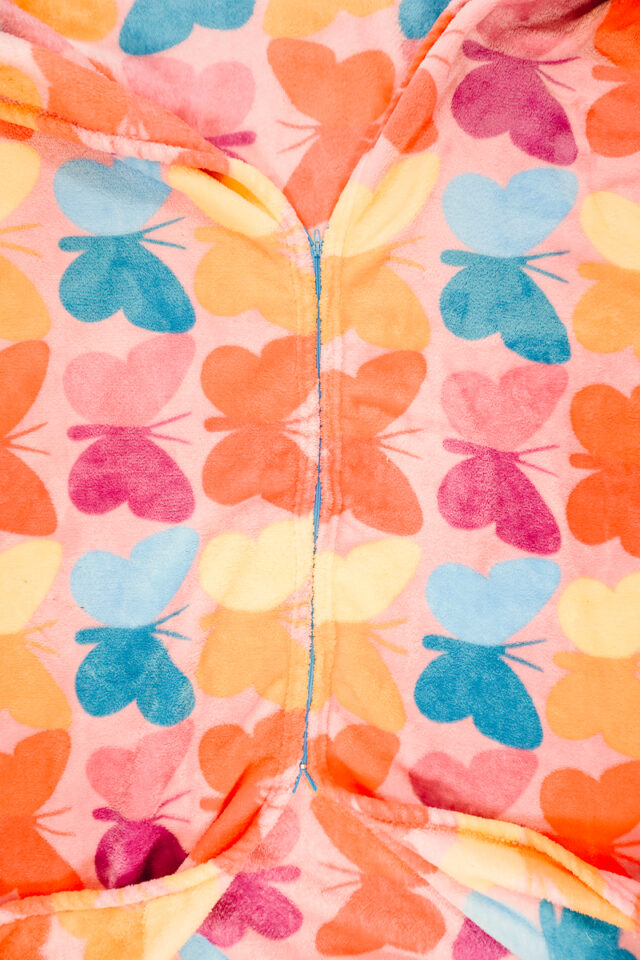
Put a sewing machine foot into your sewing machine. Sew the blanket edge onto the zipper tape. Don’t worry about it being super straight or pretty. The fuzzy blanket can help hide your stitch line. Backstitch when you start and when you stop.
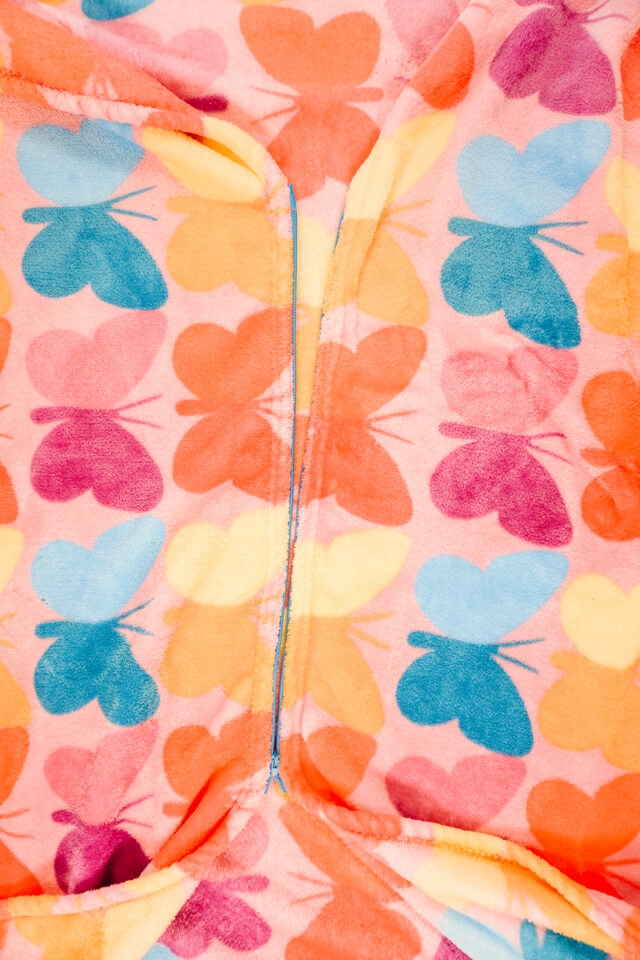
Pin the other side of the blanket to the other zipper tape. Make sure the center of this side is matching up with the center of the blanket side.
Sew this blanket edge onto the other side of the zipper. Backstitch when you start and when you stop.
Open the zipper all the way.
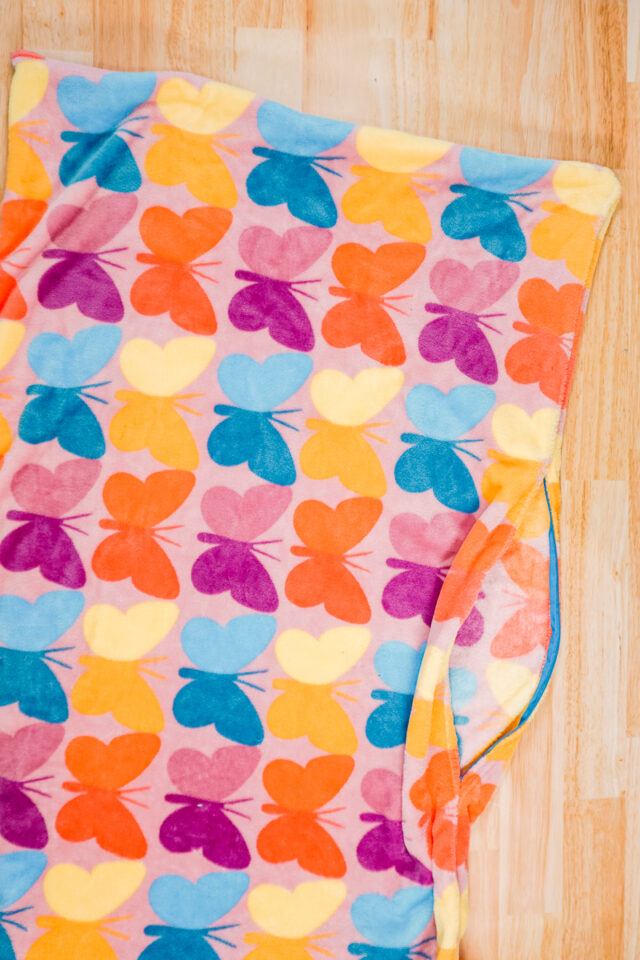
Turn the blanket wrong side out. Pin the three edges and corners together. Don’t pin through the zipper just above and below the zipper.

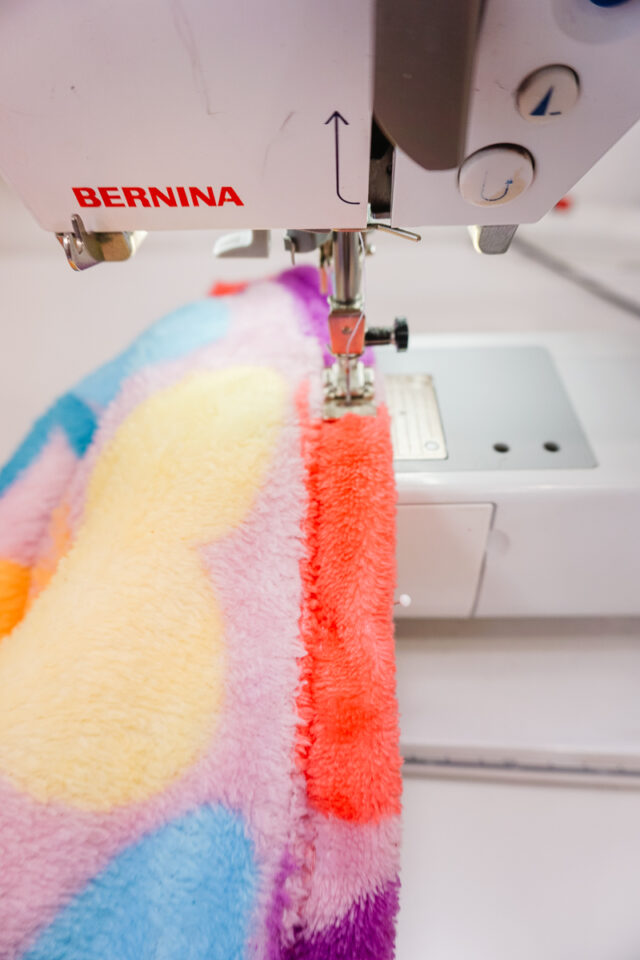
Put the regular sewing machine foot back into the sewing machine. Sew the three edges of the blanket together above and below the zipper. Make sure you backstitch when you start and when you stop.
Make sure all the edges are sewn together and there are no holes in your seam.
Turn the blanket right side out through the zipper. Poke out the corners.
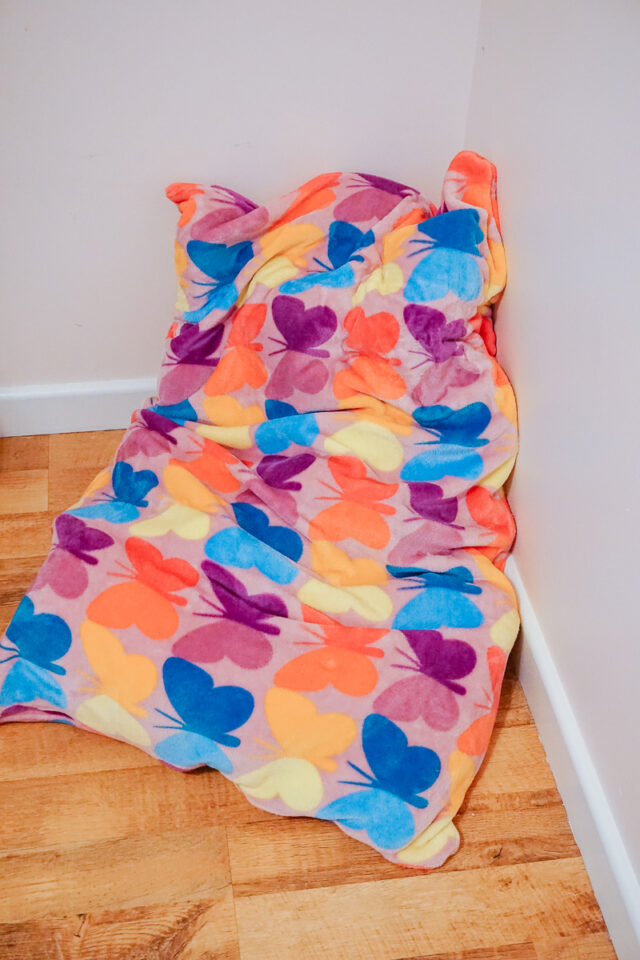
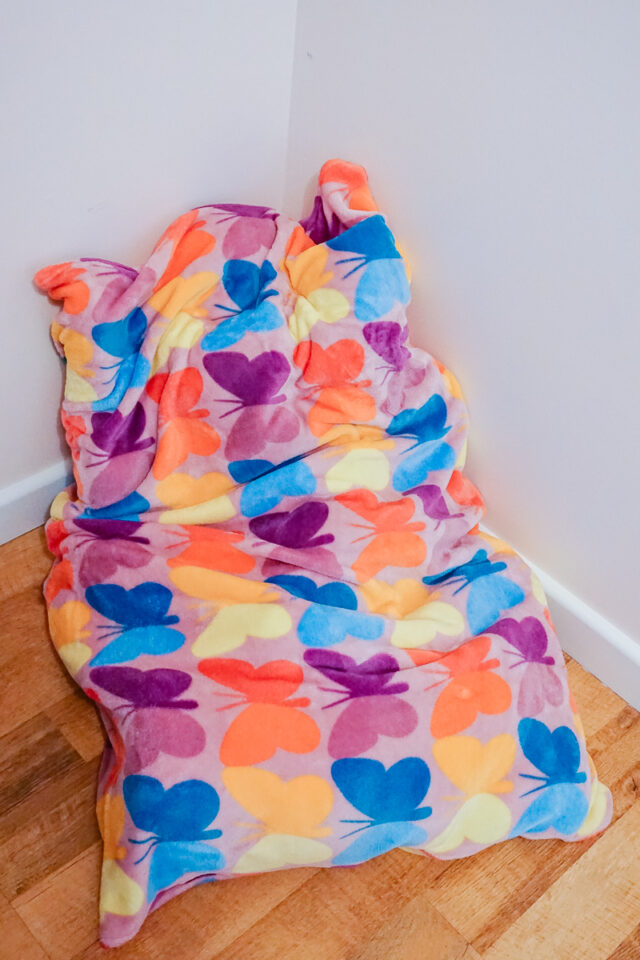
Add all the stuffies and stuffing you want through the zipper. Close the zipper. You finished!
If you make something using this sewing project, I’d love to see! Please share it on social media with the hashtag #heatherhandmade and tag me!

I believe small sewing moments can create great joy. Find your own “right” way to sew. -Heather