
DIY Bean Bag Chair

This post may contain affiliate links.
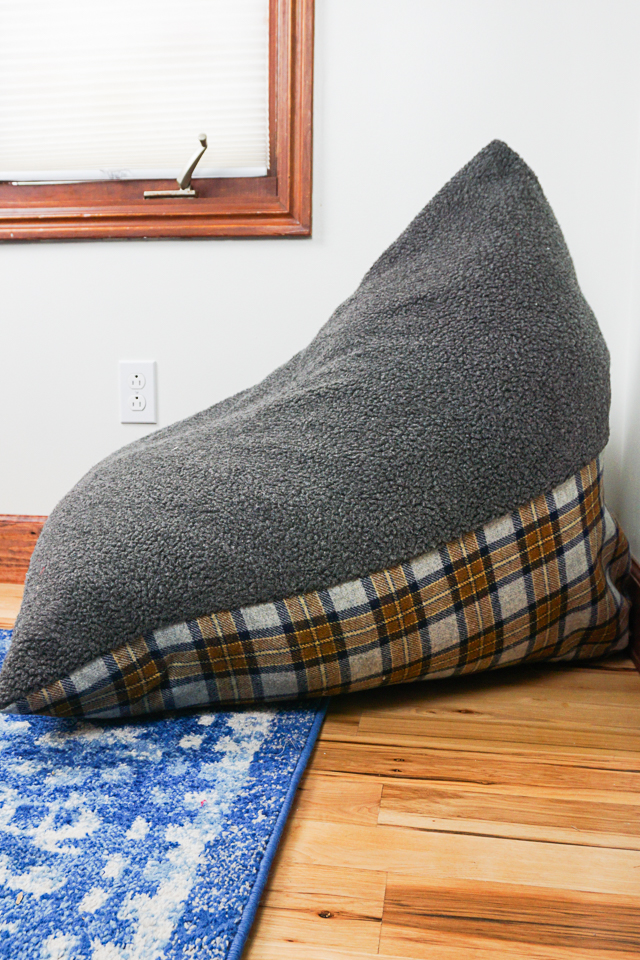
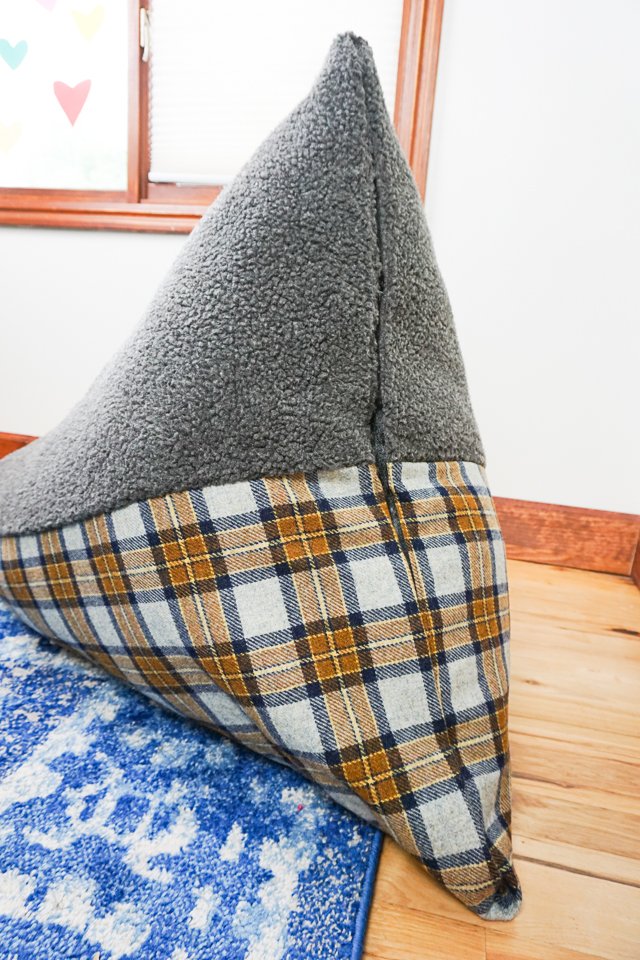
Learn how to make a DIY bean bag chair with free measurements! Make a comfortable chair that is great for reading to match your room!
I’ve slowly been decorating and adjusting my son’s room. He has been reading lots and lots lately, so I decided to make him a comfy place to read for his room.
This DIY bean bag chair is really easy to sew, but it takes a lot of fabric and a lot of filling. It’s so fun to pick out matching fabric to match a room.
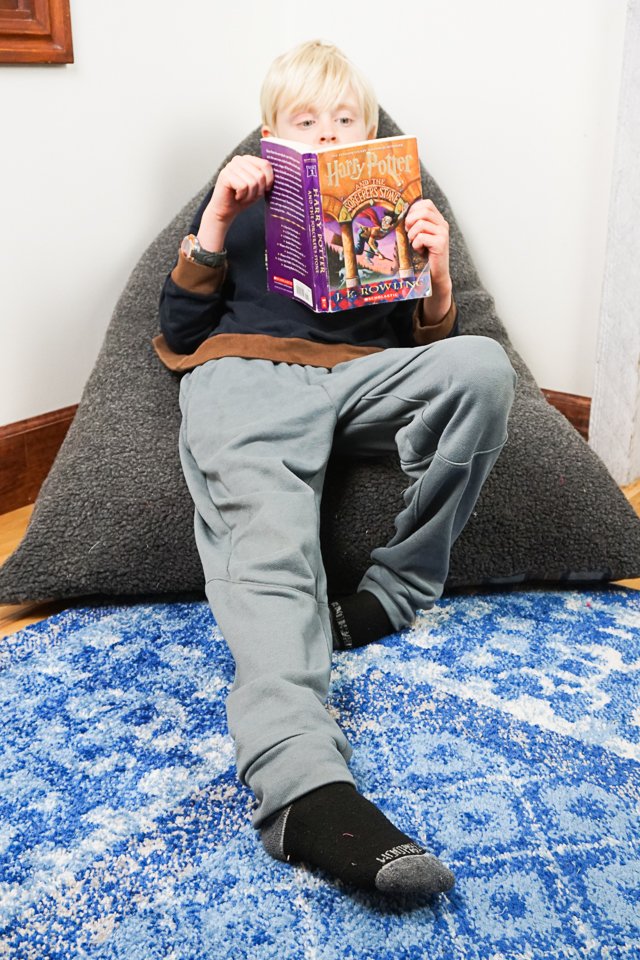
I designed my son a simple Harry Potter room, and I even made him a cheater quilt that fit the theme. We also put a bunch of pictures and a poster on his wall.
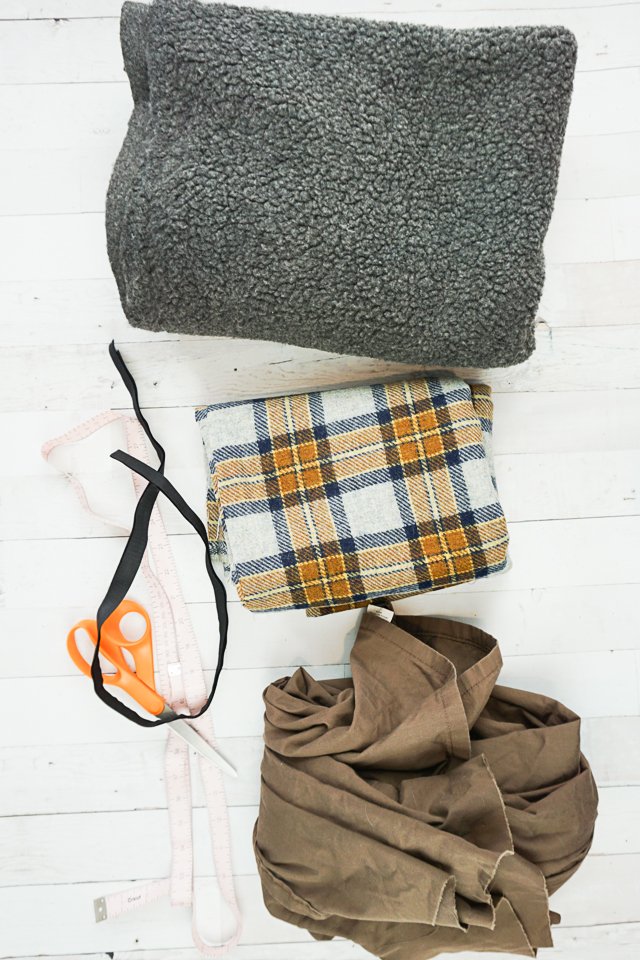
My son and I looked at all my fabrics to see what would work. I had the perfect amount of charcoal sherpa that be soft and cozy to sit on. Then we looked at my plaid coat fabrics to find one that was the closest to a Hogwarts fabric.
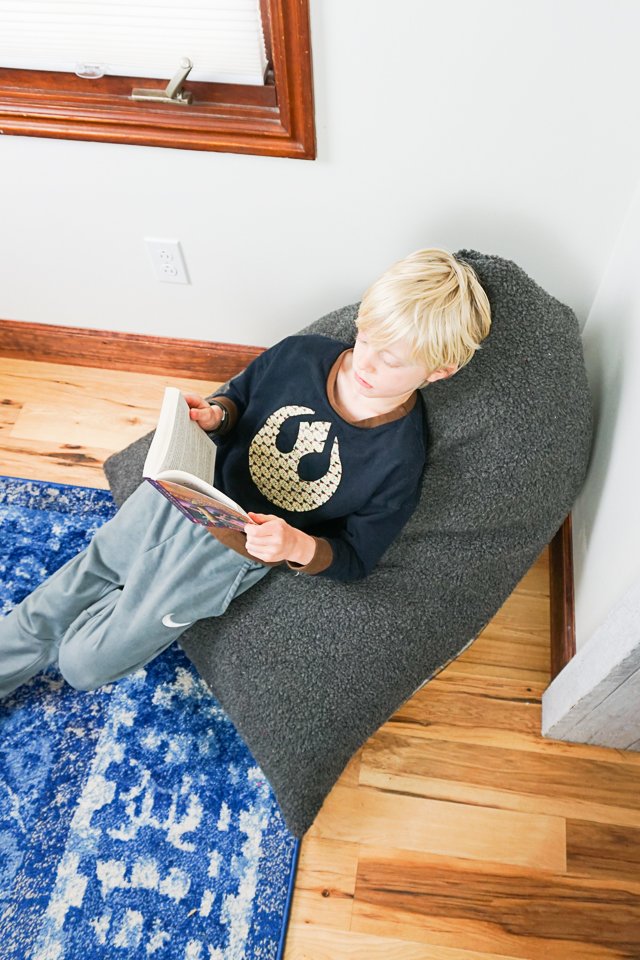
He’s been reading in this chair every night and now my daughters are asking for one. It looks like I’ll have to make some more.
Do you love to sew? Try one of these fun sewing projects:
- handmade gifts to sew
- home sewing projects
- DIY floor pouf with free pattern
- Canvas sewing projects
- Cozy sewing projects
DIY Bean Bag Chair
supplies
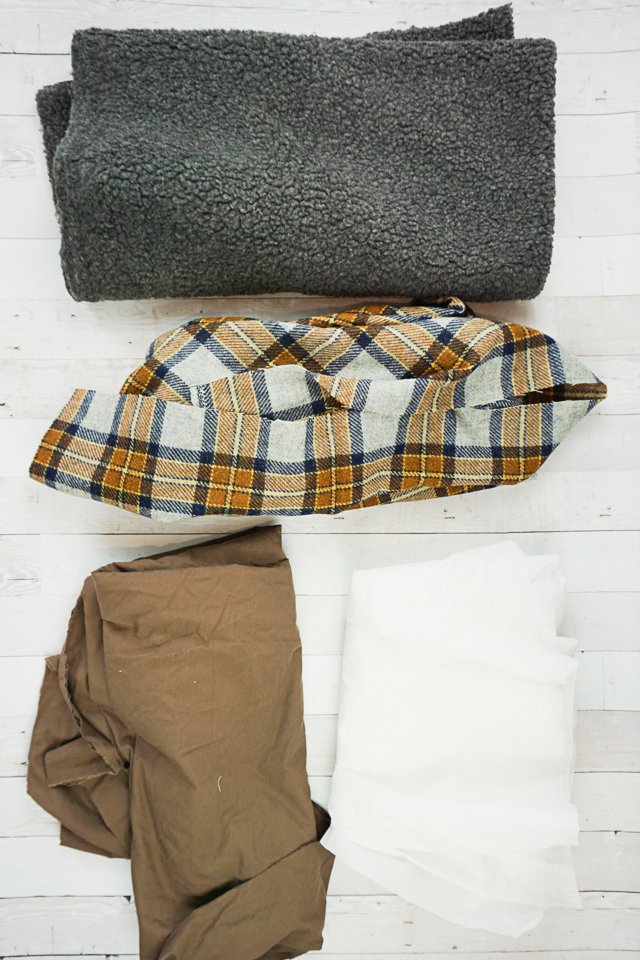
- 1 yard of fabric for top (I chose sherpa)
- 1 yard of fabric for bottom (I chose plaid)
- 2 pieces of quilting cotton fabric for the lining
- 2 pieces of mediumweight interfacing each 36 inches by 44 inches
- Poly-fil, lots
- Velcro or snaps
- Sewing tools
- Sewing machine
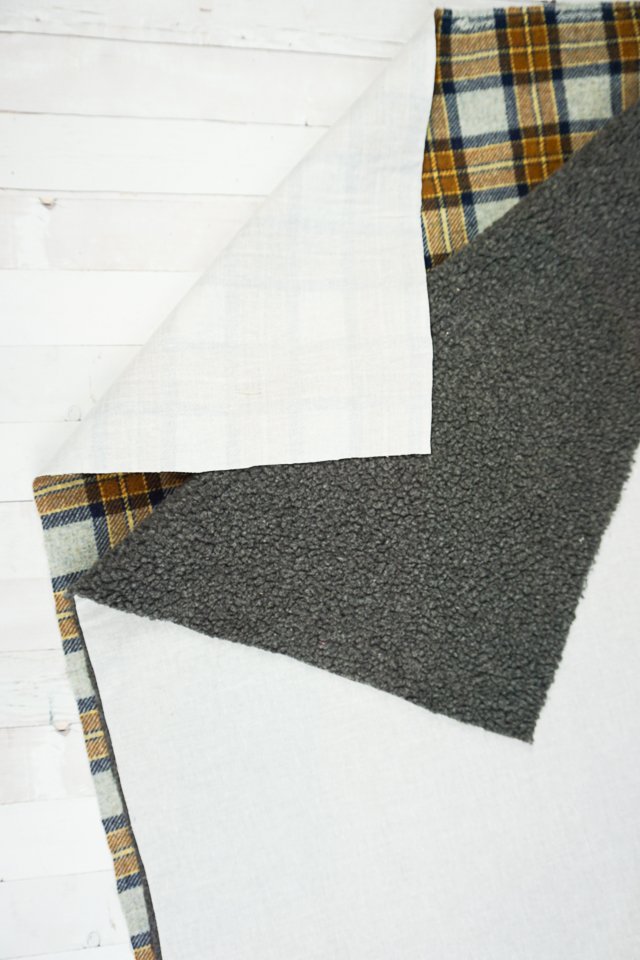
Cut a piece of fabric for the top that will be sat on to 36 inches by 44 inches. Cut a piece of fabric for the bottom that will be on the ground to 36 inches by 44 inches.
Cut two pieces of interfacing 36 inches by 44 inches. Apply the interfacing to the back of the top and bottom fabric.
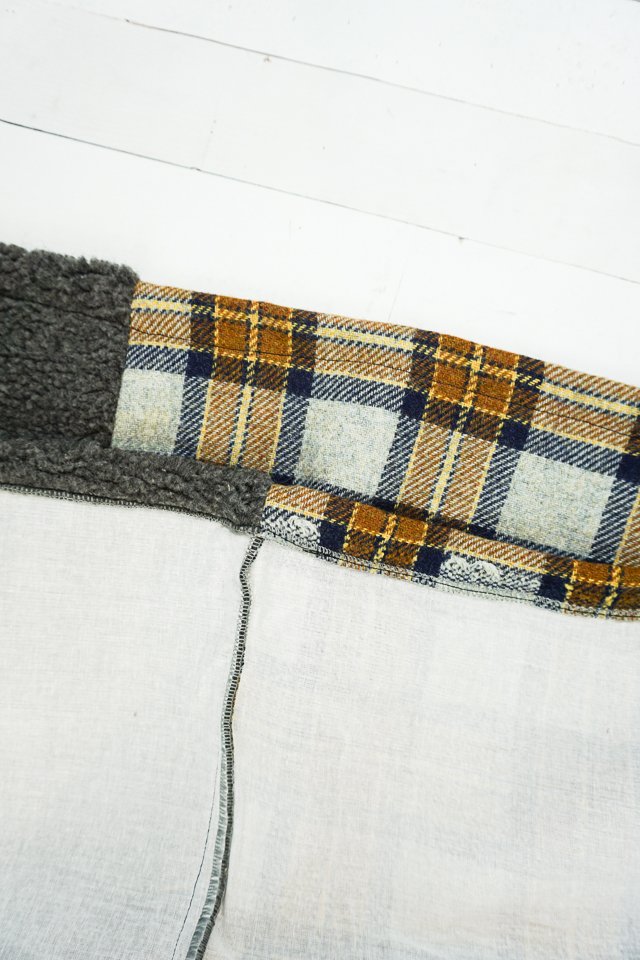
With right sides together sew three sides together, the two long sides and one short side. Finish the raw edges.
Do the same to the lining.
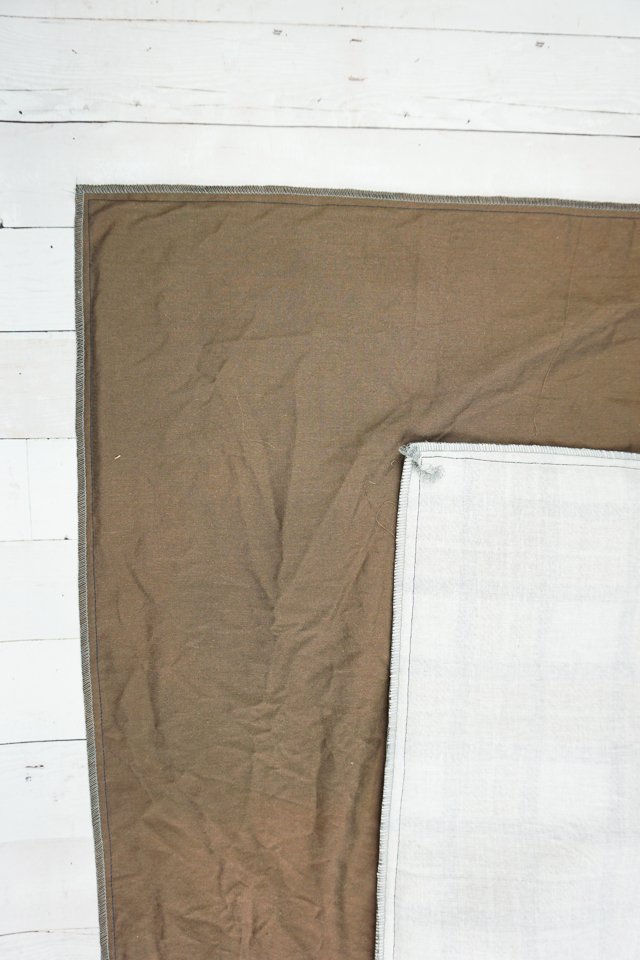
Finish the raw edges of the remaining open side.
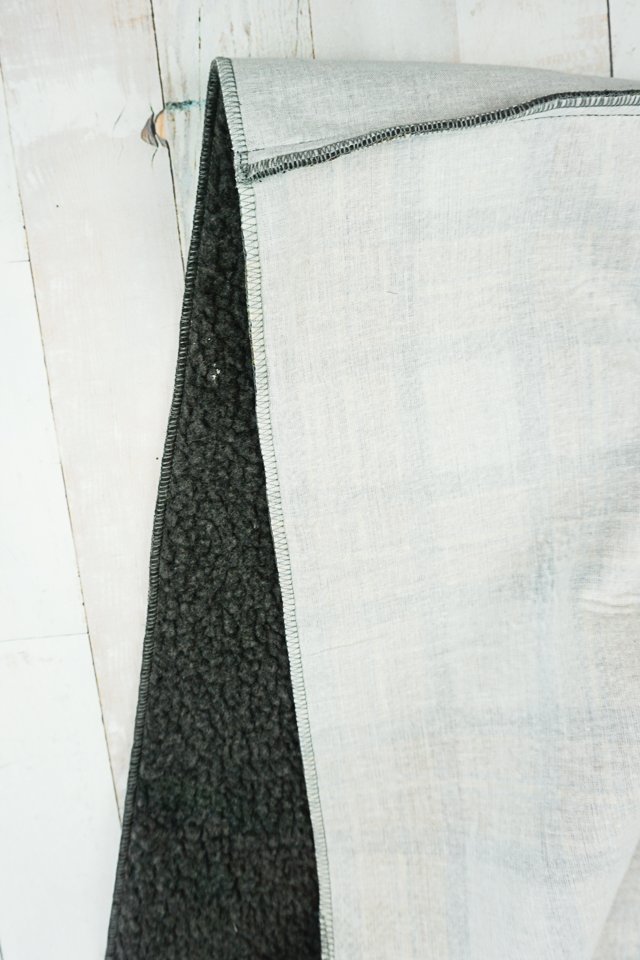
In the opening fold the edge over 1 inch and sew down.
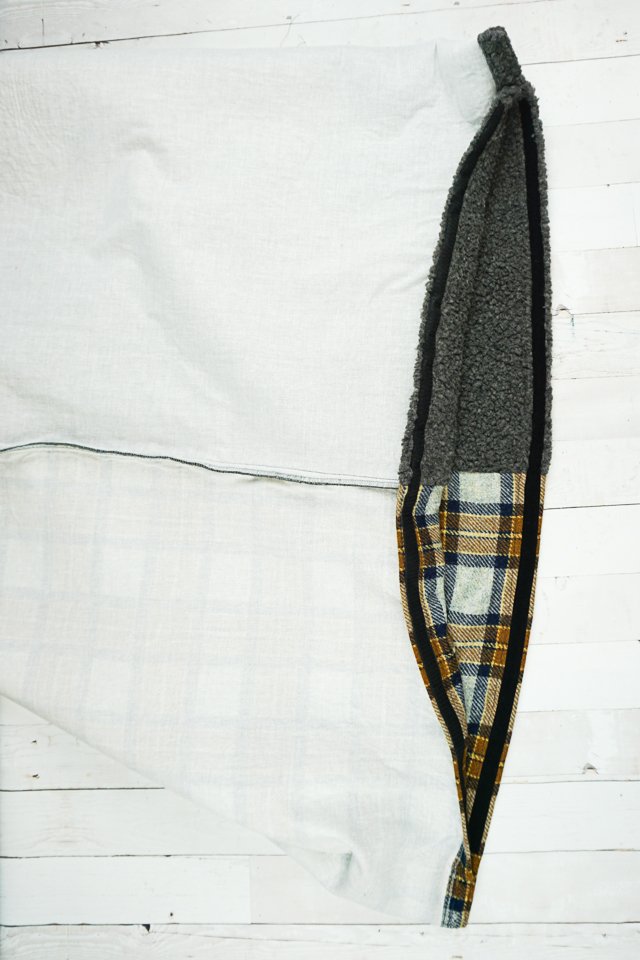
Fold the opening in the center of each rectangle and match up the seams in the middle. Starting at the fold sew in 4 to 6 inches on each side.
Add velcro or heavy duty snaps to the opening.
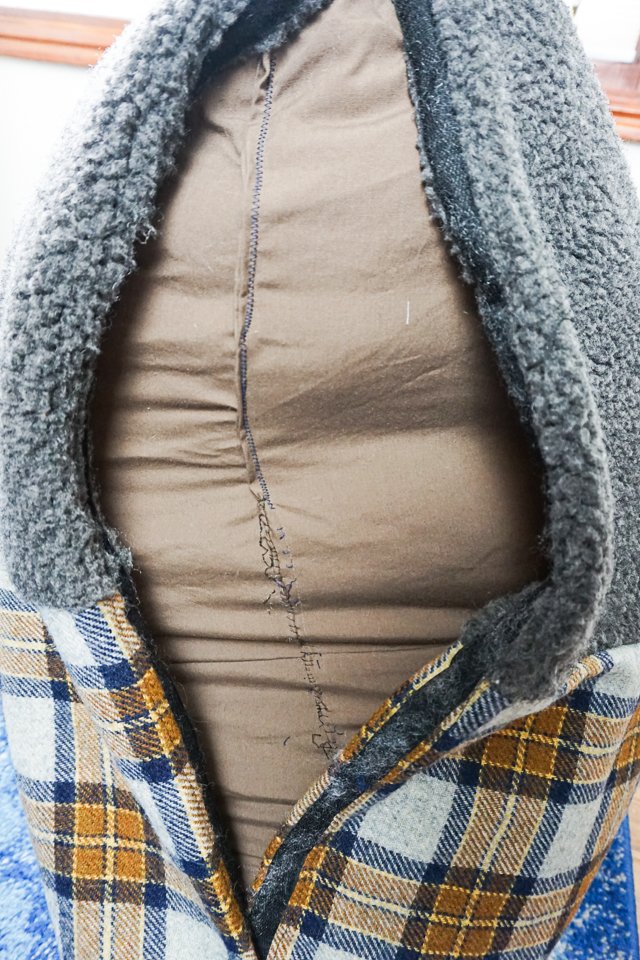
Put the lining inside the bean bag chair, and then stuff it. It’s too hard to put in after it’s stuffed. This chair needs so much stuffing to give it shape.
Once it’s fully stuffed zigzag or hand stitch closed. I ended up doing both. You can also make a drawstring bag to hold the stuffing inside.
Close the snaps or velcro to finish the chair.
If you make something using this sewing project, I’d love to see! Please share it on social media with the hashtag #heatherhandmade and tag me!

I believe small sewing moments can create great joy. Find your own “right” way to sew. -Heather
Thanks for sharing such a great information. This article help people to take their decision easily. I also appreciate your effort for making best content for your audience.
Regards
I’ve been wanting to make these for my grandsons. I really like your method. If my grandsons are older and taller than you son, do you think I need to make it bigger?
This is pretty comfortable for me to sit in and I’m almost 6 foot tall. I would probably add 10 to 20 inches to both measurements to make it bigger if I were sitting in it everyday.