
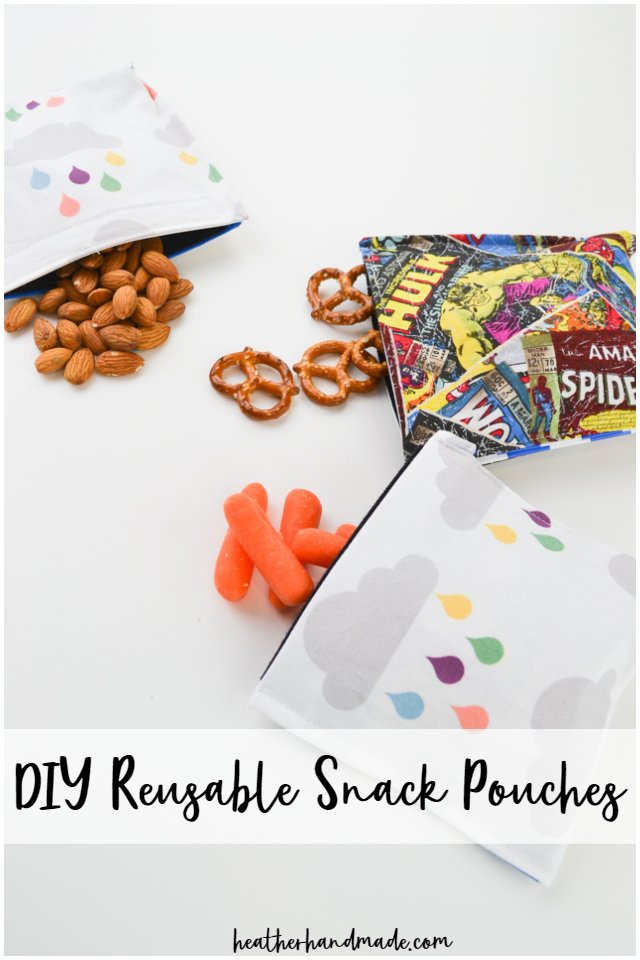
DIY Reusable Snack Pouches

This post may contain affiliate links.
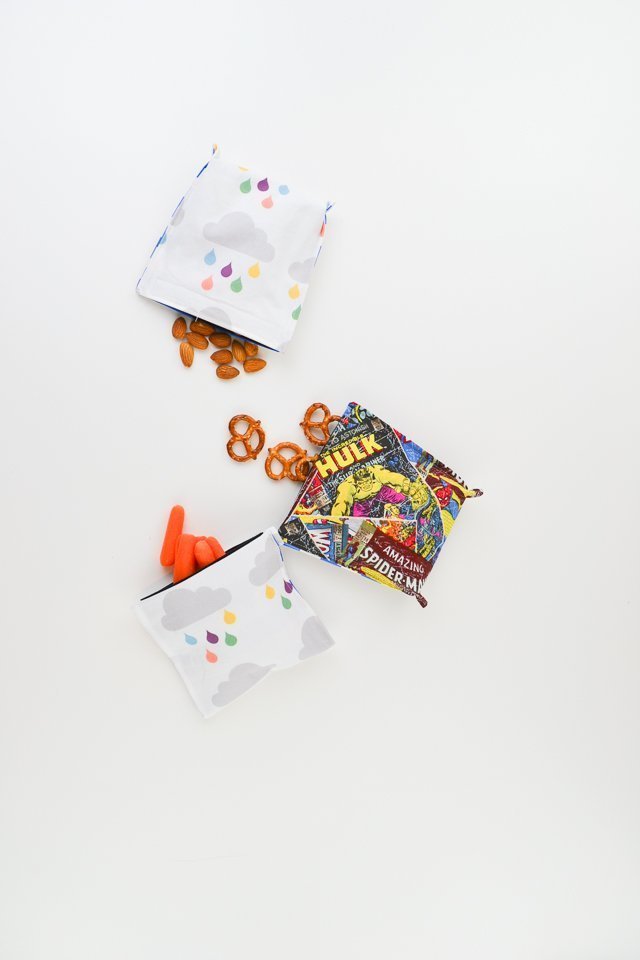
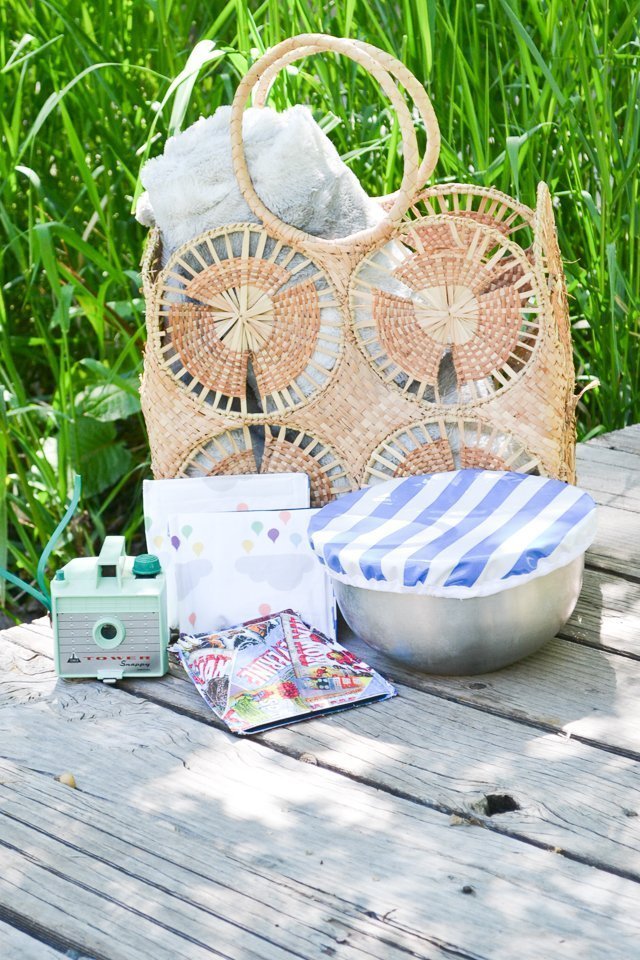
It’s easy to bring snacks for kids (or yourself) with these DIY reusable snack pouches! Use waterproof fabric to make them easy to clean!
I love being out and doing activities with my kids. I feel like it’s easier to focus on them and enjoy them when I’m not focused on things that need to be done at home.
I always need to bring snacks for my kids and for me, so these reusable snack bags are perfect for summer days.
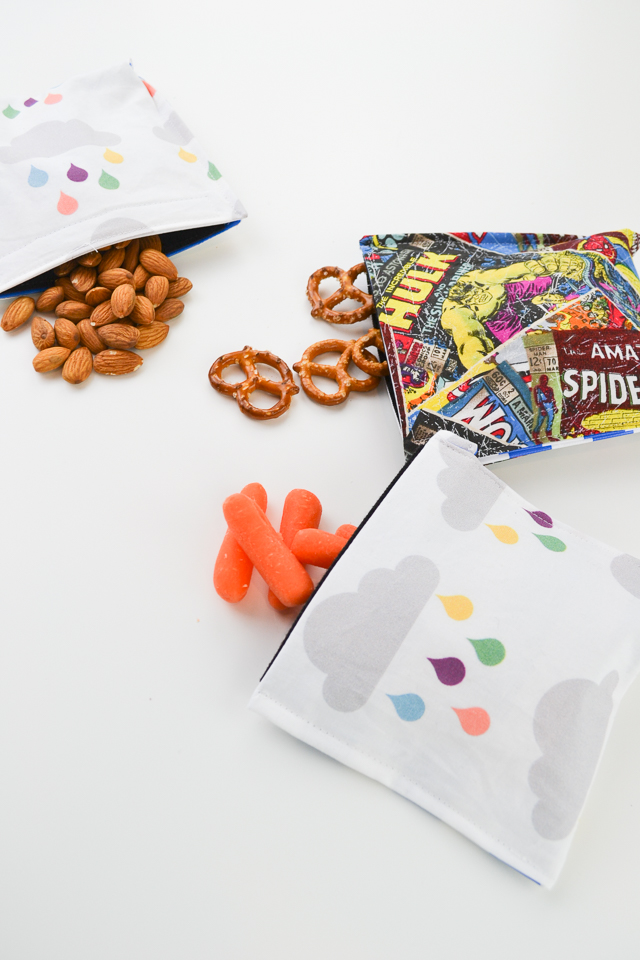
I love that I can bring snacks without using plastic bags. Each kid can have their own pouch so there’s no fighting. They loving having their own fabric print to claim. When we get home I rinse them out or wash them in the washer.
What fabric should I use for reusable snack pouches?
This is really up to you, but I’ll tell you the two different fabrics you can use and the pros and cons of each.
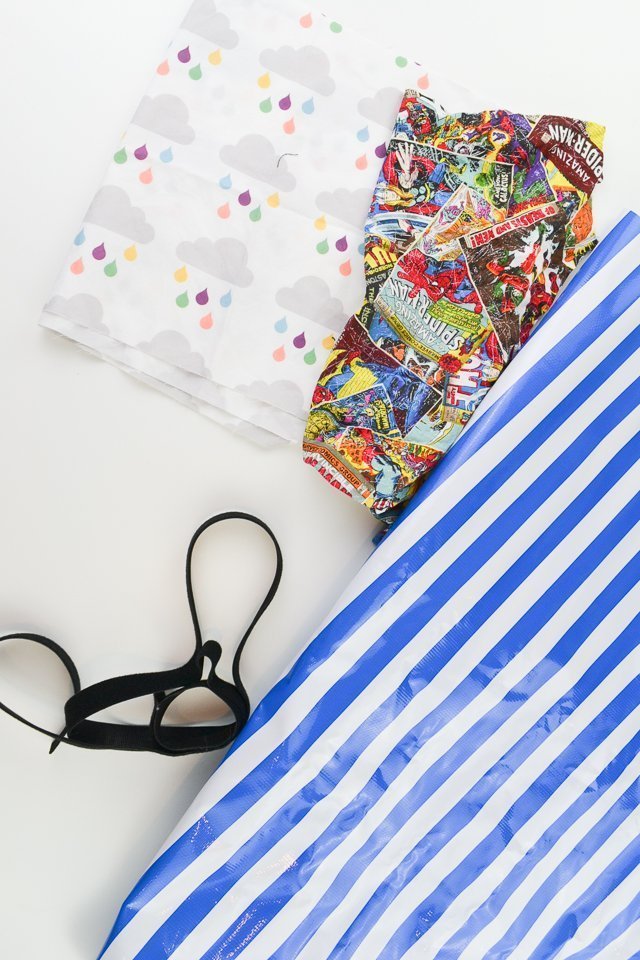
You can use quilting cotton for the inner and outer fabric. Quilting cotton is easy to find and easy to sew. It’s washable and durable. It also folds flat when isn’t in use.
You can use oilcloth for the inner fabric and quilting cotton for the outer fabric. Oilcloth isn’t as easy to find and it is trickier to sew. It’s waterproof, washable, and can be wiped clean. It can hold a 3-D shape and might take up more room.
What closure should I use for reusable snack pouches?
I used Velcro for these snack pouches, but you can also use snaps or magnets. All of these are easy to apply and washable so you can choose the one you like to install the best.
Do you love to sew? Try one of these sewing projects:
DIY Reusable Snack Pouches
Supplies
- 1/3 yard quilting cotton or scraps
- waterproof fabric like laminated cotton, oilcloth, or PUL
- sewing tools
- velcro
Cutting
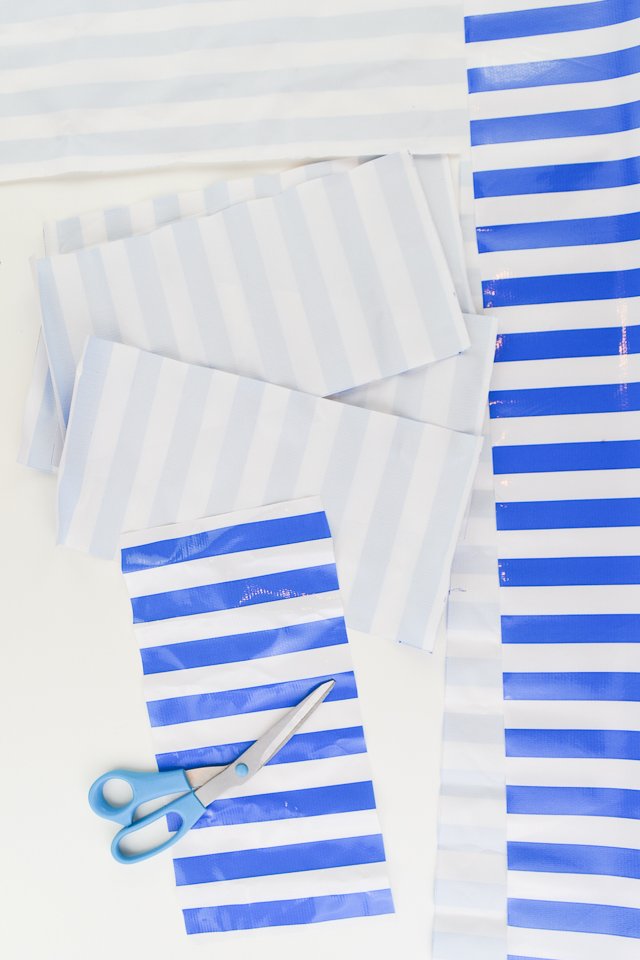
Cut quilting cotton into six by twelve inch pieces.
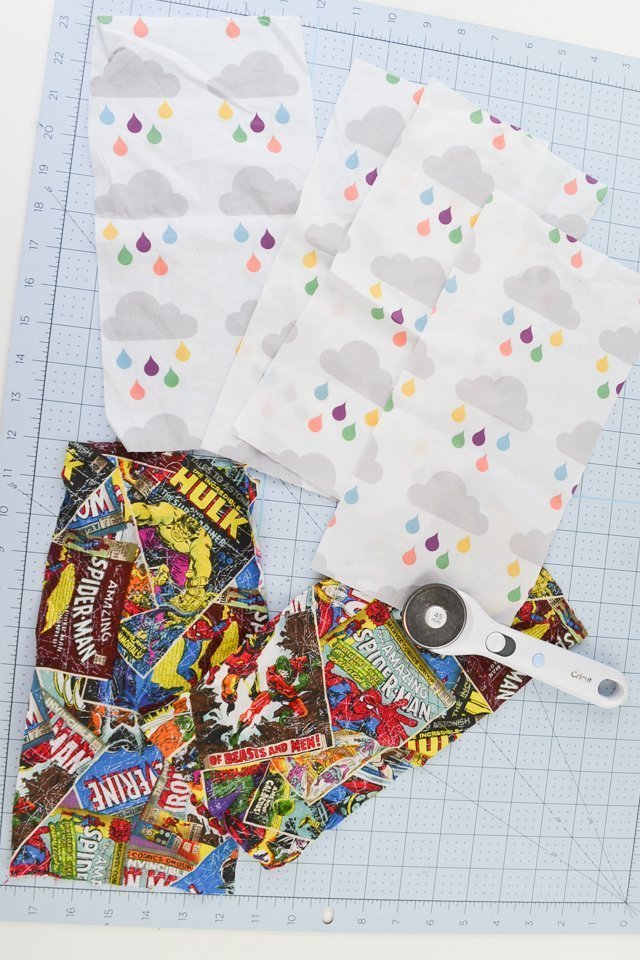
Cotton waterproof fabric into six by twelve inch pieces.
Sewing
With right sides together pin the waterproof fabric to the quilting cotton. Sew around all the edges pivoting at the corners. Leave a three inch hole for turning.
Trim the corners.
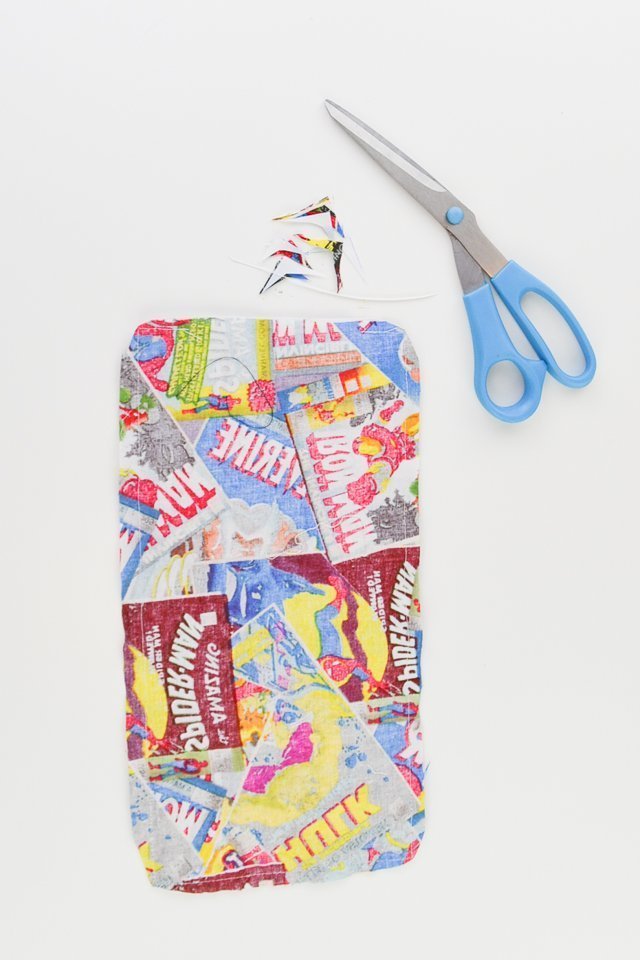
Turn the pouch right side out. Carefully poke out the corners.
Tuck the fabric ends inside and edgestitch the hole closed.
Adding Closures
Cut two pieces of Velcro five inches long. Clip them to each side of the pouch on the waterproof side. Make sure one is the hook side and one is the loop side.
Sew a rectangle all the way around the Velcro to secure.
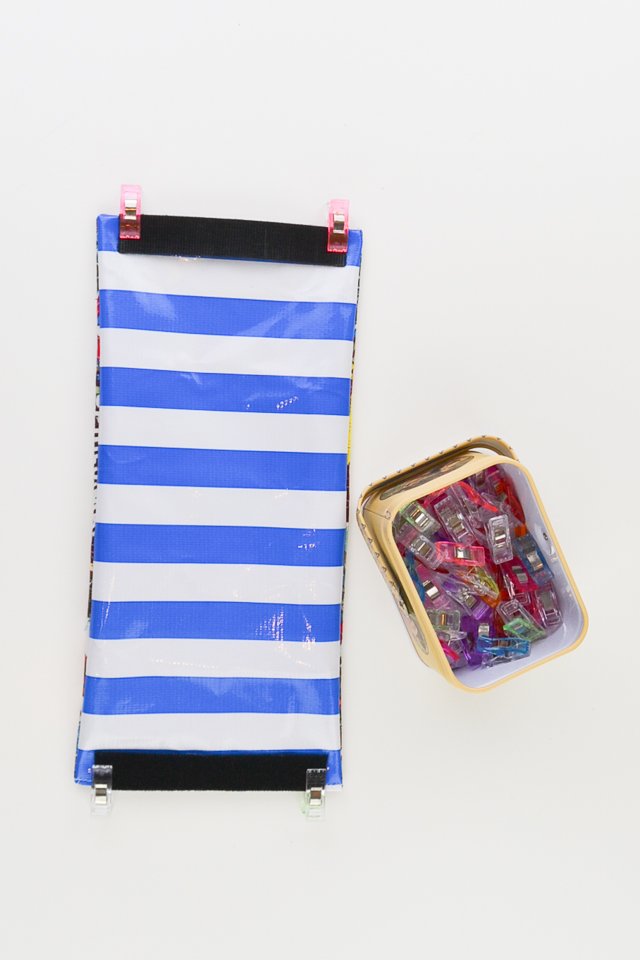
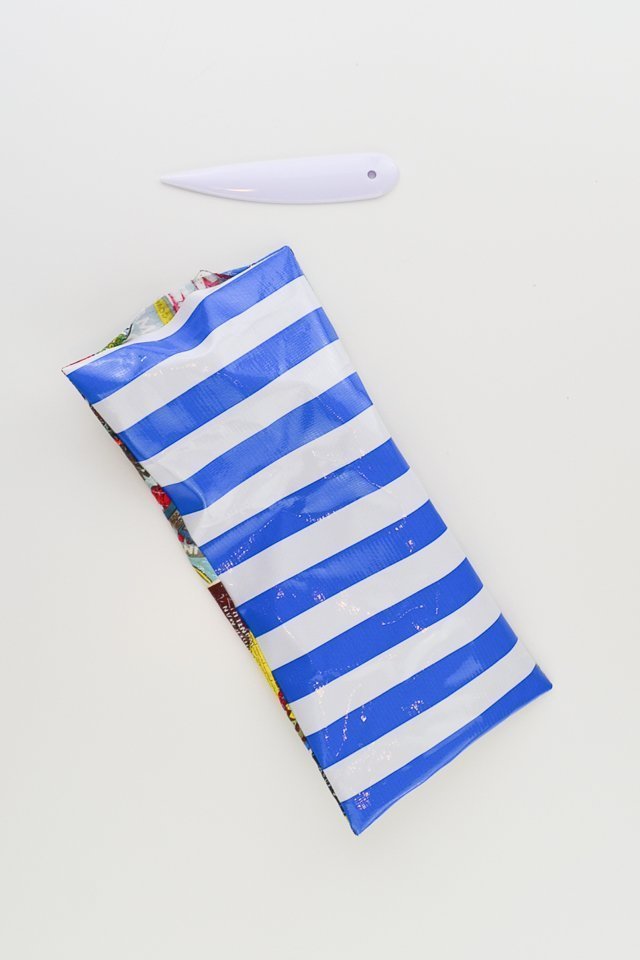
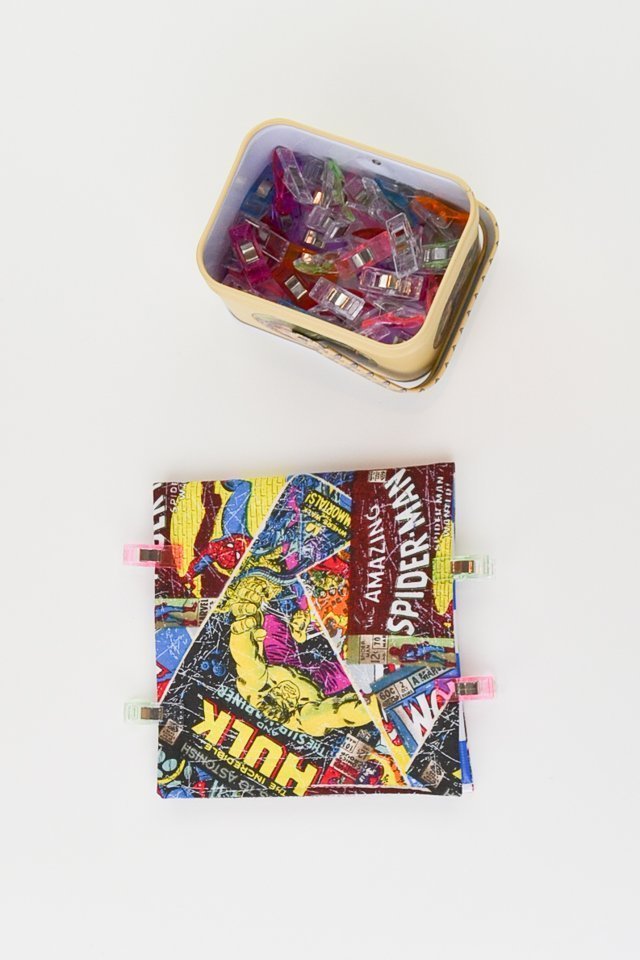
Fold the pouch with the waterproof side inside. Match up the Velcro. Clip the sides.
Sew along each side of the pouch with a 1/8 inch seam allowance.
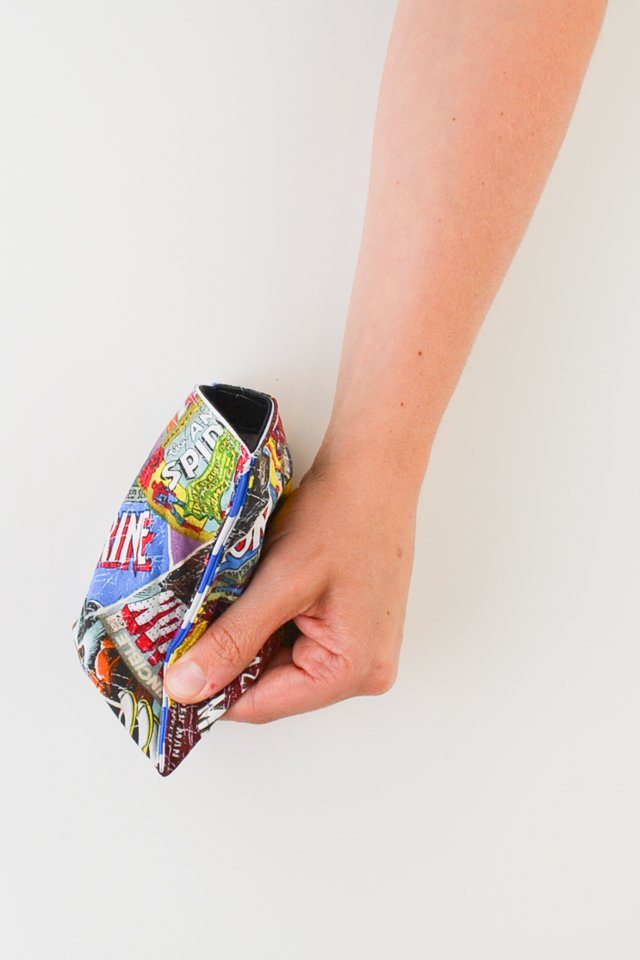
Open the pouch and flatten out a corner. Sew 1/2 inch from the point to create shaping. Do the same to the other side.
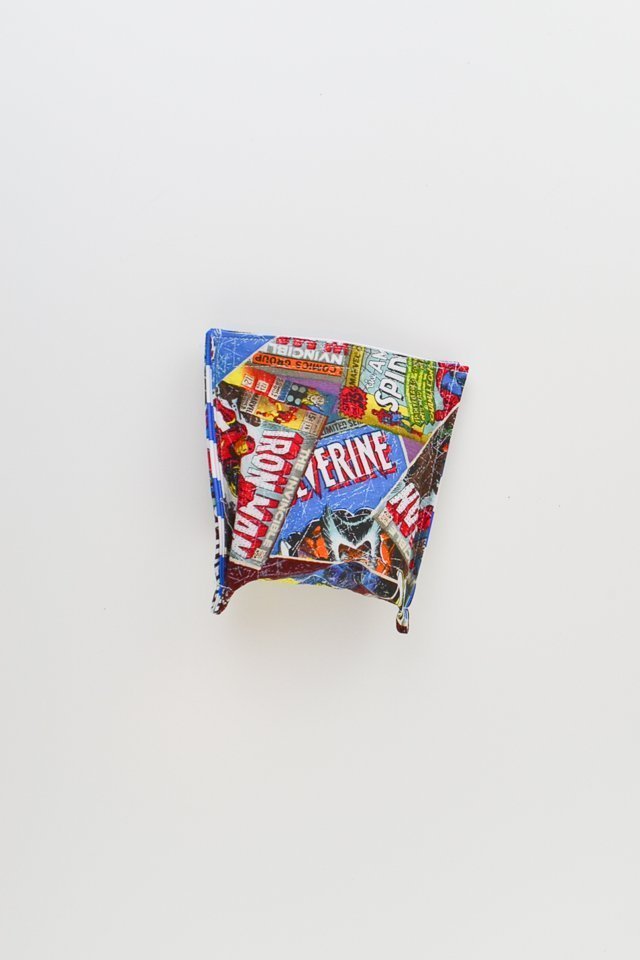
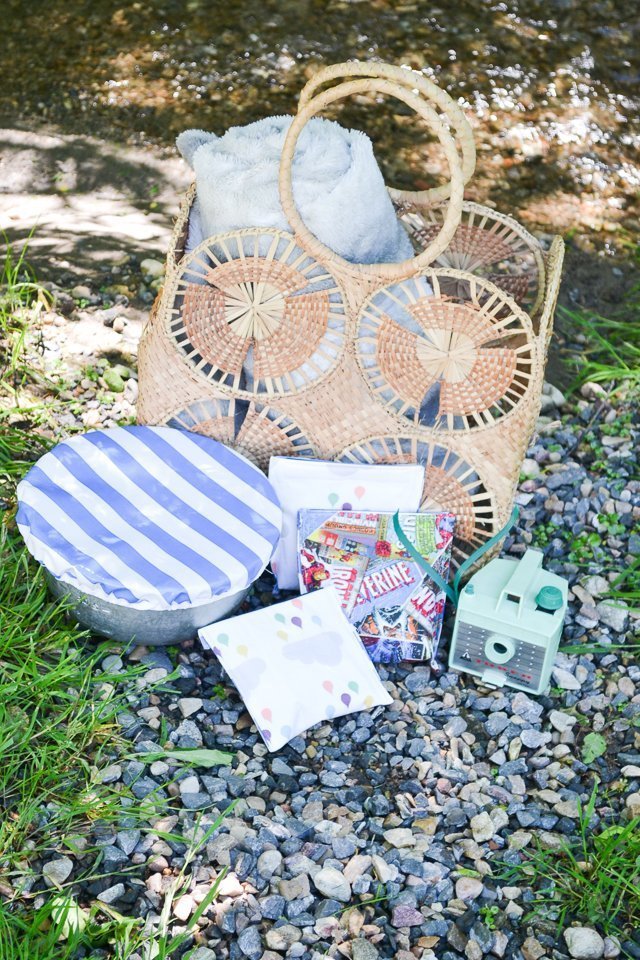
Add snacks and go for a picnic!
If you make something using this sewing project, I’d love to see! Please share it on social media with the hashtag #heatherhandmade and tag me!

I believe small sewing moments can create great joy. Find your own “right” way to sew. -Heather
How do you wash them?
I have washed them in the washer with no problems.
What’s the end resulting size of the baggies? I’m just curious to see how much size you lose in making them, so I can carry that info over to make smaller or larger baggies!
It ends up being 5 inches by 5 inches depending on how thick your velcro is.
Okay, makes sense!! Thanks for getting back to me so quickly!!:)
The last step…
“ Open the pouch and flatten out a corner. Sew 1/2 inch from the point to create shaping. Do the same to the other side.”
What does that mean? I can’t tell from the pictures!
This step can be skipped if you want. If you watch at 4:30 in the youtube video you’ll see how I open a corner and sew across. It basically makes the bottom a 3-D shape.
Oh geez lol I looked for a YouTube video for that reason, but missed it haha thanks!