
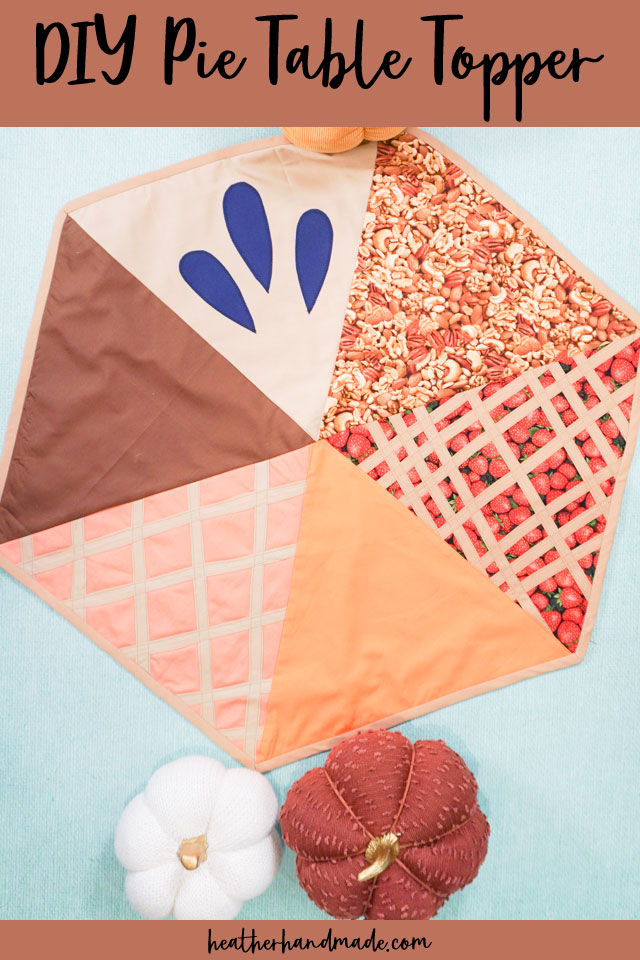
DIY Quilted Pie Table Topper

This post may contain affiliate links.
Learn how to make a DIY quilted pie with a free hexagon table topper quilt pattern. Choose all your favorite slice of pie flavors and designs!
There are lots of things about Fall and Thanksgiving that I love, but I especially love gathering as family and eating all the pies. Sometimes we make as many pies as there are people attending the party to make sure we’ll have plenty of leftovers.
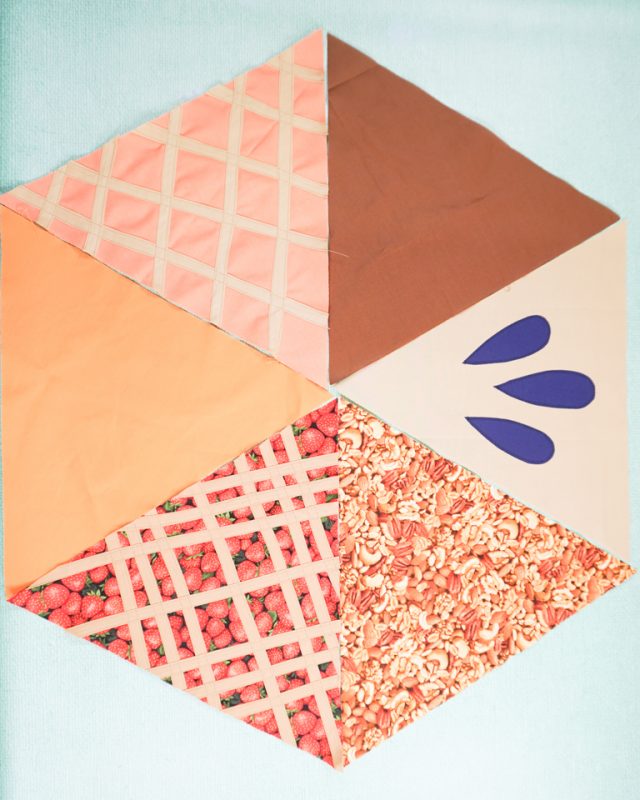
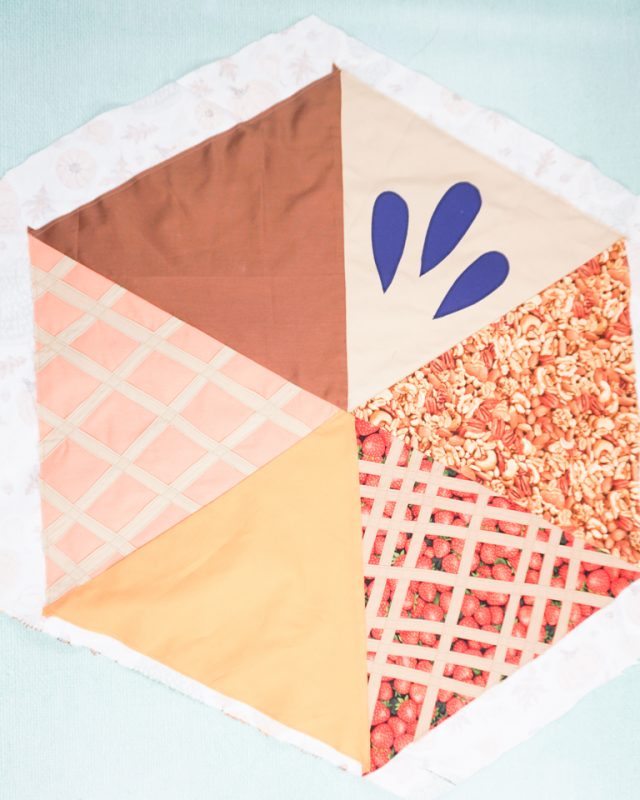
To inspire all the pie making that will be done, make a quilted pie table topper with a free hexagon table topper quilt pattern. I chose to make six different types of pie for my six different slices, but you can make each slice the same pie!
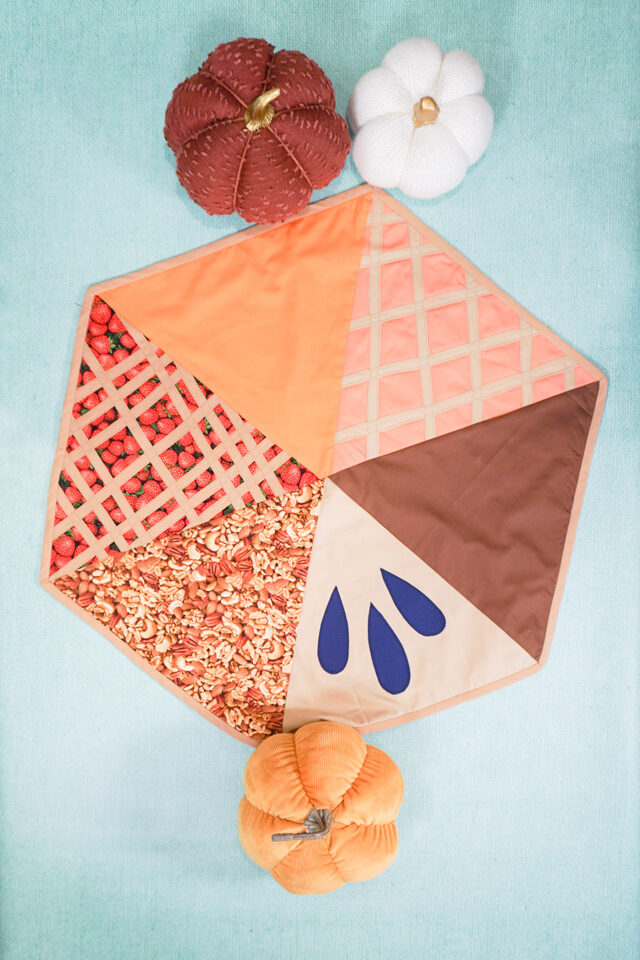
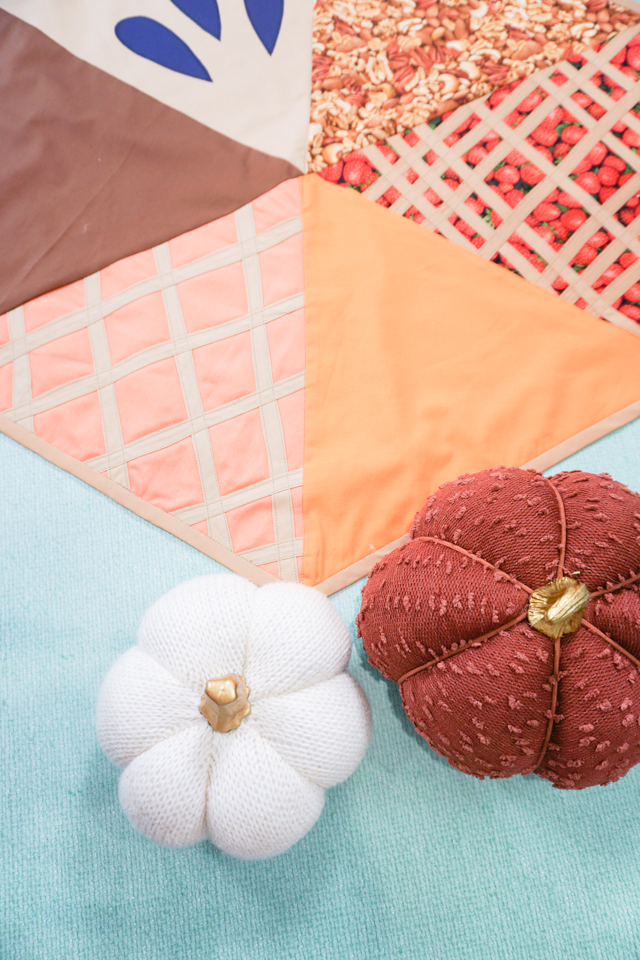
The types of pie that I decided to do are blueberry, chocolate, peach, pumpkin, strawberry, and pecan. I tried to find fabric prints in the type of pie, but it was easier to just find solid colored fabric. There are so many different kinds of pies you could do!
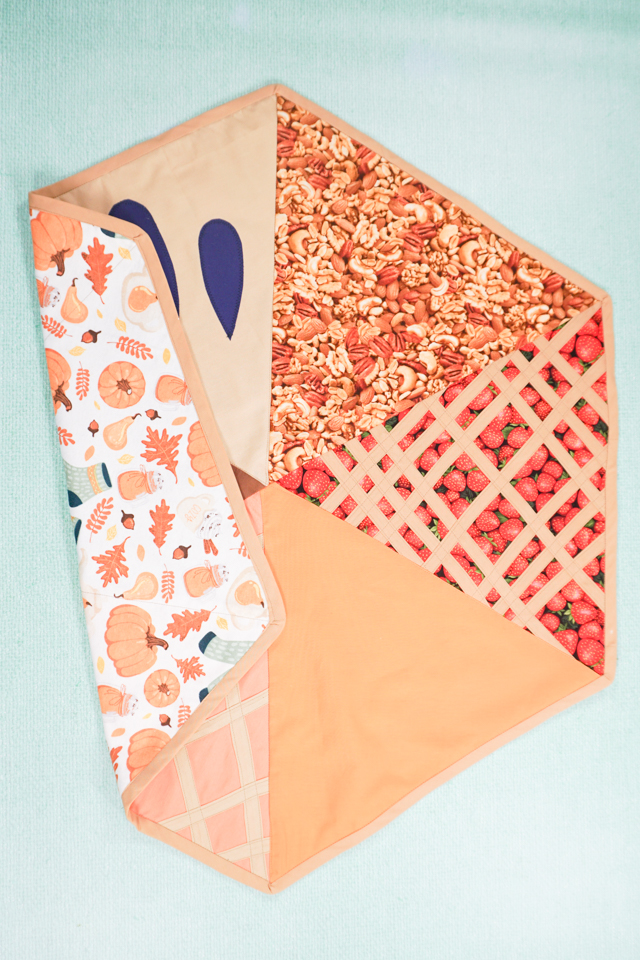
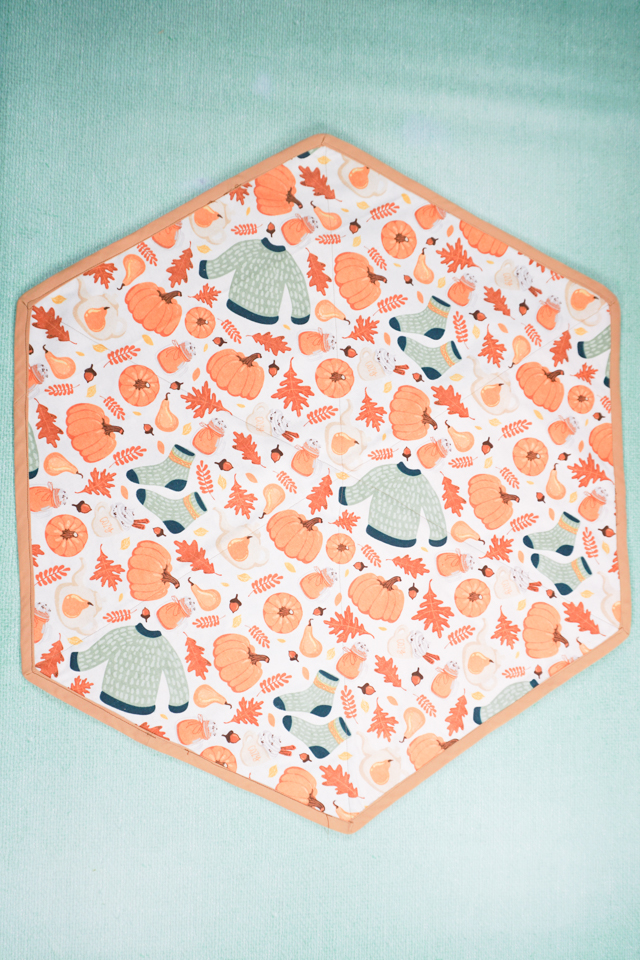
There’s a really pretty Fall and Thanksgiving fabric print for the back that matches all the colors of the front. I really love that the bias binding looks like crust along the edges.
It would be fun to add ricrac to the crust to get more of a crust look. You could even add some flat dollops of whipped cream to some of the pie slices.
What fabric should I use?
The best fabric to use for this project is quilting cotton. Use quilting cotton in all the different pie types. Use tan bias binding for all the details. Use a fun Fall or Thanksgiving print fabric for the backing.
Should I prewash my fabric?
Since the pie table topper is quilted you should not prewash the fabric. You want the fabric to crinkle up when you wash it just like a quilt.
What is a PDF sewing pattern?
A PDF pattern is a sewing pattern designed on the computer and organized so that it can be printed on several letter or A4 size pieces of paper.
I love using PDF sewing patterns because if the pattern gets ruined or if my children or I changed sizes, I can always print it again. It’ll never be destroyed since I have a digital version!
How do you use a PDF sewing pattern?
Open the PDF on a computer and click print. When printing make sure that the scaling is set to 100% or no scaling so that the pattern prints at the correct size. Learn how to use PDF sewing patterns.
Do you love to sew? Try one of these sewing projects:
- Fall sewing projects
- Fat quarter sewing projects
- Quilting cotton sewing projects
- DIY pumpkin pie pillow
- Make linen napkins
- Make a fall placemat
- Free sewing PDF patterns
- DIY Spiderweb Table Topper
Quilted Pie Table Topper
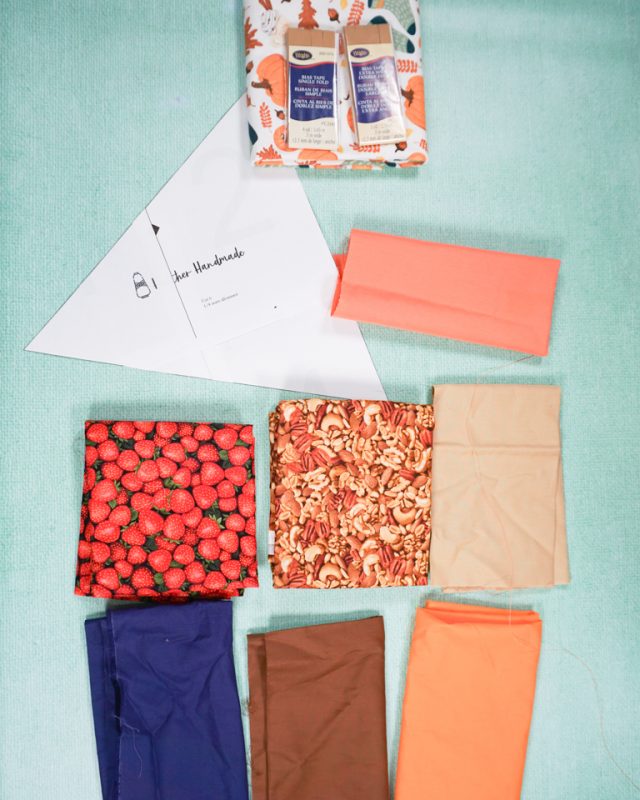
Supplies
- Hexagon table topper quilt pattern – get it at the end of the post
- 1 fat quarter for each triangle or each type of pie
- 3 yards of 1/2 inch double fold bias binding
- 8 yards of 1/2 inch single fold bias tape (for the woven pie crust)
- Optional: double sided fusible adhesive (for the blueberry filling details)
- 1 yard of batting
- Sewing tools
- Sewing machine
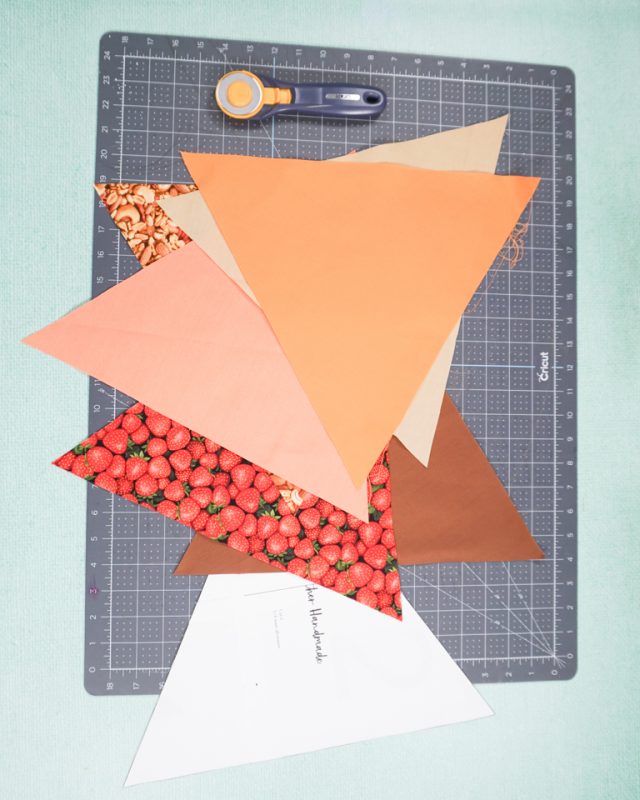
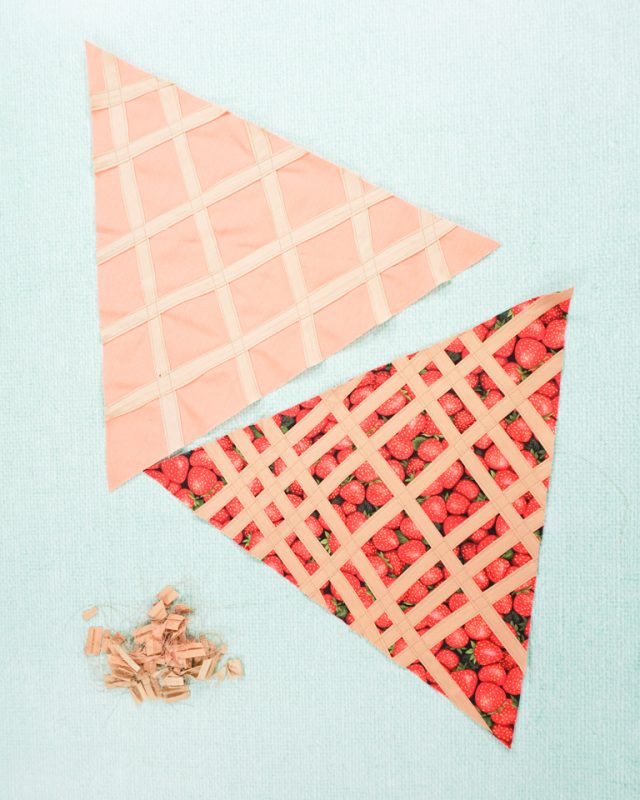
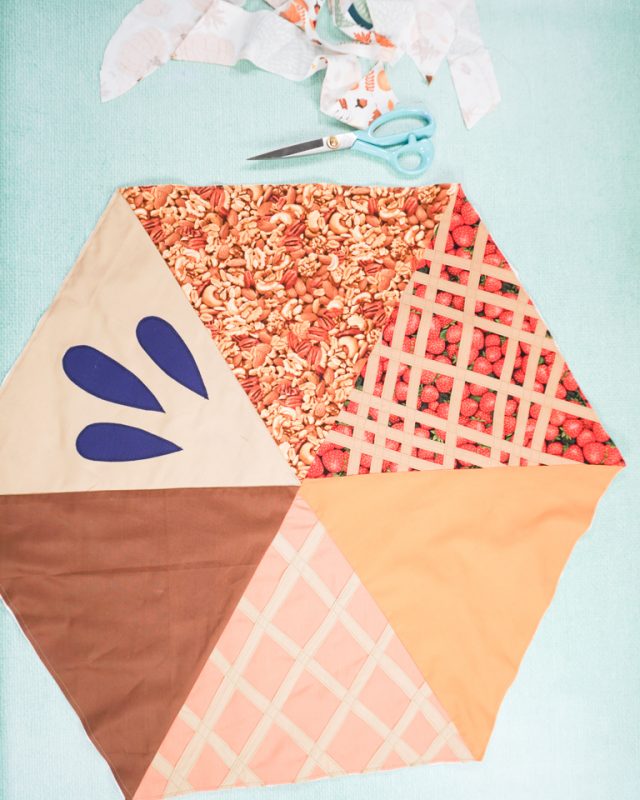
Use the hexagon pattern to cut out 6 triangles: one for each type of pie.
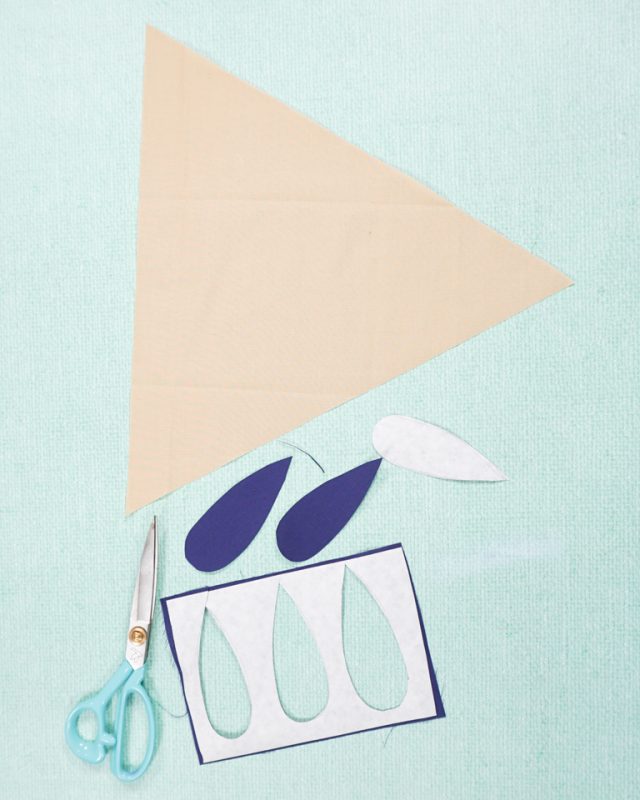
For the blueberry pie apply the fusible adhesive to the blue fabric. Cut out three large tear drop shapes.
Peel off the paper backing and place the pieces onto the pie crust triangle.
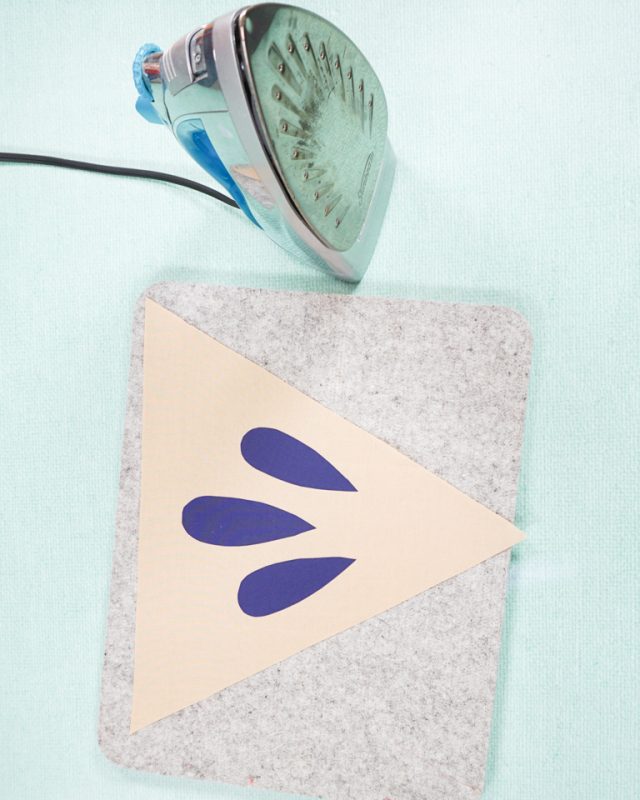
Fuse the blueberry pie details in place. Sew a zigzag stitch around each detail to secure.
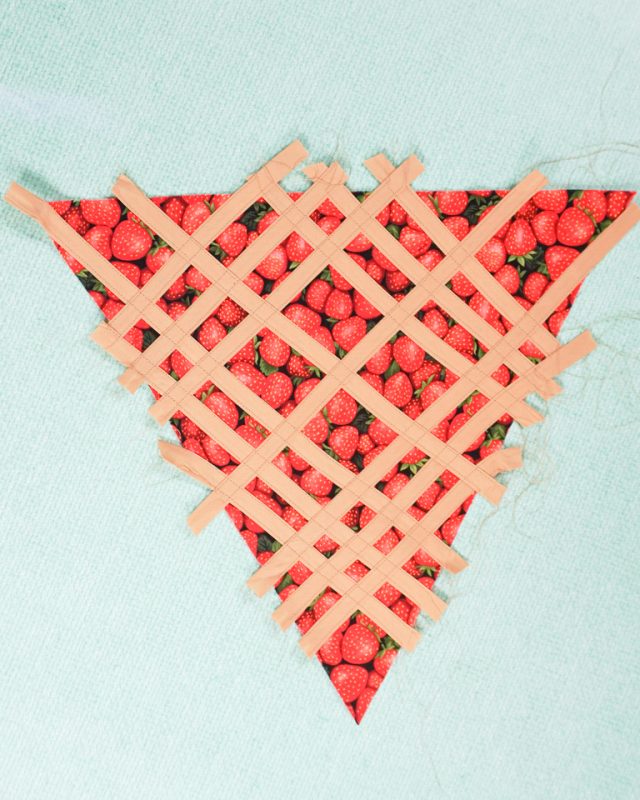
Cut a bunch of strips of single fold bias tape to look like a woven pie crust and place it on the strawberry pie. Pin the ends in place. I didn’t actually weave any of the pieces.
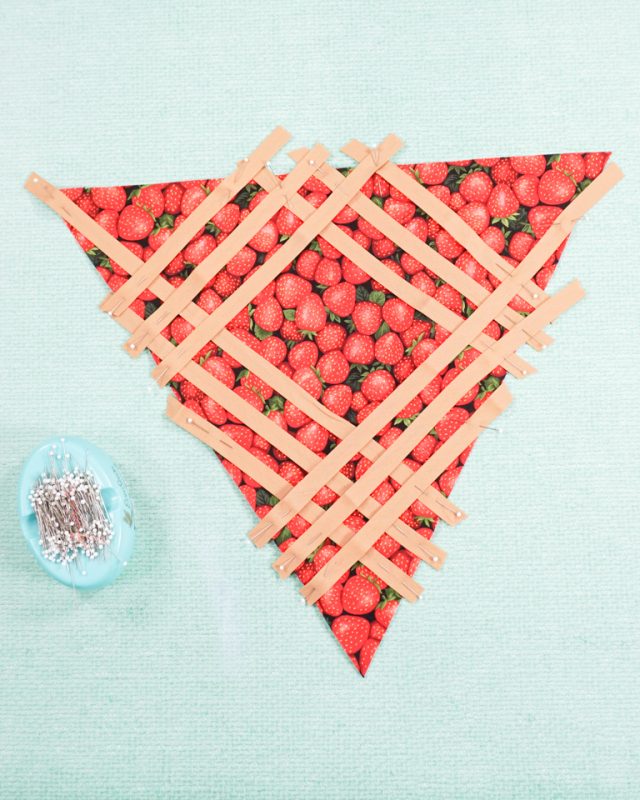
Sew down each side of the bias tape to secure.
The strawberry pie had a unique woven pie crust with three pieces placed closer together. Another way to do a woven pie crust is to keep everything even like I did with the peach pie.
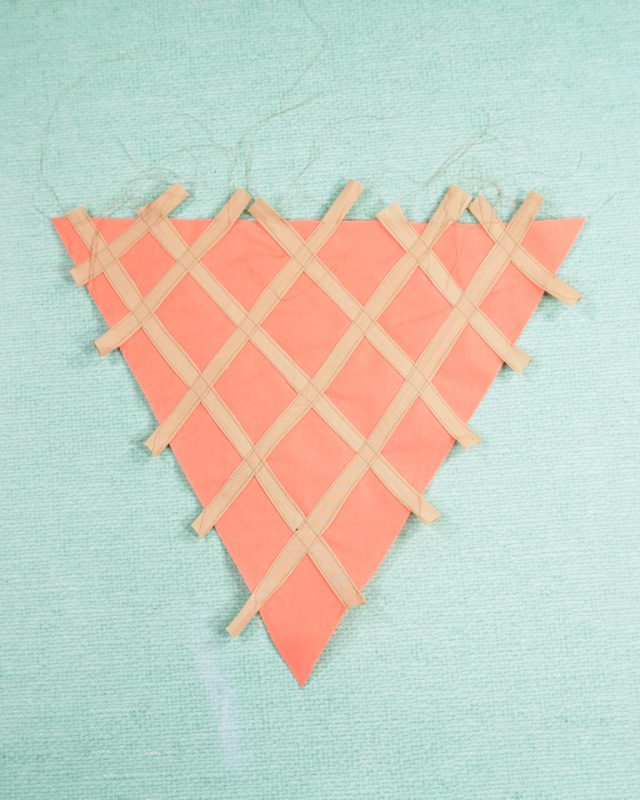
Trim any of the bias tape that went over the edge for clean, straight edge triangles.
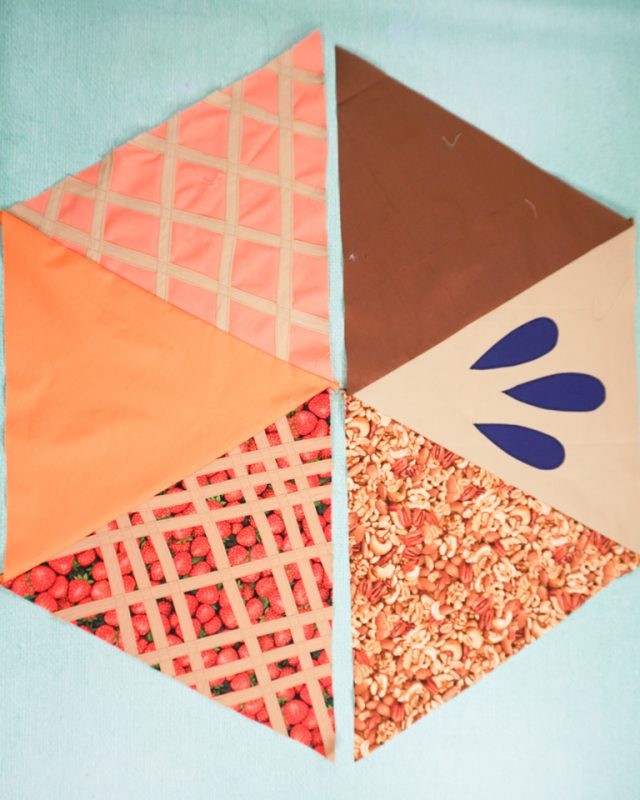
Place your triangles out and decide on the order for the pieces.
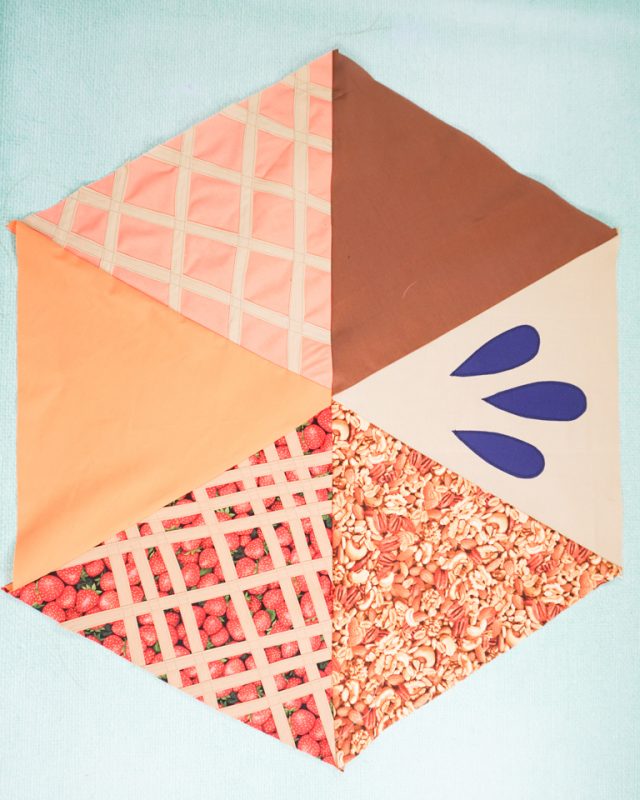
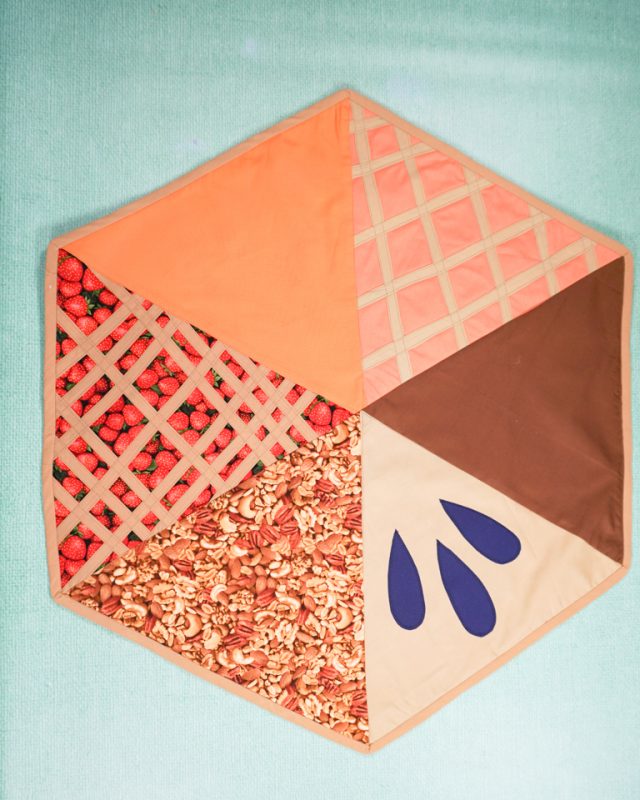
Sew three triangles together with right sides together. Sew the other three triangles together with right sides together. This creates two halves.
Sew the two havles together with right sides together. The top of the quilt pie is done!
Make a quilt sandwich by placing the backing fabric right side down. Place the batting down next. Place the quilt top on top right side up. Pin all the layers together.
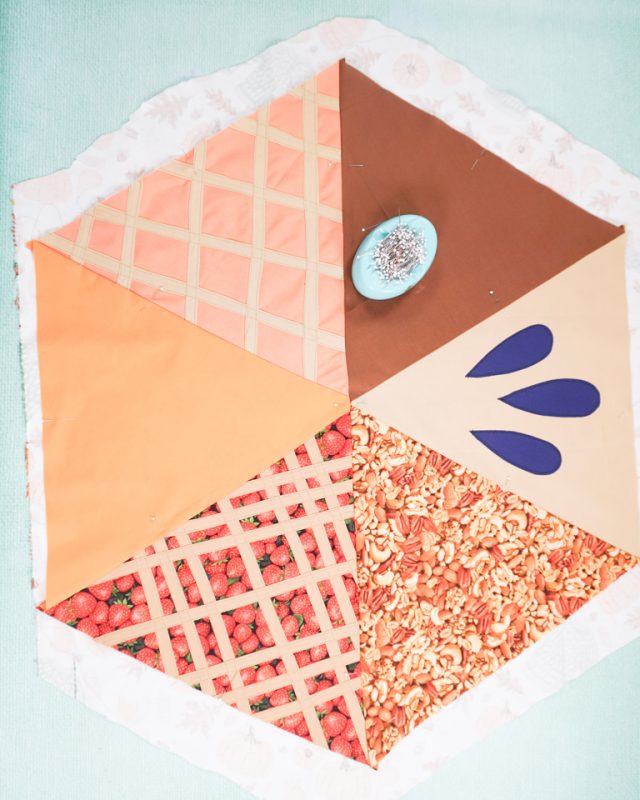
Quilt the layers together however you want. I chose to sew through all the seams to quilt the layers.
Trim all the edges so that the quilt layers are all the same size and shape.
Add the double fold bias tape to the edges to finish the edges. You finished!
Get the Free Sewing Pattern here!
If you make something using this sewing project, I’d love to see! Please share it on social media with the hashtag #heatherhandmade and tag me!

I believe small sewing moments can create great joy. Find your own “right” way to sew. -Heather