DIY Photo Frame Felt Ornament

This post may contain affiliate links.
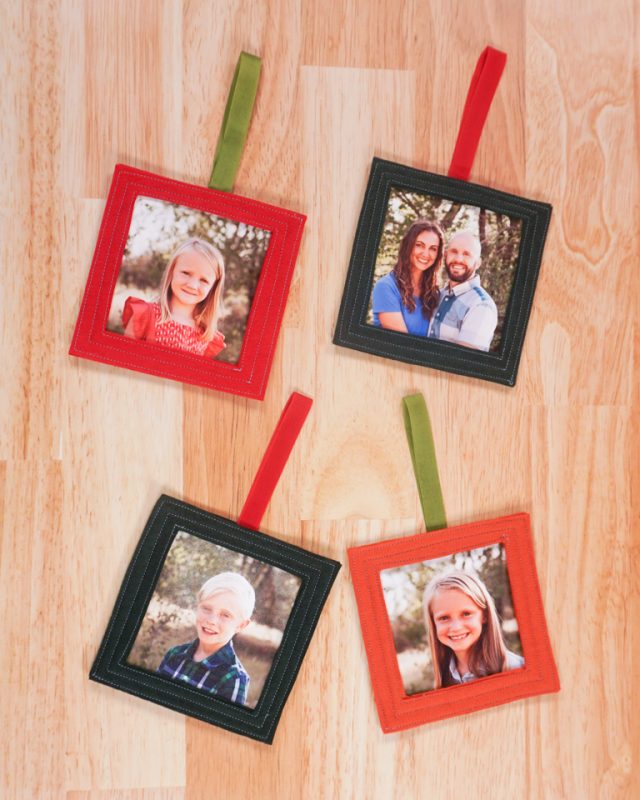
Learn how to make a DIY photo frame ornament out of felt. It’s a great Christmas sewing project to decorate a tree with photos of the year.
Every year that my kids are in school they make an ornament with their school photo, and it is one of my favorite gifts each Christmas season. I love looking at all the ornaments they’ve already made along with the most recent one, so I can remember how they’ve grown.
This year I decided to make some felt ornaments that could hold a photo so I can choose other photos to put on our tree. Use this free sewing pattern to make a beautiful felt ornament that holds a square photo. You can switch out the photo or make a new ornament with a new picture.
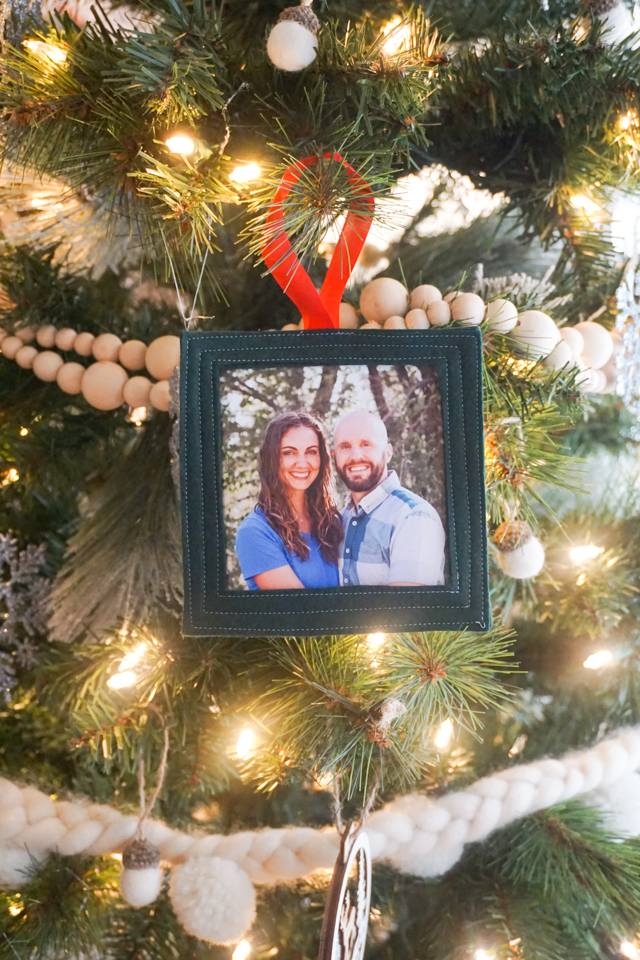
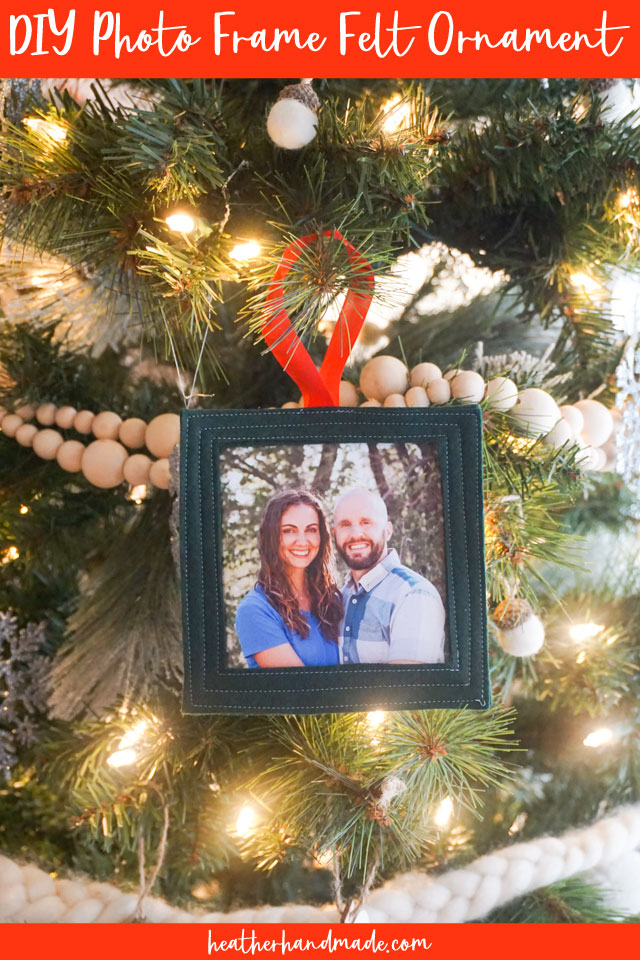
It’s extra special because I made an ornament with a photo of my husband and I, which I’ve never done before, and I just love it. We collect ornaments from every trip we take, and now we can add one with our photo.
What is a PDF sewing pattern?
A PDF pattern is a sewing pattern designed on the computer and organized so that it can be printed on several letter or A4 size pieces of paper.
I love using PDF sewing patterns because if the pattern gets ruined or if my children or I changed sizes, I can always print it again. It’ll never be destroyed since I have a digital version!
How do you use a PDF sewing pattern?
Open the PDF on a computer and click print. When printing make sure that the scaling is set to 100% or no scaling so that the pattern prints at the correct size. Learn how to use PDF sewing patterns.

Do you love to sew? Try one of these fun sewing projects:
- Christmas sewing projects
- DIY Christmas pillow ideas
- DIY stockings and free patterns
- DIY Ornaments to Sew and Make
- Free Christmas sewing patterns
- Felt sewing projects
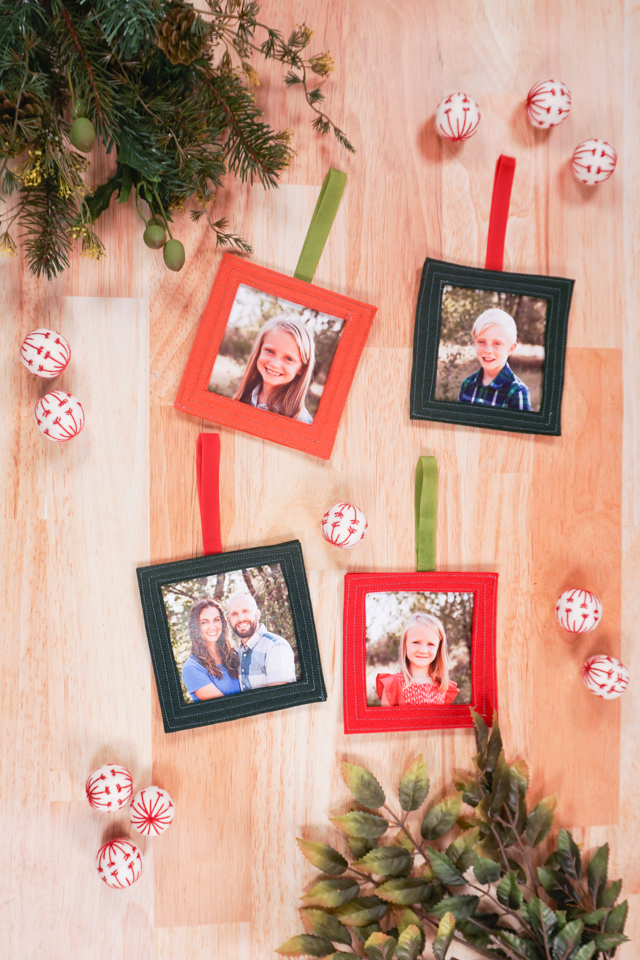
DIY Photo Frame Felt Ornament
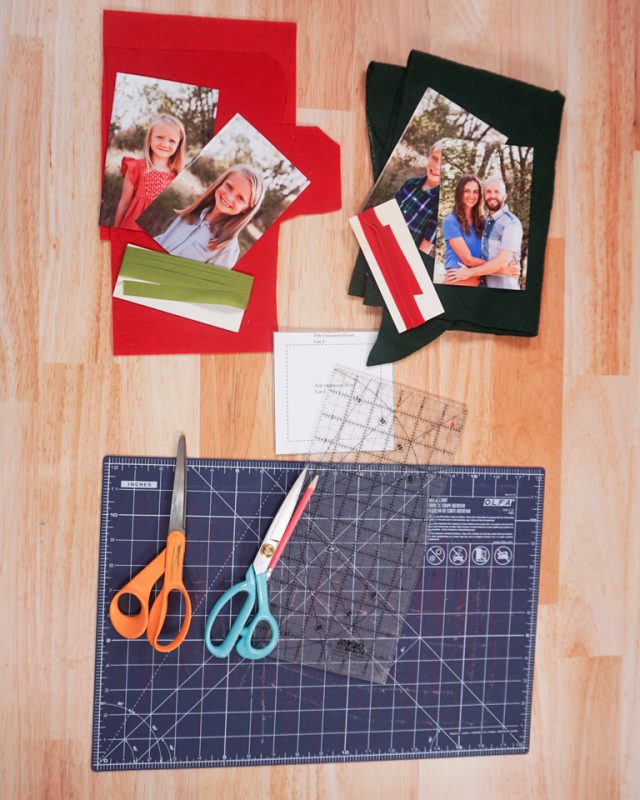
Supplies
- Free felt photo frame ornament pattern – get it at the end of the post
- Scraps of felt
- Scrap of ribbon
- 4×6 photo
- Sewing tools
- Sewing machine
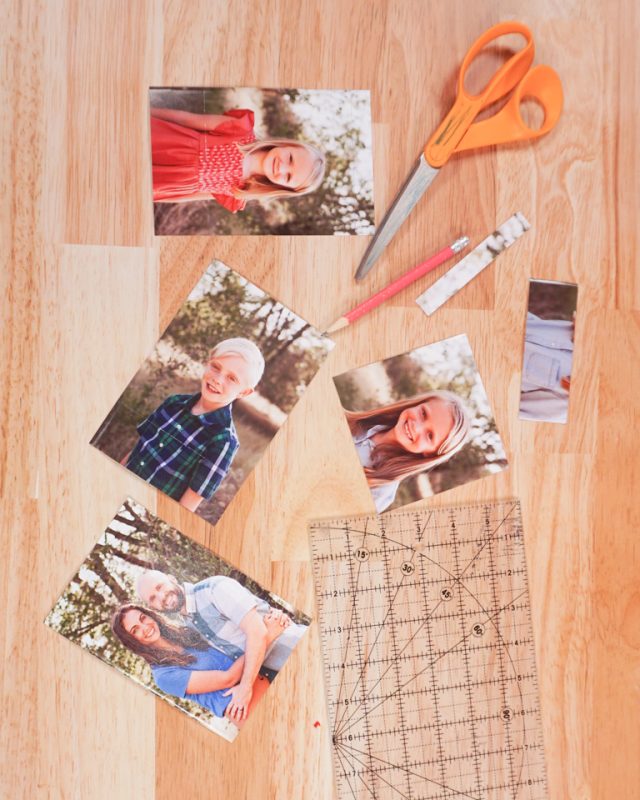
Mark lines on the photos to create a 4 x 4 inch square around the main part of the photo. Cut the photo to a 4 x 4 inch square.
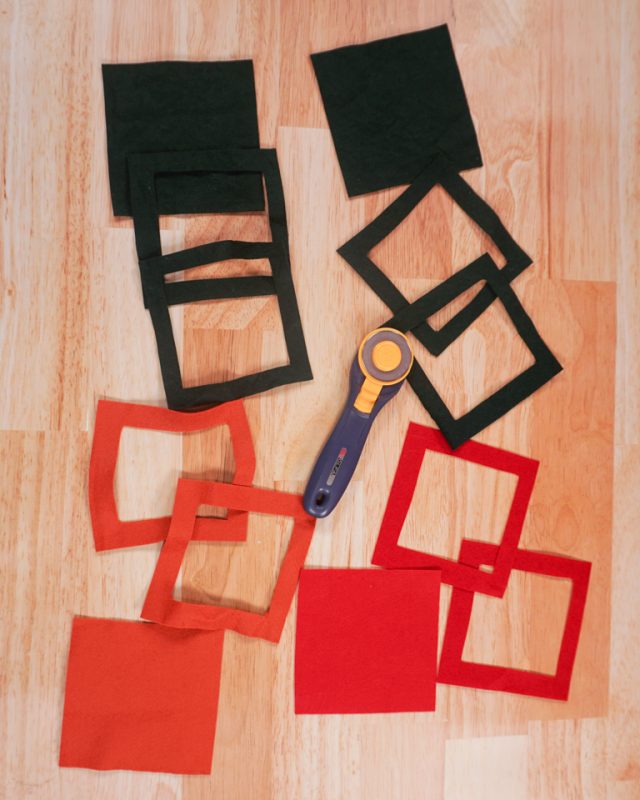
Using the pattern cut two front frame pieces from felt and one large back piece from felt.
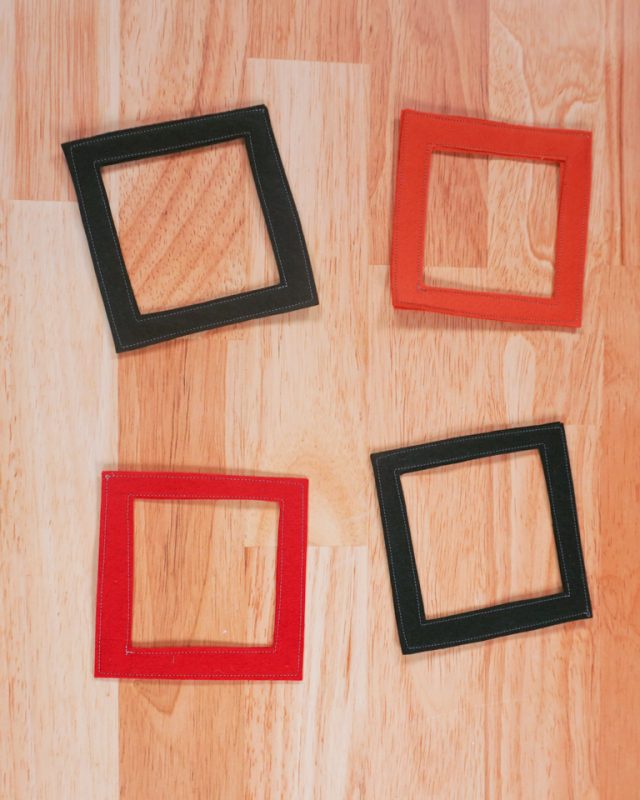
Layer the two front felt pieces on top of each other. Sew around the outer edge and around the inner edge 1/8 inch away.
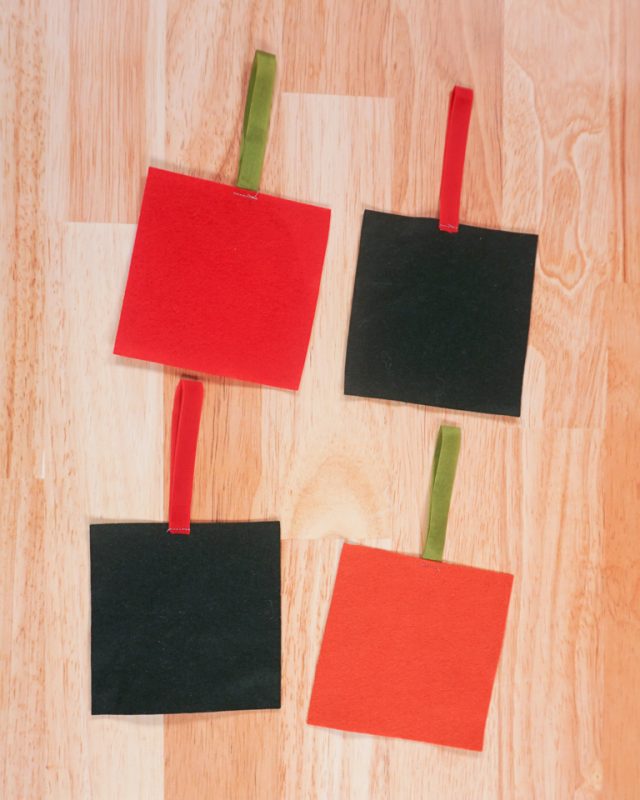
Cut the ribbon to be 8 inches long. Fold it in half and place the short ends 1/2 below the top center of the back felt piece. Sew the ends of the ribbon in place.
Place the back piece down with the ribbon side up. Place the front frame piece on top (so the ends of the ribbon are sandwiched in between the layers). Sew the two layers together with a stitching line that is in between the two previously stitched lines.
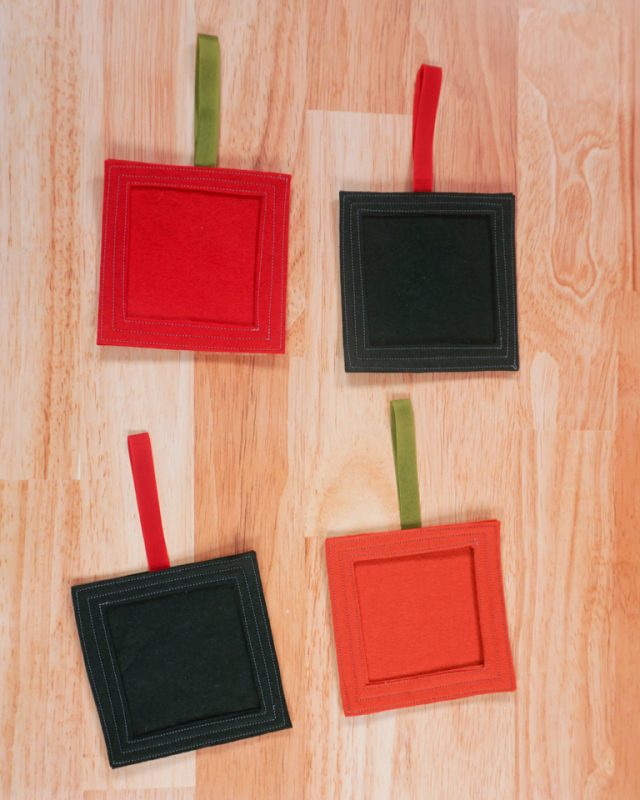
Carefully insert the photo into the little created pocket. You finished!
Get the Free Sewing Pattern here!
If you make something using this sewing project, I’d love to see! Please share it on social media with the hashtag #heatherhandmade and tag me!

I believe small sewing moments can create great joy. Find your own “right” way to sew. -Heather
