
Delightful DIY Halloween Treat Bag for Candy

This post may contain affiliate links.
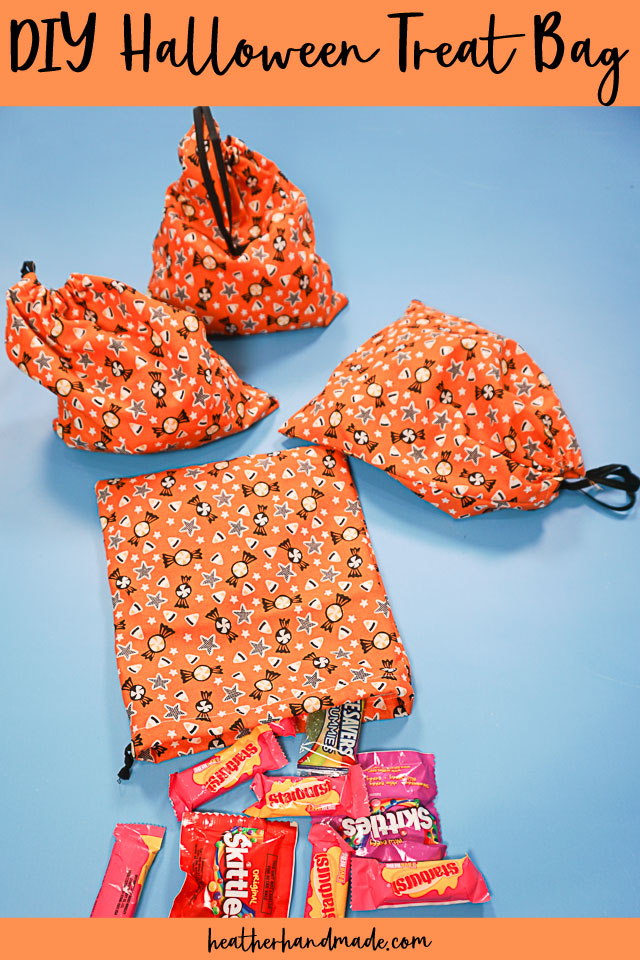
Learn how to make a DIY Halloween treat bag perfect for parties and goodies. This beginner sewing project makes a simple gift with fun Halloween fabric!
Whenever I start to see Halloween decorations and costumes in the stores, I get really excited. I love getting ready for Fall and Halloween. The autumn months are so much more enjoyable as an adult when I’m not in school.
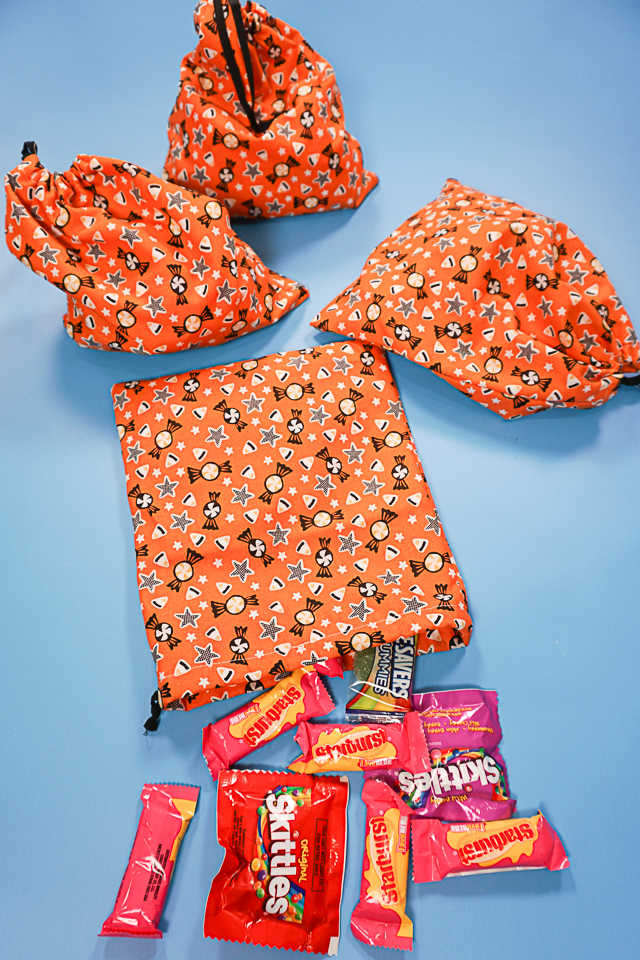
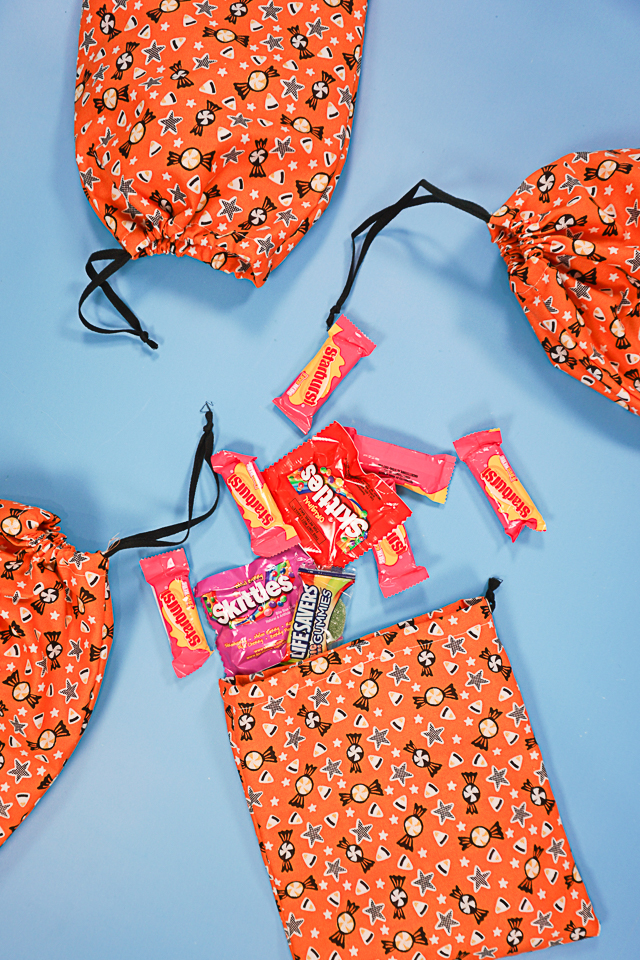
Get ready for all the Halloween parties and get togethers with these DIY Halloween treat bags. They are easy to sew, and so cute when they are filled with candy and little toys. Give one to kids and adults alike!
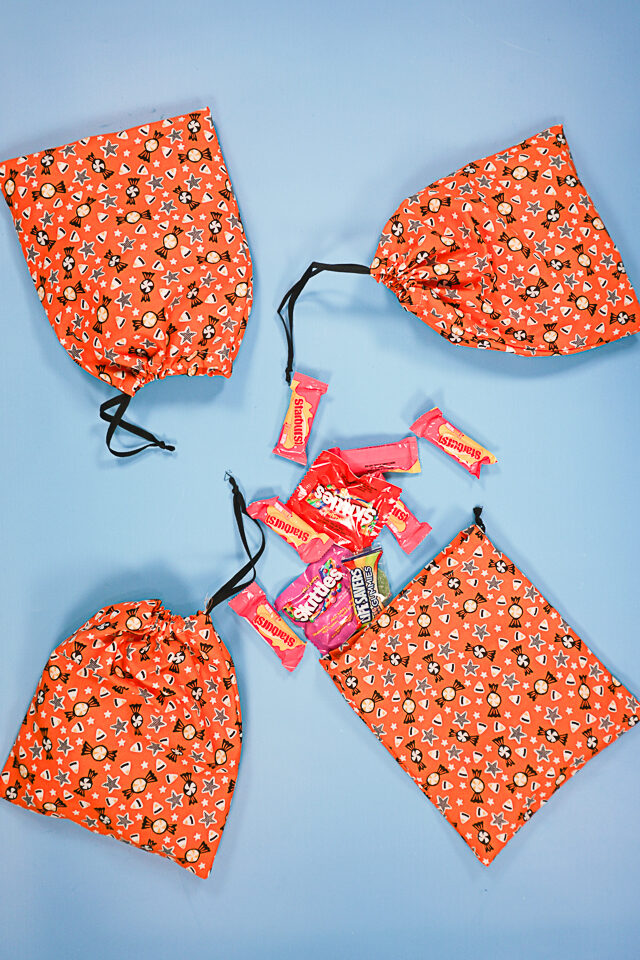
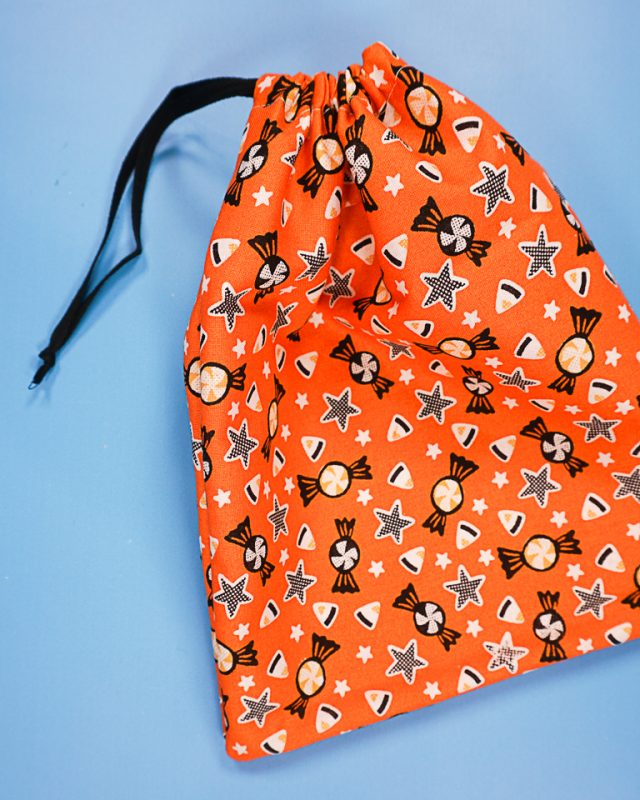
I fell in love with this cute candy fabric that I found at Joann fabrics. It’s just the perfect fabric for DIY Halloween treat bags. Any basic quilting cotton fabric will work perfectly for these simple drawstring bags.
What fabric works for a treat bag?
The best fabric to use for a treat bag is quilting cotton. It’s easy to sew, easy to find, and it’s stable enough for a basic drawstring treat bag. There are so many fun colors and prints you can find.
Do you love to sew? Try one of these fun sewing projects:
- Beginner sewing projects
- Halloween sewing projects
- Fall sewing projects
- Free Halloween sewing patterns
DIY Halloween Treat Bag
Supplies
- 1/2 yard of Halloween fabric for 4 treat bags
- 2 yards of ribbon, drawstring, or twill tape
- Sewing tools
- Sewing machine
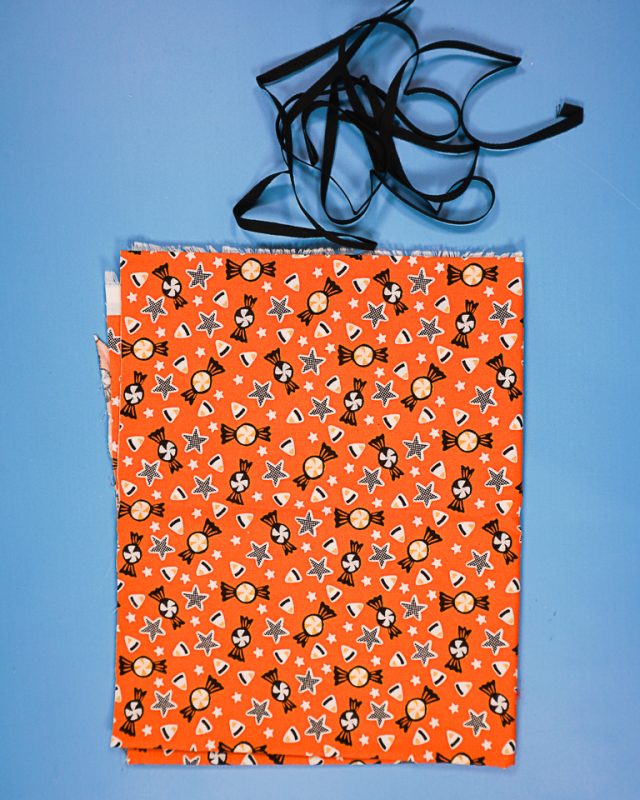
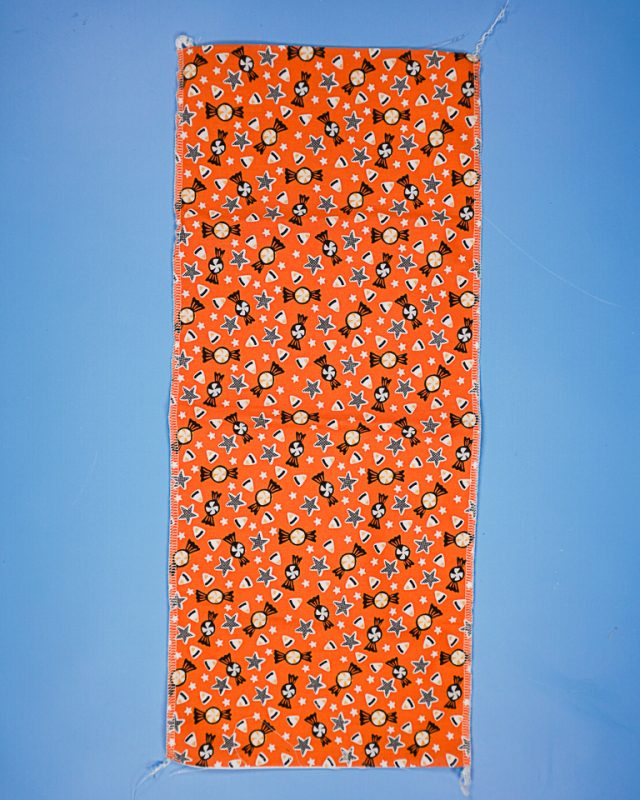
Cut four squares of fabric that are 9 inches wide and 21 inches tall (or 9 inches tall and 21 inches wide). Go with the directional print of the fabric.

Finish the two long sides of a rectangle with either a serger or a zigzag stitch.
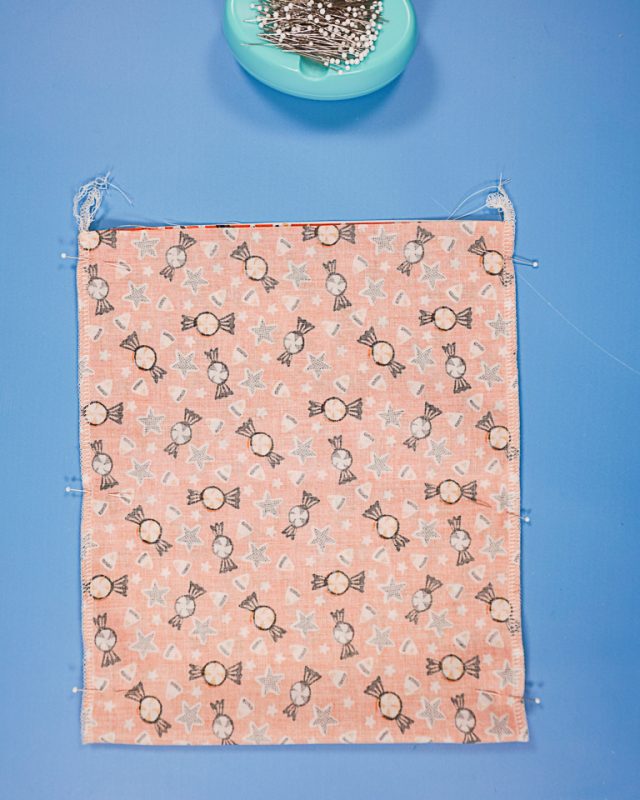
Fold the long edges in half to match up right sides together. Pin the edges together.
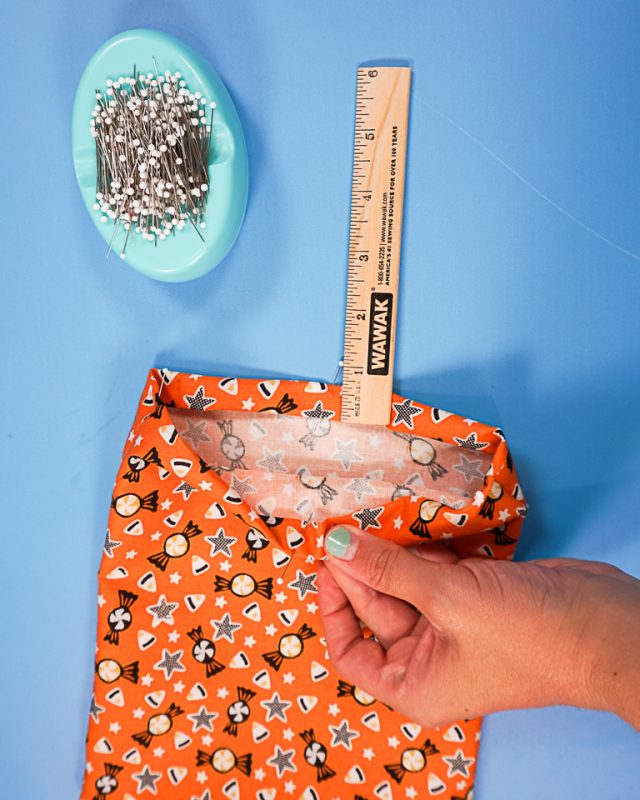
Mark a line 1.25 inch down from the top. Mark another line 1.75 inch down from the top. Do the same to the other side.
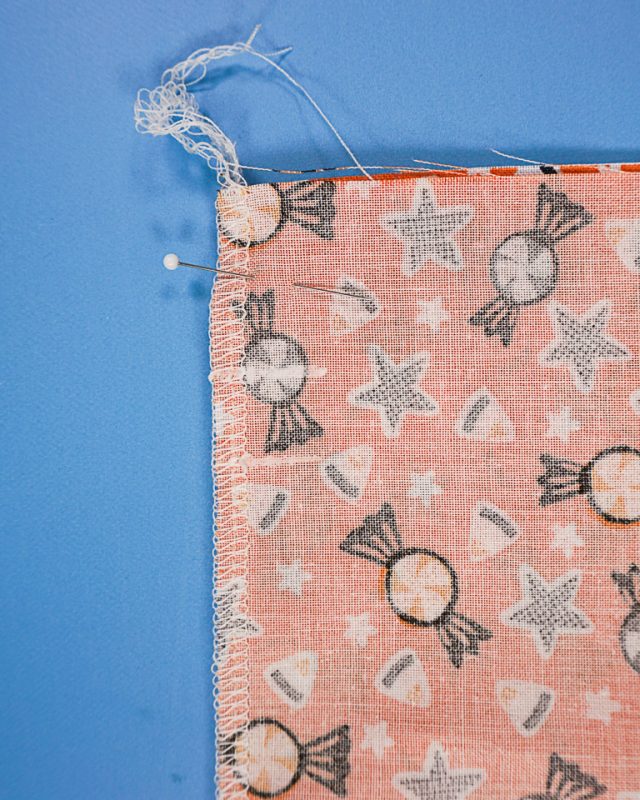
Sew the sides with a 1/2 inch seam allowance but do not sew between the marks. Sew to a mark, backstitch, skip to the other mark, backstitch, and then finish sewing the seam. Do the same to the other side.
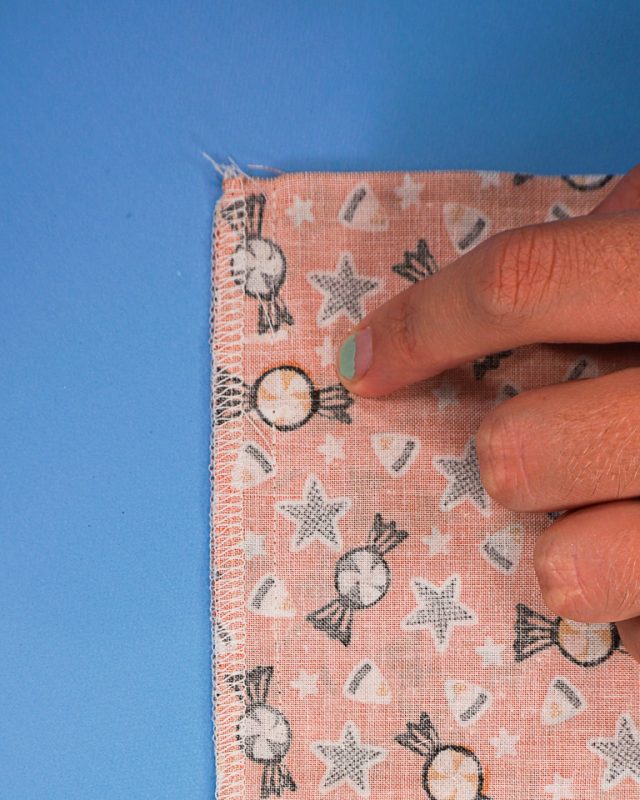
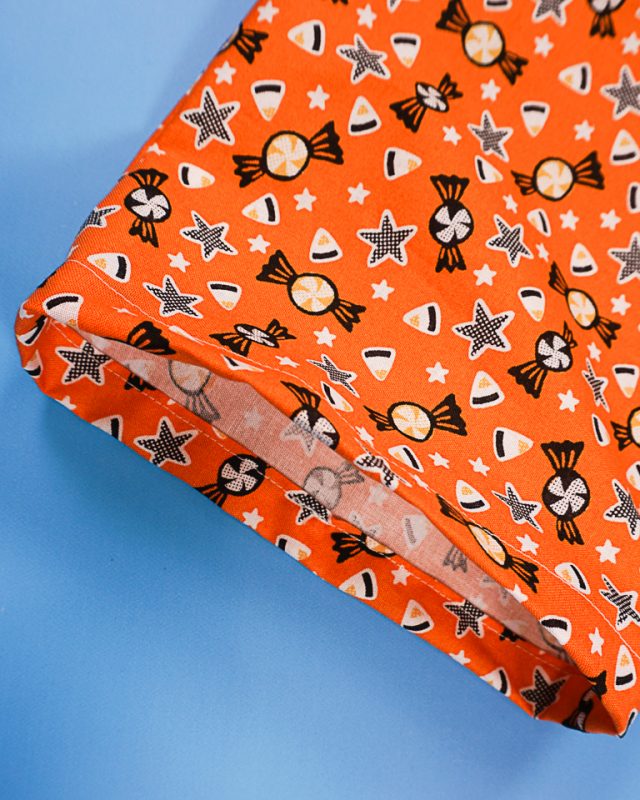
Fold the top down 1/2 inch and press. Fold it down another 1/2 inch and press again.
Sew around 3/8 inch from the top to secure the casing in place.
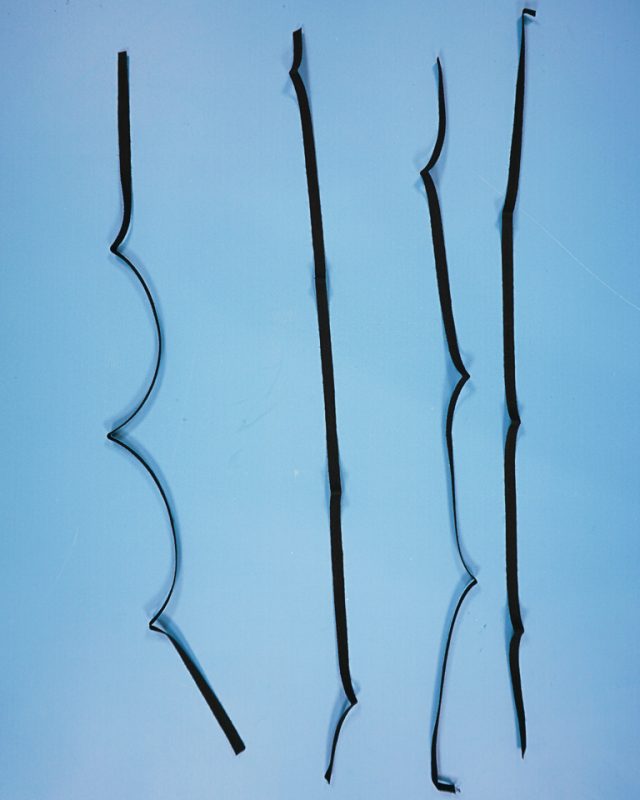
Cut whatever you will be using for the drawstring about 18 inches long.
Use a safety pin to thread the drawstring through the casing from one of the holes on the sides.

Tie the drawstring ends into a knot.
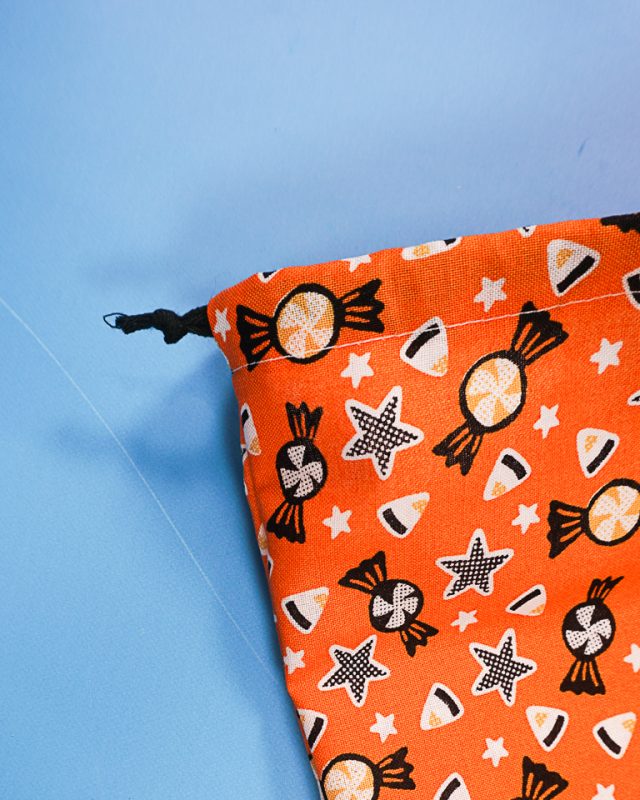
Pull the drawstring tight to close the Halloween treat bag.
Make the other 3 treat bags. You finished!

If you make something using this pattern, I’d love to see! Please share it on social media with the hashtag #heatherhandmade and tag me!

I believe small sewing moments can create great joy. Find your own “right” way to sew. -Heather