
DIY Floor Foot Mop for Cleaning Quick Spills

This post may contain affiliate links.
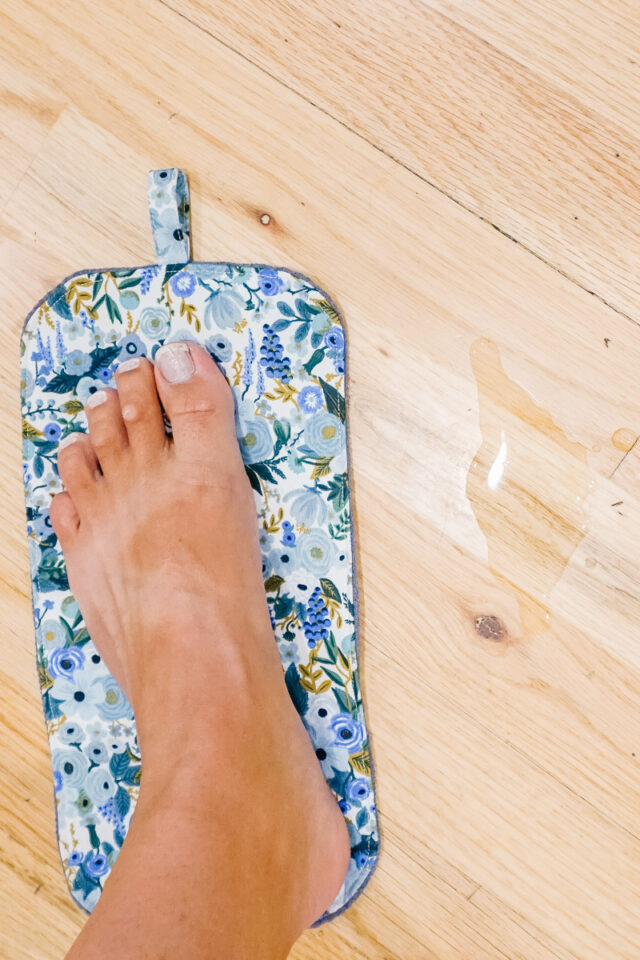
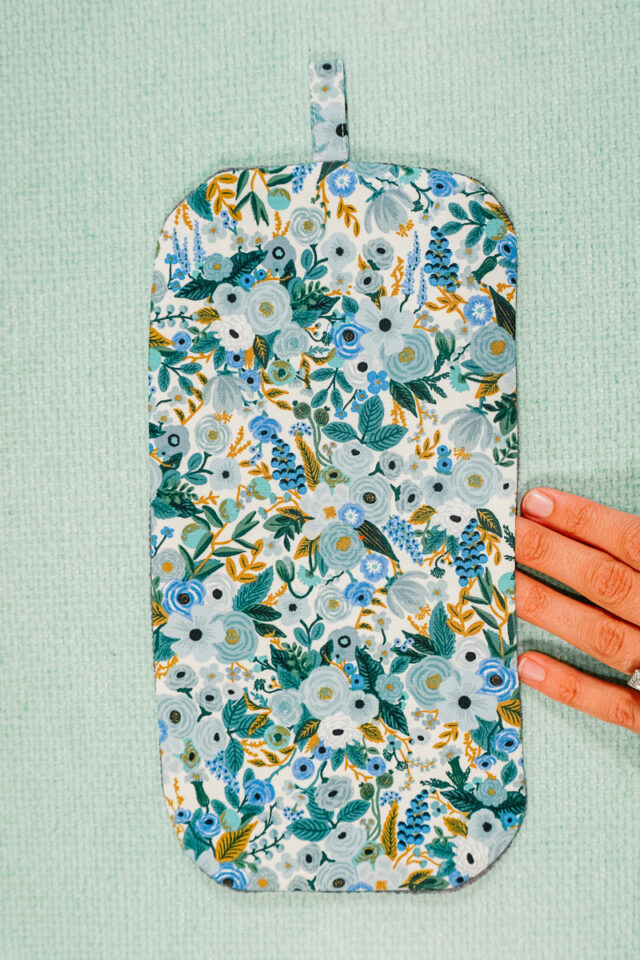
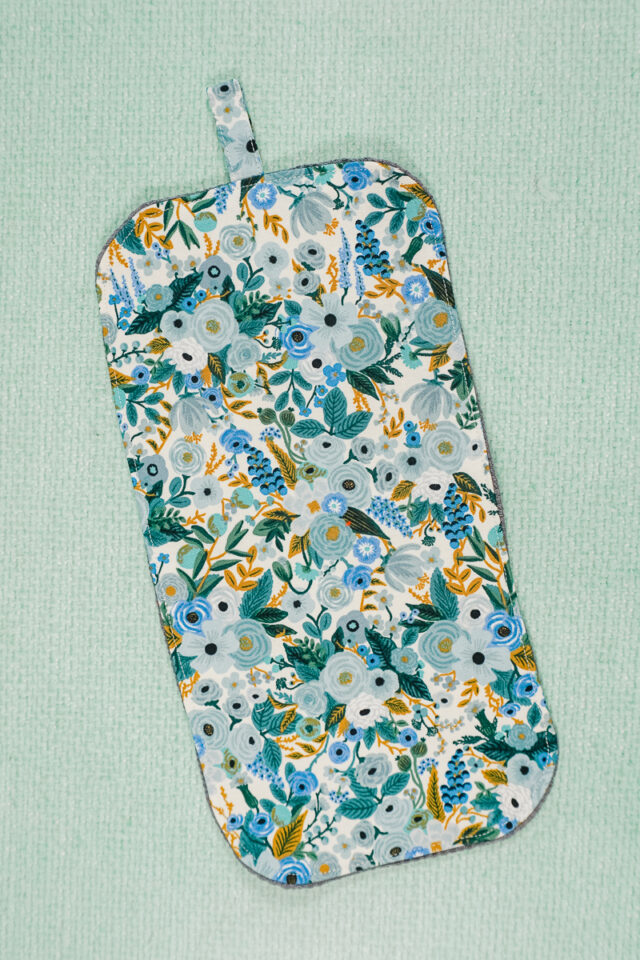
Learn how to make a floor foot mop with a free sewing pattern. This kitchen sewing project helps to clean quick spills while you’re cooking or baking.
Do you ever spill just a little bit? Or your kids drip a little as they walk with food? You could use a hand towel or a paper towel to clean it up, or you could have a dedicated floor foot mop for those little spills.
I’ve seen a “turtle mop” and I loved the idea, but I wanted to make it simpler and easier to sew. This is a floor foot mop that hangs in a cabinet until you have a little spill, and then you can drop it on the floor and wipe up the mess with your foot. Learn how to make one to make cleaning spills quick and easy!
To get the free sewing pattern, scroll to the end of the tutorial. Put your email address in the form under “Get the Free Sewing Pattern Here.” Once you confirm that you want to receive emails from Heather Handmade, the free pattern will be sent to your email address. Check your spam and promotions for the email.
What is a floor foot mop?
A floor foot mop is a small finished towel that hangs in a cabinet. Anytime there is a little spill or mess, you drop it on the floor and use your foot to wipe it up. One side is cotton fabric and one side is a cotton towel to make it very absorbent. It’s washable so you can use it over and over again.

What fabric should I use to make a floor foot mop?
You want to make the floor foot mop really absorbent and durable. The best options are quilting cotton with added interfacing and an old towel.
Quilting cotton is durable and washable, and it’s easy to sew. An old towel is absorbent while also being durable and washable. These two fabrics are a great combination for a floor foot mop.

Love to sew? Try one of these fun sewing projects:
- Beginner sewing projects
- Kitchen sewing projects
- Easy gifts to sew
- Sewing projects for old towels
- Sewing projects to sell
- Eco friendly sewing projects

How to Make a DIY Floor Foot Mop
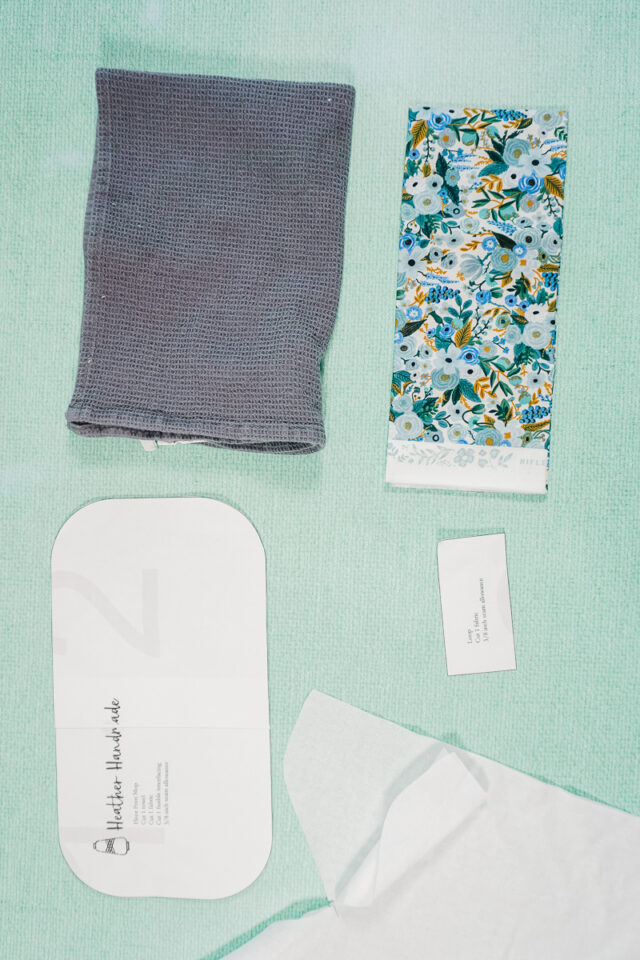
Supplies
- Old towel that can be cut up
- Quilting cotton
- Fusible interfacing
- Sewing tools
- Sewing machine
Do you just want the pattern and tutorial as a PDF? Get the pattern and tutorial for just $5. You won’t need to access the internet every time you want to make it. Or get the Pattern Bundle with ALL the PDF tutorials!
Instructions
Cut out a rectangle of fabric that is 12 inches wide and 6.5 inches tall. Cut out a rectangle that is 4 inches wide and 2 inches tall. (The curved corners are optional.)
Cut out a rectangle of fusible interfacing that is 12 inches wide and 6.5 inches tall.
Cut out a rectangle from a towel that is 12 inches wide and 6.5 inches tall.

Use an iron to apply the interfacing to the wrong side of the fabric.

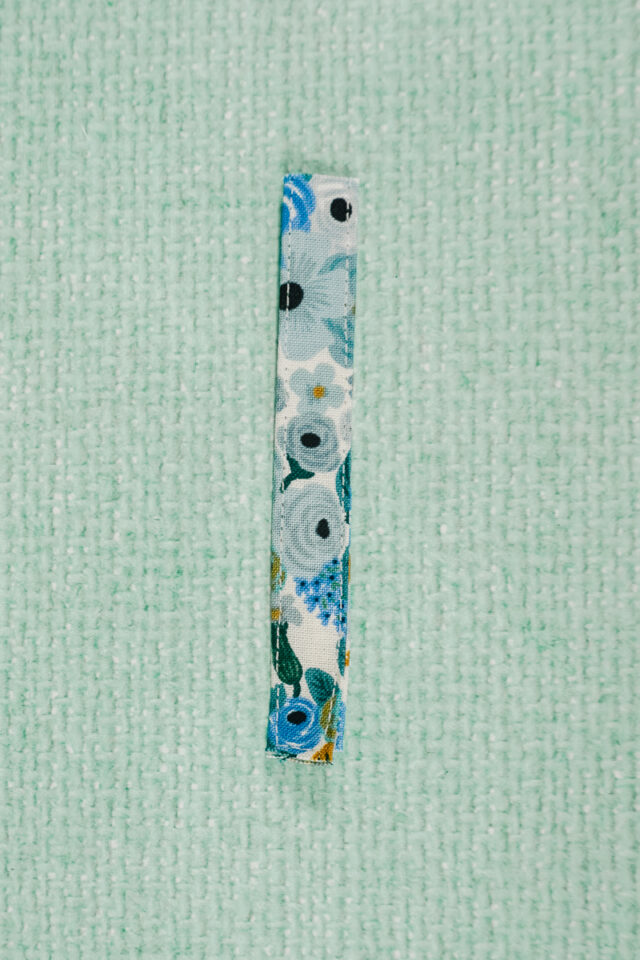
Take the small rectangle. Press it with wrong sides together matching up the long sides. Press. Fold each long edge into the middle fold with wrong sides together and press. Fold all three folds with the long raw edges enclosed inside. Press.

With all the folds folded, sew along each long side of the loop to secure.
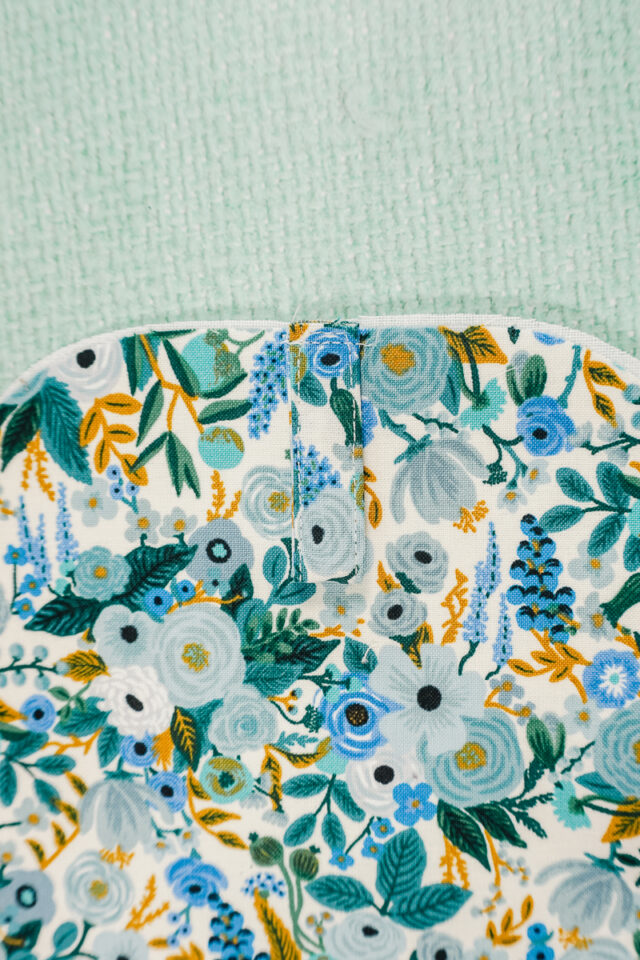
Fold the loop in half matching the short edges. Line up the short edges with the center of one short end of the large rectangle. Baste the loop in place.
Pin the fabric and the towel right sides together matching up all the corners.
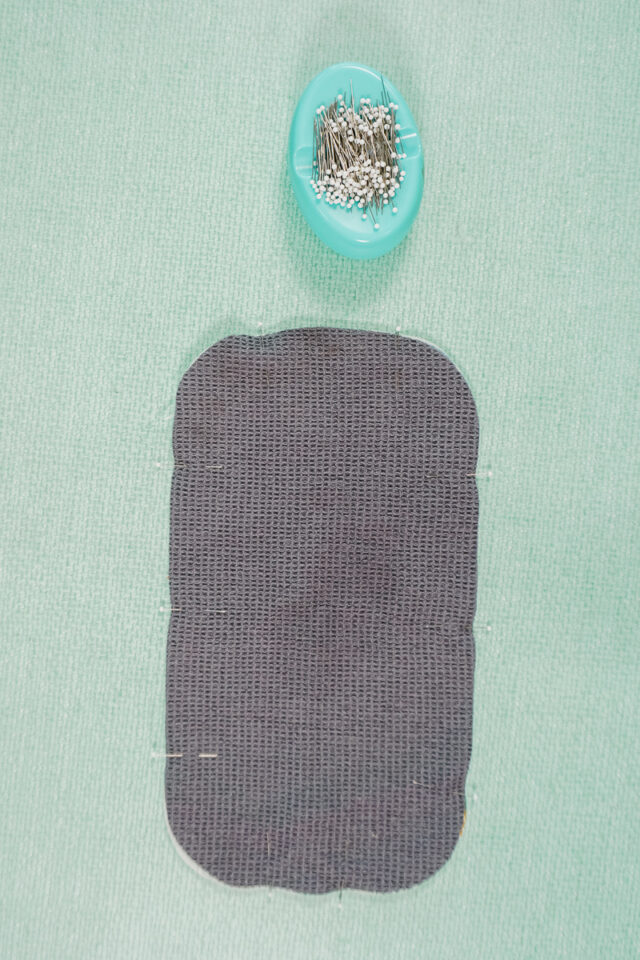
When you sew have the towel on the bottom with the feed dogs since towel fabric stretches so easily. The feed dogs will help keep the towel fabric from stretching out.
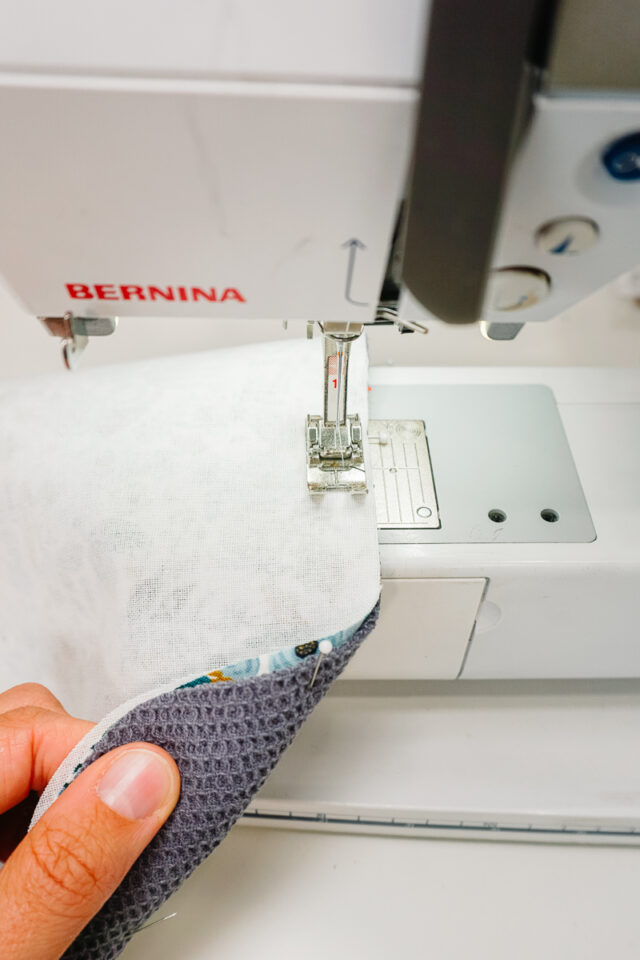
Sew around the edge with a 3/8 inch seam allowance. Leave a 2.5 inch hole for turning. Backstitch when you start and when you stop.
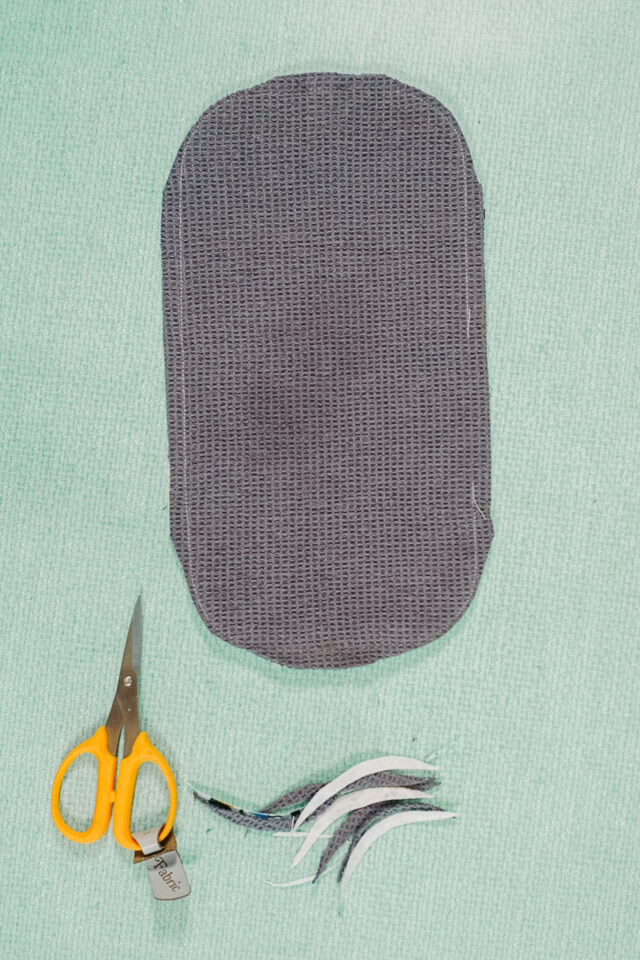
Trim the corners to reduce the bulk.
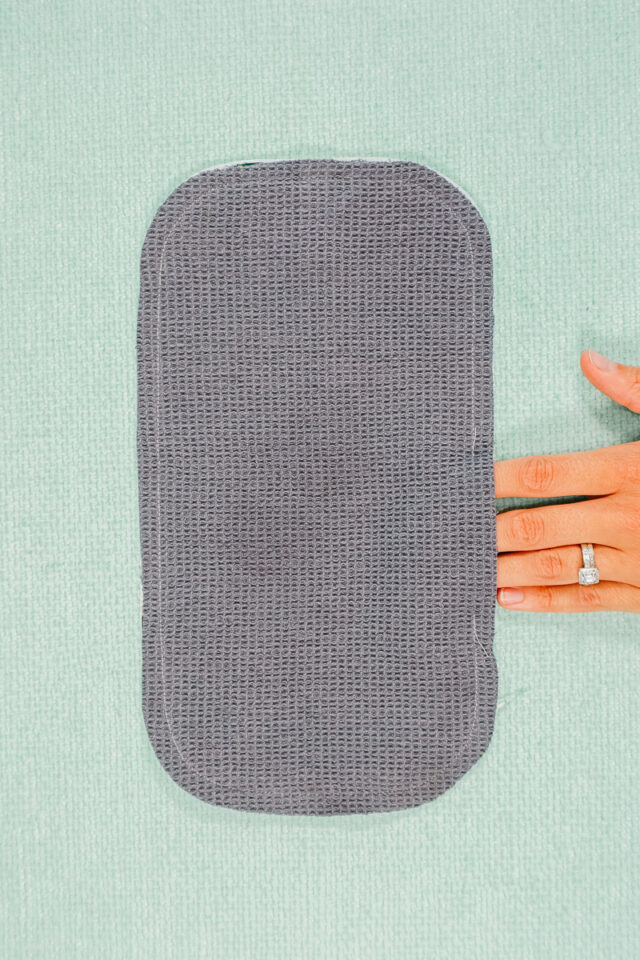
Turn the floor foot mop right side out through the hole.

Roll the edges and press the floor foot mop to make the edges nice and crisp. Make sure the seam allowances are tucked into the hole when you press to create the way the seam will be when it’s done.
Edgestitch around the edges to make them stronger and to close the hole.
You finished! Hang it up so that it’s ready to wipe the floor when you need it!

If you make something using this sewing project, I’d love to see! Please share it on social media with the hashtag #heatherhandmade and tag me!


I believe small sewing moments can create great joy. Find your own “right” way to sew. -Heather
This is a great idea as you dont always want to use a large mop and wet the whole floor. Will make a couple of these so one in the wash and one spare
That’s a great idea!
Loved the idea! I quickly made the pattern and sewed 3 pieces in under 2 hours. I’m curious how handy we’ll find it 😉
awesome!
Great idea! I am definitely making a few!!!
thank you!
So cool. I do often drop a dish towel to mop up those little spills and run to throw into laundry basket. Feeling guilty that a clean towel I just put out must be washed again so quickly. Now I can make these and hang in cupboard and use guilt free. So quick and easy. Thanks
You’re welcome!