
DIY Fleece Blanket: 6 Different Ways

This post may contain affiliate links.
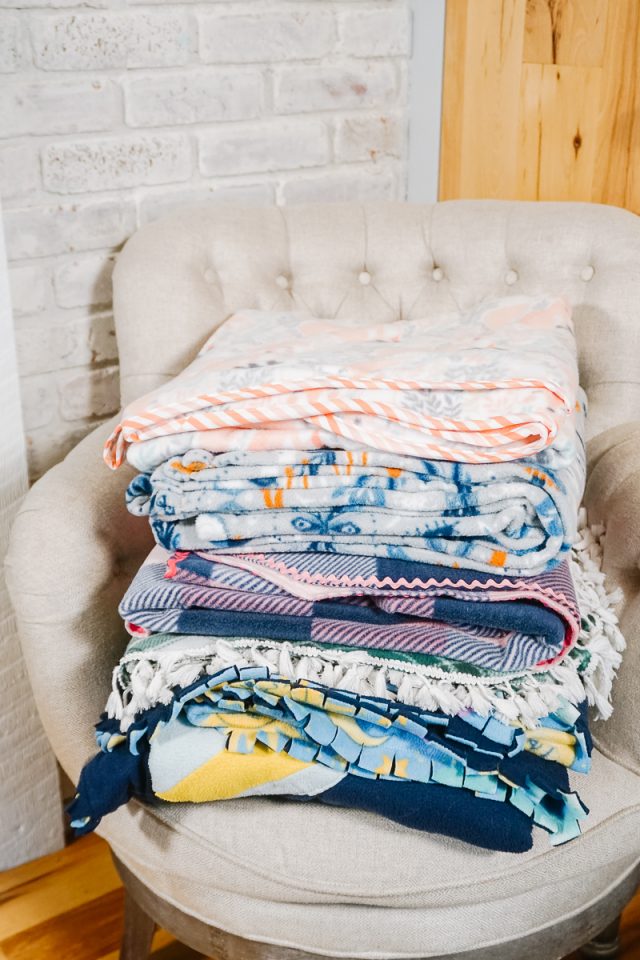
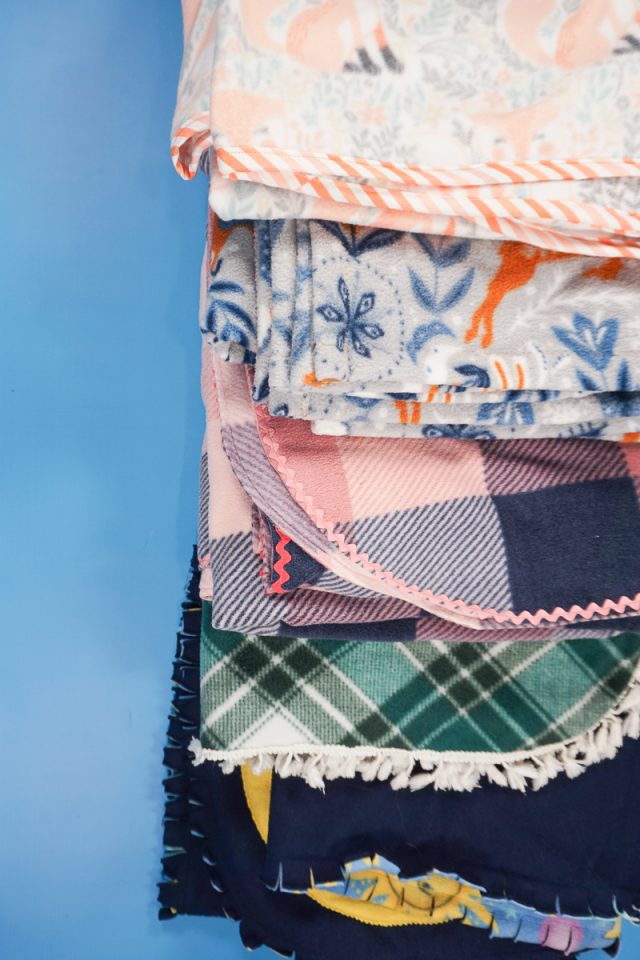
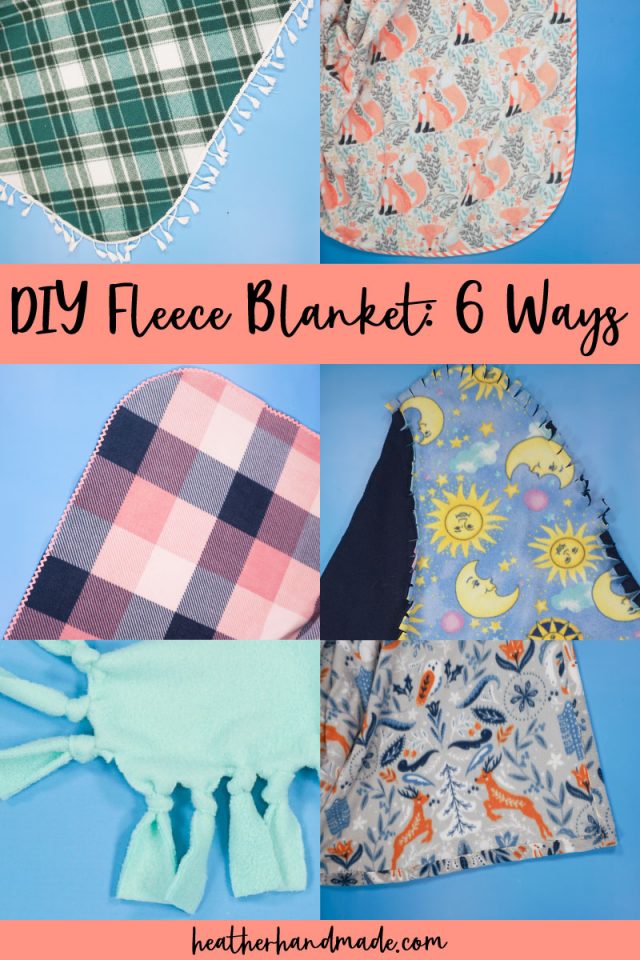
Learn how to make a DIY fleece blanket six different ways. Each version is a finish for the sides and is either a sew or no-sew tutorial.
One of my favorite things in the winter is to curl up with a warm blanket and a good book or a movie. All of my kids have picked up my habit, so we need a lot of blankets in our house.
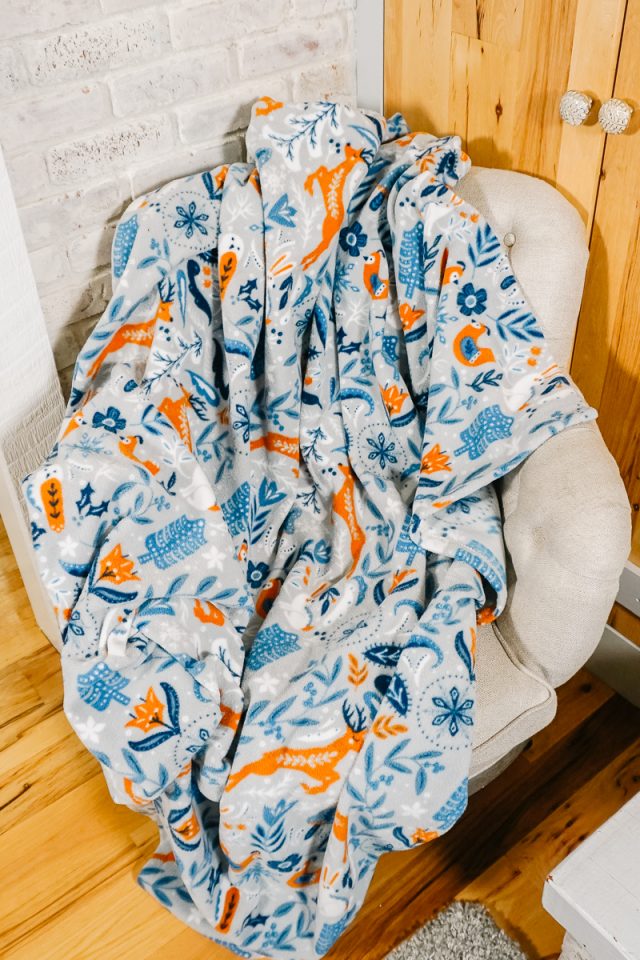
Fleece blankets are the best combination of being warm and being easy to take care of. I love perusing the fleece fabric at the store because there are so many cute options. I made some DIY fleece blankets so that I could teach you how to finish the edges six different ways. Which one is your favorite?
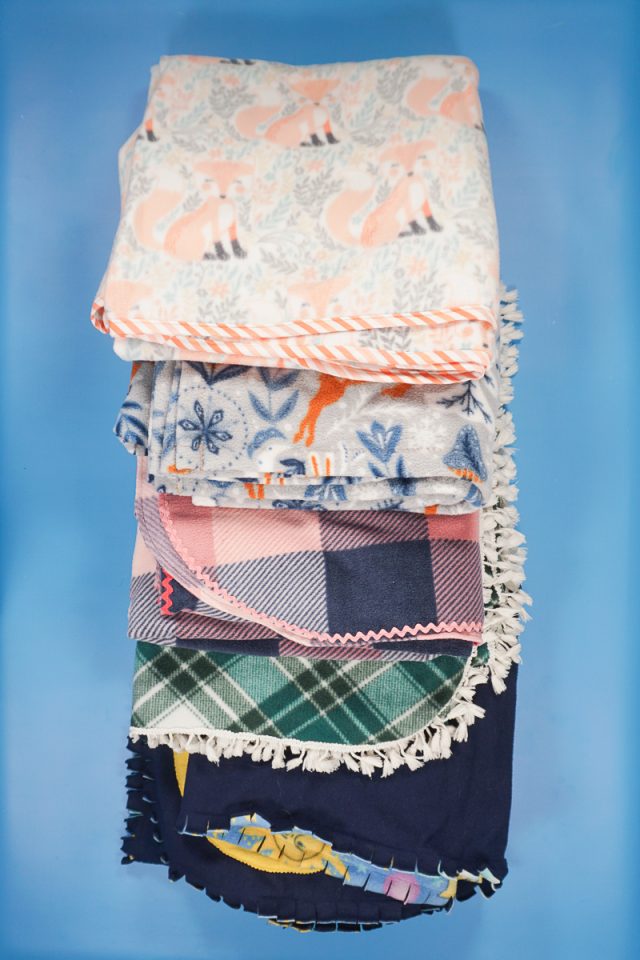
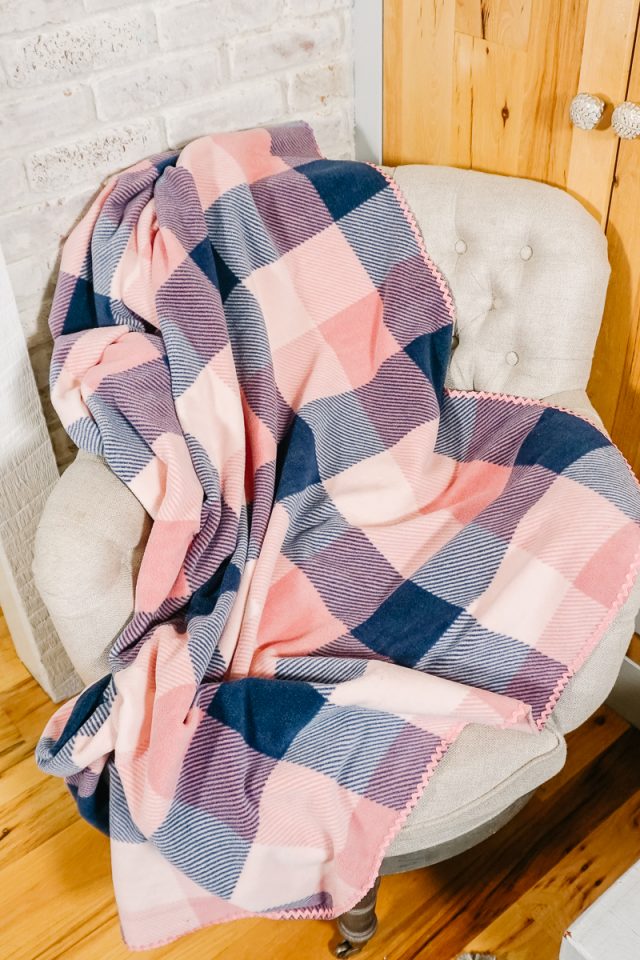
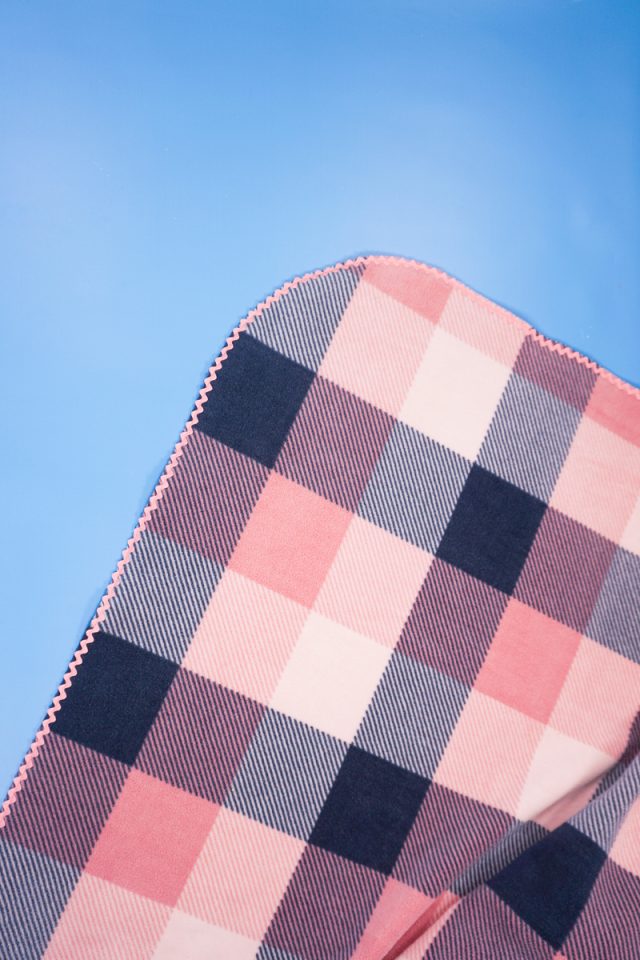
This pink and navy plaid one is my very favorite fleece blanket I made. I love the colors and the cute rick rack trim all the way around. It’s a very fuzzy and very plush fleece blanket.
What is polar fleece fabric?
Polar fleece fabric is a type of stable knit fabric that has a two sided fluffy pile. It stretches along the crossgrain, but not along the grainline. Polar fleece is durable, insulating, soft, easy to wash, and it is made from polyester fiber.
It’s used in jackets, hats, pants, hoodies, and blankets, and the fibers can even be made partly from recycled plastic bottles. It comes in every print and color imaginable.
What else do I need for a DIY fleece blanket?
If you are doing a version with trim, you will need 7.5 yards of whichever trim you choose. You’ll also need pins or clips and a sewing machine.
If you are doing a finish without trim, you’ll need fabric scissors, a sewing machine, and pins or clips.
For the no sew version you’ll only need fabric scissors (or a rotary cutter and cutting mat) and a ruler.
Do you love to sew? Try one of these sewing projects:
- Fleece sewing projects
- Home sewing projects
- Cozy sewing projects
- Beginner sewing projects
- 30 min sewing projects
- Blanket sewing projects
DIY Fleece Blanket: 6 Different Ways
Supplies
- 2 or 2.5 yards of polar fleece fabric – my favorite place to buy fleece is Joann Fabrics* so that I can touch the fabrics and feel how soft they are
- Optional: 7.5 yards of trim
- Sewing tools
- Sewing machine
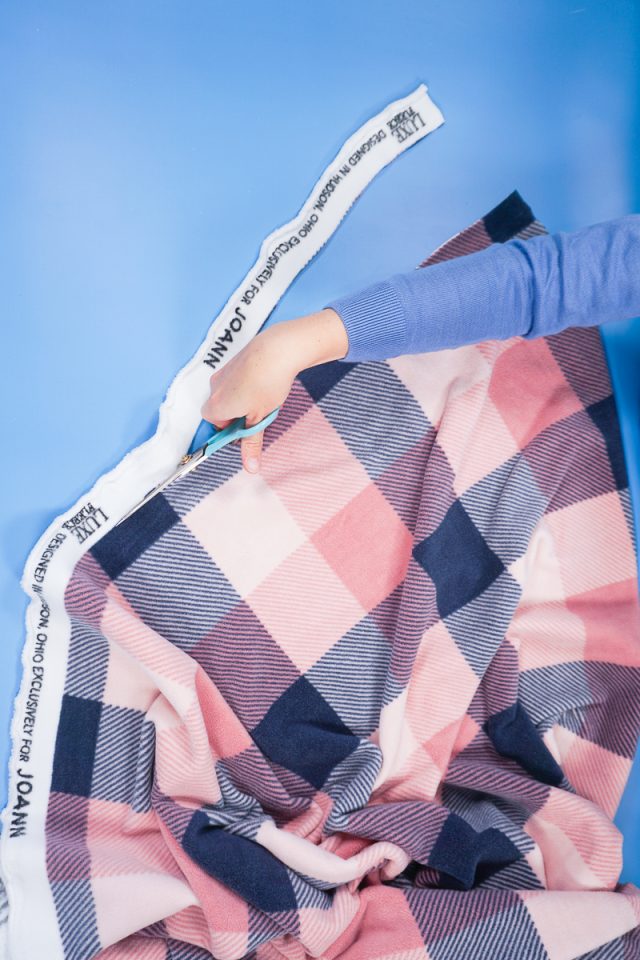
The first thing to do when working with fleece fabric is to cut off both of the selvedges. One side with be white and the other side will be printed, but it curls and feels different than the rest of the fabric.
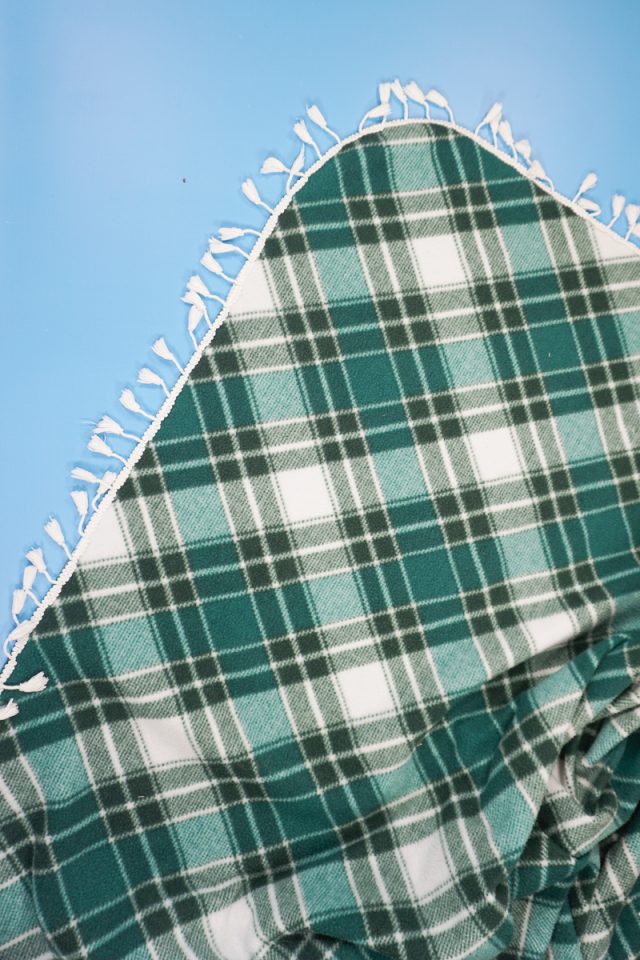
DIY Fleece Blanket with Rick Rack
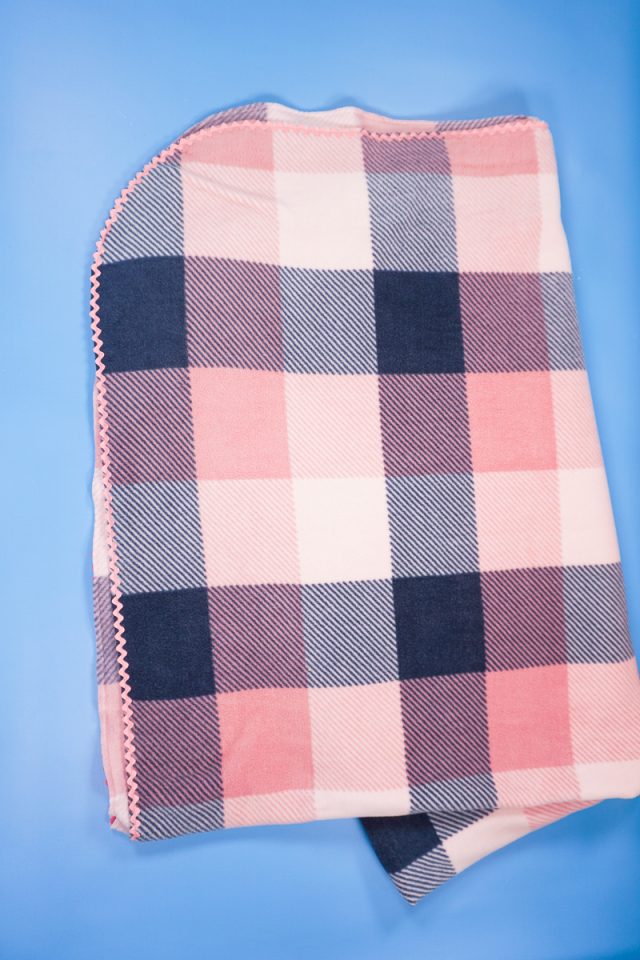
To make sewing on the rick rack easier, cut each corner into a large curve using a dinner plate as a guide.
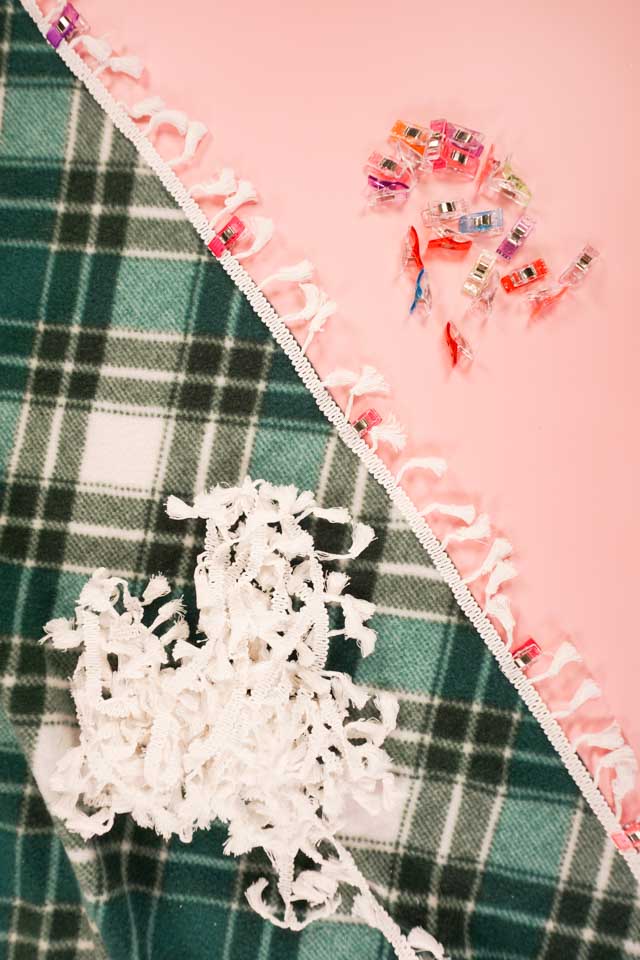
Clip the rick rack onto the edge all the way around.
Sew the rick rack onto the edge by sewing a straight stitch down the middle of the rick rick about 1/8 inch to 1/4 inch away from the fleece fabric edge. Curve the rick rack around the corners and don’t pull on it as you sew. You finished!
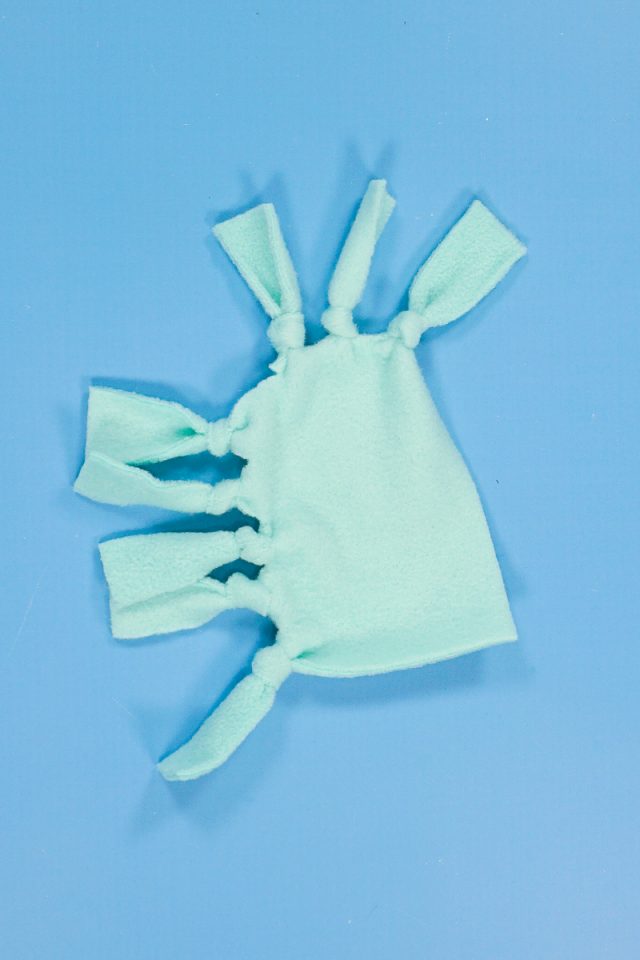
DIY Fleece Blanket with Tassels or Pompoms
I’ve made a full tutorial for this fleece blanket with tassels if you want a more in depth version.

To make sewing on the trim easier, cut each corner into a large curve using a dinner plate as a guide.
Clip the trim onto the edge all the way around.
Sew the trim onto the edge by sewing a zigzag stitch down the middle of the trim edge about 1/8 inch to 1/4 inch away from the fleece fabric edge. Curve the trim around the corners and don’t pull on it as you sew. You finished!
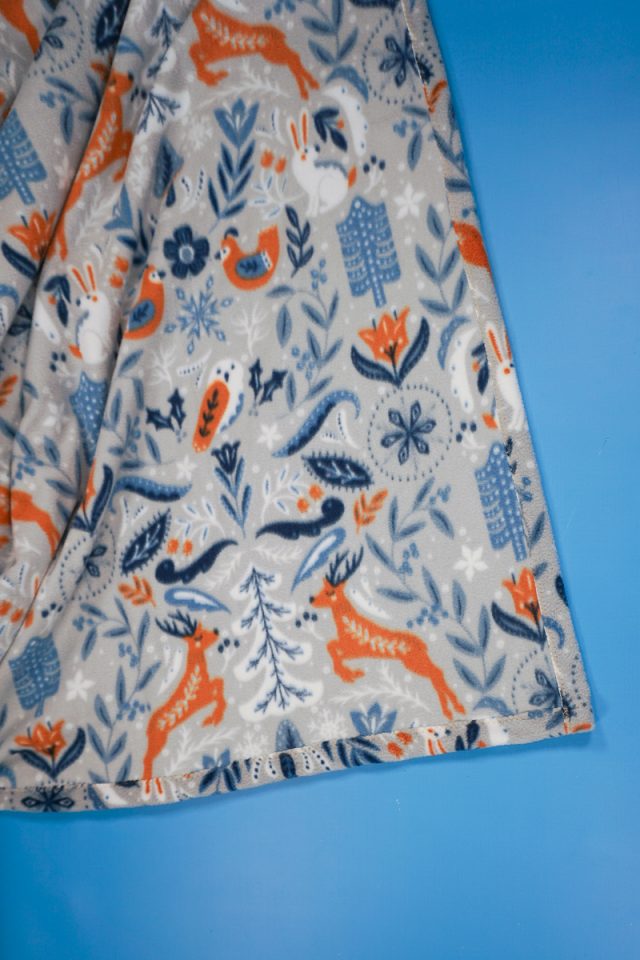
DIY Fleece Blanket with Hem
Make sure all the corners are a 90 degree angle and all sides are straight edges.
Fold the two short sides down 1 inch and pin in place. Cut 1 inch by 1 inch corner off of each corner. Fold the two long sides down 1 inch and pin in place.
Sew the hem in place by sewing a large zigzag stitch along the cut edge of the hem. Sew straight out to the edges when you get to the corners to secure them. You finished!
DIY Fleece Blanket with Rag Quilt Edge
To make the corners easier, cut each corner into a large curve using a dinner plate as a guide. If you are using two layers of fabric do this to the other fabric.
Clip the two layers together matching up all the edges. Sew all the way around the fleece 1 inch from the edge.
Clip into the 1 inch edge every 1 inch to create a rag edge or fringe edge. You finished!
DIY Fleece Blanket with Bias Binding
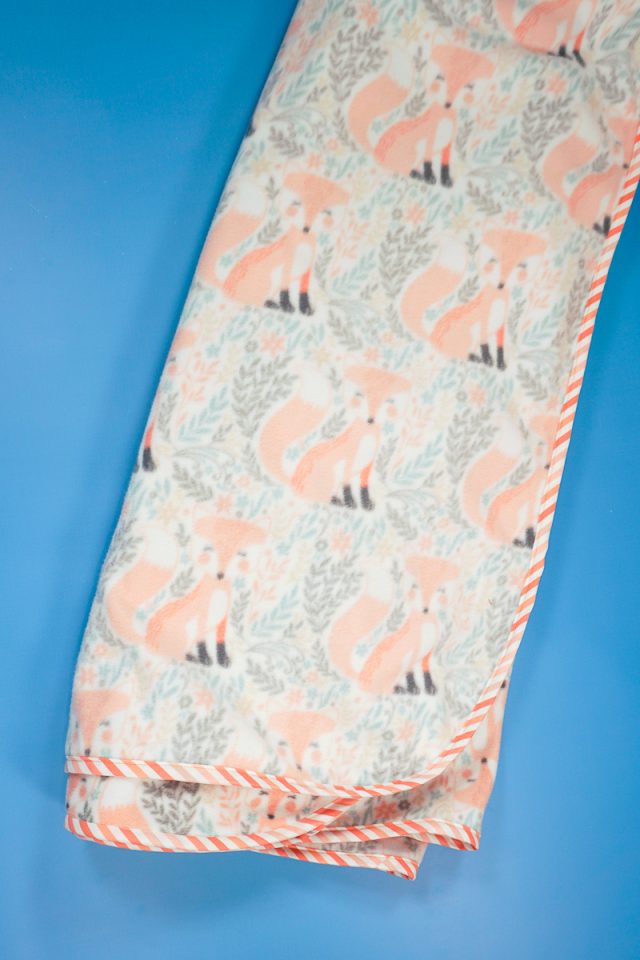
To make the corners easier, cut each corner into a large curve using a dinner plate as a guide.
Clip the bias binding onto the edge and stretch it around the corners. Learn how to make and use bias binding.
Sew the bias binding onto the edge. You finished!

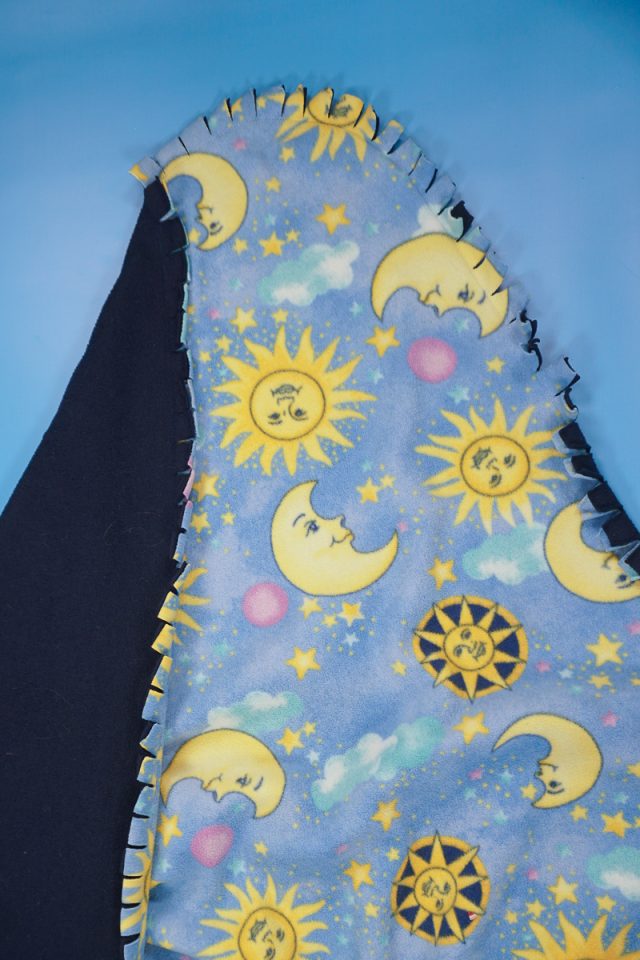
No-Sew DIY Fleece Blanket with Tied Edge
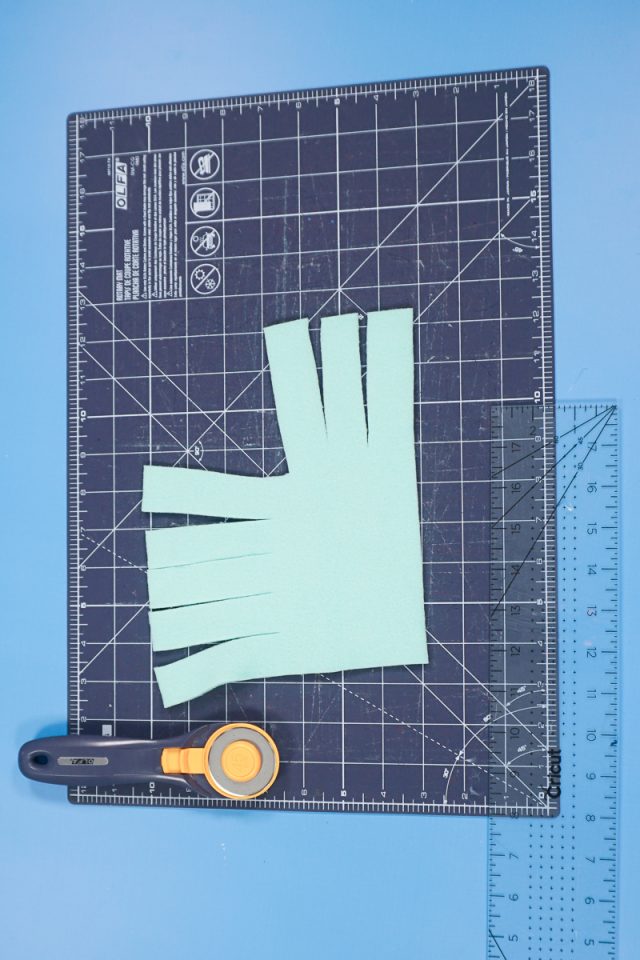
Cut a 4 inch square off of each corner.
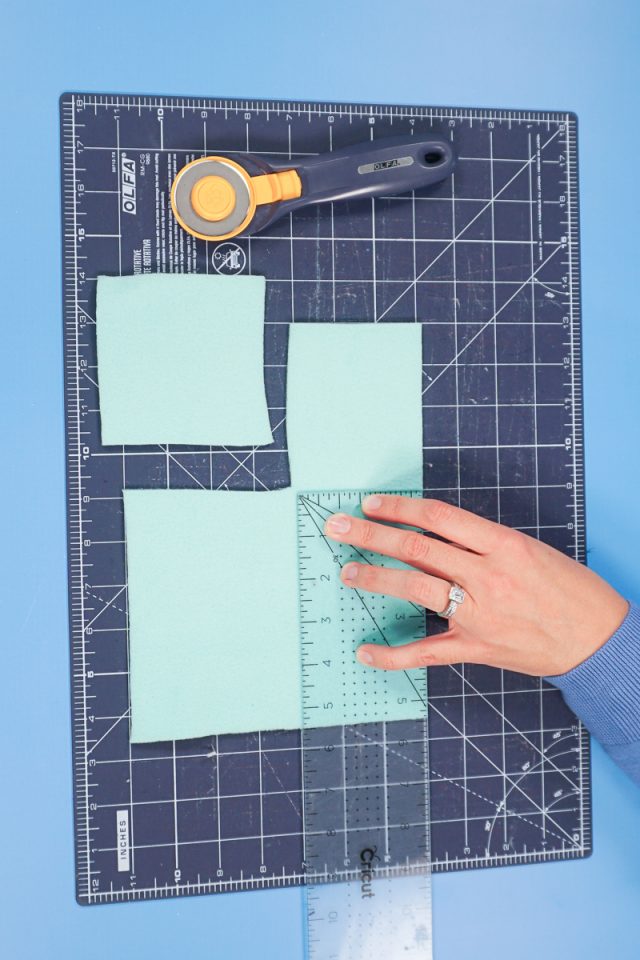
Cut each side into 1 inch wide by 4 inch tall fringe. This can be done with fabric scissors or a rotary blade and cutting mat.
Tie each fringe into a knot. Two sides with have more stretch and will be easier to tie, and the other two sides will have no stretch and will be trickier to tie.
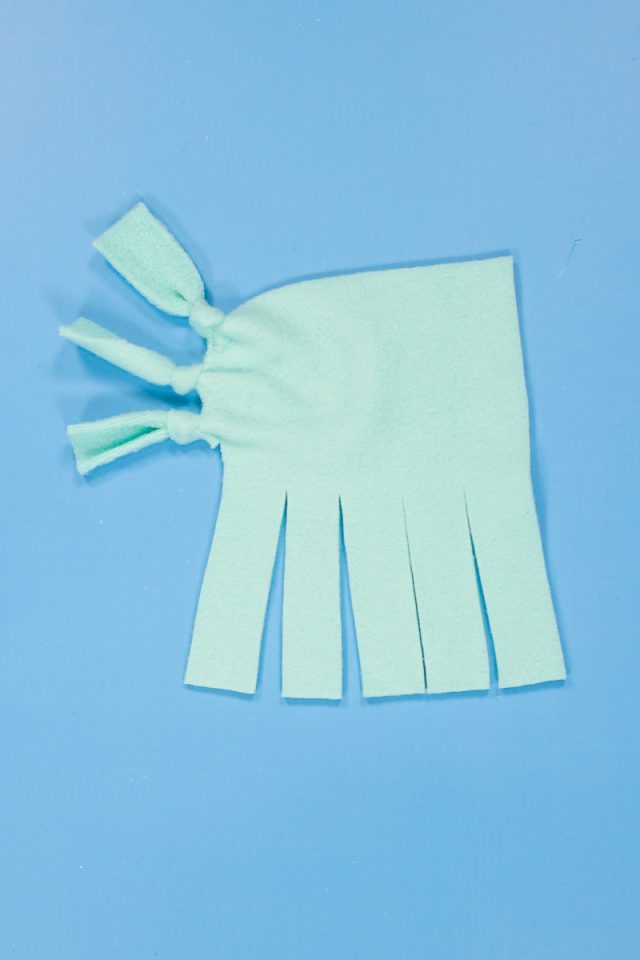
Once all the knots are tied stretch each side slightly to tighten all the knots and loosen the edge. You finished!
If you make something using this sewing project, I’d love to see! Please share it on social media with the hashtag #heatherhandmade and tag me!

I believe small sewing moments can create great joy. Find your own “right” way to sew. -Heather
This is such a fantastic tutorial! No-sew double-sided fleece blankets are a great way to make something cozy and personal without needing sewing skills. I love how you’ve broken down the steps so clearly—especially the tips on keeping the cuts even and the knots uniform for a clean, professional look. Those little details make a difference!
Since I run a fleece blanket business, I’m always curious about fabric choices. Have you found that certain fleece weights or brands tie better and hold their shape longer? Some fleece has more stretch than others, which can impact how well the knots stay secure over time!
I haven’t done a ton of research with fleece fabric. I usually pick the thickest one I can find. I feel like they last longer and hold up better.
Hi Heather