
DIY Felt Leaf Placemats

This post may contain affiliate links.
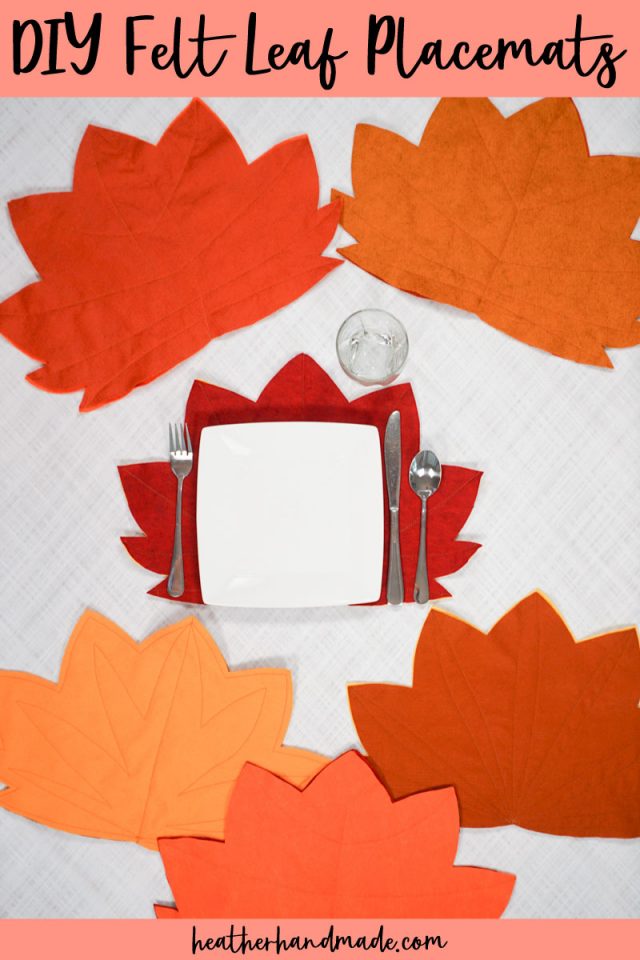
Learn how to make DIY felt leaf placemats with a double layer of felt in the shape of a maple leaf. This fall sewing project is a great table decoration.
The other day when I was walking outside, I got to walk in crunching fall leaves for the first time this Autumn and got so excited about all the changing seasons. Crunching leaves as I walk is such a pure and simple joy, and I love it.
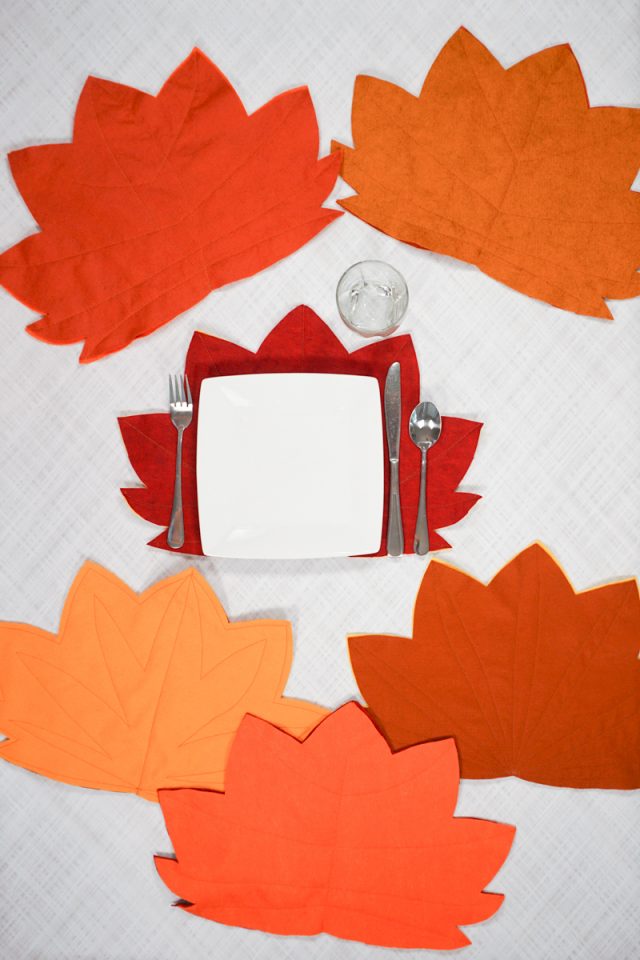
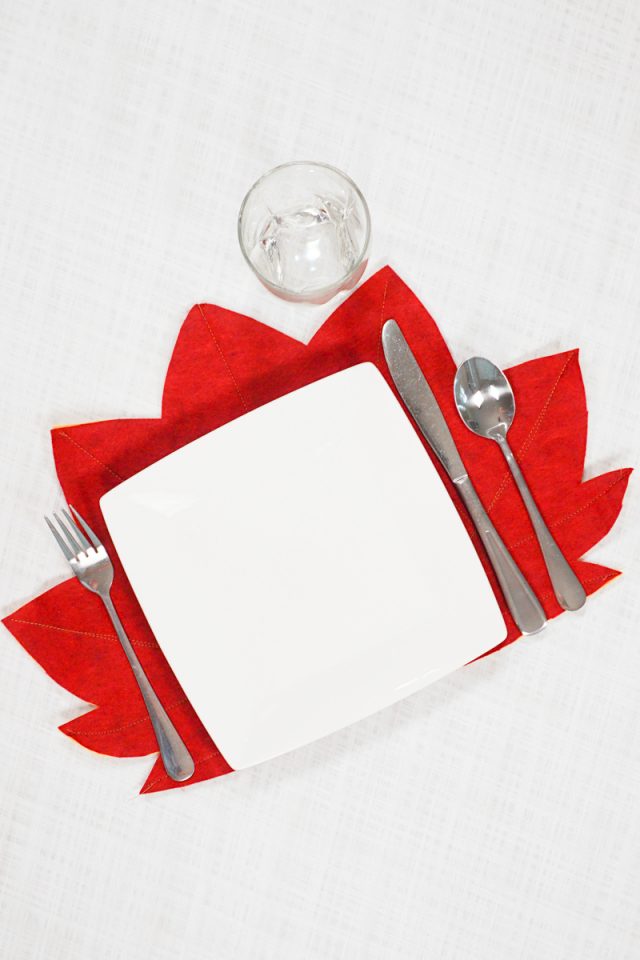
To remember the fun of colorful fall leaves and the sounds they make, I made some pretty felt leaf placemats. These have two layers of felt to make them substantial and strong. They can’t be washed, but there are two sides to choose from whenever you put them out.
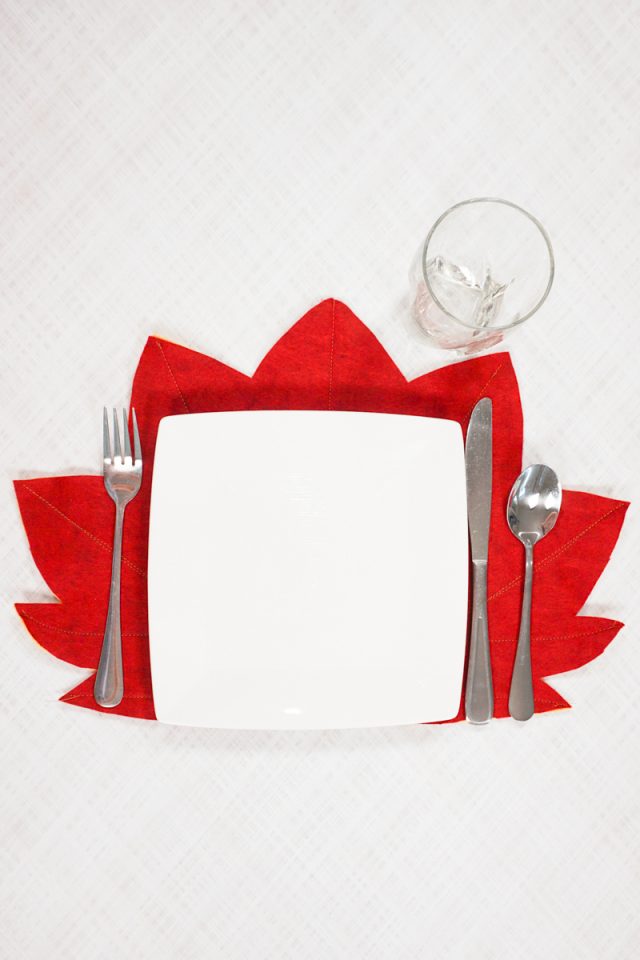
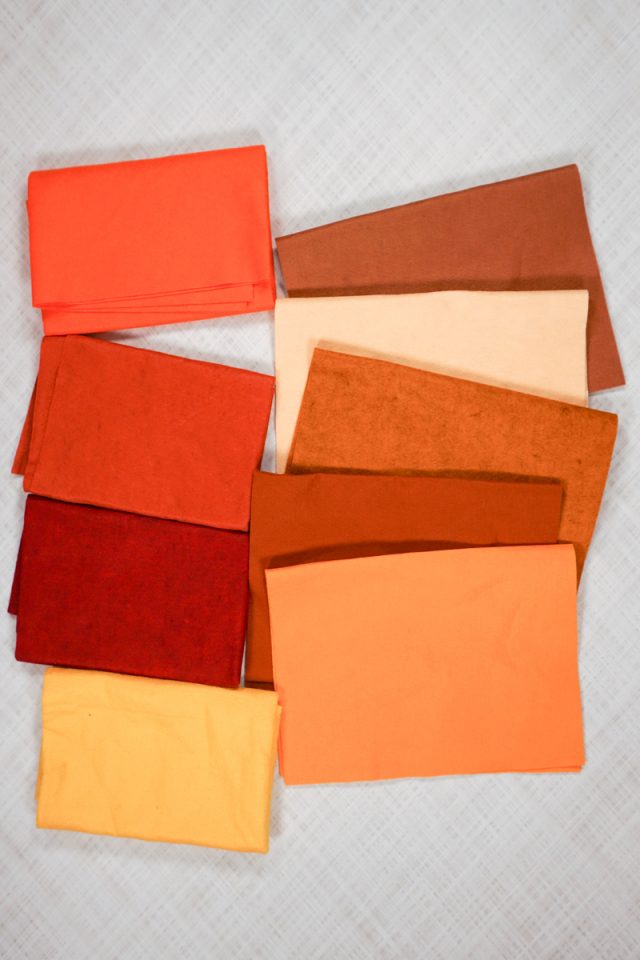
I chose my felts in yellows, oranges, browns, and reds to look like all the colorful fall leaves in the trees and on the ground. It’s a big mix of colors and none of the placemats have the same colors. If you want something more traditional choose the same two colors for the placemats so that they all match.
What felt should I use to make these placemats?
Do not use craft acrylic felt. It’s cheap and works great for crafts, but it won’t hold up to being at the dinner table. Instead, use a wool blend felt or a wool felt. These are strong and sturdy, and the quality makes it look so nice.
Do you love to sew? Try one of these fun sewing projects:
DIY Felt Leaf Placemats
Supplies
- 12 inches x 18 inches of felt for each ONE side of a placemat – my placemats are 12 inches tall and 18 inches wide and you can choose a bigger size if you buy more felt
- I like to buy my felt from Benzie Design
- Sewing tools
- Sewing machine
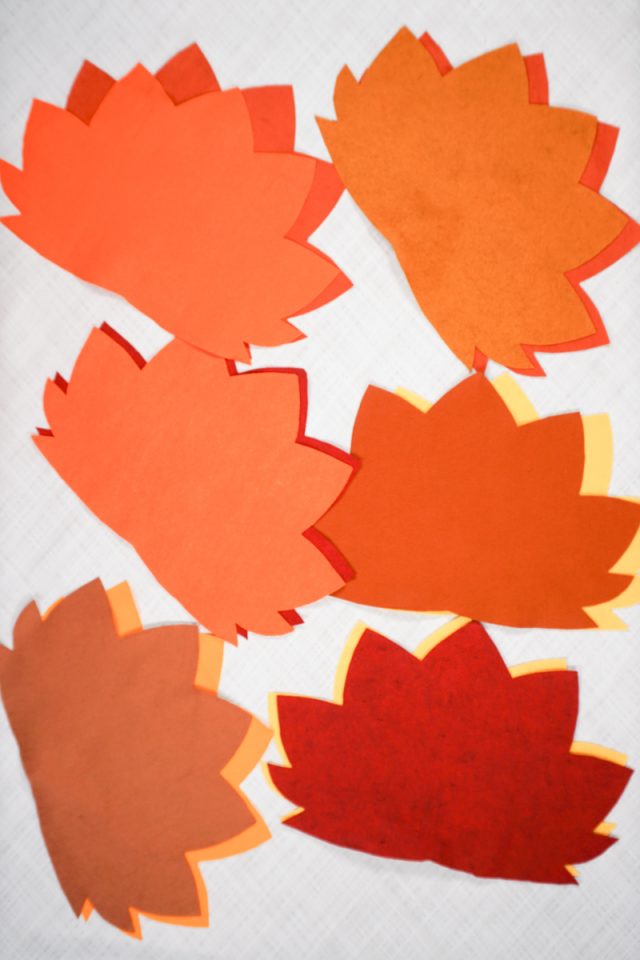
Fold one piece of felt in half so the short sides are matching up. Trace out a maple leaf shape with a marking tool. You can see that I redrew and scribbled out my shape multiple times.
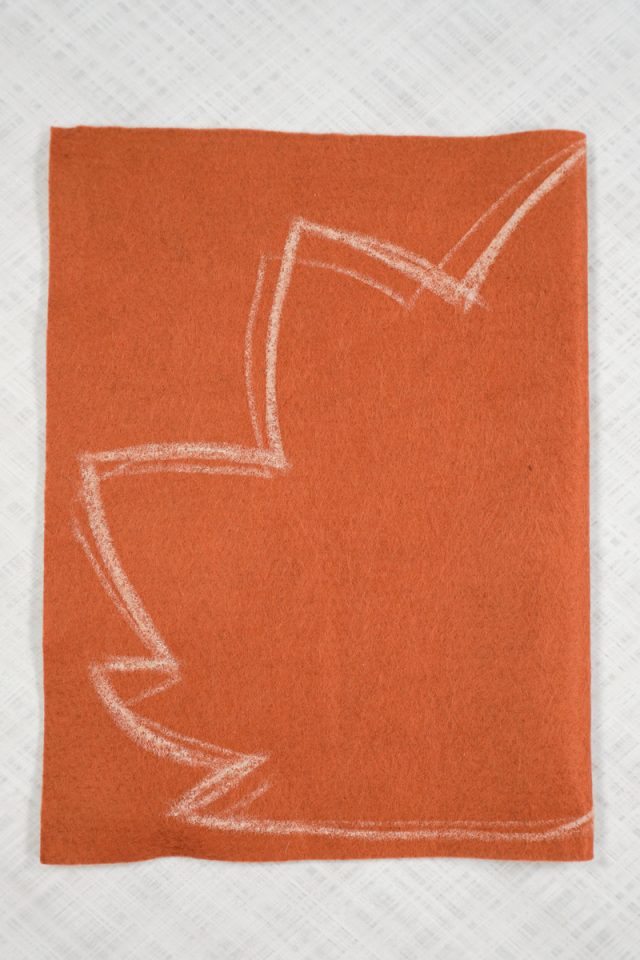
Keep the felt folded and carefully cut out the leaf. Cutting it while it’s folded will create a perfectly symmetrical leaf.
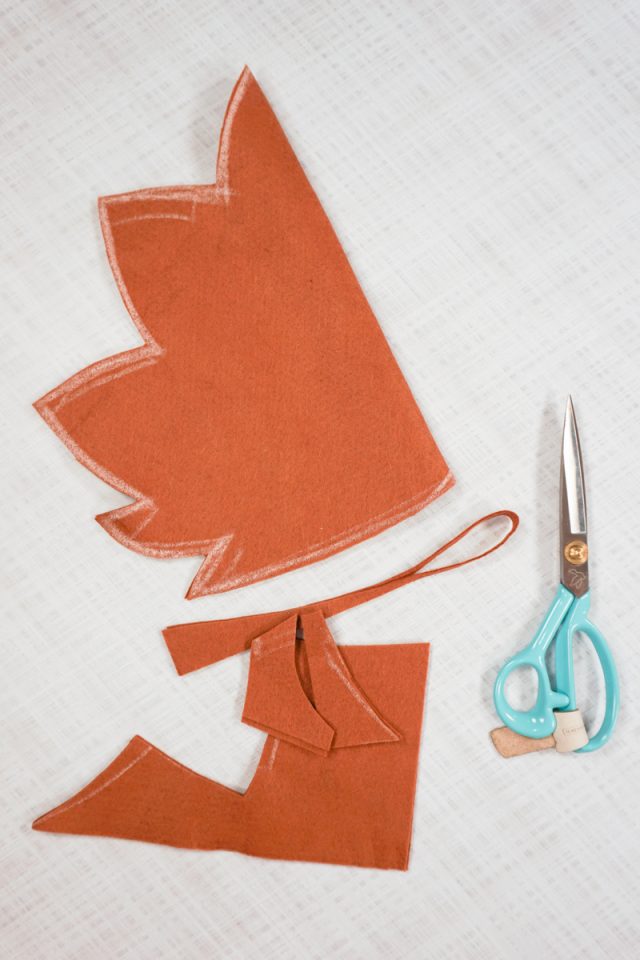
Cut out all the leaf shapes you will be using from the felt. Each placemat needs two felt leaves.
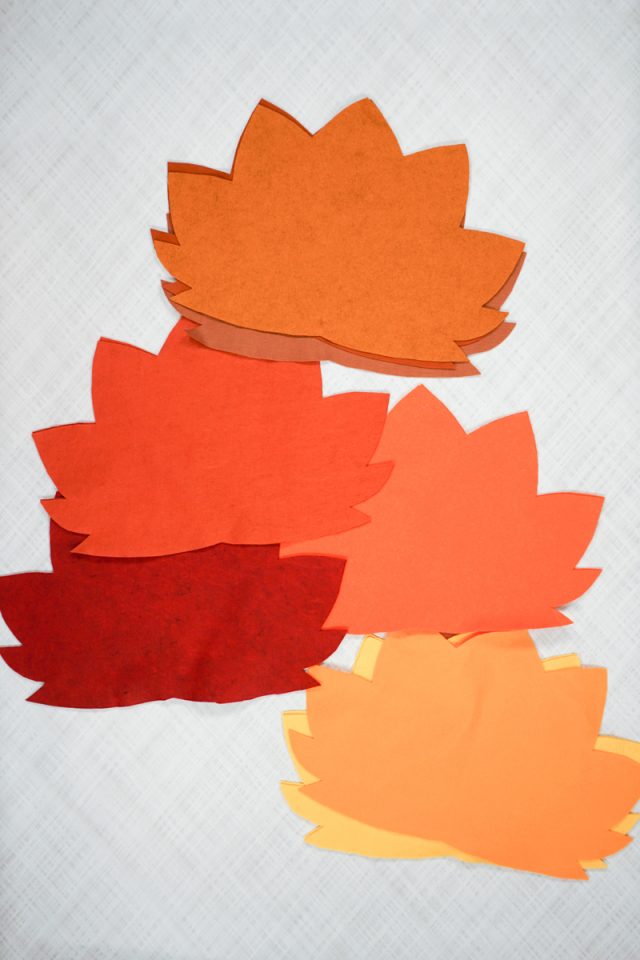
Put all the pairs of colors together. I mixed mine up for different and unique placemats.
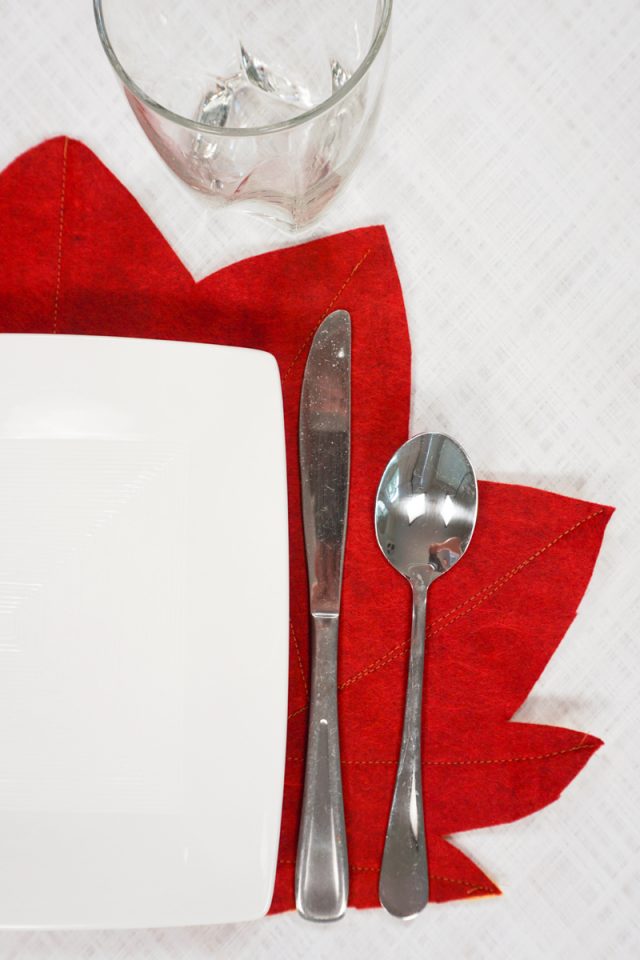
Place two leaves together and pin or clip. Sew them together by sewing leave veins. Use a bright contrasting thread for a fun look.
I did a different thread design on each leaf to find which one I liked the best. I like that each placemat is different stitching and different colors.

Give the placemats a final press and remove and markings. You finished! Set your table with the new leaf placemats!
If you make something using this sewing project, I’d love to see! Please share it on social media with the hashtag #heatherhandmade and tag me!

I believe small sewing moments can create great joy. Find your own “right” way to sew. -Heather