
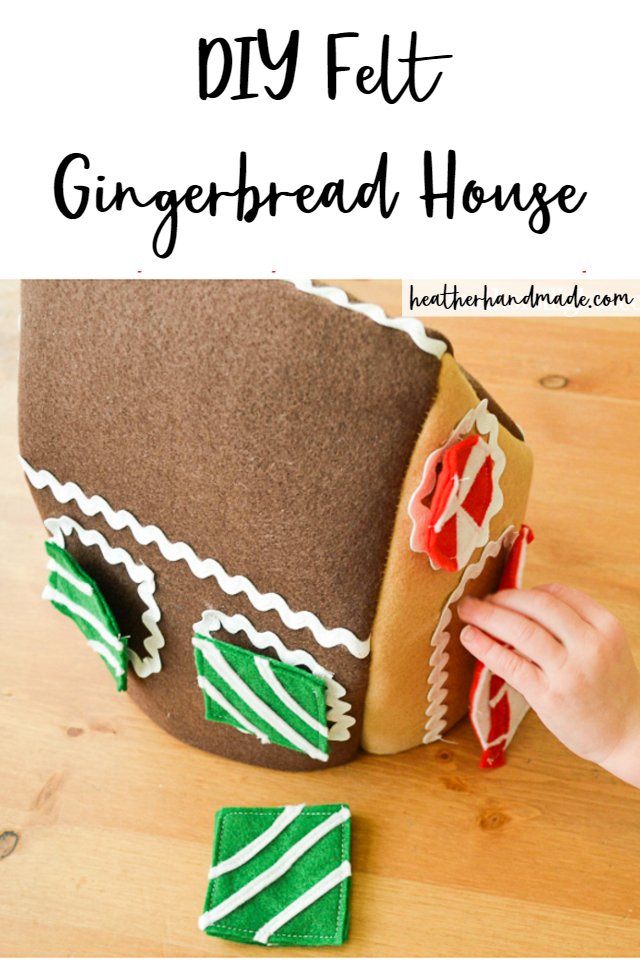
DIY Felt Gingerbread House

This post may contain affiliate links.
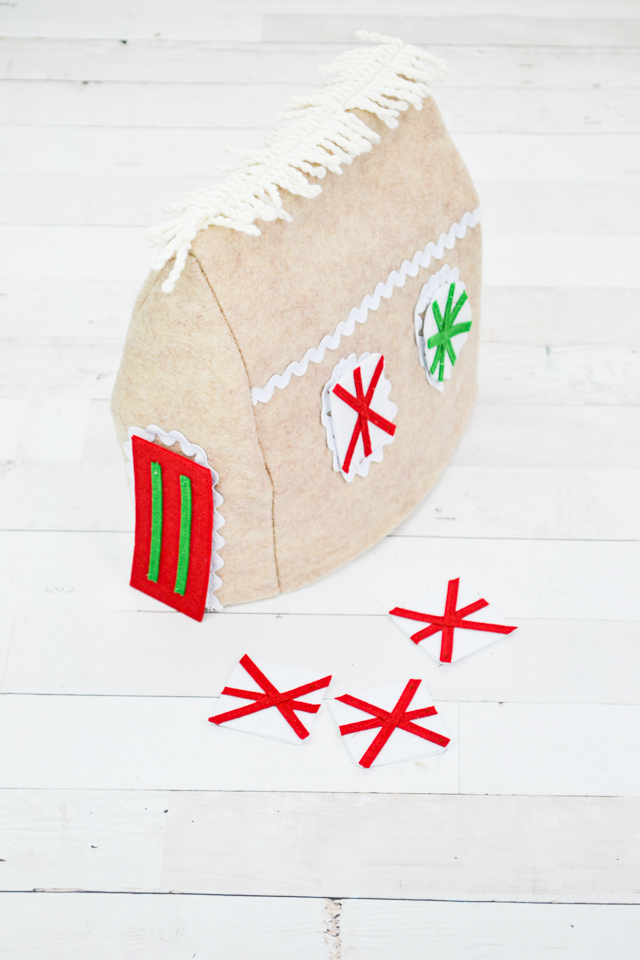
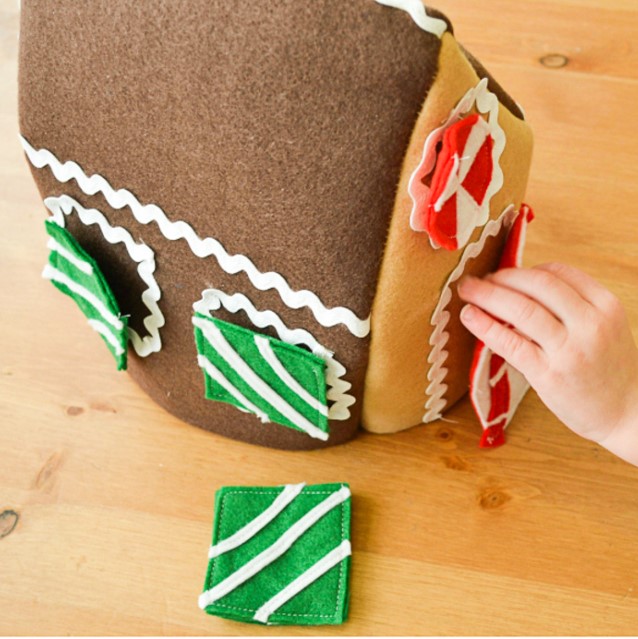
Learn how to make a DIY Felt gingerbread house that can be decorated with felt candy over and over again. It’s a fun holiday activity.
The holidays are upon us, and if you’re like me, you’re getting pretty busy with extra stuff to do. I wanted something holiday-inspired and fun for my kids to do if I needed to work on something else.
I decided to make a DIY felt gingerbread house that would help my kids practice their shapes, decorate a house, and not have them eating oodles of candy like they would with a real gingerbread house.
I first made a DIY felt gingerbread house six years ago for my oldest when he was a toddler. He played with it all the time and loved it. We’ve moved twice since then and I somehow lost it in the move.
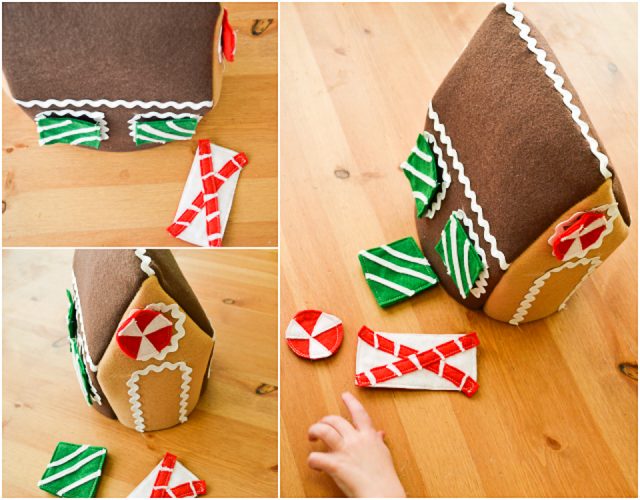
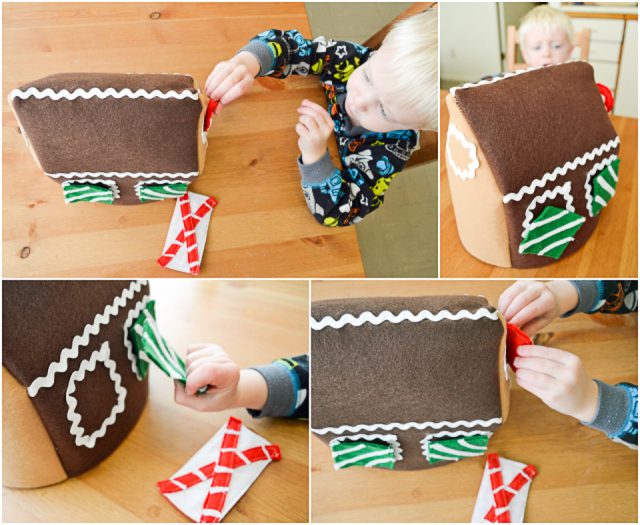
I decided to make another one so that my other children could play with one, and they’ve loved it so far. There’s just something about putting the felt candy on the windows that they want to do over and over again.
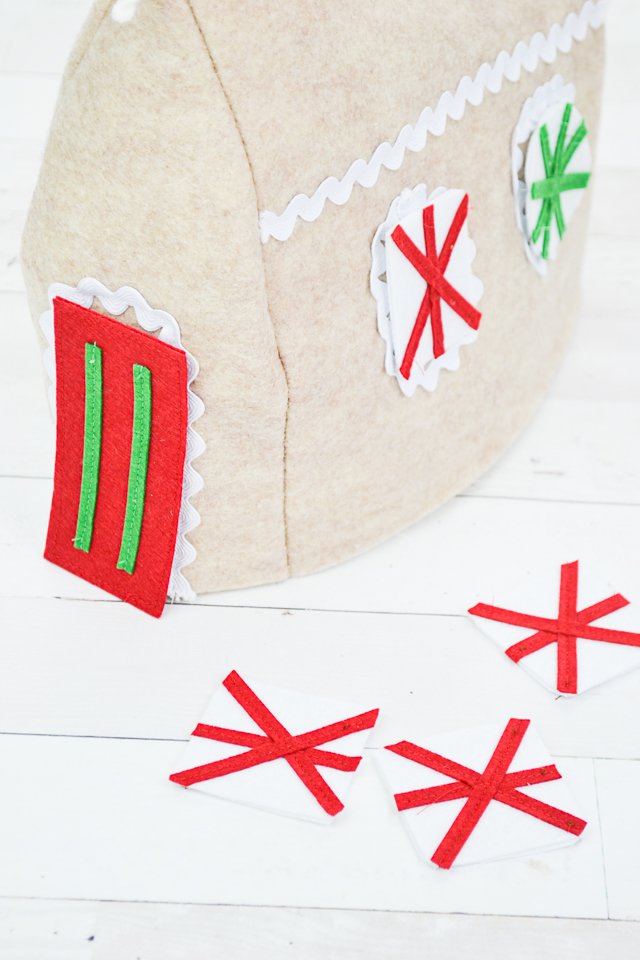
It’s so fun that they have something to play with while I’m doing holiday prep. They love decorating this gingerbread house over an over again with the felt candy. My felt candy pieces stick pretty well to my house. If you are having a problem you can add velcro, buttons, or snaps.
Do you love to sew? Try one of these sewing projects:
- DIY Christmas tree advent alendar
- DIY Advent Pillow
- Christmas sewing projects
- Kid-Friendly Fleece ornaments
- DIY gingerbread ornaments
- DIY gingerbread garland
- Felt sewing projects
DIY Felt Gingerbread House
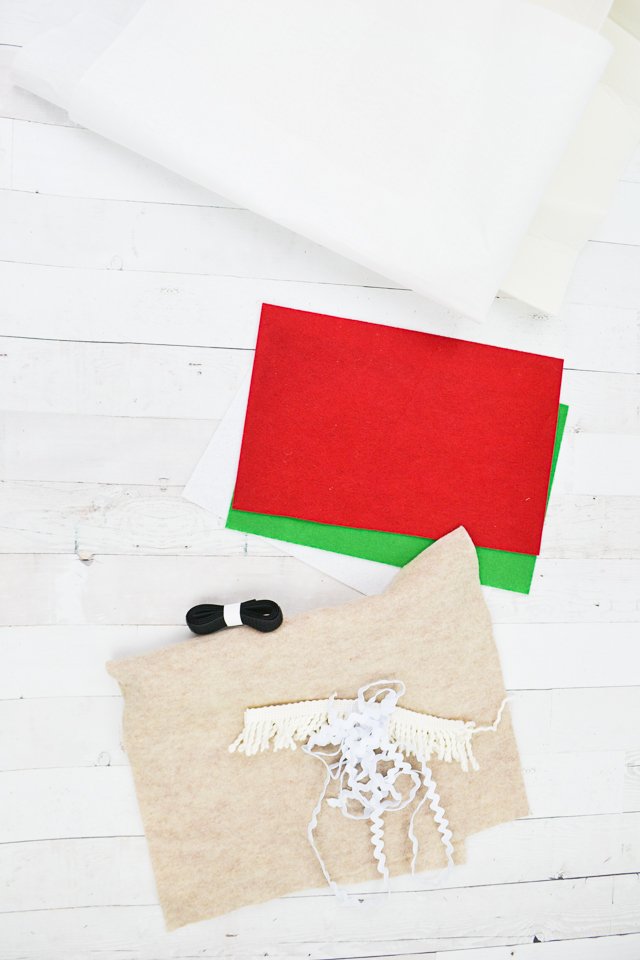
Supplies
- Felt in gingerbread and candy colors
- Stiff interfacing
- Fusible foam
- White ric rac
- Sewing machine
- Sewing tools
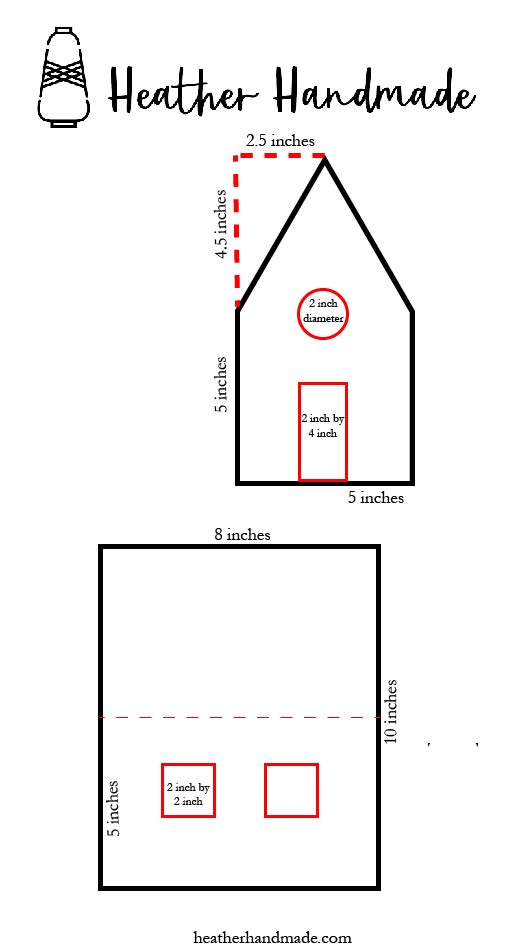
Here are some measurements for the gingerbread house and details.
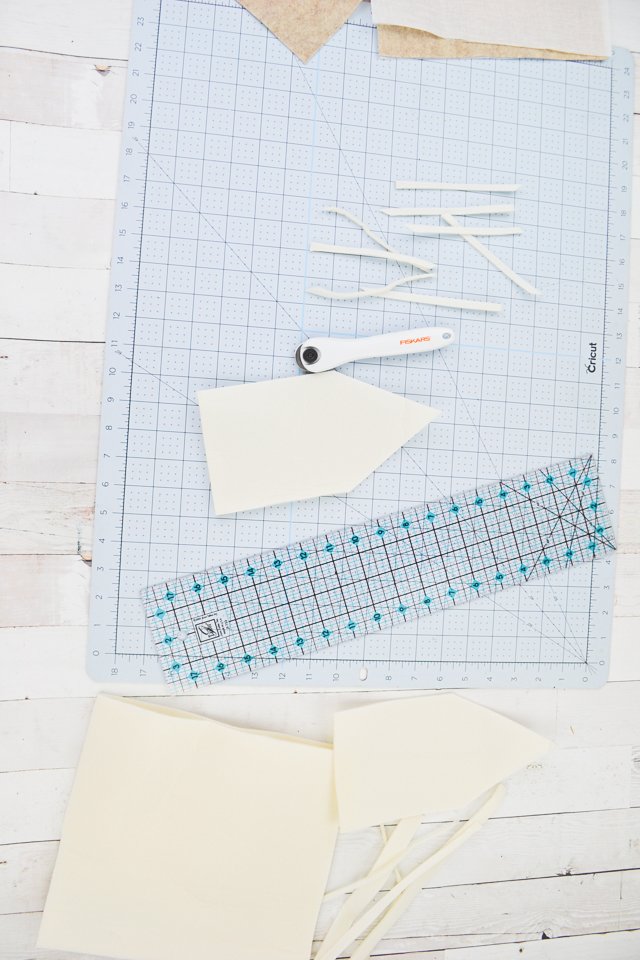
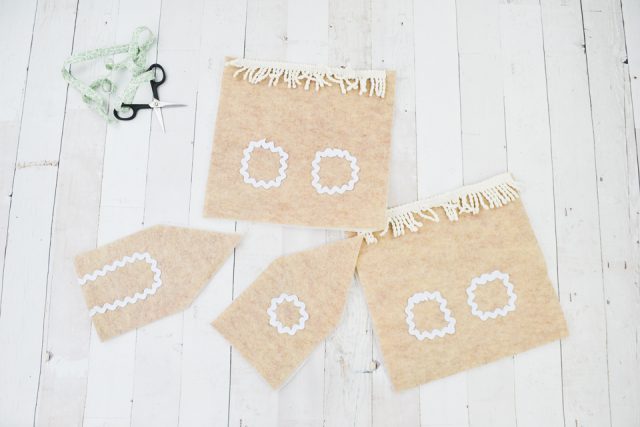
Cut out and assemble the pieces of candy. I stuck to circles and squares for the window, and a rectangle for the door. You can make whatever shapes you want.
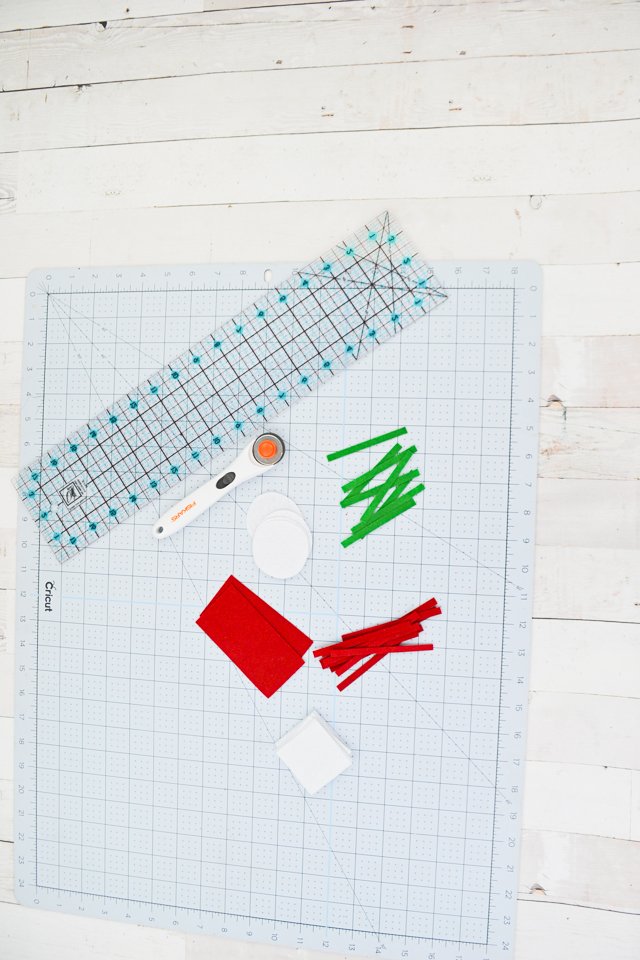
I cut out stripes and sewed each of them onto a felt shape with my sewing machine. You can stitch them by hand if you like the look and have the patience.

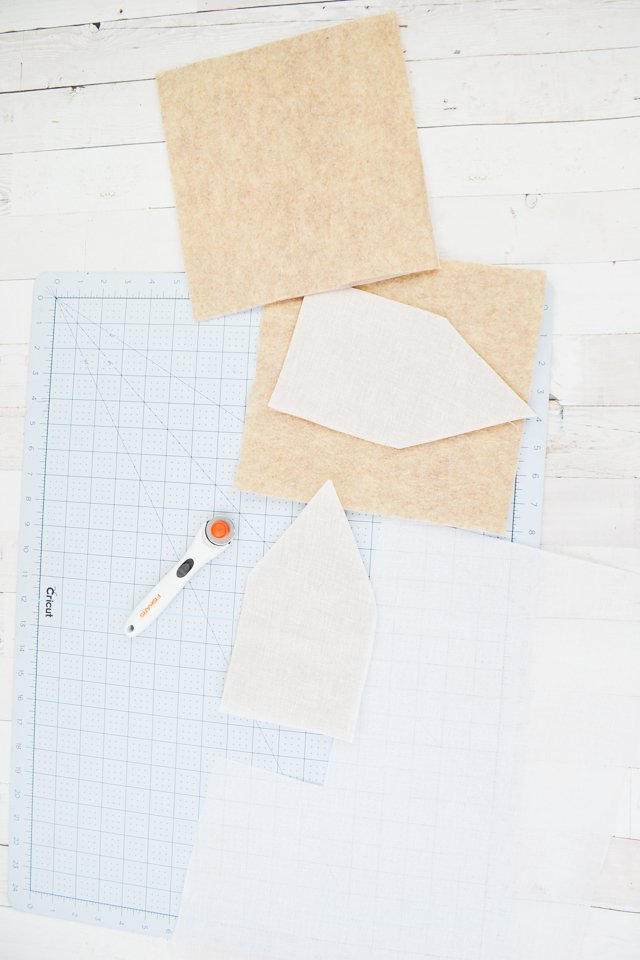
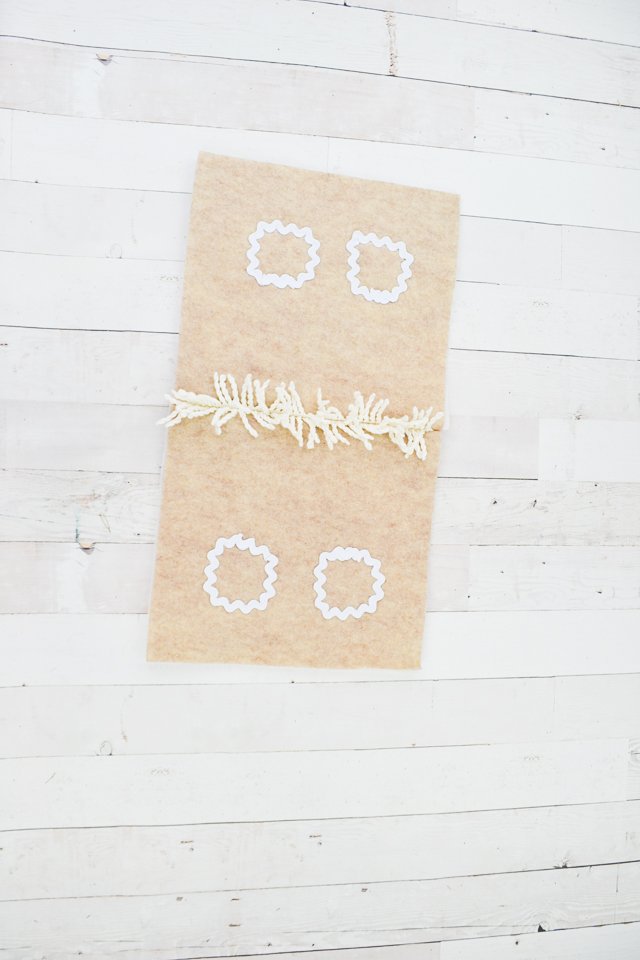
Cut out the front and the back of the house as a square with a triangle on top. Then cut out two rectangles for the sides and roof. I kept mine as all one piece to make it easier.

Cut out pieces of interfacing of all the house pieces. Cut out pieces of fusible foam of all the house pieces.
Cut off the seam allowance of the foam to make it easier to sew.
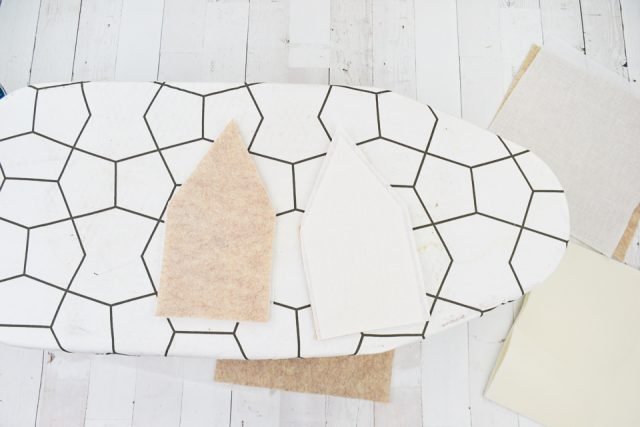
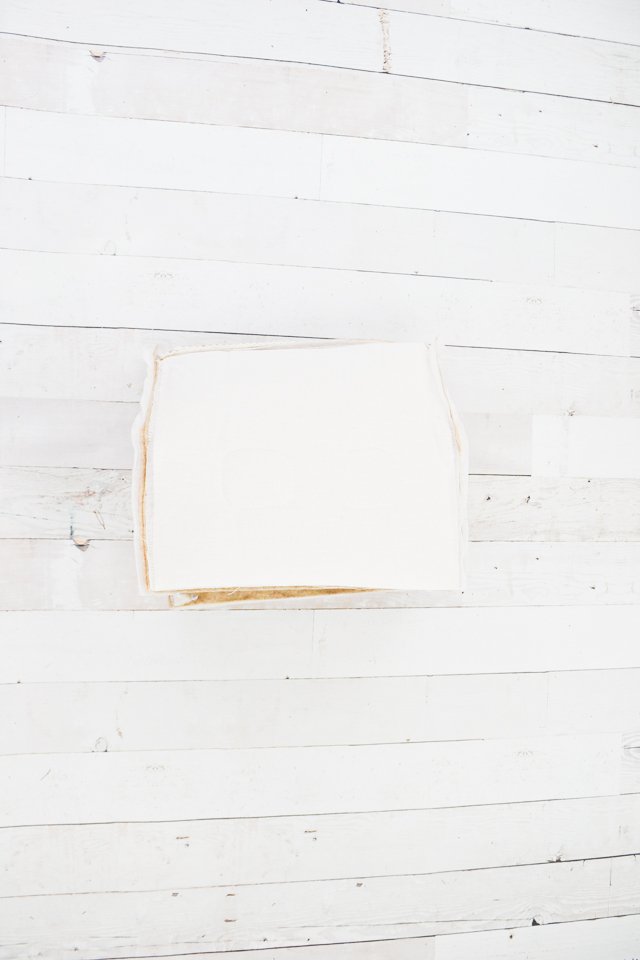
Apply the interfacing and foam to each house piece. I did a piece of felt, then a piece of foam, and then the interfacing.
Pin the ric rac onto the sides of the house for the shape of the windows and doors. I did squares, circles, and doors.
Add any decorative lines that you want.
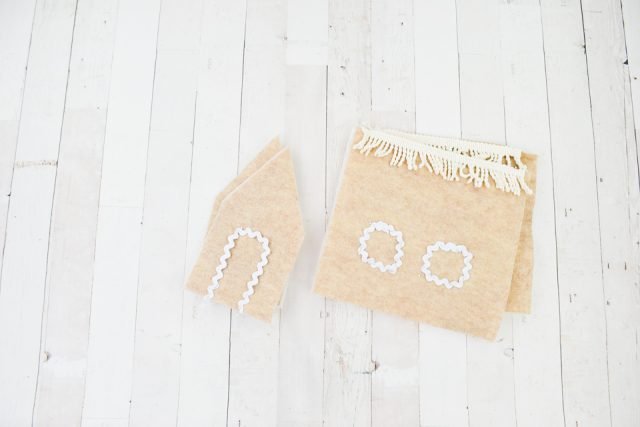
Sew the ric rac onto the house with a straight stitch. It’s a little tricky to do corners, but the ric rac has some give to play with.
Sew the straight edge of the roof of the two rectangles together.
Sew the front and back of the house to the sides with right sides together. Clip the corners.
Turn the house right side out and let your little ones enjoy it.
If you make something using this sewing project, I’d love to see! Please share it on social media with the hashtag #heatherhandmade and tag me!

I believe small sewing moments can create great joy. Find your own “right” way to sew. -Heather
Hi! Is there a pattern for this? It’s a great idea!
I just added an image with all the measurements!
Cute idea! I'm going to turn it into a tea cozy – my daughter has a rectangular teapot that will fit this perfectly.
What a cute idea! I looked at real gingerbread houses this year and couldn't bring myself to pick on up- this is a great alternative!
That is such a cute activity!!! I've linked to your tutorial over at Craft Gossip:
http://sewing.craftgossip.com/tutorial-felt-gingerbread-house-toy/2013/12/06/
–Anne