
DIY Bat Garland

This post may contain affiliate links.
Learn how to make a DIY bat garland with black felt, a Cricut machine, and a sewing machine. It’s a quick and easy Halloween sewing project!
I love the look of felt. It’s so nice to work with, it’s easy to sew, and I love the simple texture. I’m slowly adding felt decorations to every holiday like Halloween.
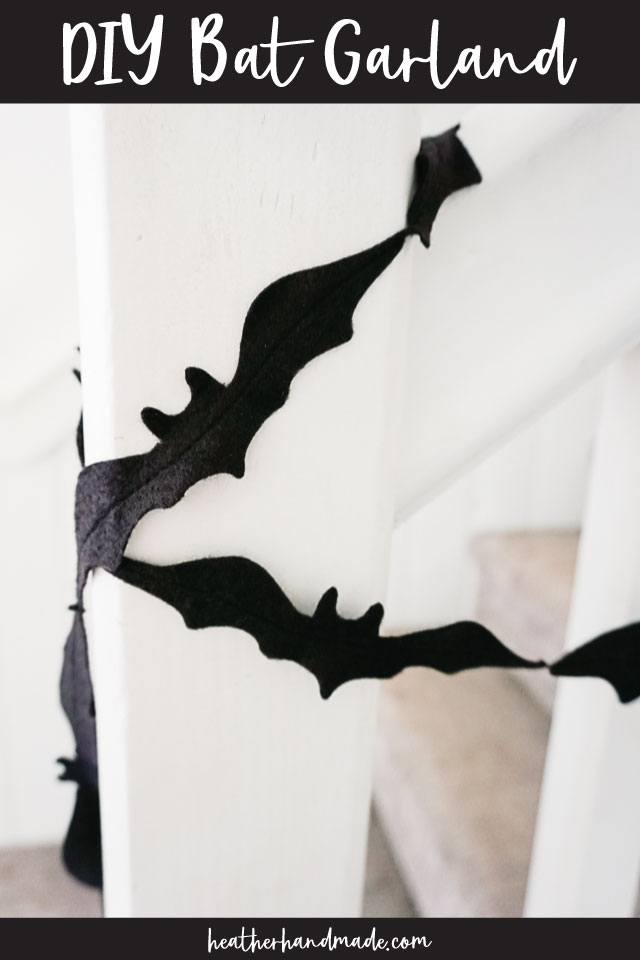
I love simple garlands to hang off of my mantle, set out along a table, or down my stair banister, and I recently made a black felt bat garland. I wanted a simple shape that was short and wide to make the garland long, and the bat was the perfect shape.
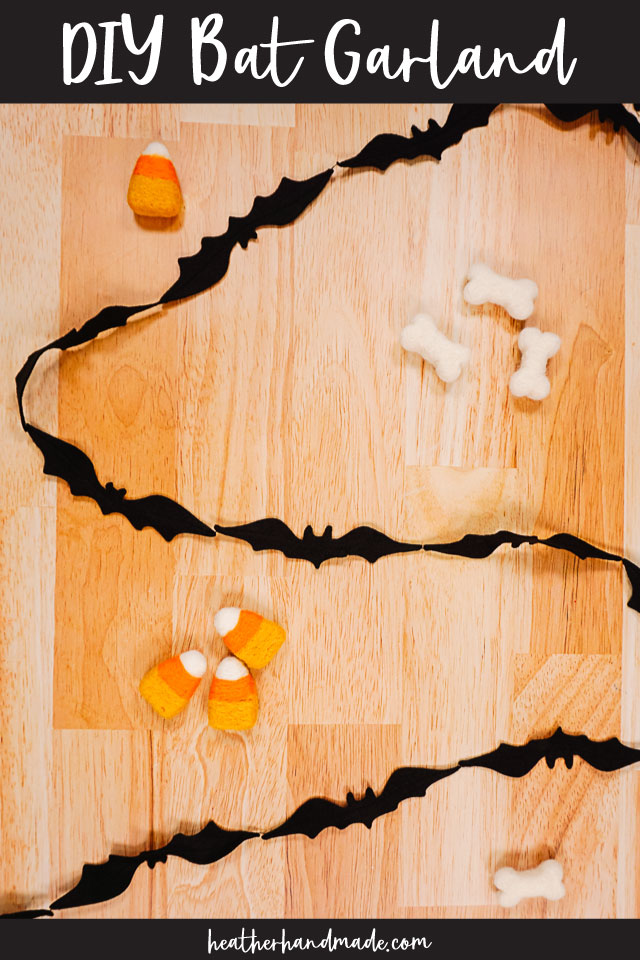
I used two different bat shapes and alternated them, but they actually turned out so similar that you can’t tell the difference. I should have chosen two very different bat shapes so that it was a lot more obvious.
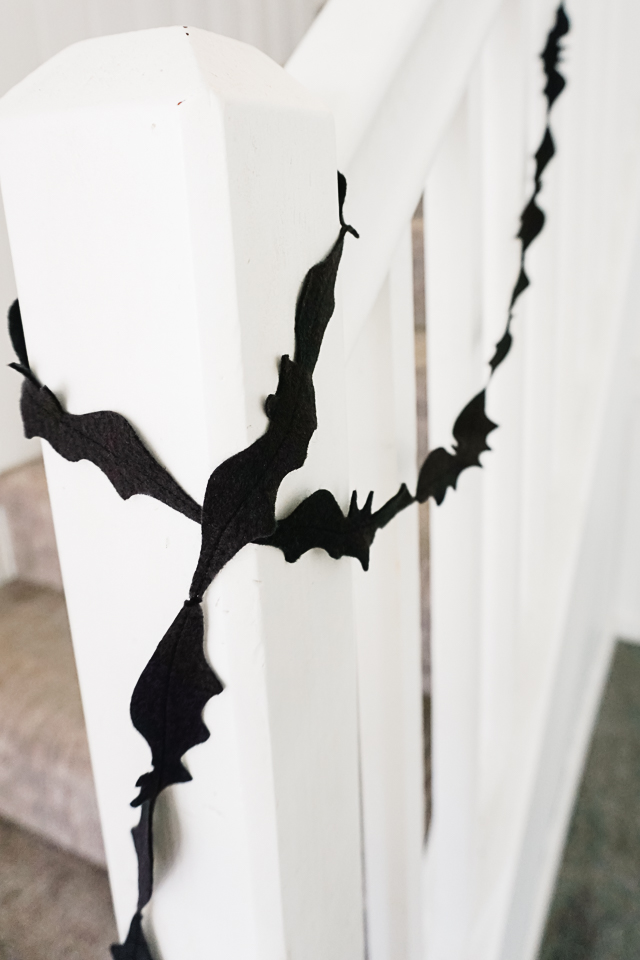
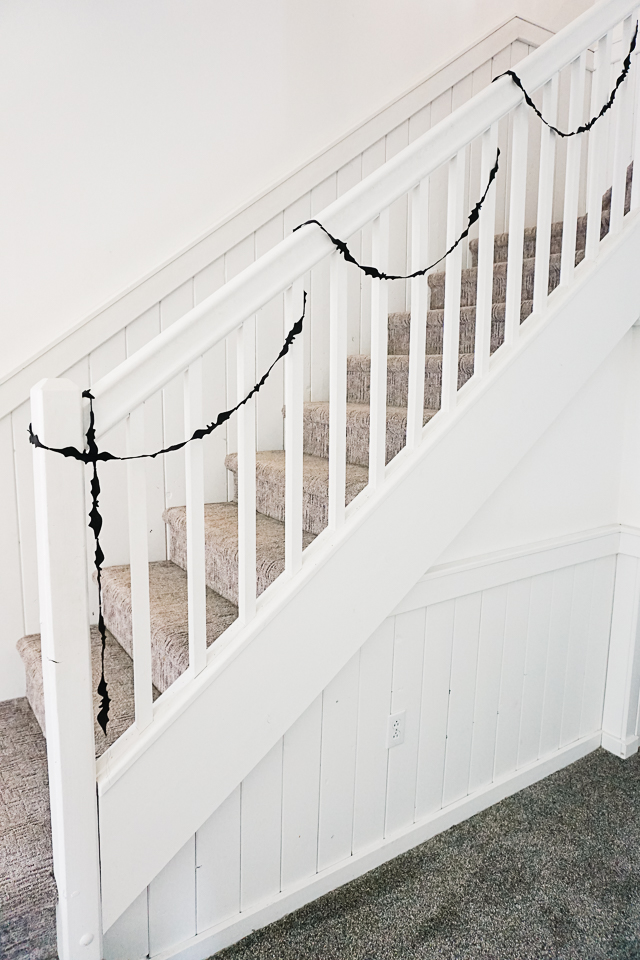
I love the way it looks hanging off of my banister.
Do you love to create? Try one of these fun sewing projects:
DIY Bat Garland
Supplies
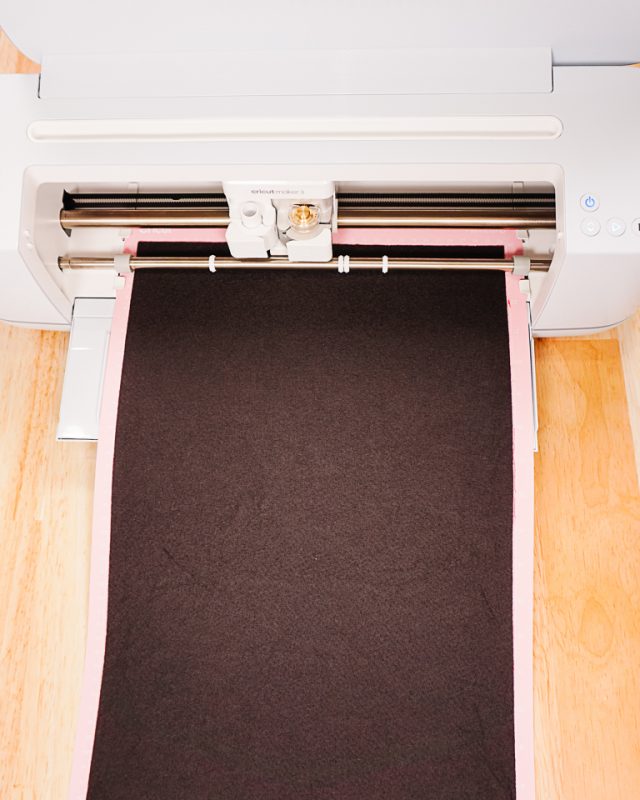
- 2 pieces of black felt measuring 12 inches by 18 inches
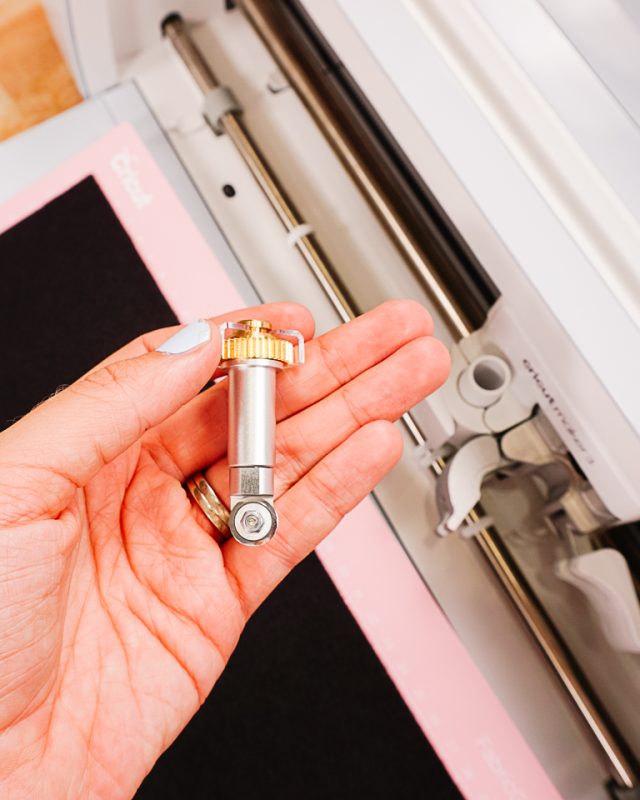
- Cricut Maker*
- Rotary blade for a Cricut Maker machine
- Long Fabricgrip cutting mat
- Bat shapes in Design Space
- Sewing machine and black thread
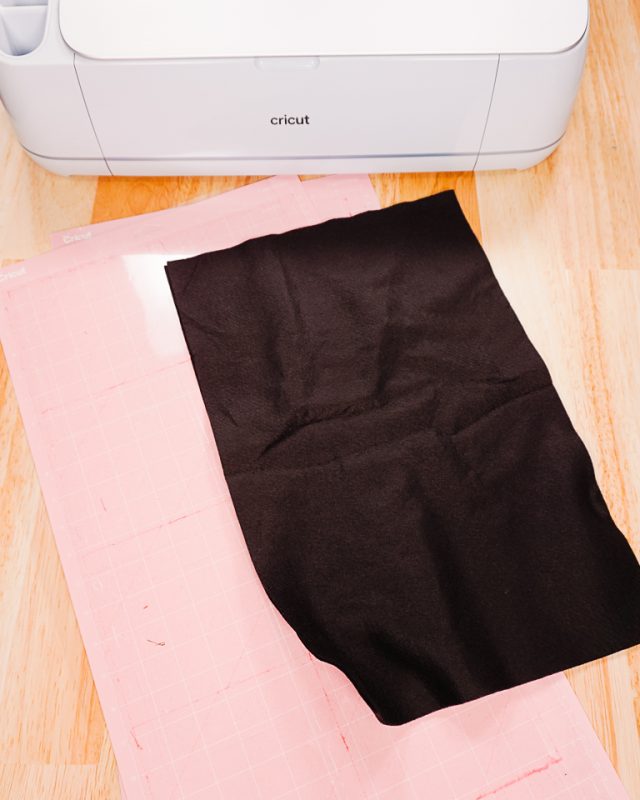
Install the rotary blade into the Cricut Maker.
Use the machine to cut out all the felt bats.
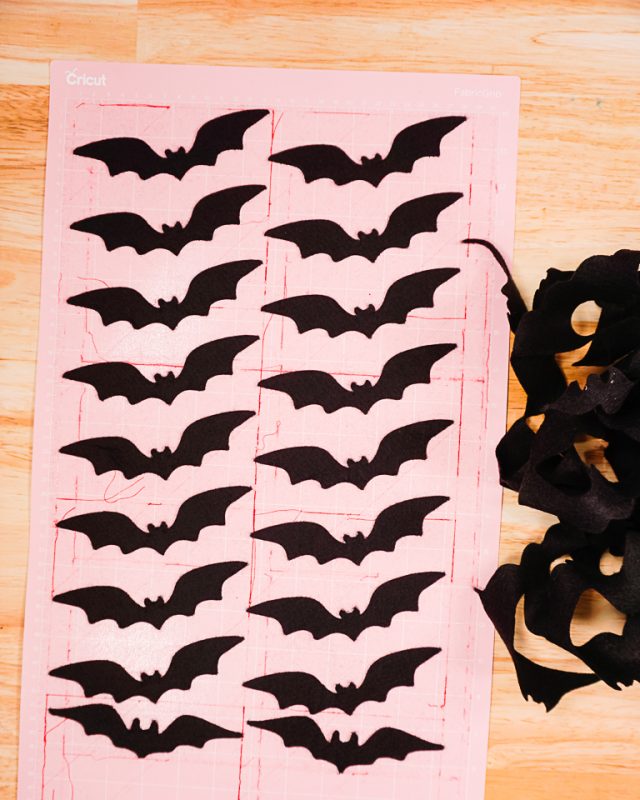
Once all the bats have been cut out, then pull up the outer black felt to reveal all the bats. Peel the bats off of the mat.
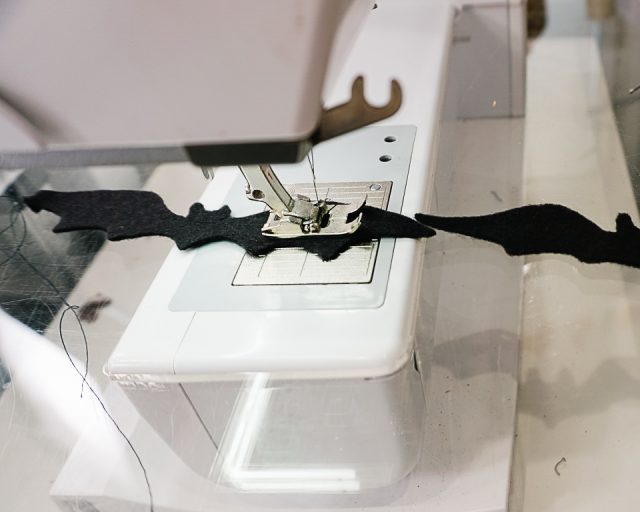
Organize the bats the way you want them to be sewn together. Start on one wing and sew a straight line through to the other wing, place the next bat wing tip right next to the previous bat. Sew through the next bat and keep adding bats as you sew.
Once all the bats are sewn together, you can hang your bat garland wherever you want.
If you make something using this sewing project, I’d love to see! Please share it on social media with the hashtag #heatherhandmade and tag me!

I believe small sewing moments can create great joy. Find your own “right” way to sew. -Heather