
How to Sew a Microwave Potato Bag

This post may contain affiliate links.
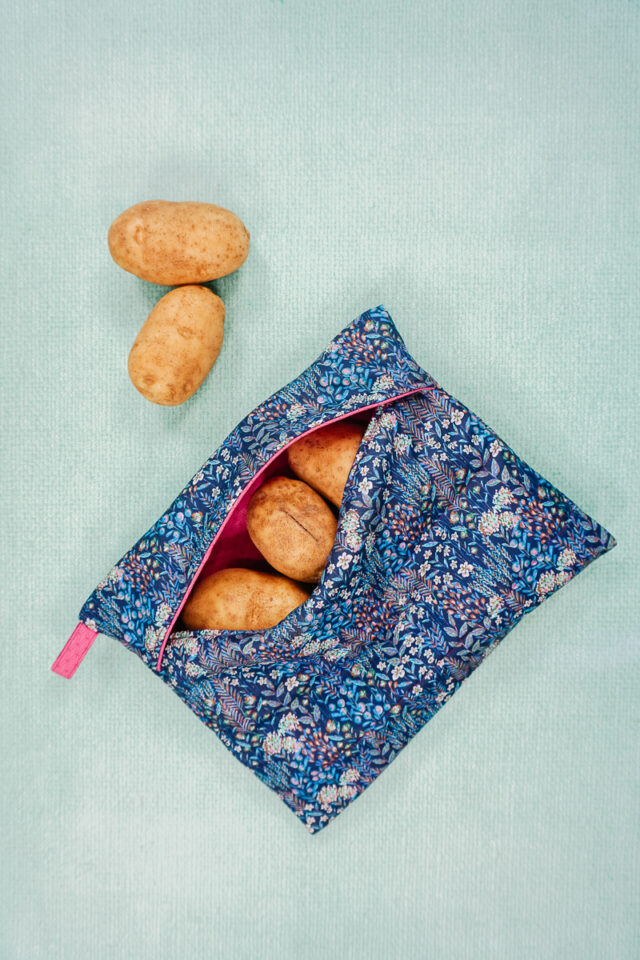
Learn how to sew a microwave potato bag with a free sewing pattern. This kitchen sewing project is easy and makes a great handmade gift.
Have you ever been scrambling to put dinner on the table and wished you had put potatoes in the oven an hour before? I have! We are a celiac/gluten free family, and we eat a fair amount of potatoes.
My family loves eating baked potatoes, but sometimes I don’t have an hour to bake them in the oven. Now I can use this reusable microwave potato bag to cook potatoes in the microwave much faster! I’m so excited to put this to use!
To get the free sewing pattern, scroll to the end of the tutorial. Put your email address in the form under “Get the Free Sewing Pattern Here.” Once you confirm that you want to receive emails from Heather Handmade, the free pattern will be sent to your email address. Check your spam and promotions for the email.
What is a reusable microwave potato bag?
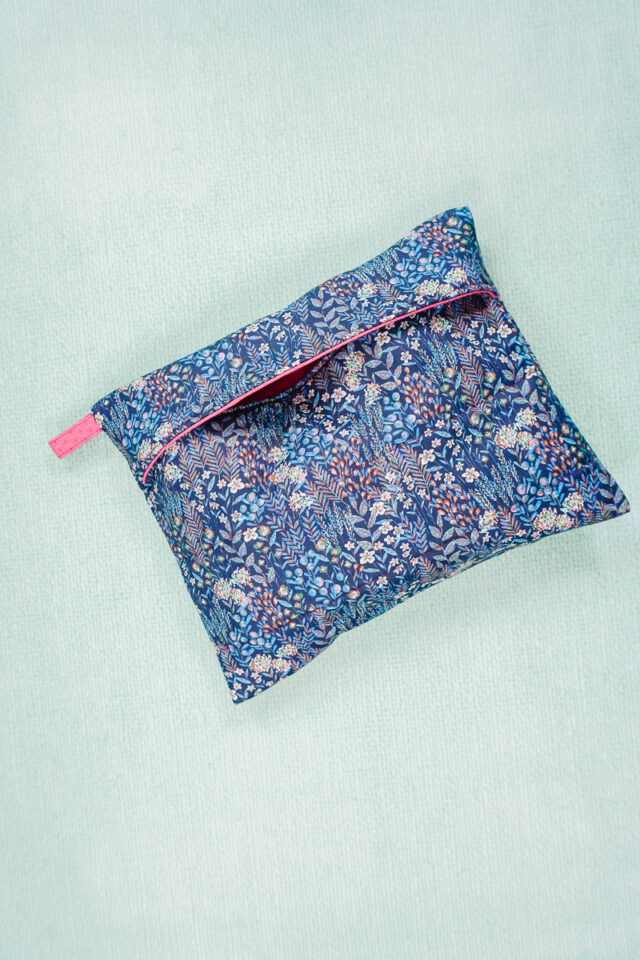
A microwave potato bag is a fabric bag that you put potatoes in and then cook it all in the microwave. It makes the potatoes cook evenly and quicker than if they weren’t in the bag. Besides helping the potatoes cook, it also keeps the microwave a little bit cleaner because the steam will stay in the bag or in the fabric.
How to bake a potato in a microwave potato bag
Usually to cook a potato in a microwave you poke it with a fork and cook it for 4-12 minutes depending on how many potatoes you are making. The potatoes are cooked but they are often dry and shriveled.
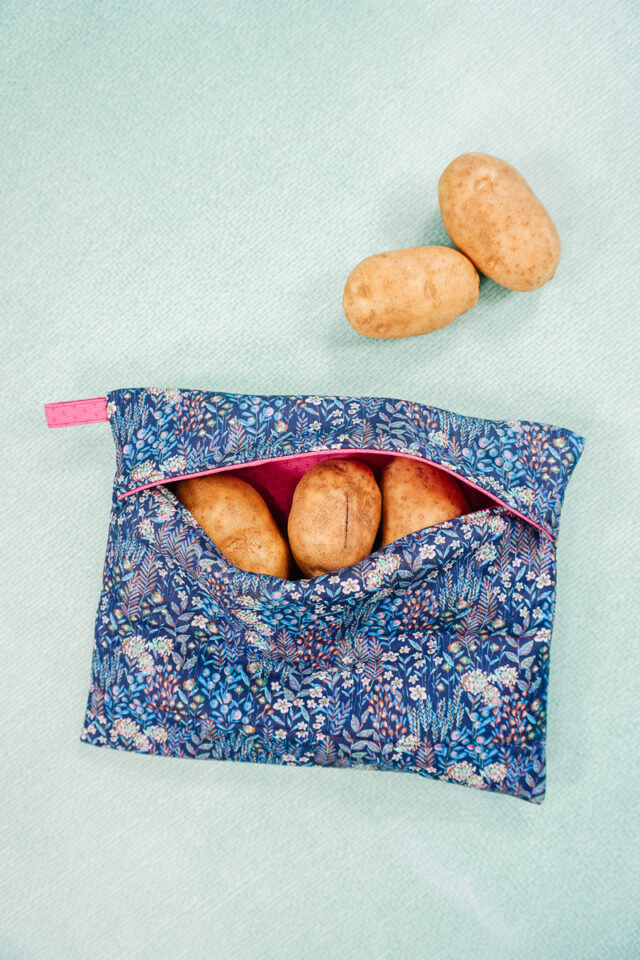
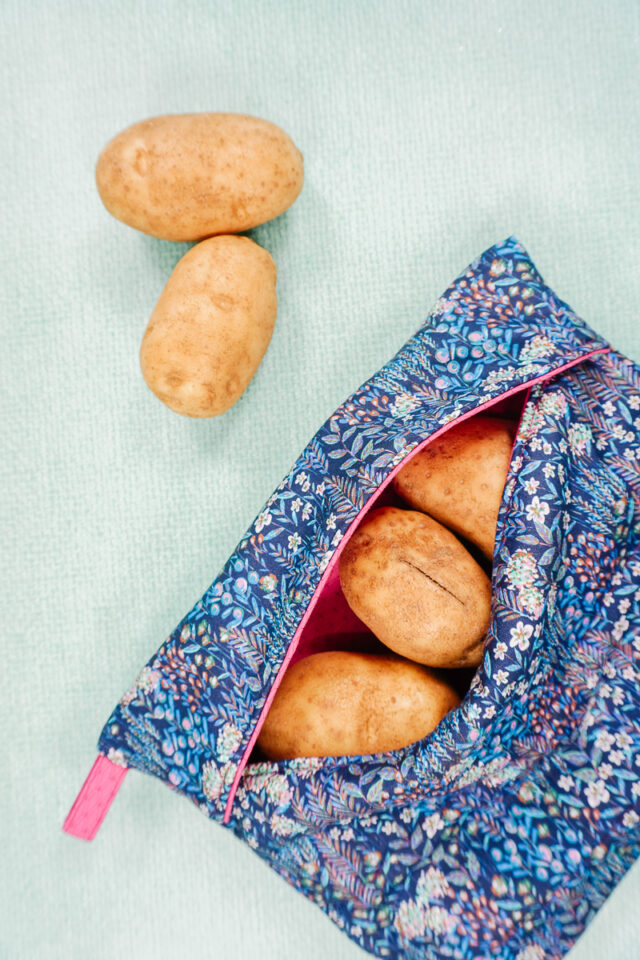
With a microwave potato bag put the potatoes in the bag, no poking, and cook in the microwave. Cook for 4 minute intervals so you can test the potatoes to see when they get done. You should also not have the fabric cooking for more than 4 minutes so a little break is great. The bag keeps the steam in the potato so they come out moist instead of dry.
What fabric should I use to sew a microwave potato bag?
Because you are putting it in the microwave, the fabric needs to be 100% cotton. You don’t want polyester in the microwave because it will melt! Make sure you’re also using 100% cotton thread.

What batting should I use to sew a microwave potato bag?
Because you are putting it in the microwave, the batting needs to be 100% cotton. You don’t want polyester in the microwave because it will melt! Make sure you’re also using 100% cotton thread.
Love to sew? Try one of these fun sewing projects:
- Beginner sewing projects
- Free PDF sewing patterns
- Kitchen sewing projects
- Eco-friendly sewing projects
- Easy gifts to sew

How to Sew a Microwave Potato Bag
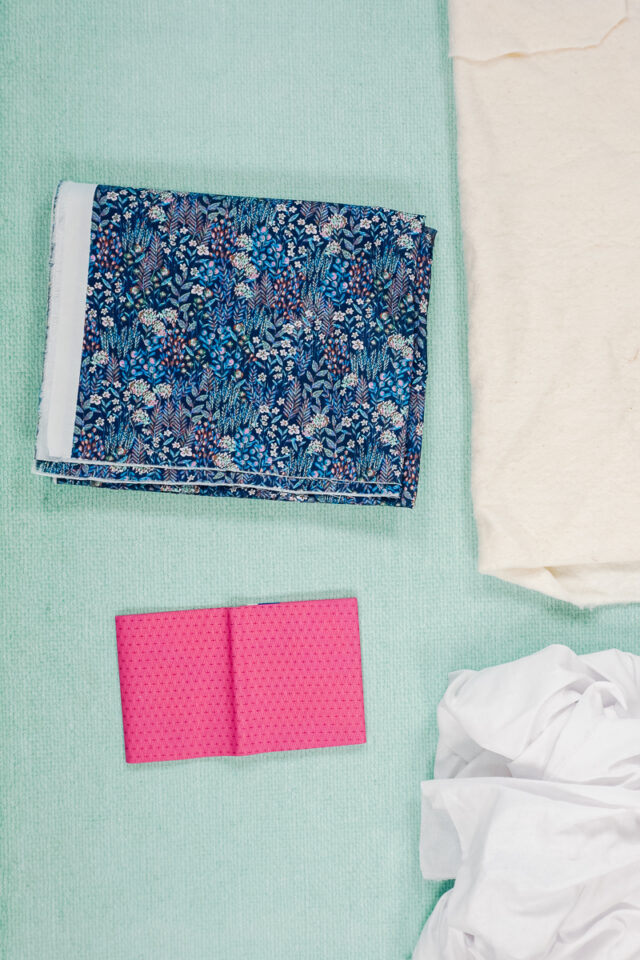
Supplies
- 2 fat quarters of 100% cotton fabric
- 1/3 yard of 100% cotton batting
- 100% cotton thread
- Optional: 1/3 yard of cotton sew-in interfacing
- sewing tools
- sewing machine
Do you just want the pattern and tutorial as a PDF? Get the pattern and tutorial for just $5. You won’t need to access the internet every time you want to make it. Or get the Pattern Bundle with ALL the PDF tutorials!
Instructions
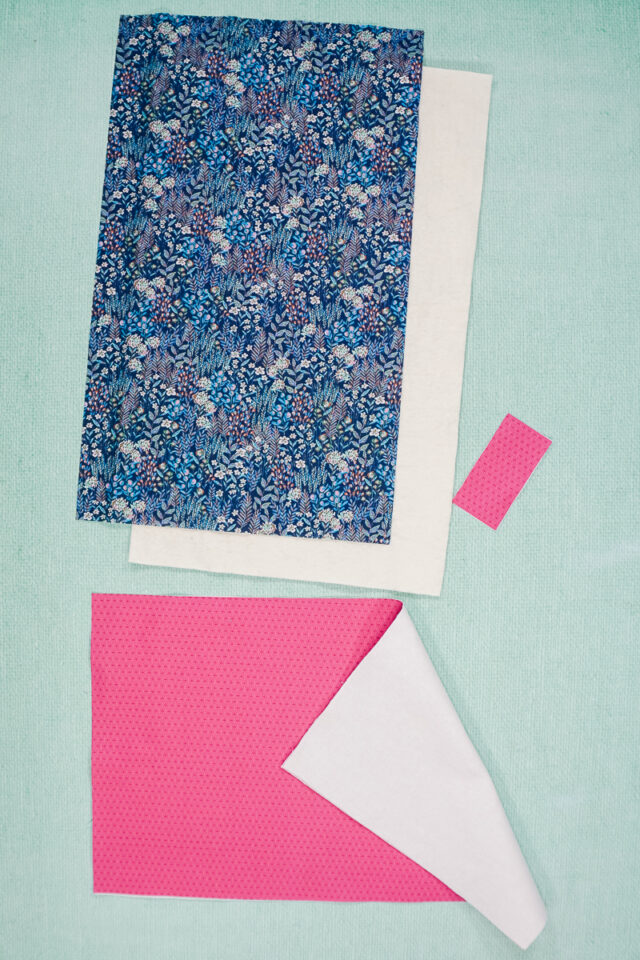
Cut out:
- 1 fabric rectangle 12 inches by 20 inches for the bag
- 1 fabric rectangle 12 inches by 20 inches for the bag
- 1 fabric rectangle 2 inches by 4 inches for loop
- 1 batting rectangle 12 inches by 20 inches for the bag
- 1 sew-in interfacing rectangle 12 inches by 20 inches for the bag
- 1 sew-in interfacing rectangle 2 inches by 4 inches for the loop
Sew the interfacing to the back of one of the fabric bag rectangles. Sew the interfacing loop to the back of the loop fabric.
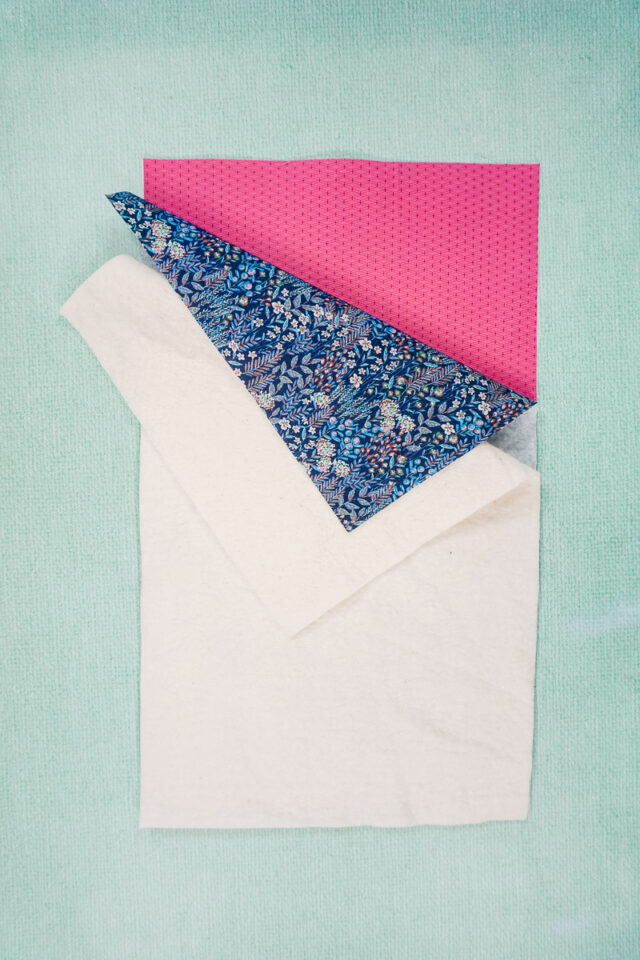
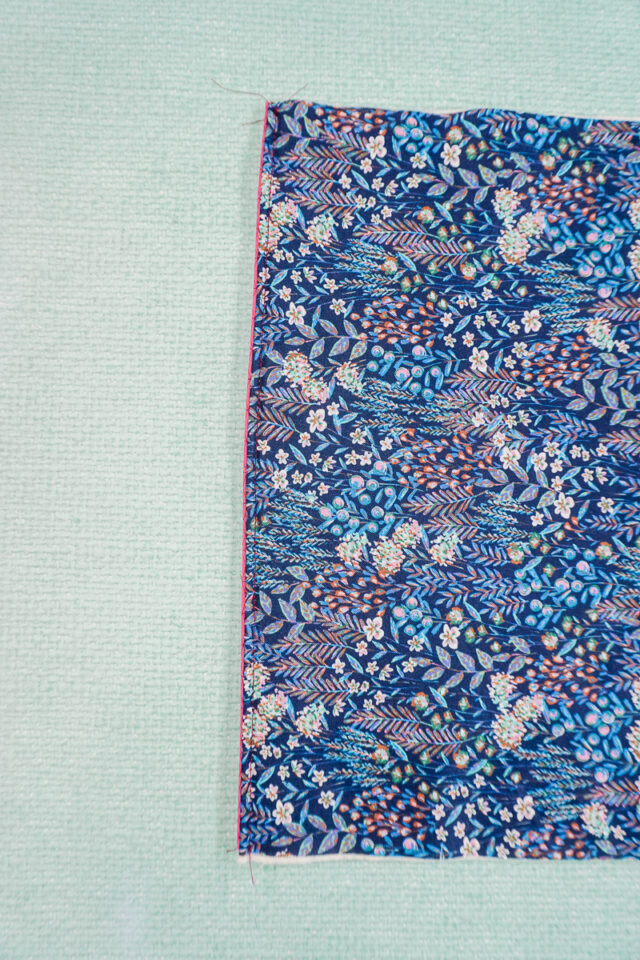
Lay the interfaced piece of fabric down with right side up. Lay down the un-interfaced piece of fabric down with right side down. The fabrics should be right side together. Lay down the batting on top of the un-interfaced fabric.
Pin the short ends together.
Sew both ends with a 3/8 inch seam allowance. Backstitch when you start and when you stop.
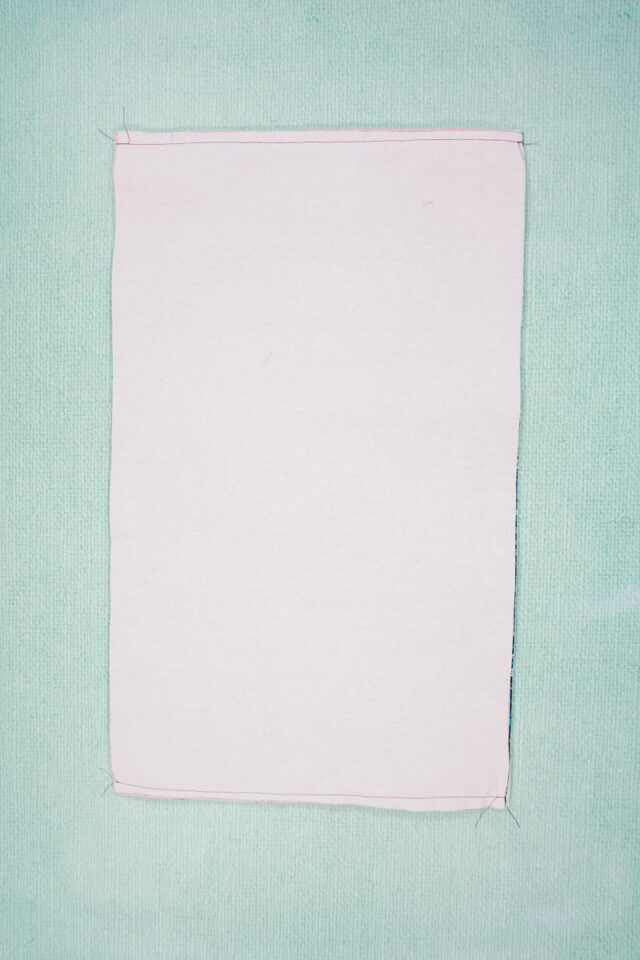
Turn the bag right side out. Rolls the ends with your finger and press them for a nice crisp edge.
Edgestitch along the edge to secure the ends. Backstitch when you start and when you stop.
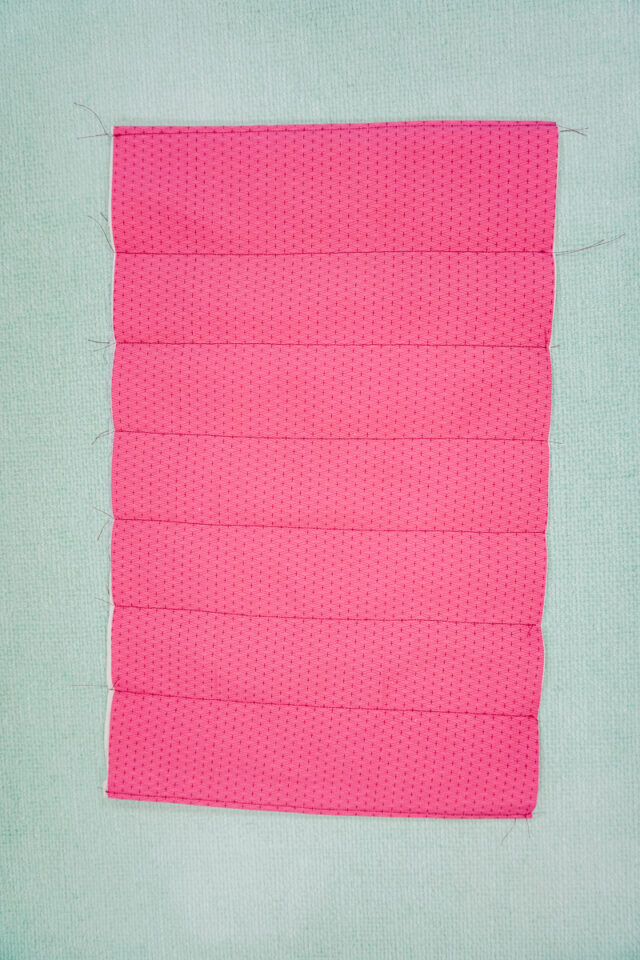
Sew 6 lines of stitching through all the layers parallel to the short ends. This will quilt the layers to keep the batting in place and add a fun detail.
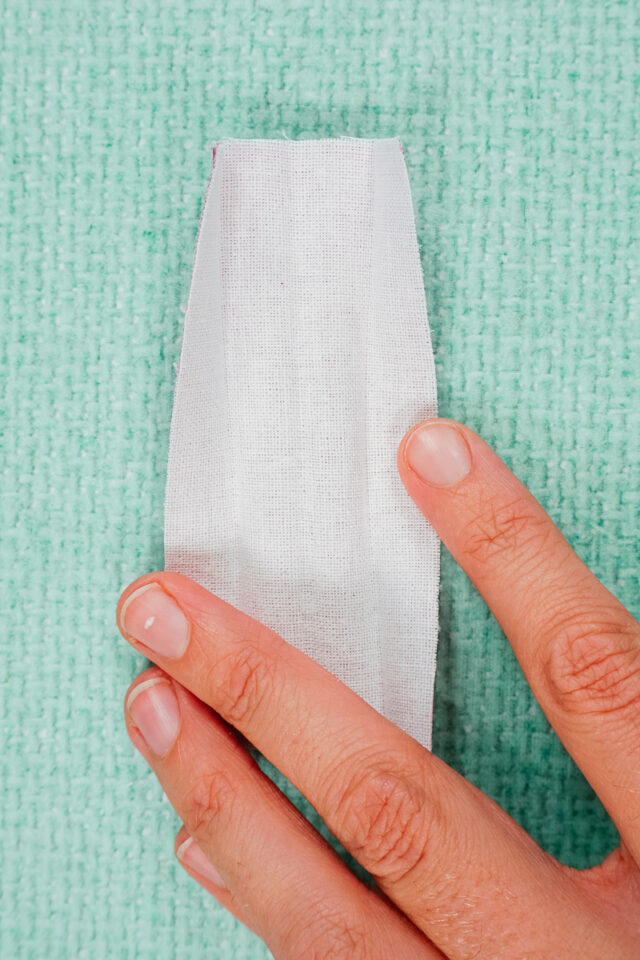
Press the loop in half wrong sidges together matching the long ends. Open the fold back up. Fold each long edge in to meet at the center fold and press.
Fold all three folds with the long edges enclosed inside and press. Keep it folded after pressing.
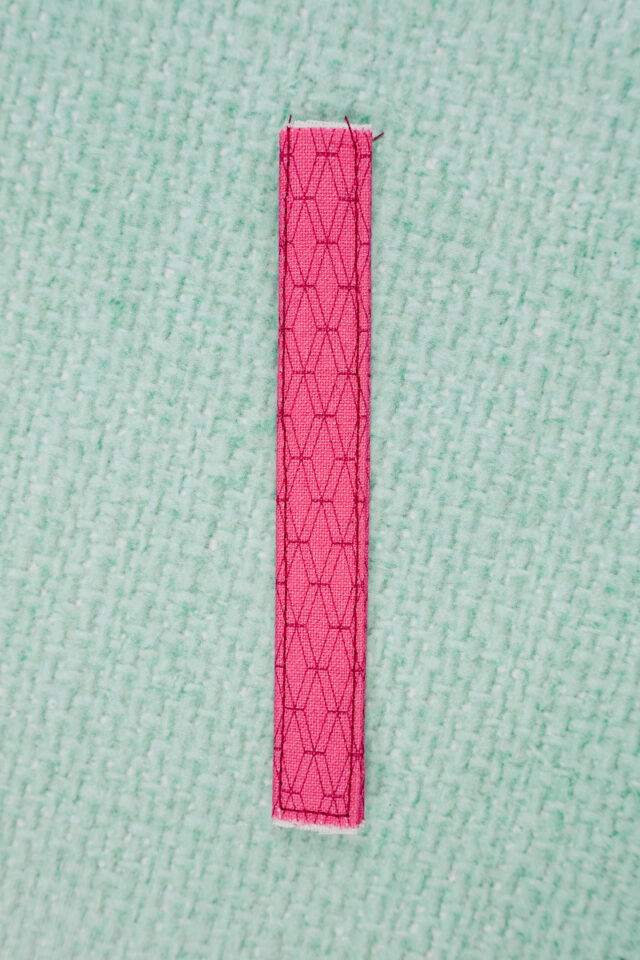
Edgestitch along each long side of the loop to secure the folds in place.
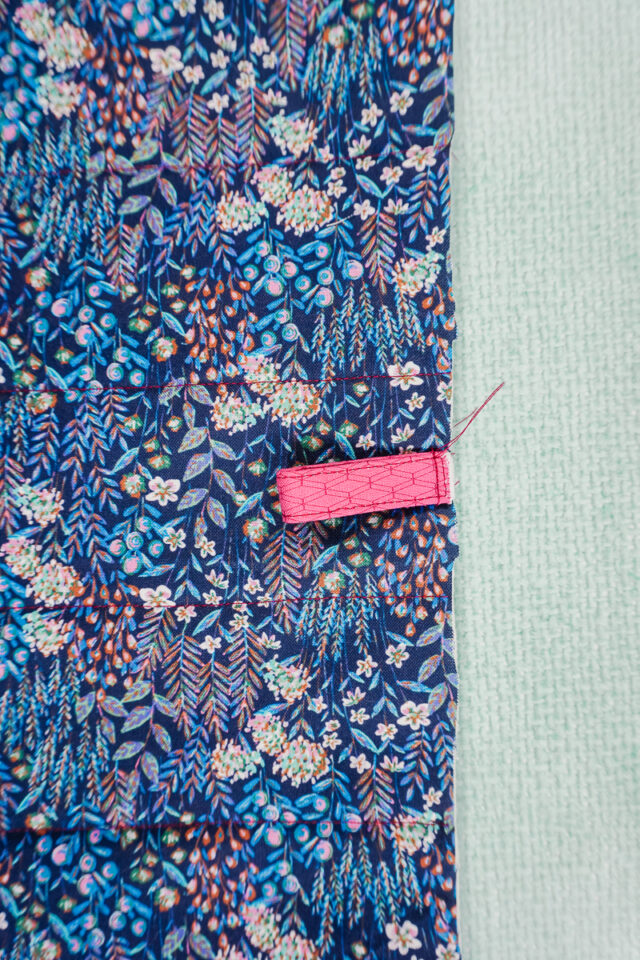
Fold the loop so that the short ends meet. Baste the loop to one of the raw edges of the bag 3 inches from the top.
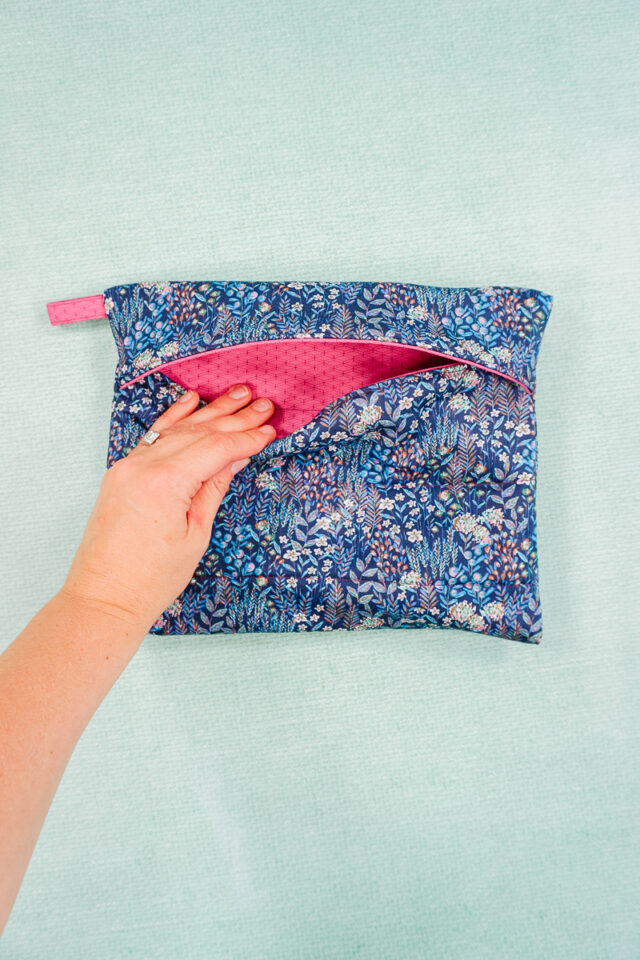
Fold the finished top short edge of the bag down 3 inches. It’ll line up closely with the loop. Clip in place.
Grab the finished bottom short edge of the bag and fold it up over the other finished edge. Overlap the bottom edge 1-2 inches. Clip in place.
Sew both sides with a 3/8 inch seam allowance making sure the overlap stays in the right place. Backstitch when you start and when you stop.
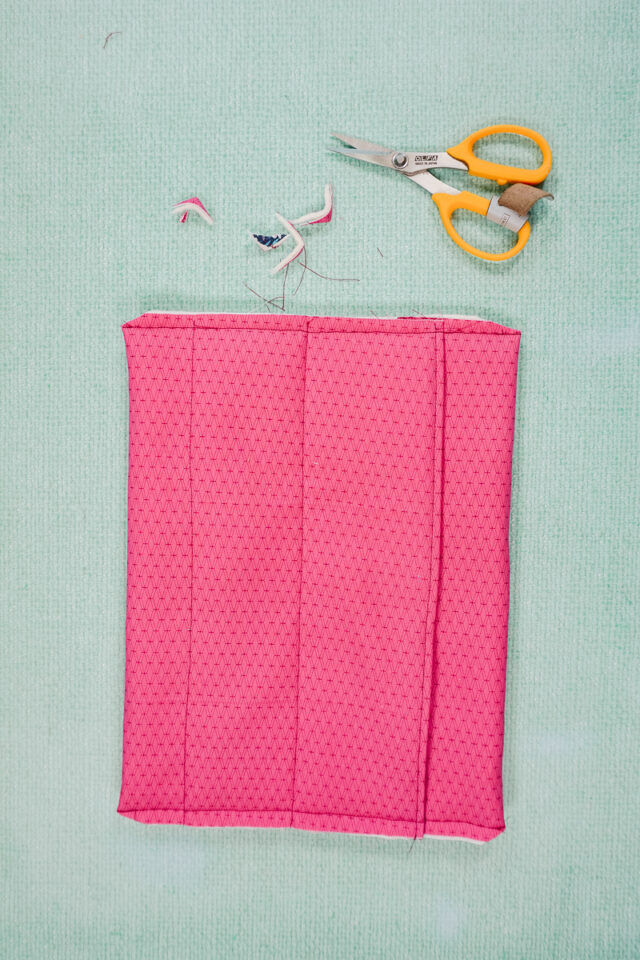
Trim the corners carefully. Don’t cut through the stitches.
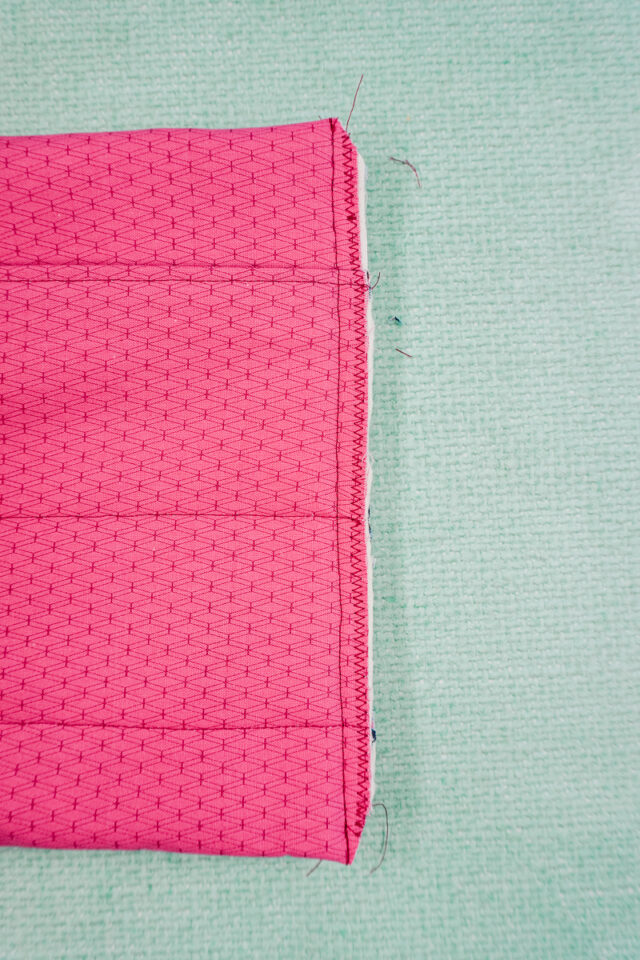
Zigzag the seam allowance on each side to finish the edges. This seam allowance will be inside the bag where it won’t be seen and it won’t unravel in a washing machine.
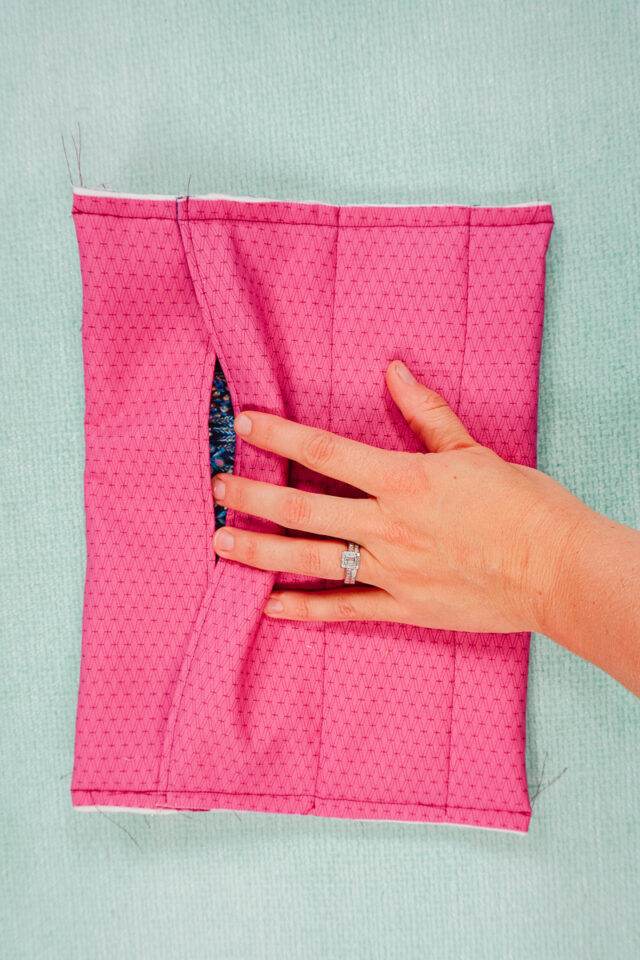
Turn the bag right side out and carefully poke out the corners. Make sure the overlap is correct and the loop is correct.
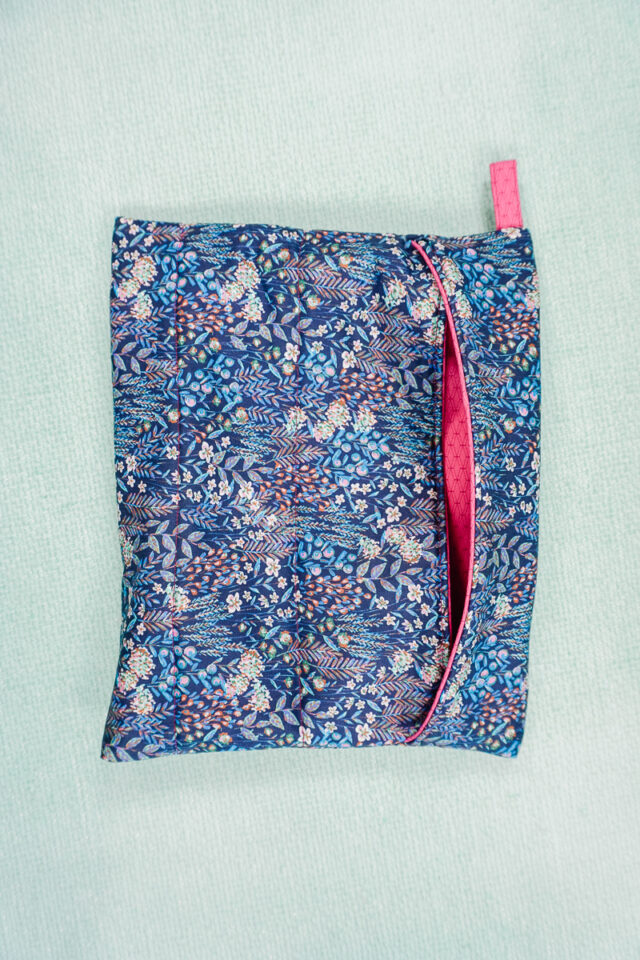
You finished!
If you make something using this sewing project, I’d love to see! Please share it on social media with the hashtag #heatherhandmade and tag me!


I believe small sewing moments can create great joy. Find your own “right” way to sew. -Heather
This turned out great! I put a quilt line every inch because once it was at that step it was 19 inches long and I wanted to divide the lines evenly. It would have been nice to serge the last step but I have no idea if my serger thread is 100% cotton and I definitely made sure it was for the sewing machine thread.
That’s a great idea! That’s why I didn’t serge it, I don’t think I can buy cotton serger thread.
I bought the potato pattern. Looking for the video. Thanks.
There’s actually not a video for this pattern. Sorry!
Where do you get 100% cotton fusible interfacing? I don’t think any fusible interfacing would be safe to use in the microwave
Thank you for pointing that out! I just fixed it in the post to sew sew-in cotton interfacing!
I could only find 100% cotton fusible interfacing but not sew in. Would this be safe one it’s fused to the fabric?
I would not recommend using it. If it’s too hard to find, leave out the interfacing and make it the same. The bag will just look more like a quilt instead of a stiffer bag. Does that make sense? The interfacing is more for looks than for stability.