
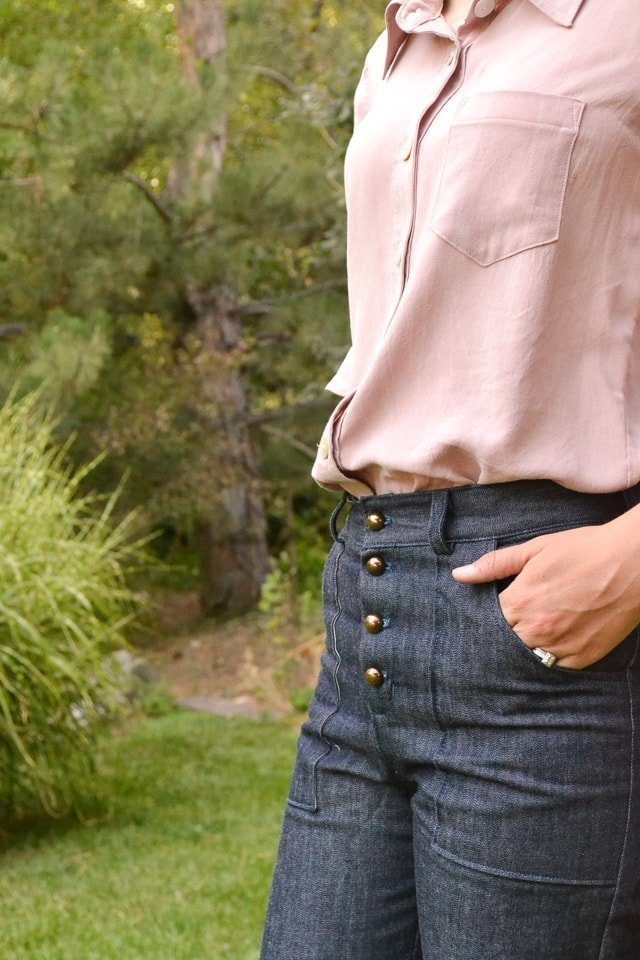
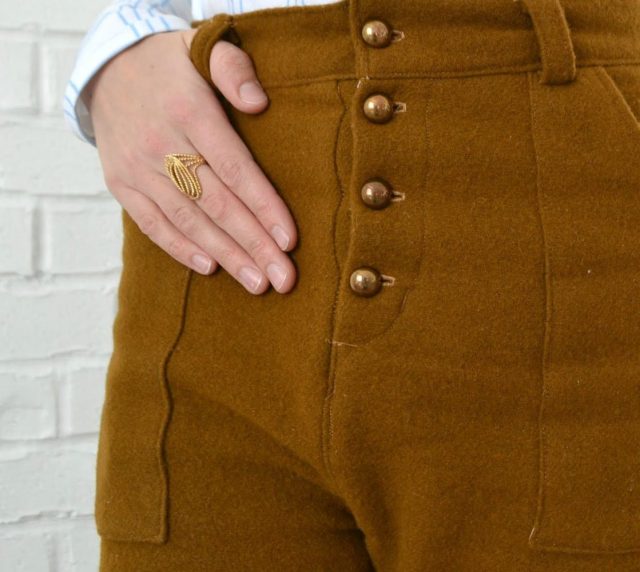
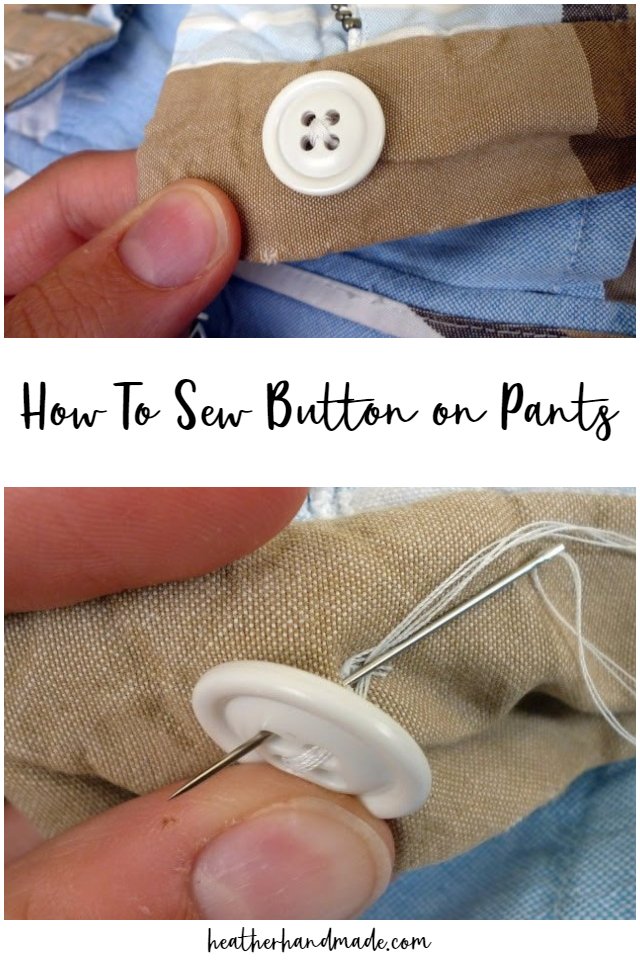
How To Sew a Button on Pants

This post may contain affiliate links.
Learn how to sew a button on pants when it falls off or when you are sewing pants. This is an easy, quick, and strong way to sew on a button.
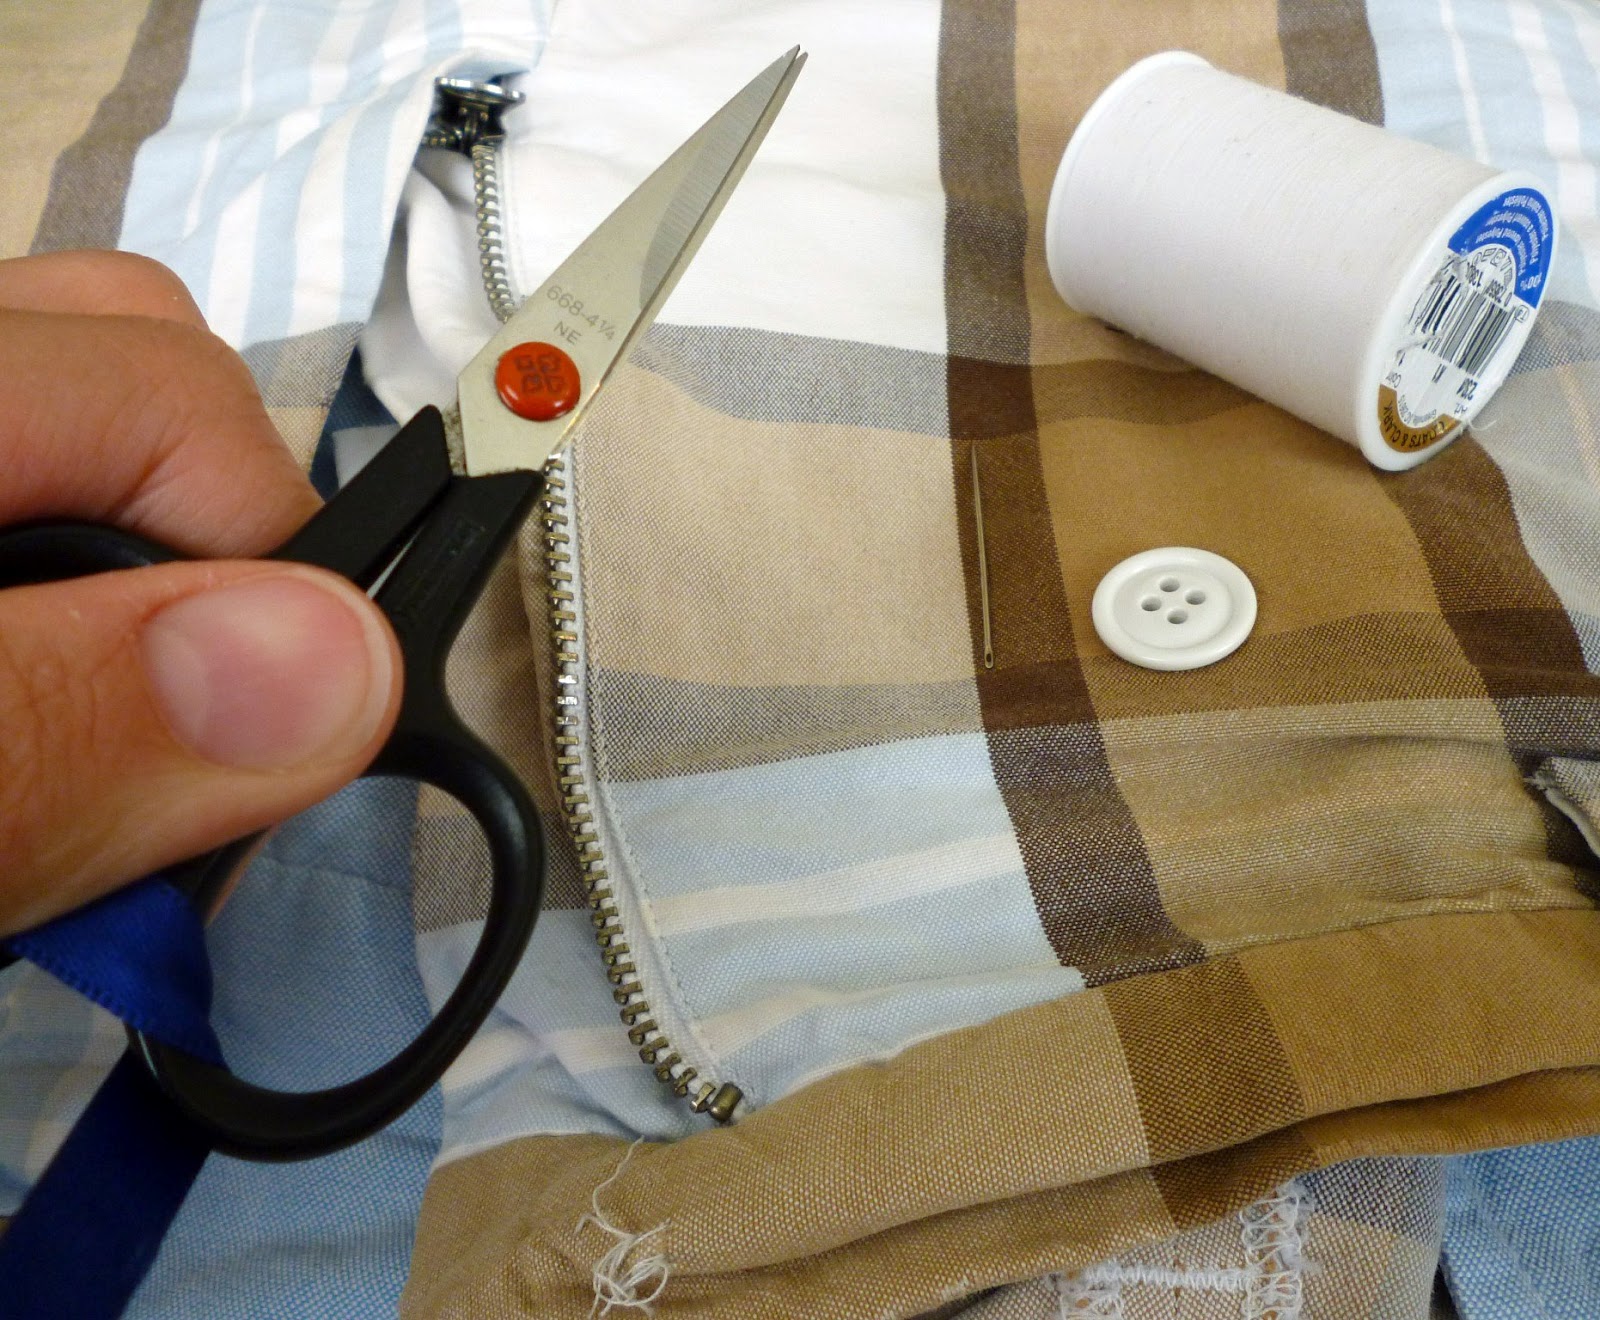
This is the method I learned while working in a tailor shop, and it’s very strong and very quick. It’s also really easy, and you only need a hand needle, thread, and a button.
How to sew a button so it doesn’t fall off?
The best trick for sewing a button so that it’s strong and secure is to use thick thread and to use four threads. You want that thread to be able to hold up against a lot of stress and pull. The thick thread helps, but four thick threads sewn multiple times will be the strongest.
My thread always tangles. How can I fix this?
Pull the thread through some beeswax (there are specific beeswax for thread products you can buy, but any beeswax works). This coats the thread with just enough slip to make it smooth as it’s getting pulled through fabric. It won’t get stuck on itself and makes the sewing so much easier!
What does clear nail polish have to do with sewing on a button?
To keep thread from untying and coming loose, I dab a little bit of clear nail polish on the thread on the front and the back. This sets the thread, makes it strong, and keeps it secure so that it doesn’t unravel. It’s the best trick!

Want more clothing fixes? Try these:
- Clothing alterations and mends you can do
- How to sew a button
- How to sew a button with a sewing machine
- How to open a buttonhole
How to Sew a Button on Pants
Supplies
- Thick Thread (you want something thicker than all purpose thread.
- Optional: beeswax for smooth thread
- Scissors
- Hand Needle
- Button (the right size)
- Optional: clear nail polish
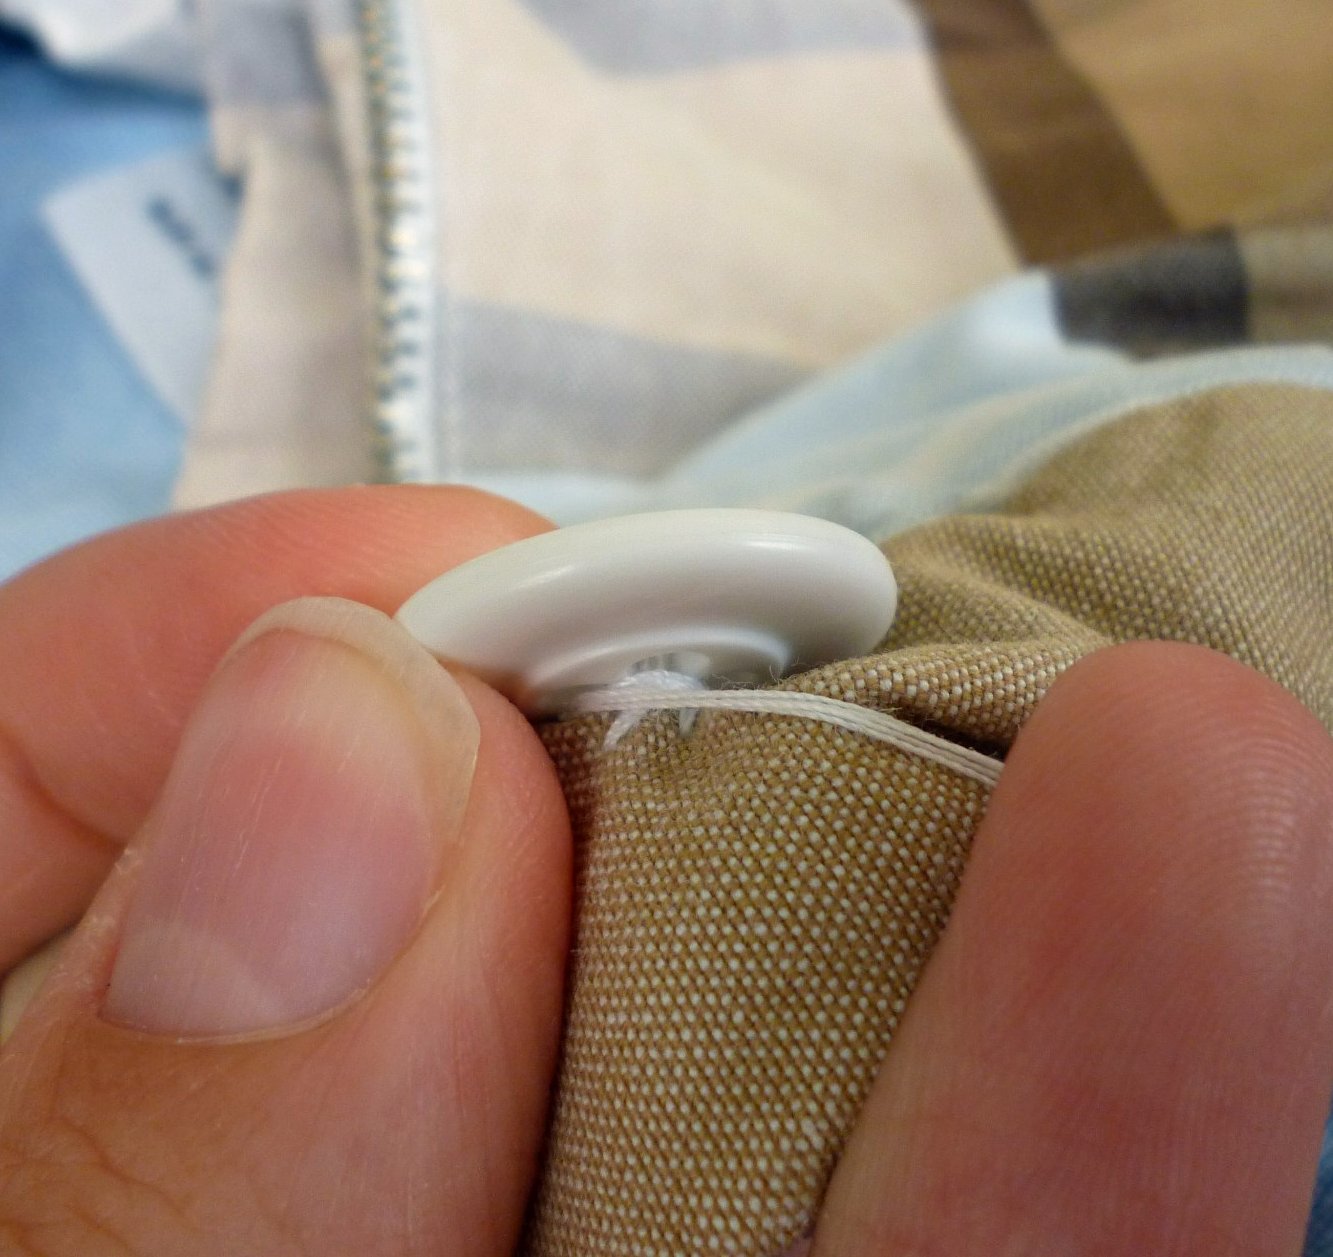
Pull out some thread about 24 inches long. Optional: If your thread always tangles, then pull it through beeswax to make it smooth.
Thread the needle with two strands of thread and tie a slip knot at the other end. This means each time you go in or out of the fabric, you will have four threads.

Decide how you’re going to sew your button on.
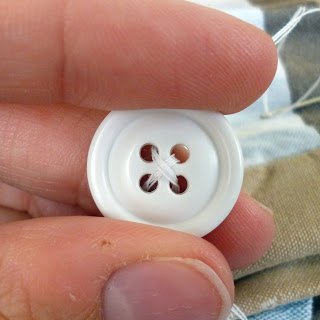
The most common are an “X” design or an “=” design. It’s not set in stone, but it’s common for an “X” design to be seen as masculine and an “=” design to be seen as feminine. There are lots of other designs you can do.
Start from the top so that the knot will be hidden under the button.

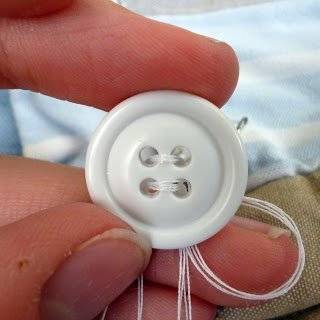
Go up through and hole, down through another hole, and down into the fabric. Come up through the fabric, up through the first hole, down through the second hole, and down into the fabric.
Repeat with the third and fourth hole. You’ll go through each hole twice.
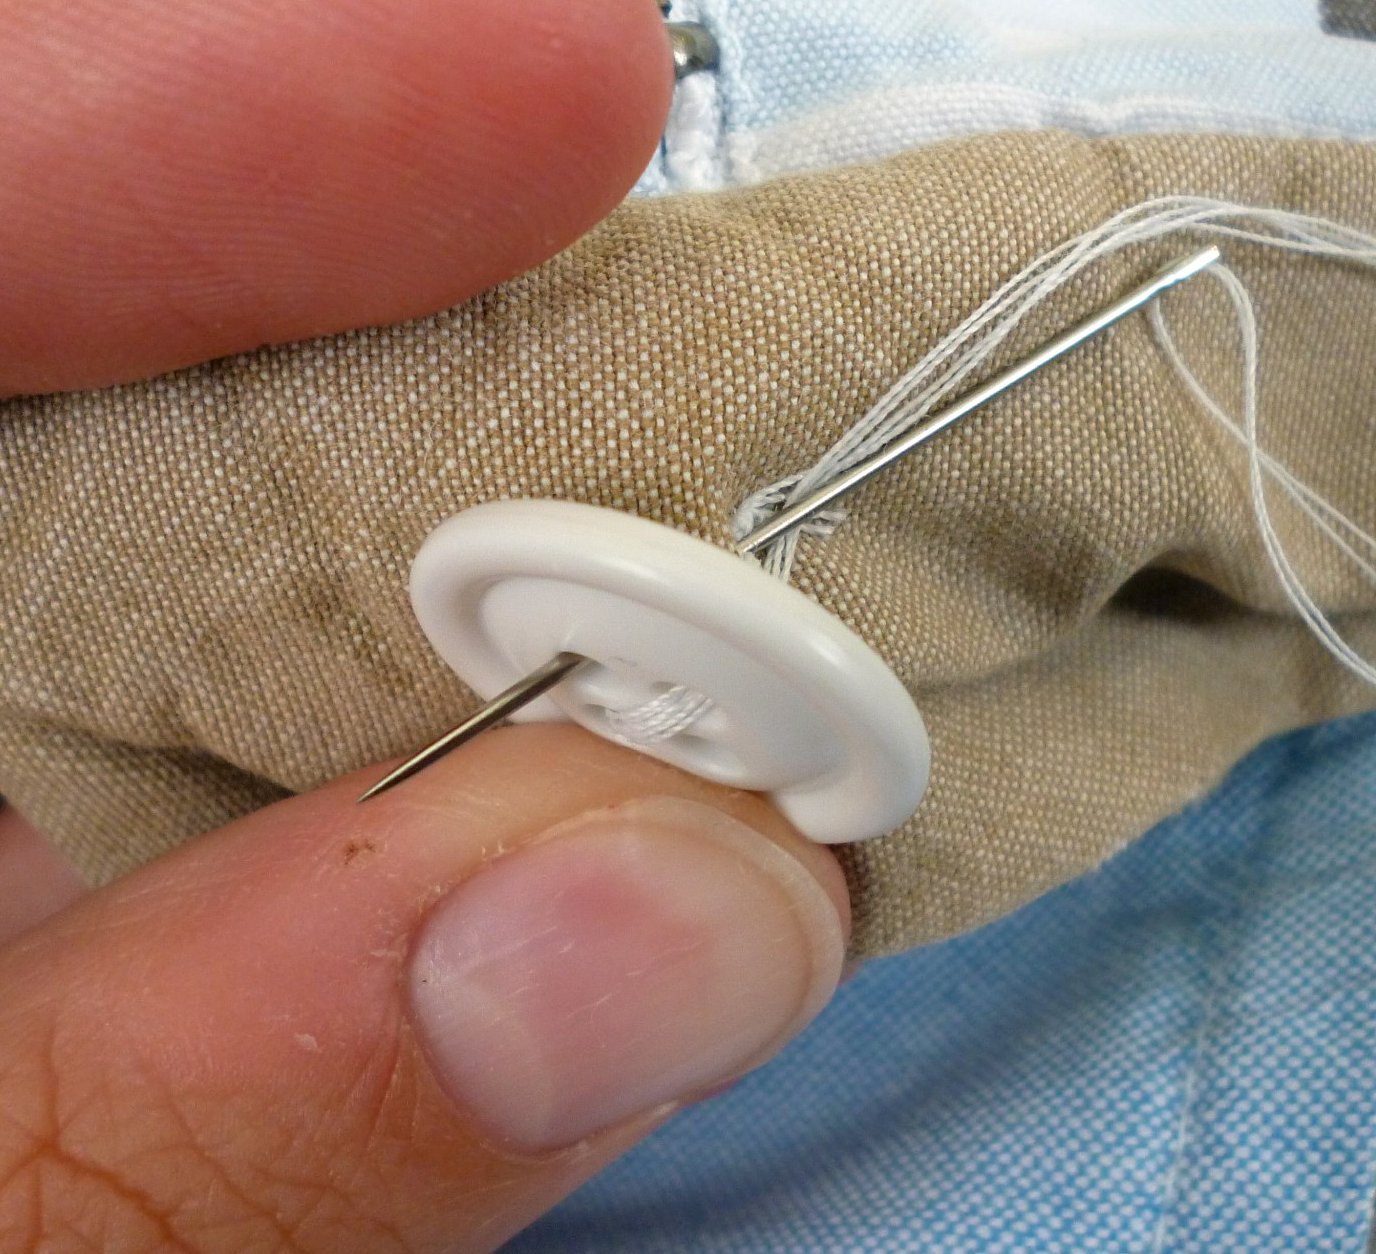
Don’t pull too tight so that you will have a thread shank.
Wrap your thread around the threads about 3-4 times to create a thread shank.
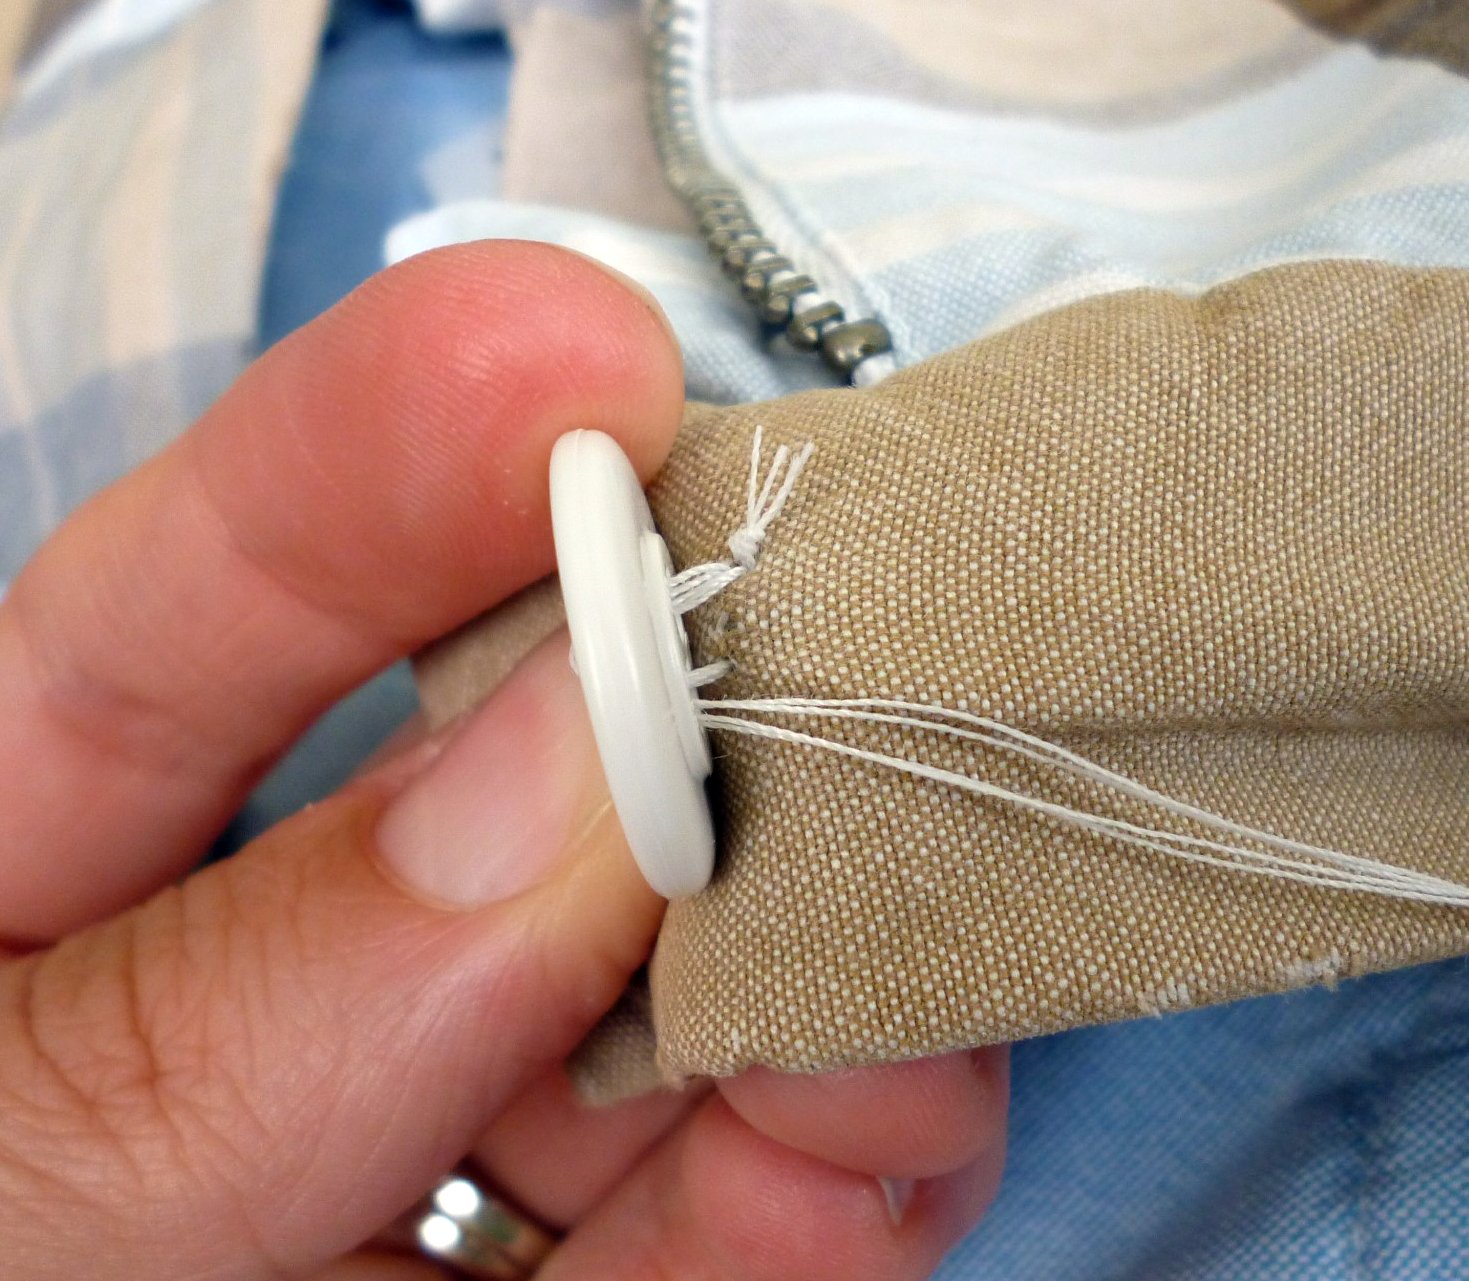
Tie a square knot to finish off by going up and through the loop and then down and through the loop. The main thing is to start on one side to tie a knot and then go to the other side to tie another knot.

Put needle into fabric near the knot and under the button, and then come up out of the fabric about an inch away.
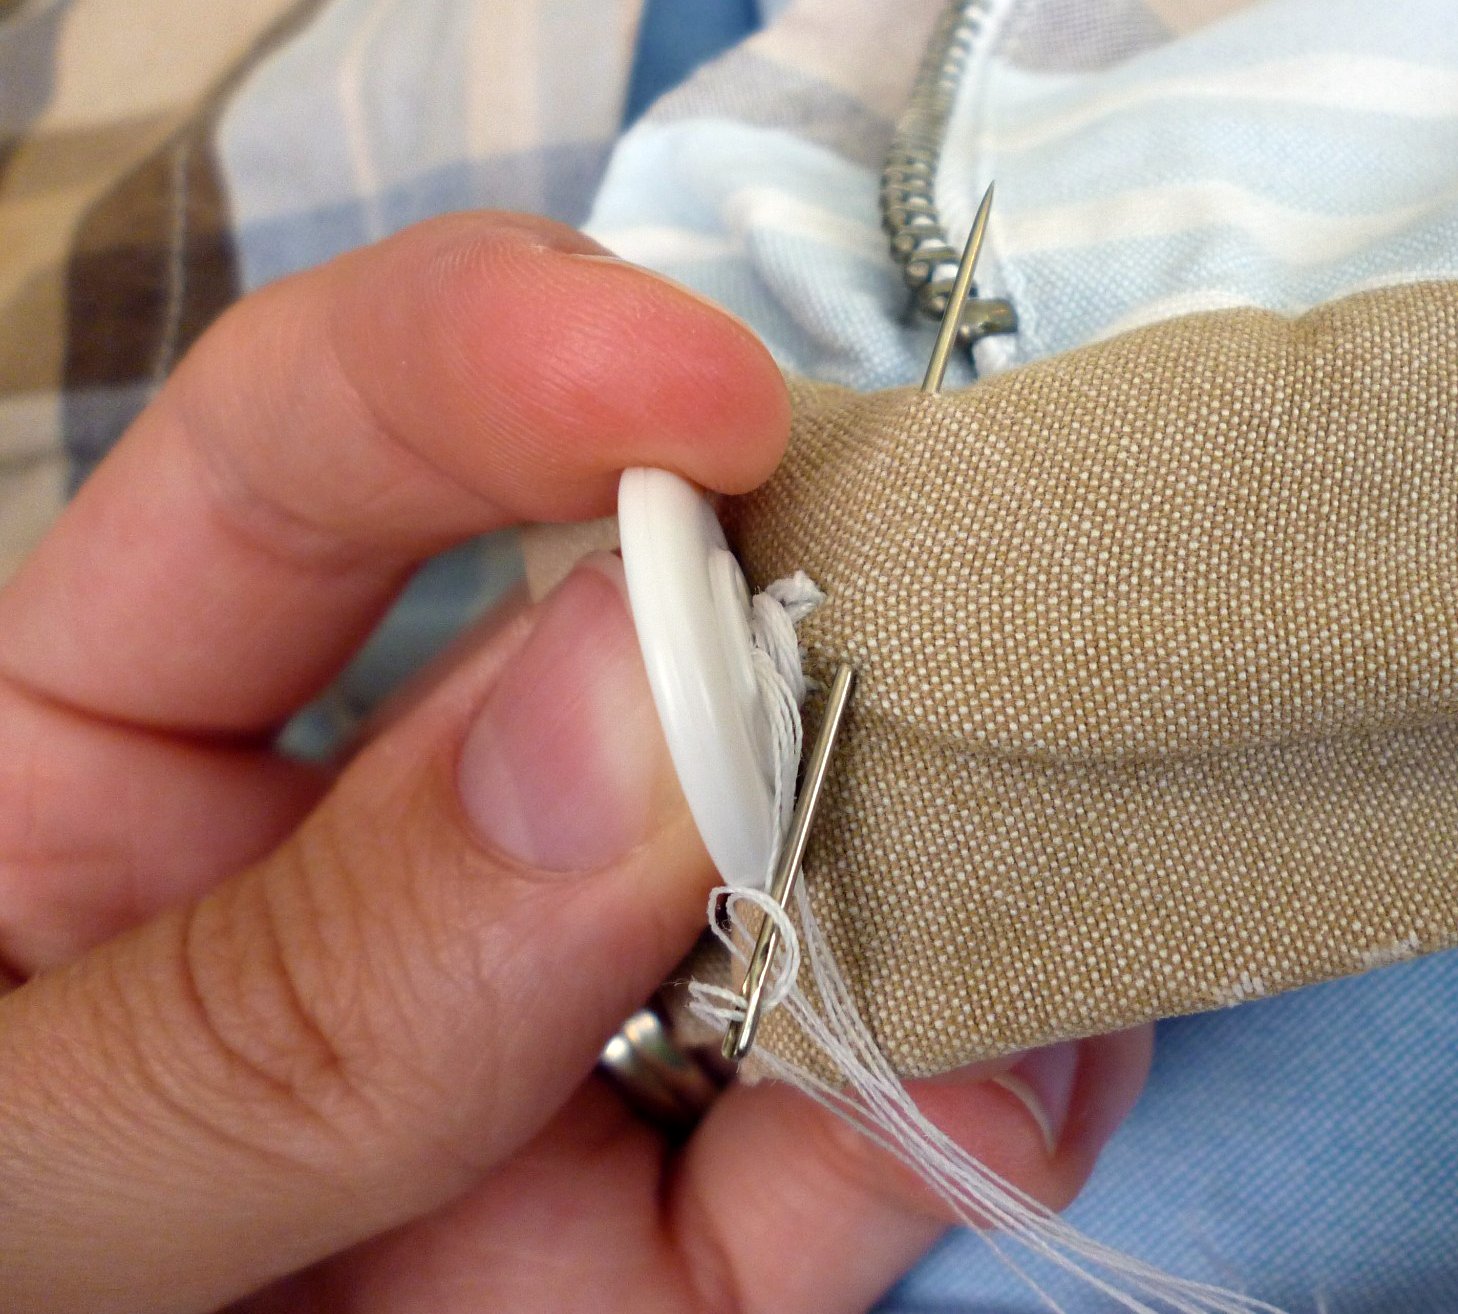
Cut the thread close to the fabric. Now there aren’t any stray threads to show and the long end will help prevent the knots from coming undone.
Optional: dab clear nail polish on the thread on the front and the back. Let it dry. This will strengthen the thread and keep it from unraveling.
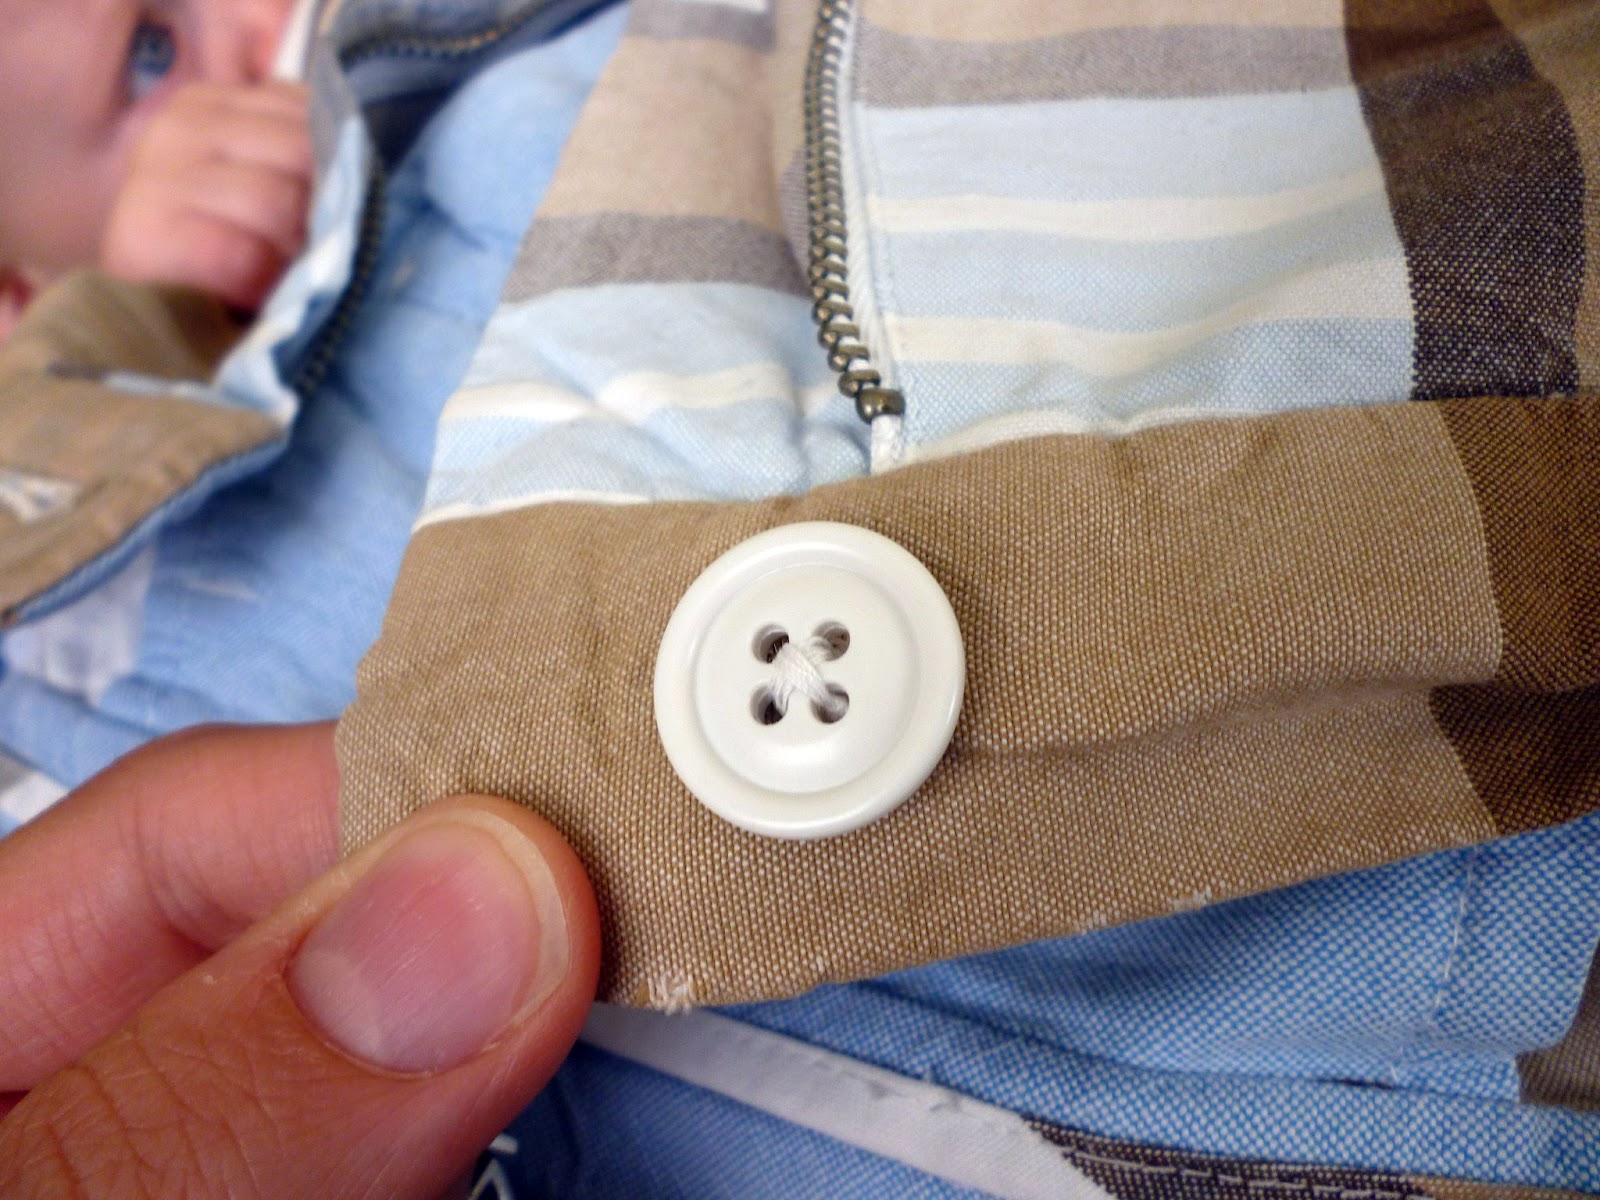
You finished the strong and quick button sewing!
If you make something using this sewing project, I’d love to see! Please share it on social media with the hashtag #heatherhandmade and tag me!

I believe small sewing moments can create great joy. Find your own “right” way to sew. -Heather
A couple of other tips….use heavier weight thread or even Perle Cotton to sew on your buttons and have less mess than using 2 strands and in less time!
Second, add a dab of Fray Check seam sealant to the back threads of all of your buttons and you will never lose another button again!
Thank you for this tutorial! I never looked up a way to sew on a button, just thought I knew, but it always took me forever to get it done. This is great! And I love your new design as well.Wish my blog would look like this! (i miss a menu bar :()
Totally thought I knew how to sew on a button but this is fantastic! Learned new stuff. Thanks!
The new blog looks great! Great button tips 🙂
Those are great tips! And I love your new design!