
How to Sew Darts

This post may contain affiliate links.
Learn how to sew darts to make nicely fitting garments. Sewing darts is a great skill to help you sew sewing patterns!
When sewing a sewing pattern one of the first steps is to sew the darts. This is the case for blouse with darts, pants with darts, and dresses with darts.
Darts are really great for pulling in the excess fabric when fitting curves so that the fabric fits smoothly over you.
If you are learning how to sew, you can start with sewing 101 for beginners!
What is a dart?
A dart is a triangle sewn into fabric to take it in and provide shape. It’s a way to take in fabric and keep a sleek and smooth look. It’s commonly used around a bust, waist, and hips.
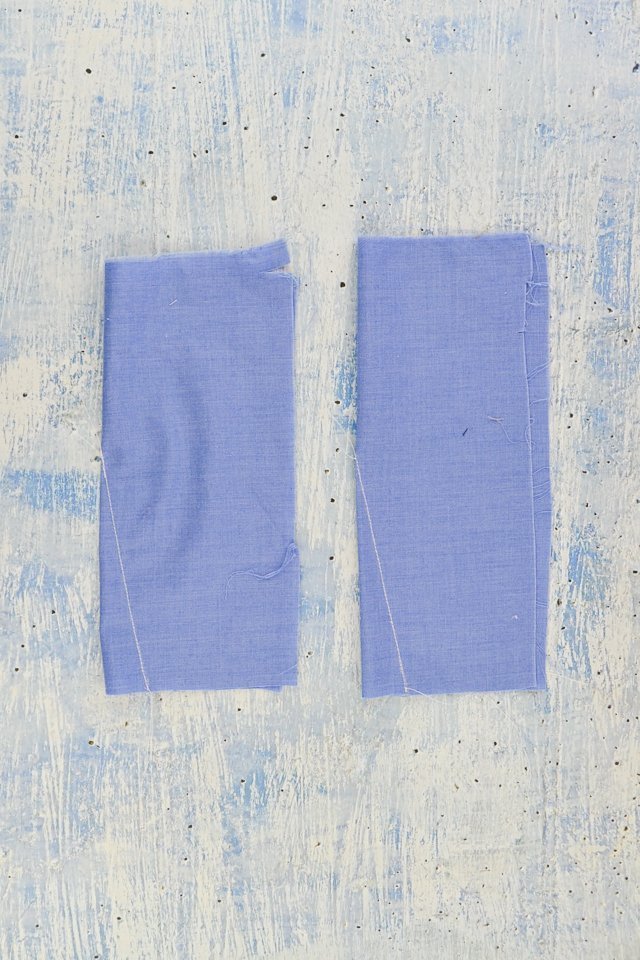
When sewing darts there are a couple of steps that are very important to remember. For an example I sewed two of the exact same size darts on the same fabric. One of them I backstitched at the point and the other I did not backstitch at the point.
The dart on the left has the backstitching at the point, and the dart on the right has a square knot at the point.
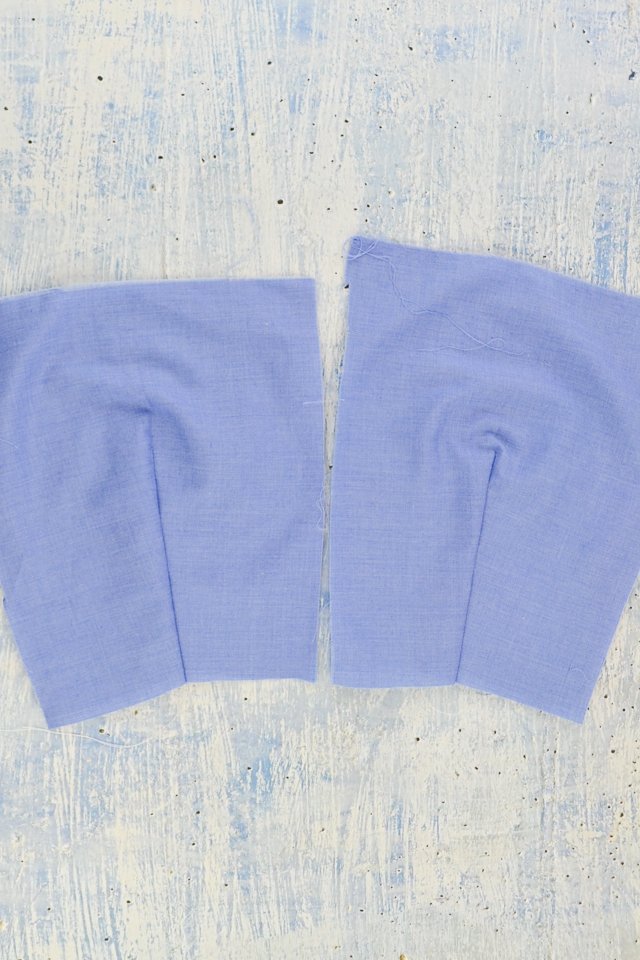
After pressing the darts I wanted to compare them. The dart on the left has the backstitching at the point, and the dart on the right has the square knot.
I don’t think you can see the difference with your eye, but if you feel the darts with your finger the left dart definitely has extra bulk. I don’t think anyone wants extra bulk added to the end of the dart.
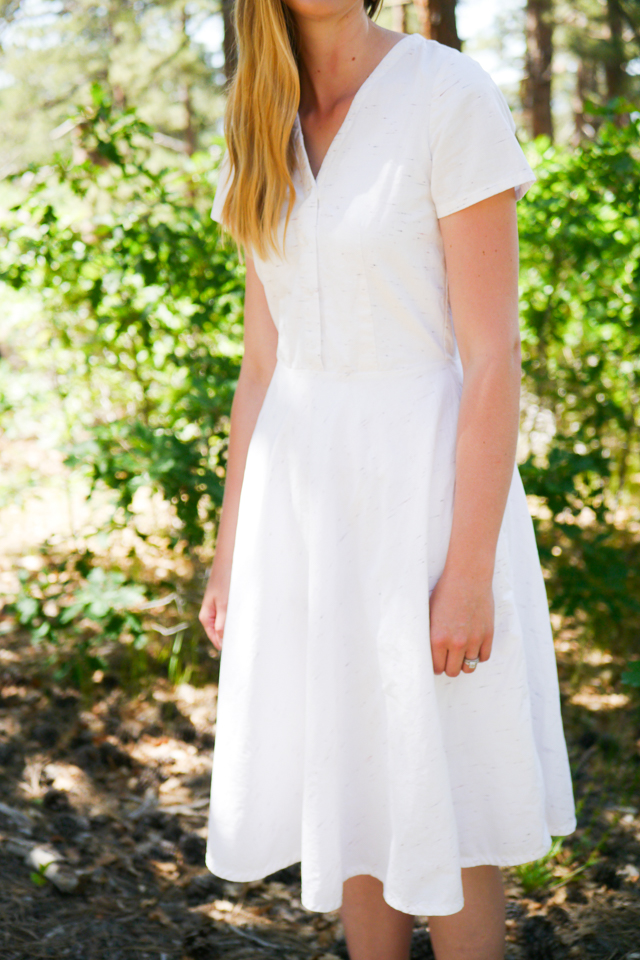
One way I love to use darts besides a sewing pattern is to add back darts to a shirt or to add back darts to a dress. It cinches in the back just enough for a more flattering fit.
How to Sew Darts
Supplies
- sewing pattern with darts
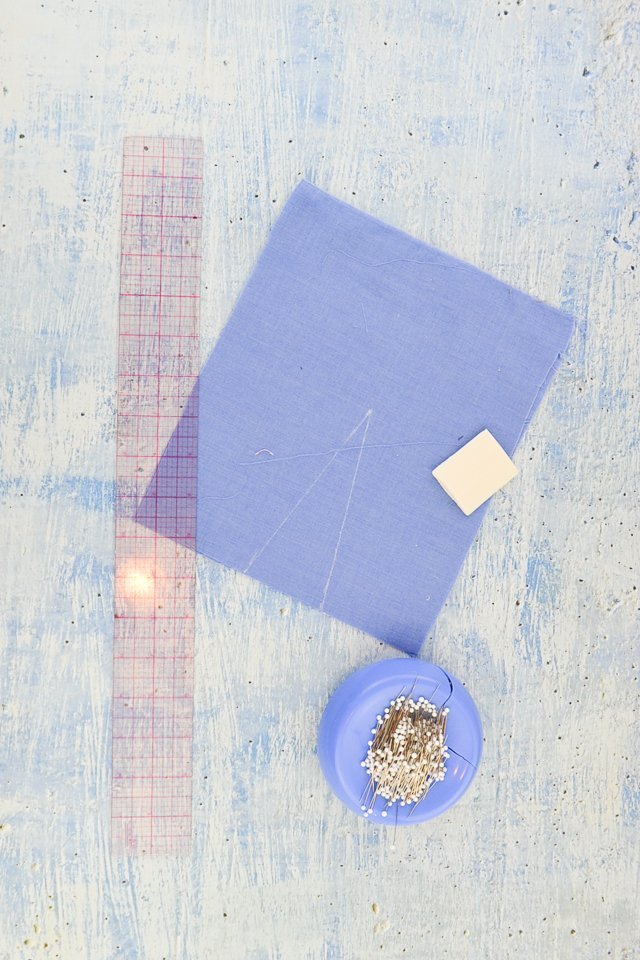
- marking tool – I like a washable fabric marker for light colored fabrics and tailor’s chalk for dark colored fabrics.
- ruler
- sewing tools
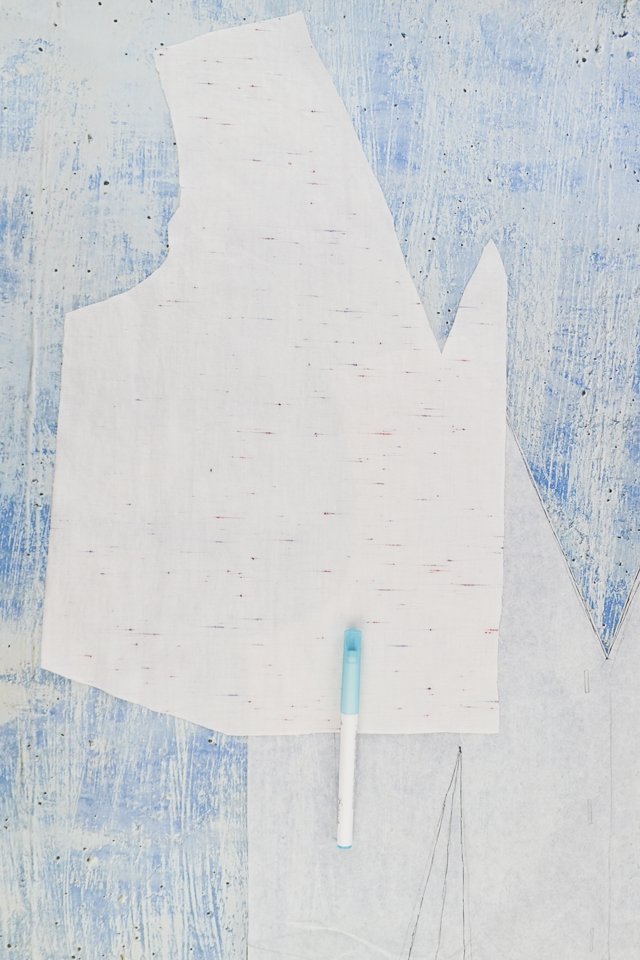
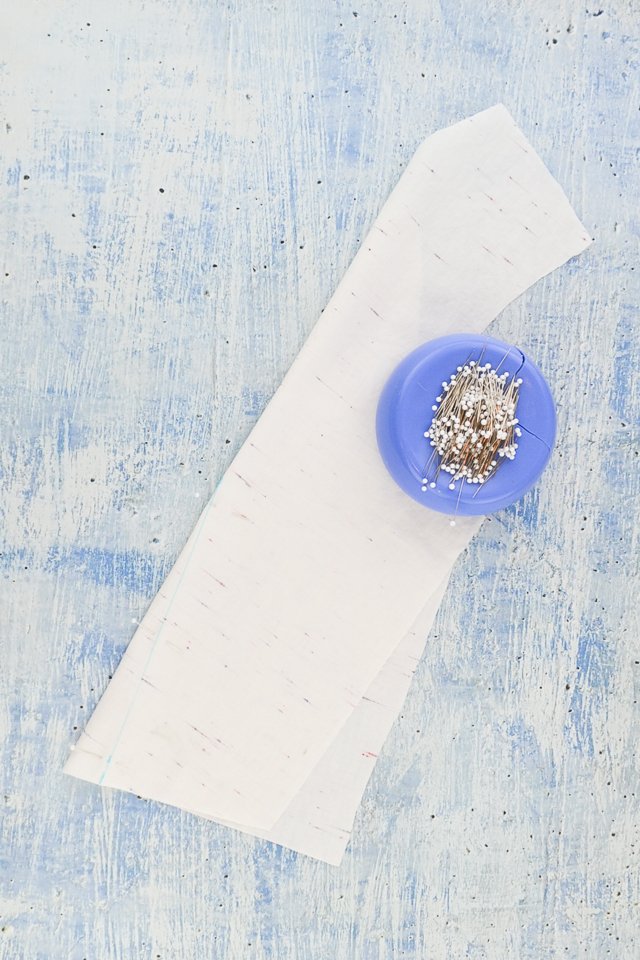
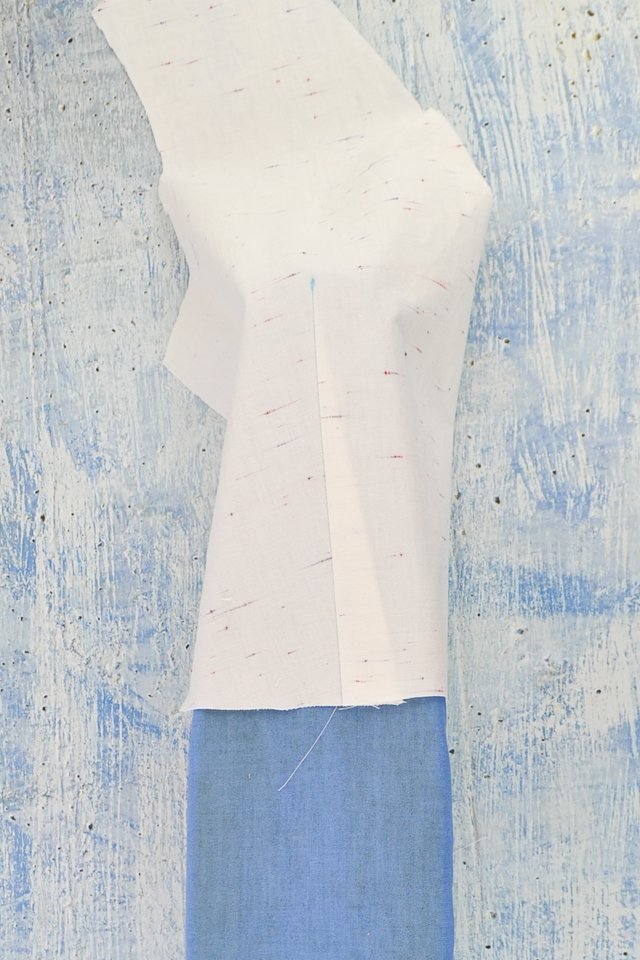
First, you need to mark the dart. Place the pattern piece over the cut piece of fabric. Place pins at the point and at the end of each dart leg.
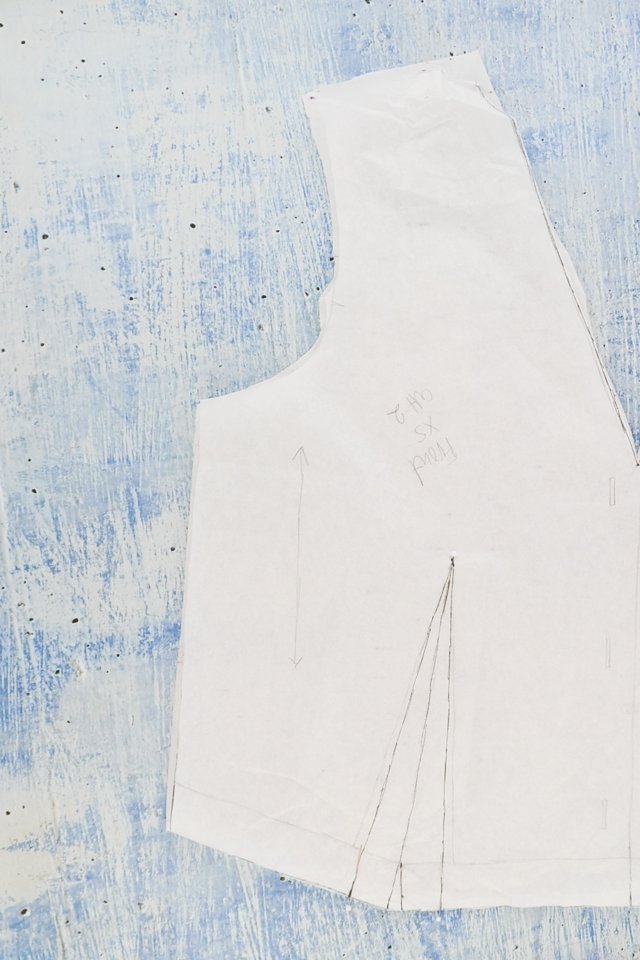
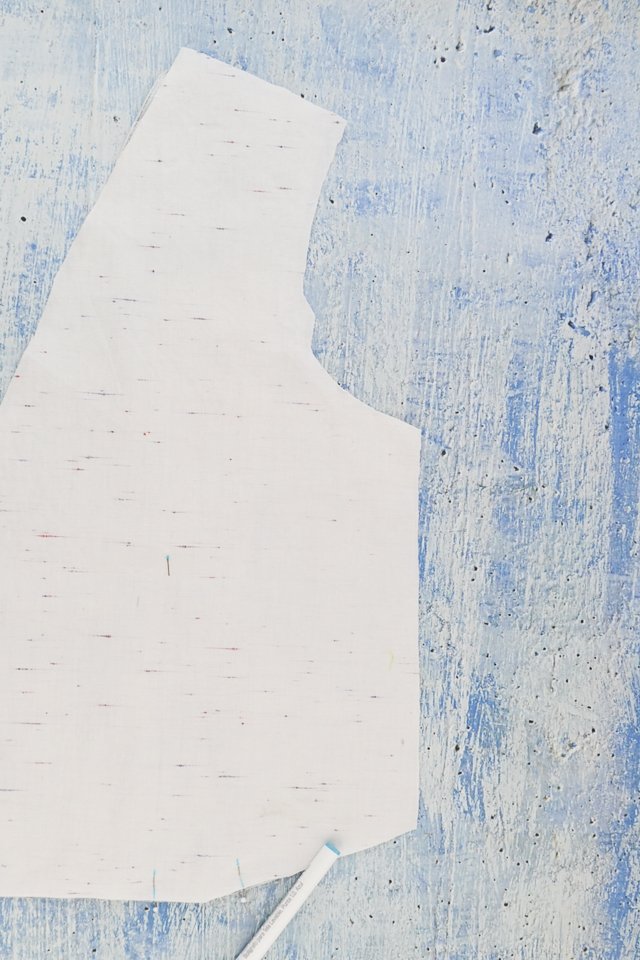
Flip the piece over and mark each pin with the marking tool on the back of the fabric.
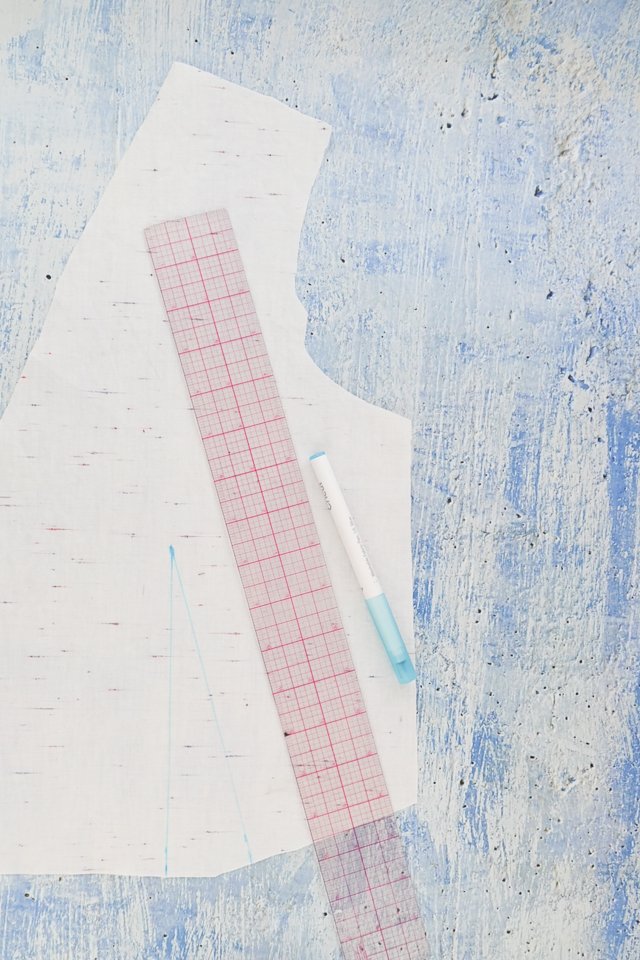
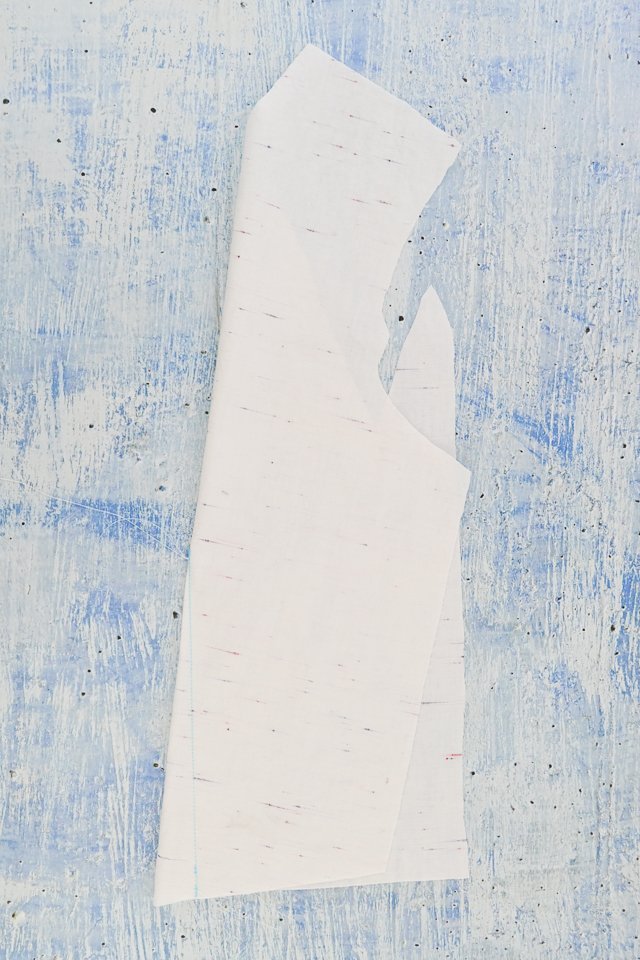
Remove the pins and the pattern piece. Use a ruler to draw a straight line from each of the two dart legs to the point of the dart.
If using darker fabric I like to use tailor’s chalk. I use pins and a ruler in the exact same way.
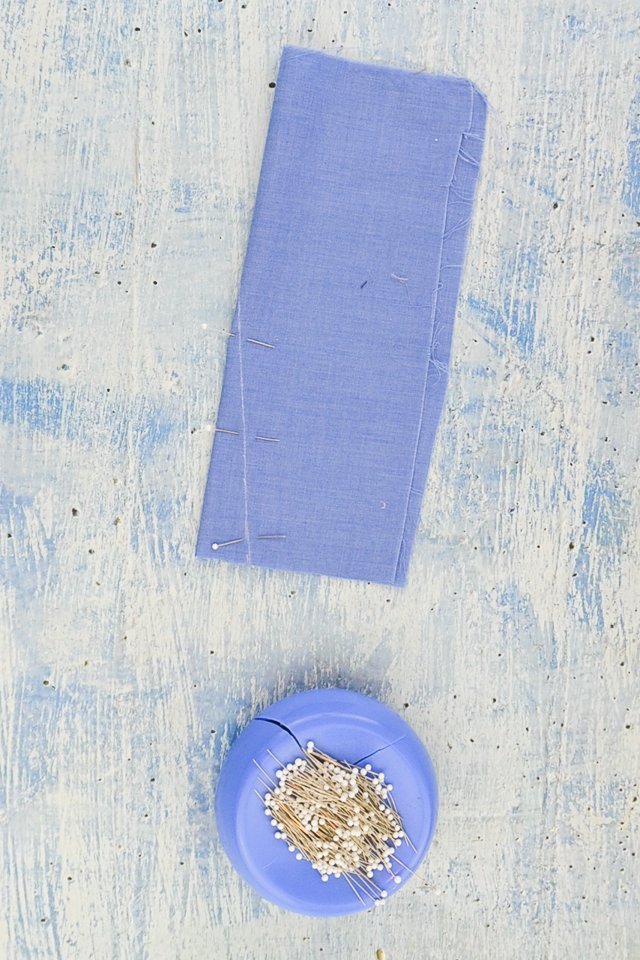
Fold the dart in half at the point and line up the dart legs. Pin the dart in half.
This works the same if you are using tailor’s chalk.
Now you will sew the dart with a straight stitch. Start at the end of the dart legs and backstitch. Then sew a straight line down to the point.
DO NOT backstitch at the dart point. Instead sew right off the edge of the fabric. Leave long fabric tails.
Tie a square knot in the thread tails.
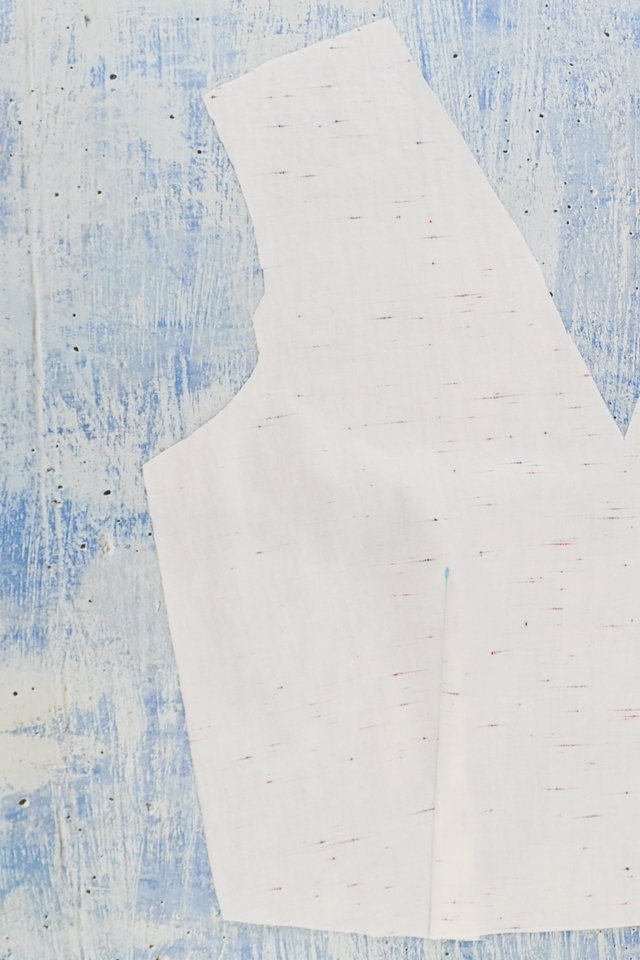
Press the dart in half from edge of the fabric to the dart point.
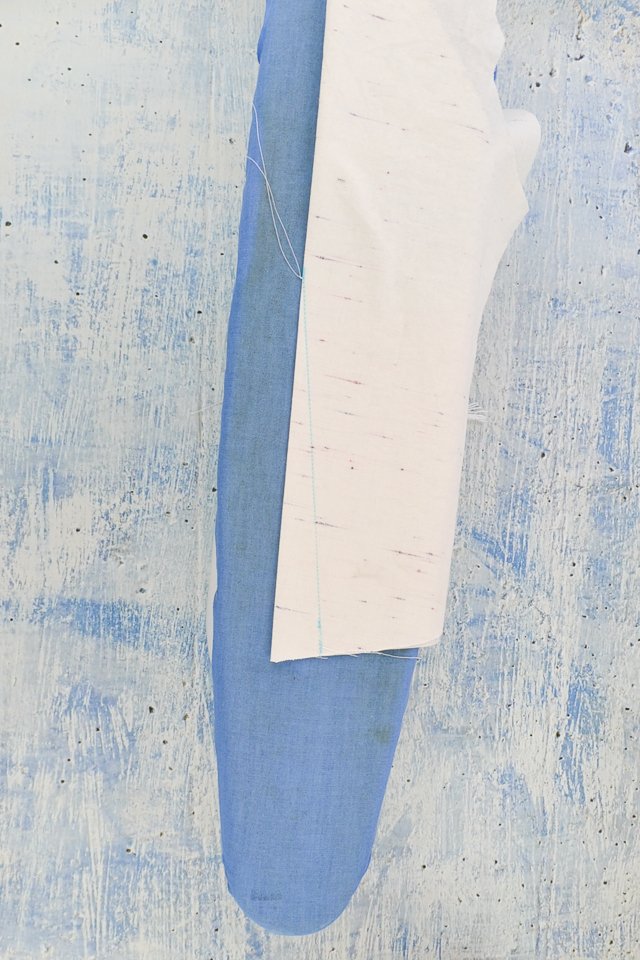
Open the pattern piece. Place the dart point on a tailor’s ham or the point of a ironing board. Press the dart towards the center front if it’s a vertical dart or down if it’s a horizontal dart.
Wash or steam the markings away. Finish constructing your garment.
If you make something using this sewing project, I’d love to see! Please share it on social media with the hashtag #heatherhandmade and tag me!

I believe small sewing moments can create great joy. Find your own “right” way to sew. -Heather
How do you print your tutorial? I am 74 and need it printed. Thanks for your site, Heather.
You can copy and paste it, or I make it into a PDF that you will have to purchase for $2.50.