
How to Sew a Luggage Handle Cover

This post may contain affiliate links.
Learn how to sew a luggage handle cover with a beginner sewing project. Make it easier to identify your luggage while traveling.
Do you find it hard to identify your luggage while traveling? Do you have lots of family members that all have similar suitcases, and you want to make it easy to differentiate them in the back of your vehicle?
Learn how to make a luggage handle cover! It’s a quick and easy sewing project that creates a handle cover. Make a different one for each suitcase, and you’ll never mix the luggage up again. Not only is it satisfying, you can use up scraps of fabric!

What is a luggage handle cover?
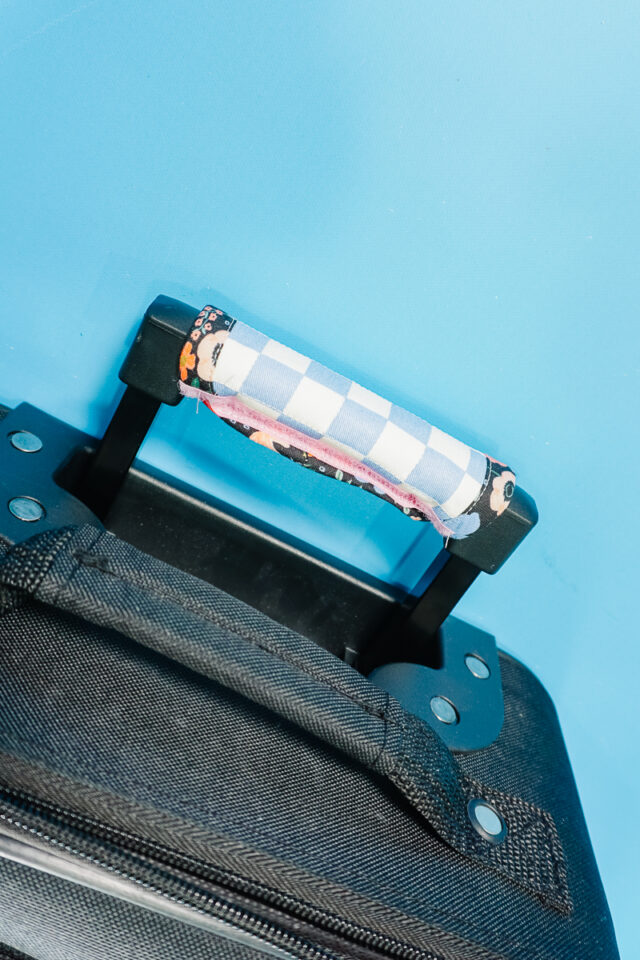
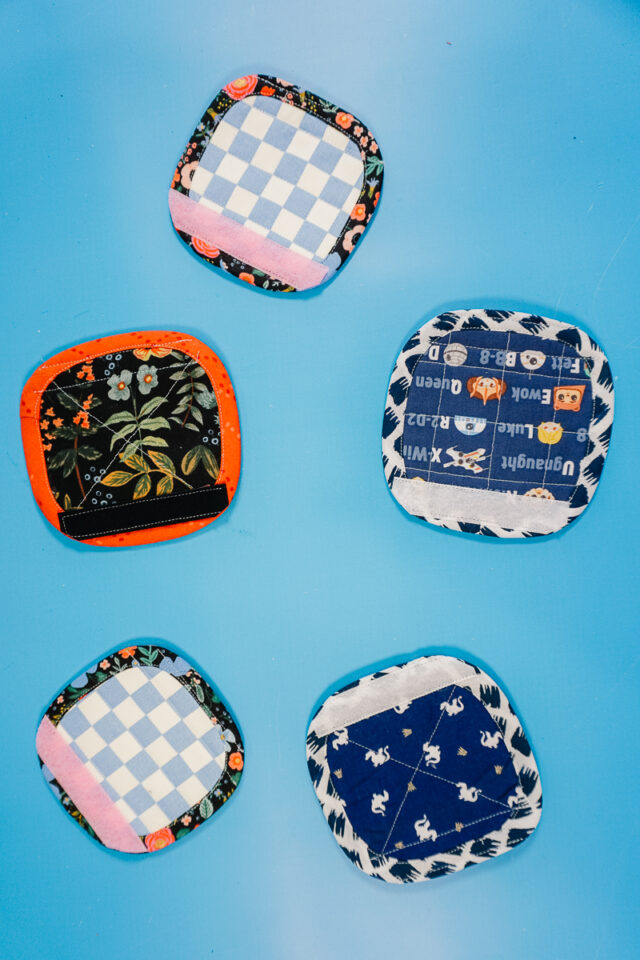
A luggage handle cover is a fabric cover that can be wrapped around luggage handles and attached with Velcro. It is a quick sewing project that makes the luggage handle a little more cushioned, and it makes it so easy to identify your luggage while traveling. Nobody will have the same luggage handle as you!

What fabric works for a luggage handle cover?
The best fabric to use for a luggage handle cover is quilting cotton or canvas. I used both for these luggage handles that I made, and the fabrics worked really well. Those fabrics are easy to sew and easy to find.
I would recommend darker colors since the luggage handle is bound to get dirty quickly and dark colors will hide it. We have even flown once since I finished them, and I loved how easy it was to identify our luggage.

Love to sew? Try one of these sewing projects:

How to Sew a Luggage Handle Cover
Supplies
- Scraps of quilting cotton or canvas fabric
- Scraps of fusible interfacing
- Scraps of fusible fleece
- 1/2 inch double fold bias binding
- Velcro
- Sewing tools
- Sewing machine
Do you just want the pattern and tutorial as a PDF? Get the pattern and tutorial for just $5. You won’t need to access the internet every time you want to make it. Or get the Pattern Bundle with ALL the PDF tutorials!
Instructions
You might need to measure your handle to get a better fit, but I’ll share my measurements that worked for two different sized carry-on sized suitcases.
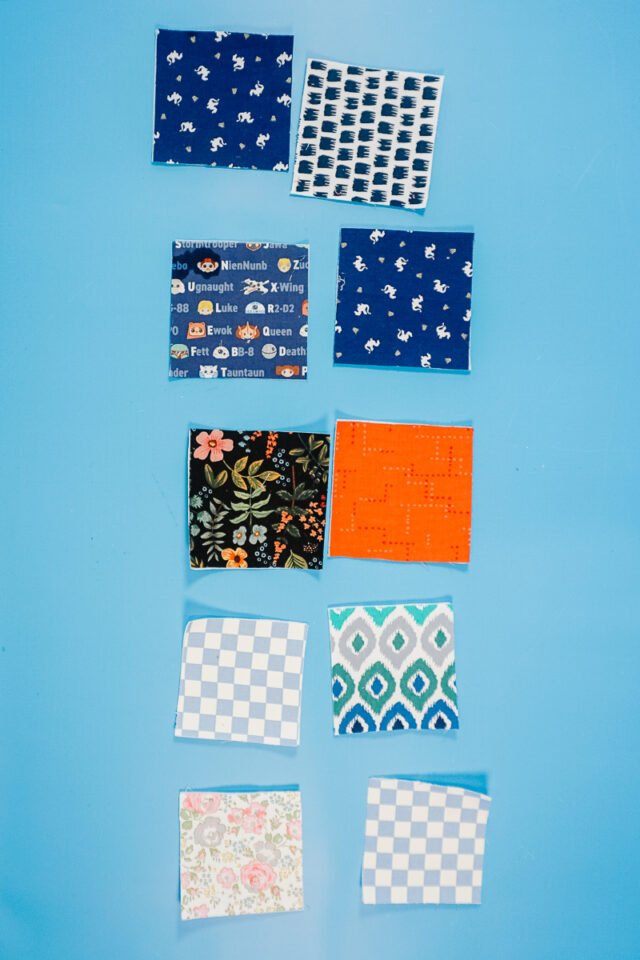
Cut out two pieces of fabric that are 5 inches by 5 inches. There is so seam allowance in these measurements so the handle covers will be 5 inches wide and will make a 4 inch tube when closed.
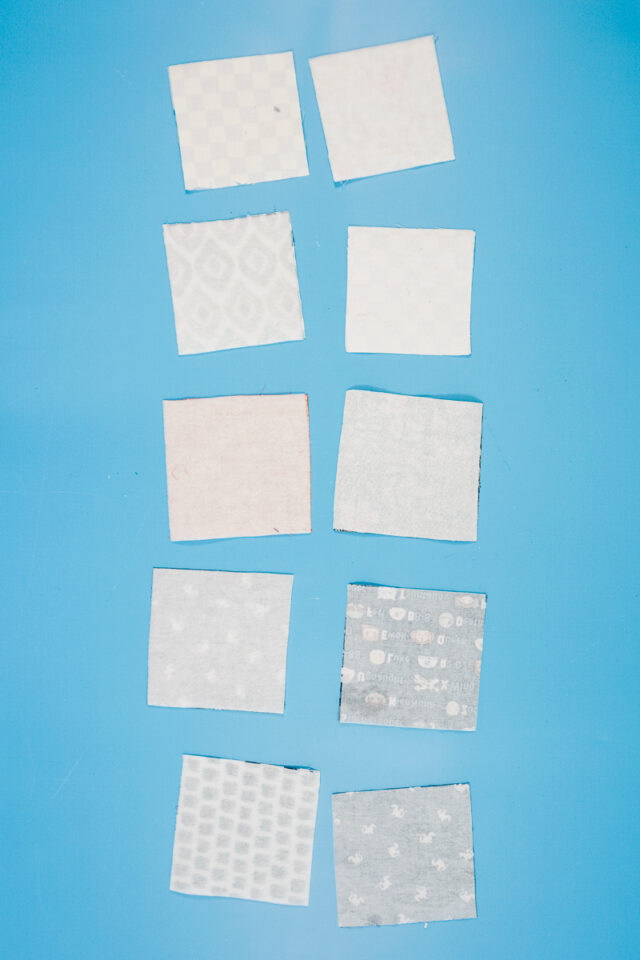
Cut out one piece of fusible fleece and one piece of fusible interfacing that are 5 inches by 5 inches.
Iron the fleece to the back of one piece of fabric and the interfacing to the back of the other piece of fabric.
Sandwich the pieces with wrong sides together. Quilt the layers together in whatever way you’d like.

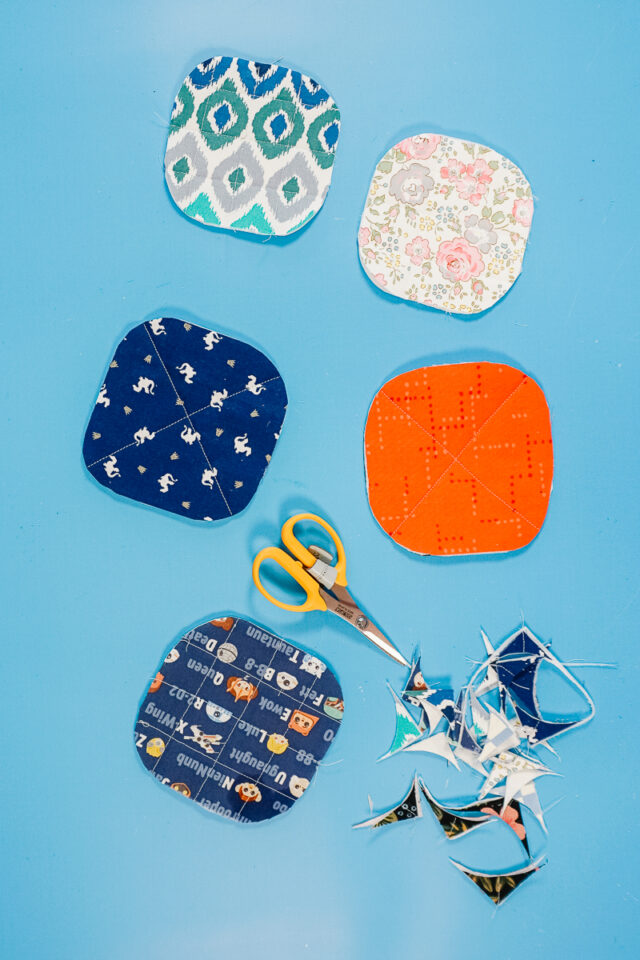
Optional: I prefer to sew bias binding onto curved corners over 90 degree corners, so I cut all my corners into curves. You can do this if you like the look and technique.
Finish the outer edges with bias binding. You can use pre-made bias binding or make your own. It’s a fun way to mix and match fabrics.

Cut the Velcro pieces to be 5 inches long. Sew one Velcro side onto one side of a square and then sew the other Velcro side onto the backside and other side of the square. You want the edges to overlap when you put the Velcro together.
If any Velcro corners poke off over the curved corners you can trim them away.
Check to make sure the Velro overlaps when you close the handle covers.
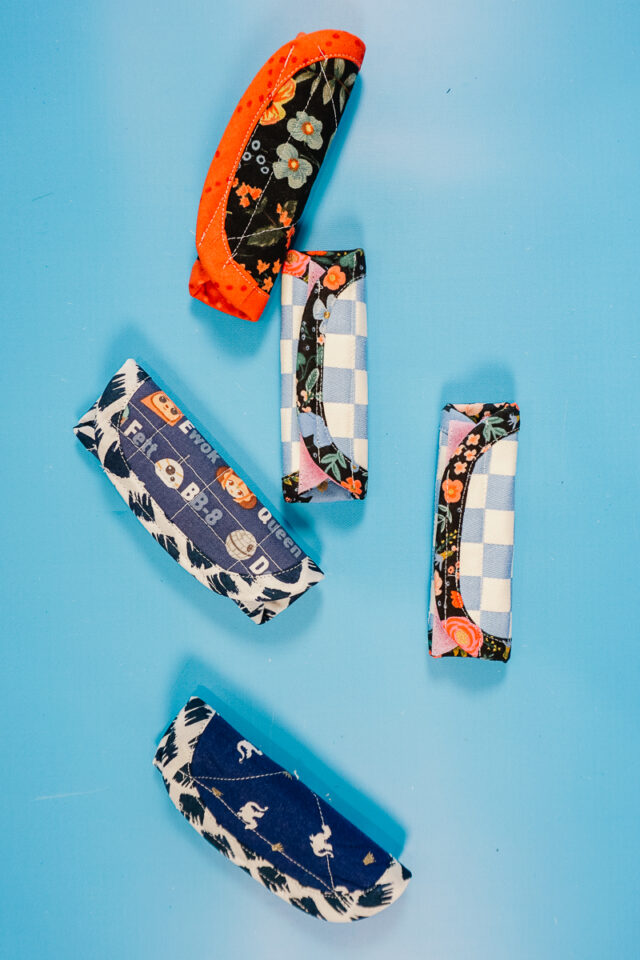
Put your new handle cover on your luggage. You finished!

If you make something using this sewing project, I’d love to see! Please share it on social media with the hashtag #heatherhandmade and tag me!


I believe small sewing moments can create great joy. Find your own “right” way to sew. -Heather
I have one of these I bought in a neon green color but I love the idea of making matching ones for all my luggage. It really helps to pick out your suitcases on the carousel. Thanks!
Great idea
Thank you!
I love this post. This is such a great idea!
Thank you!