
How to Sew a Jar Opener

This post may contain affiliate links.
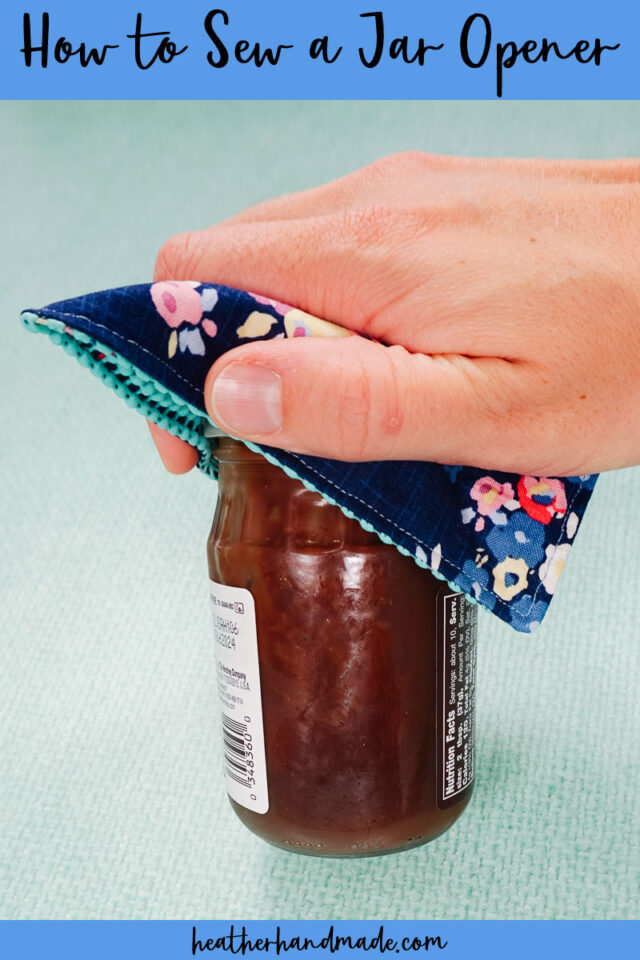
Learn how to sew a jar opener to make opening jars easier. This beginner sewing project is great for the kitchen and is a quick gift.
What do you do when you can’t open a jar? Isn’t it so frustrating to be stuck with a stuck jar? I’ve tried make the jar cold or hot, using a hand towel, and yelling at the jar without any luck.
A quick solution is a fabric jar opener. Jar openers are so quick and easy to sew, but they are so useful in the kitchen. They don’t take up a lot of room in a drawer, but it’s so handy to have one whenever you can’t open a jar!
What is a fabric jar opener?
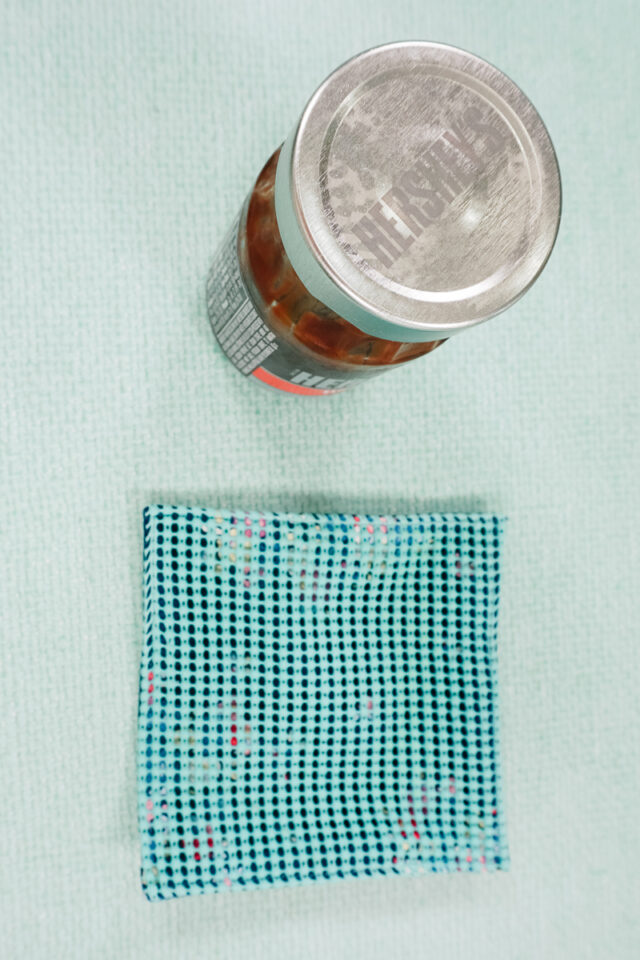
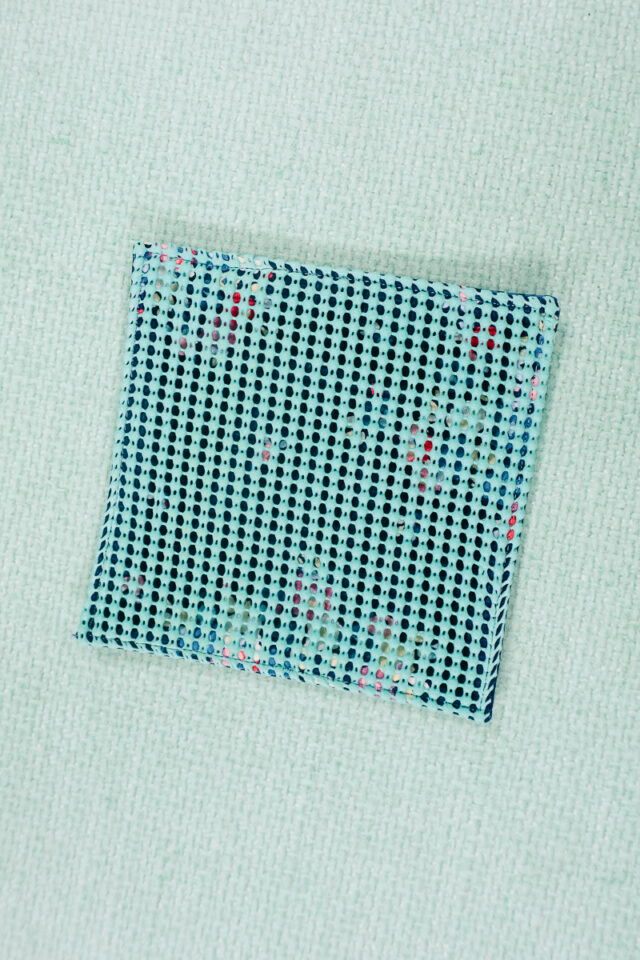
A fabric jar opener is a hand size piece of fabric that has a layer of grippy material on one side. It helps your hand get a better grip to open jars with sealed lids.

How does a fabric jar opener work?
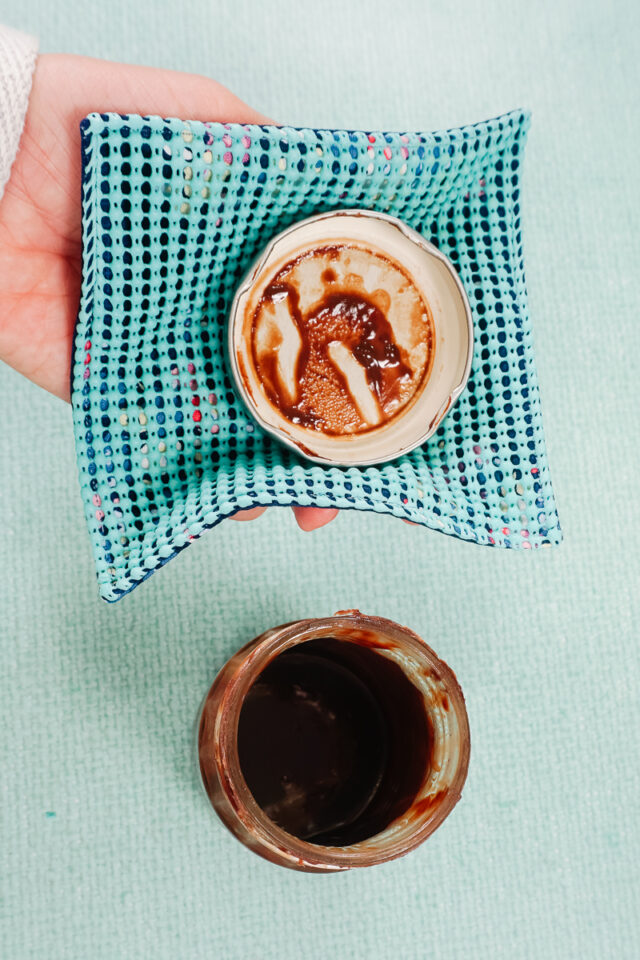
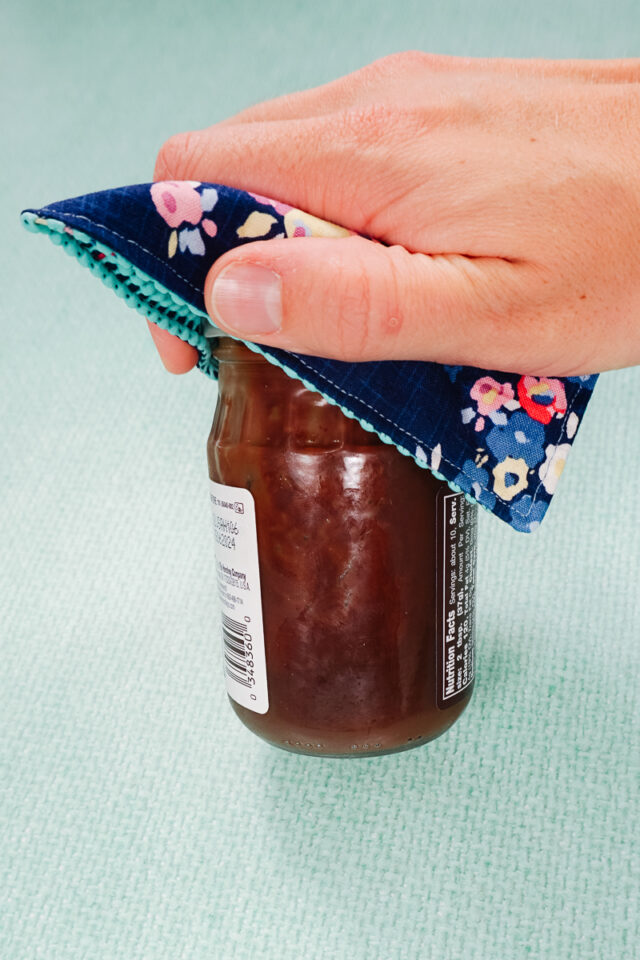
The grippy material on the jar opener helps your hand get a grip and get traction to be able to open the jar. It keeps your hand from slipping and you twist pressure on the jar to open it.
What materials do you use to make a jar opener?
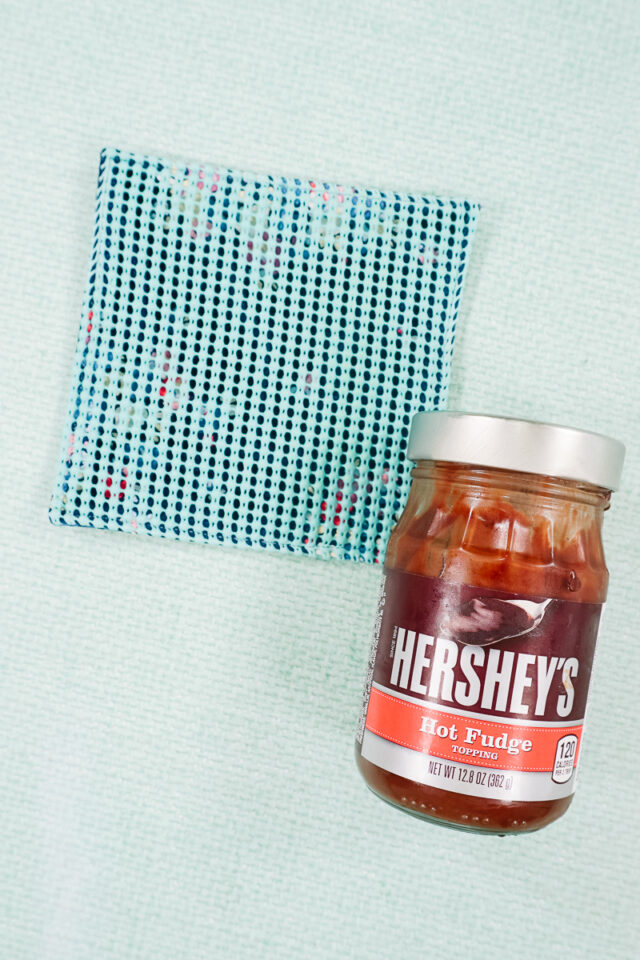
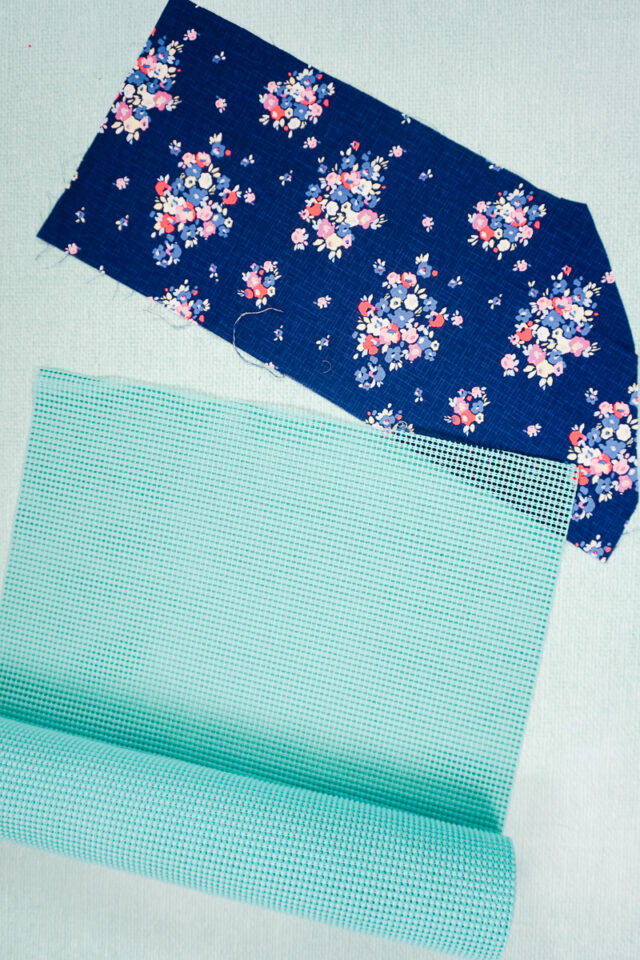
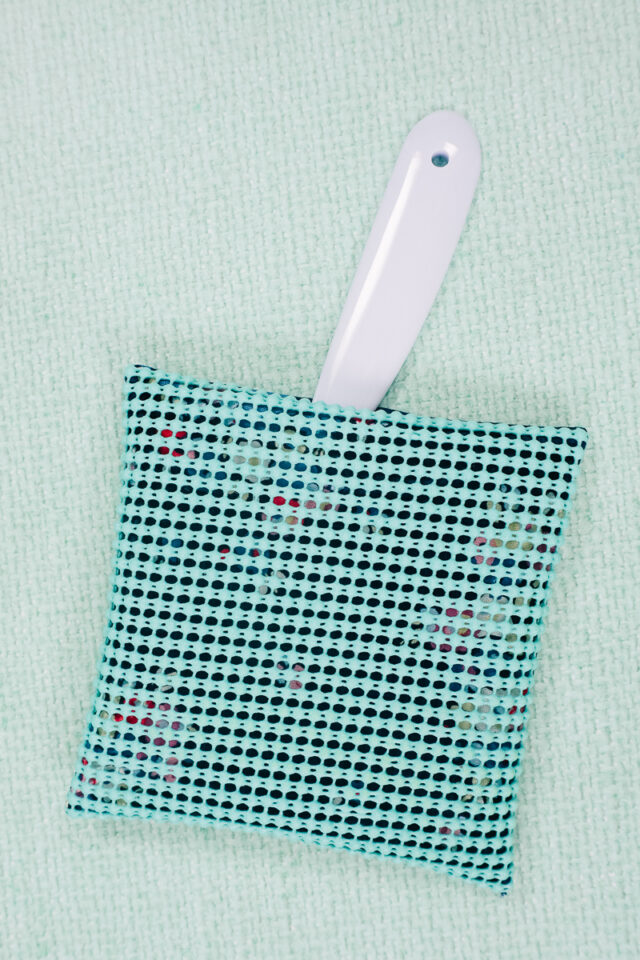
You will use quilting cotton for the fabric, a little bit of fusible interfacing, and the most important: shelf liner. The fabric makes it easier for you hand to hold, but the shelf liner gives the jar opener the best grip for holding onto a jar lid and twisting it open.
There are lots of different types of shelf liner, so make sure you get the rubber shelf liner with little holes.
Want more sewing ideas?
How to Sew a Jar Opener
Supplies
- Scrap of quilting cotton (two squares that are 6 inches by 6 inches)
- Scrap of fusible interfacing (one square that is 6 inches by 6 inches)
- Scrap of rubber shelf liner* (one square that is 6 inches by 6 inches)
- Sewing tools
- Sewing machine
Instructions
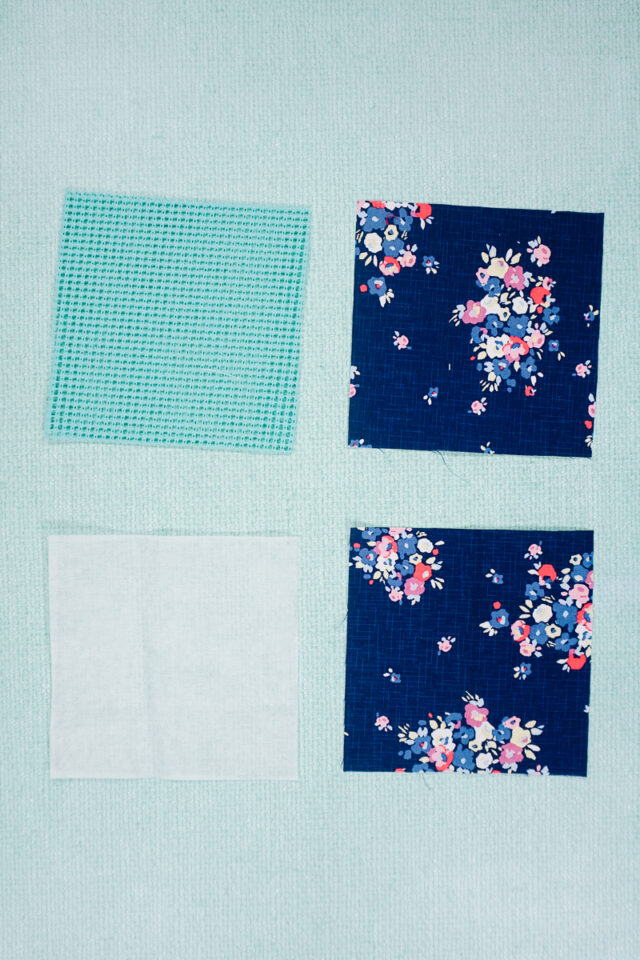
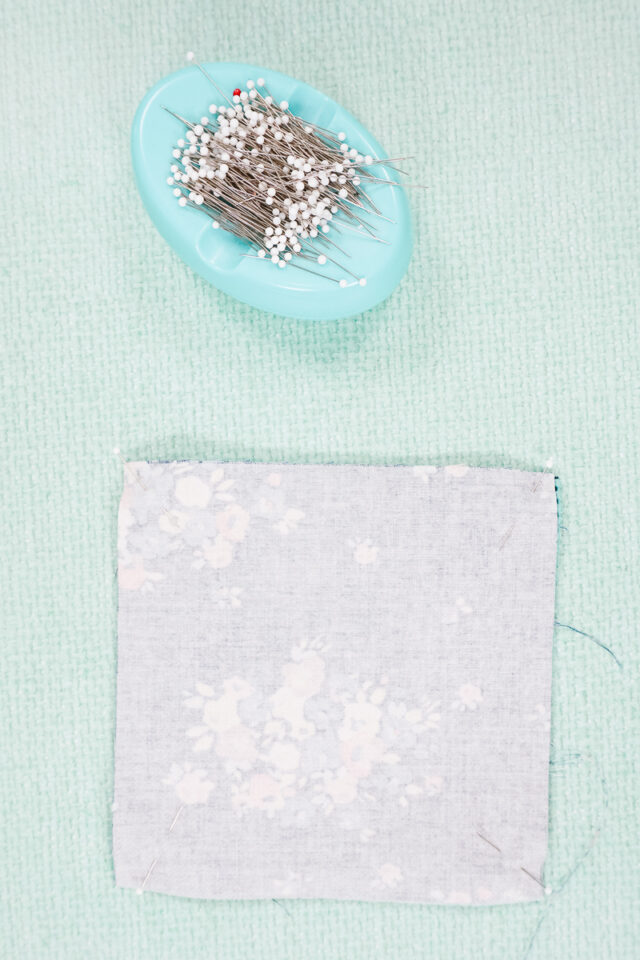
Cut two pieces of fabric that are 6 inches by 6 inches.
Cut one piece of fusible interfacing that is 6 inches by 6 inches.
Cut one piece of shelf liner that is 6 inches by 6 inches.
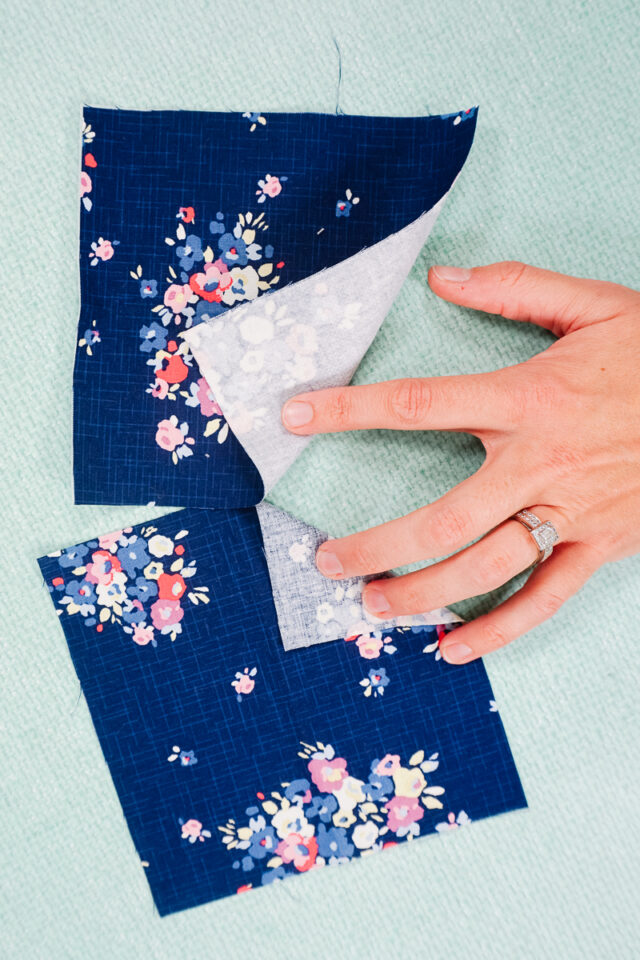
Fuse the fusible interfacing to the back of one of the pieces of fabric.
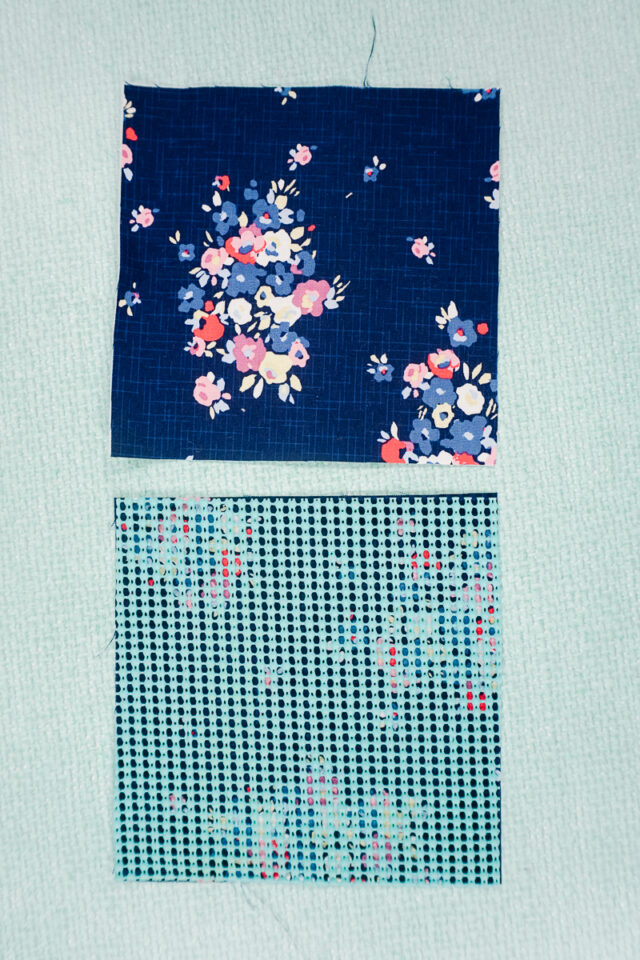
Place the interfaced fabric right side up. Place the un-interfaced fabric right side up. Place the shelf liner on top of the un-interfaced fabric. These will be the two sides of the jar opener.
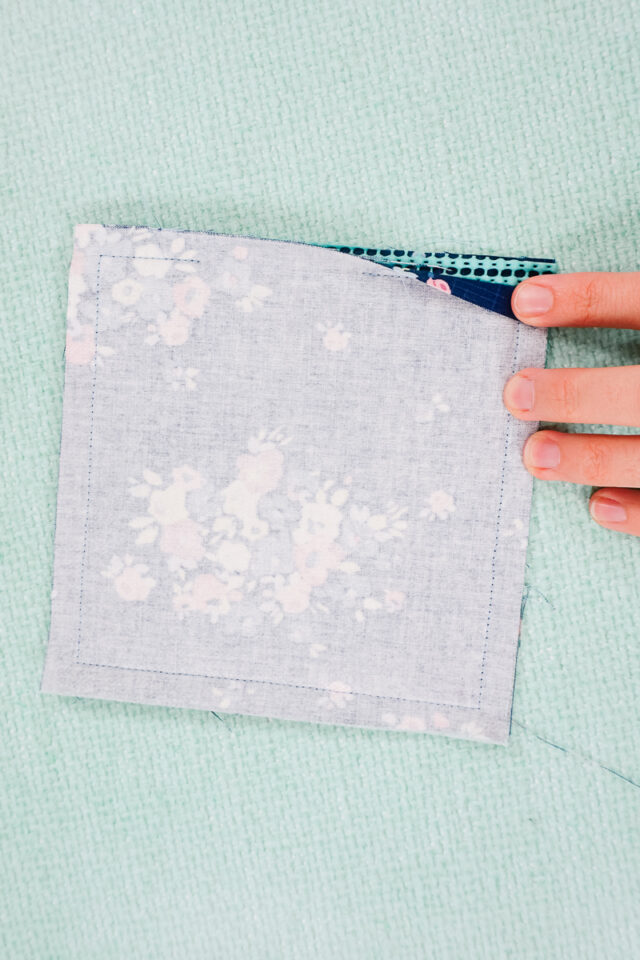
Place the two sides right sides together with the shelf liner in between the fabric layers. Pin around the outside.
Sew around the square with a 3/8 inch seam allowance. Pivot at the corners and leave a 2 inch hole for turning right side out. Backstitch when you start and when you stop.
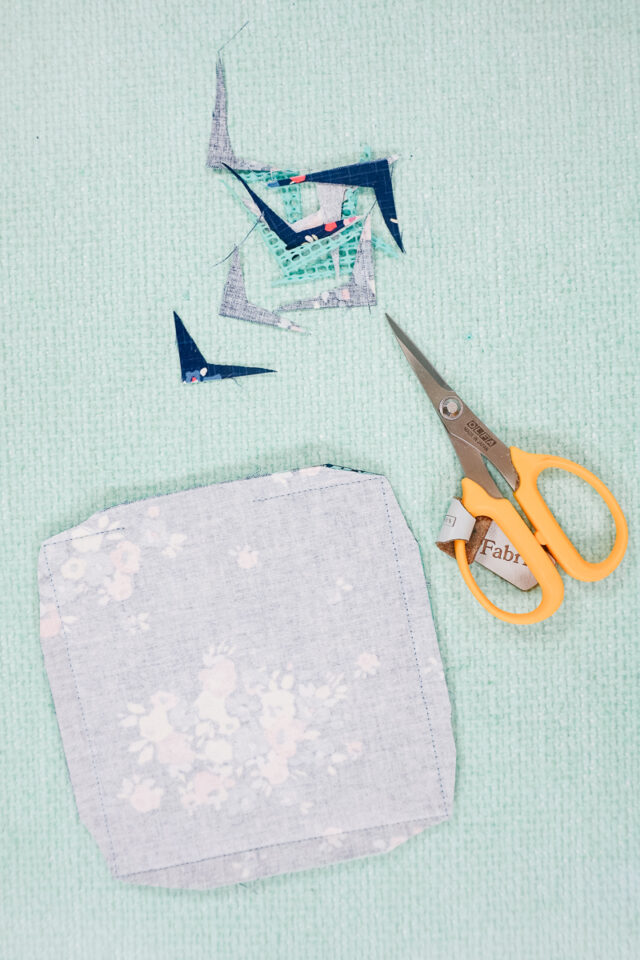
Trim the four corners to reduce the bulk.
Turn the jar opener right side out through the hole.
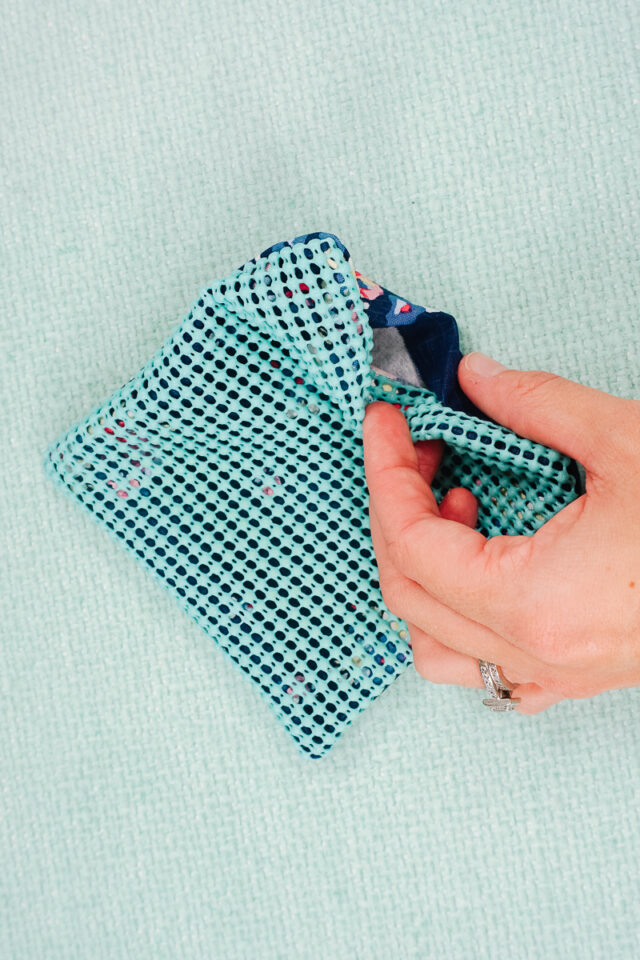
Carefully poke out the corners with a point turner.
Edgestitch at 1/8 inch around the edge of the jar opener to neaten the edges and to close the hole. The shelf liner makes the jar opener a little trickier to sew.
You can have the shelf liner facing down towards the feed dogs to help a little bit with moving the piece through the sewing machine.
You can also have the shelf liner facing up but the sewing machine foot will get stuck on the shelf liner. Add two pieces of clear tape to the bottom of the sewing machine foot or use a teflon foot to make the sewing smooth.
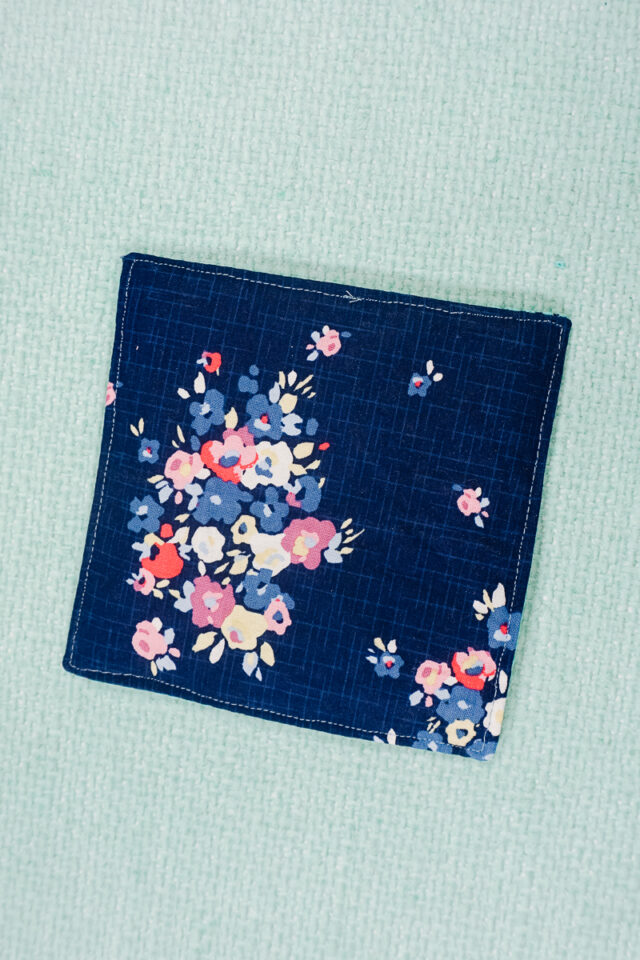
You finished! Now you have something to help you open all the jars.
If you make something using this sewing project, I’d love to see! Please share it on social media with the hashtag #heatherhandmade and tag me!

I believe small sewing moments can create great joy. Find your own “right” way to sew. -Heather
Put baking parchment paper or waxed paper under the liner and the feed dog will work just fine! Tear off the paper and ta-da!
Great tip! I love this!