
How to Add Fringe to a Top

This post may contain affiliate links.
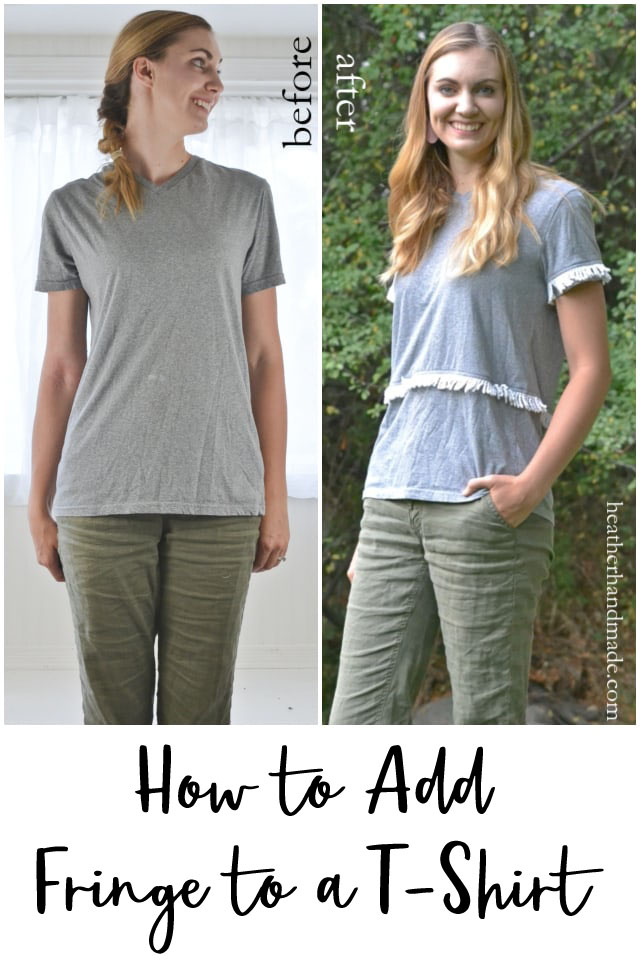
Learn how to refashion a t-shirt when you add fringe to a top! This is a great way to shorten a t-shirt or hide a stain!
Have you ever had a stain on one of your favorite tee shirts and you mourn the loss? Instead of throwing it away you can cover up a stain on the tee with this fringe tee refashion tutorial!
It’s a cute new tee with adorable details and you get to keep it! This is also a great way to shorten a tee that’s too long without having to deal with the hem.
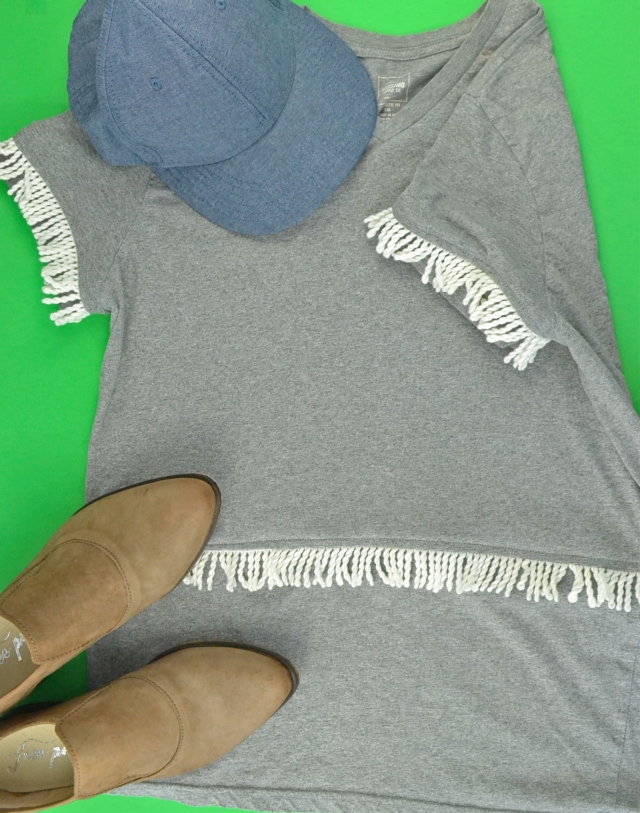
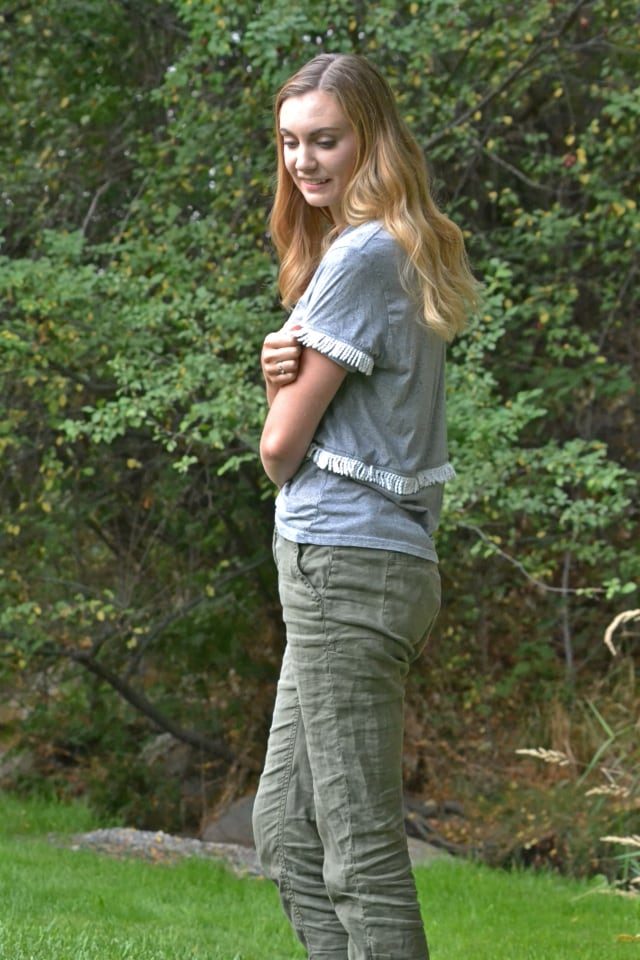
I love the pop of the white fringe against the gray. I just love solids with details, and this tee fits that perfectly. It makes me feel dressed up even though I’m just wearing a tee.
I actually used one of my husband’s t-shirts that had a stain and wasn’t being worn. I’m glad I got to give it another chance!

The stain on this tee was right on the waist so I added the tassels right at the waist. I was worried about the tassels widening my waist, but I actually think it gives me a better definition.
Make sure you use a tee that has some room since the fringe trim will take away any stretch. I used one size up on a looser fitting style.
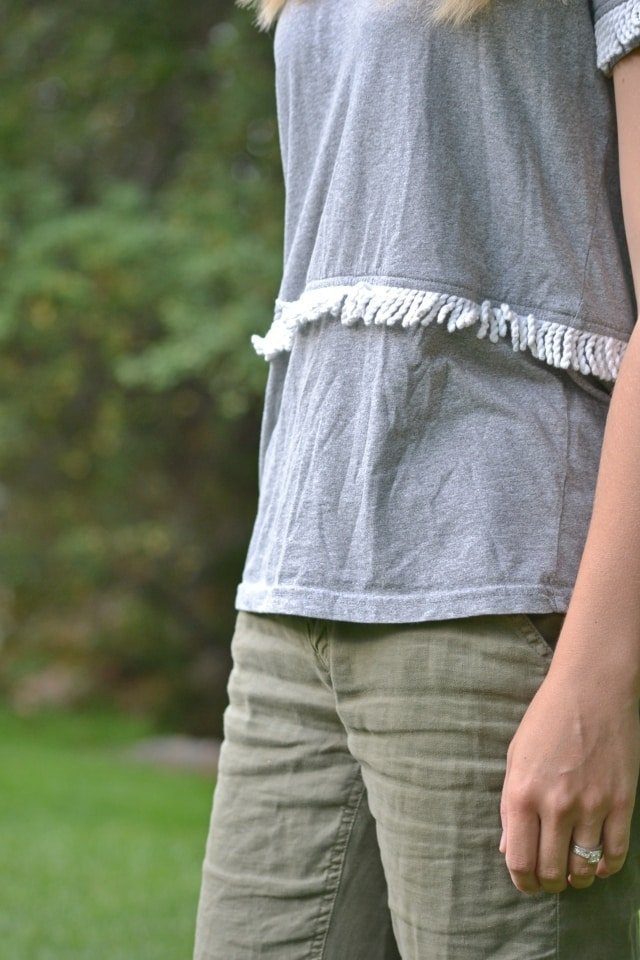
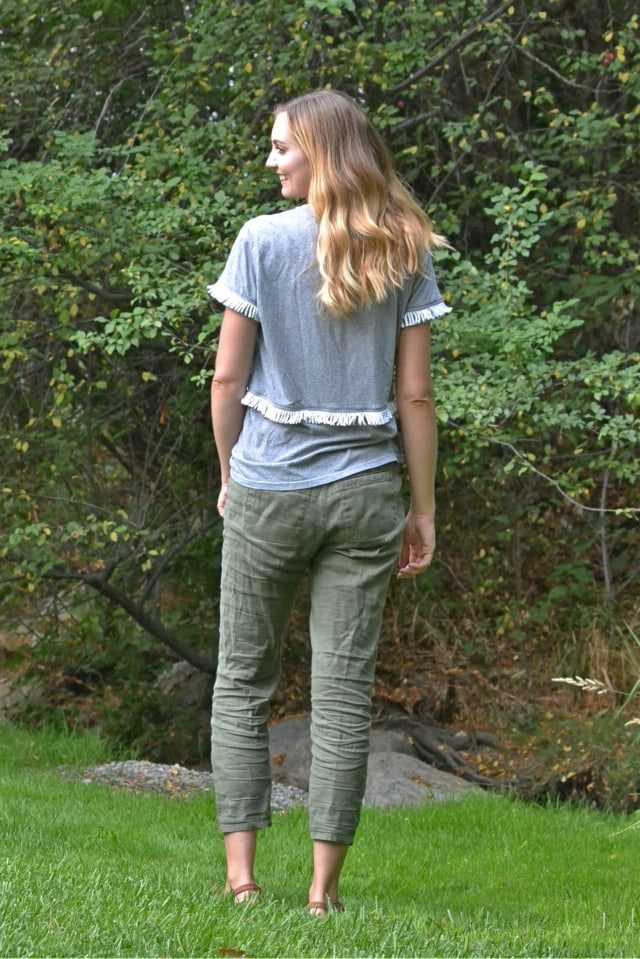
When I added the tassels I actually shortened the sleeves and body by an inch which makes it more flattering. And this is a really easy way to shorten it without it looking like it was shortened.
If a dress is more your style you can sew fringe on a dress with this tutorial.
How to Add fringe to a top
Supplies
- Tee shirt (a looser style or a couple sizes up)
- Fringe trim – white fringe trim* or ivory fringe trim*
- Sewing tools
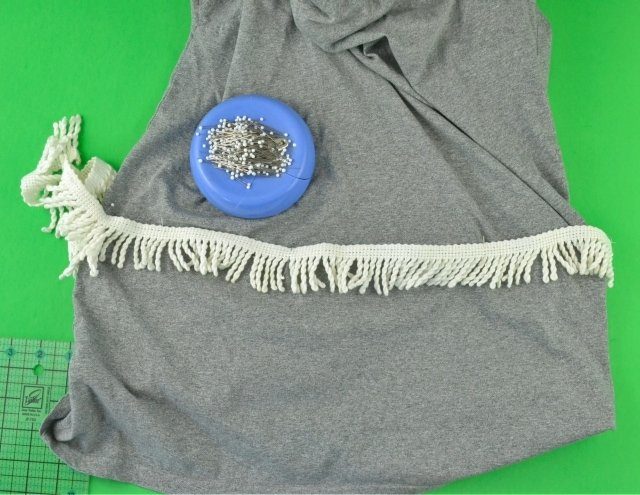
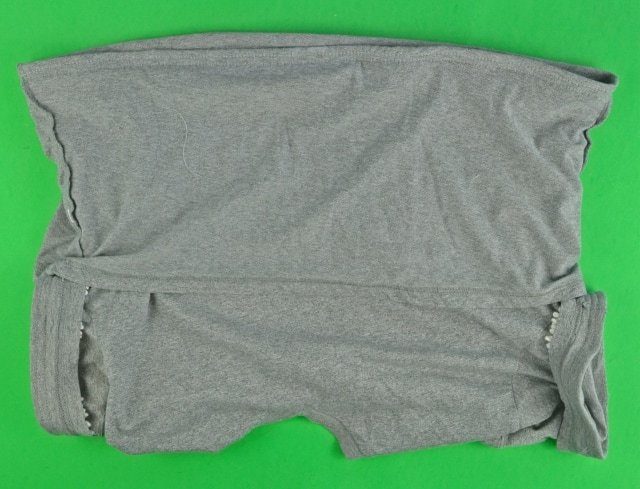
Grab your tee with a stain or bleach spot on it.
Pin your fringe right on top of the stain. Measure how far it is from the hem and pin the fringe around the tee at the same distance.
Make sure the tee shirt has a little stretch even with the fringe pinned to it.
Pin the fringe onto the sleeves. I wanted the edge of my fringe to line up with the hem of the sleeve.
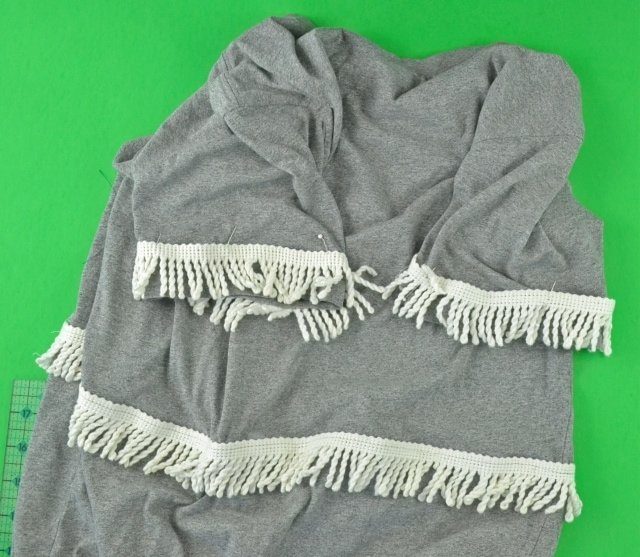
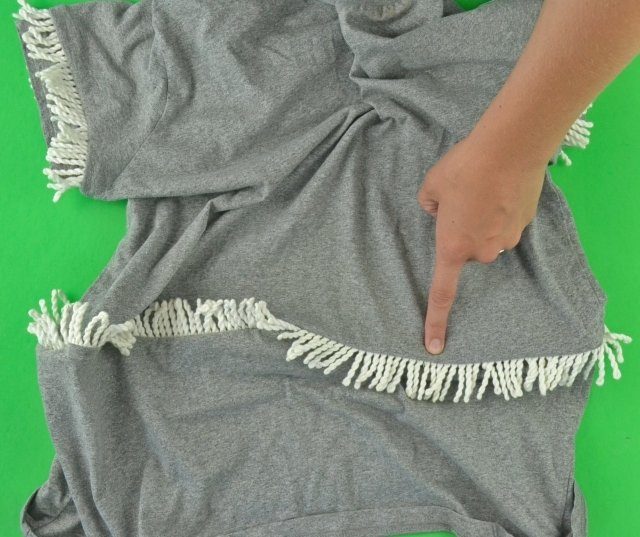
Sew with a straight stitch along the trim of the fringe on all three places.
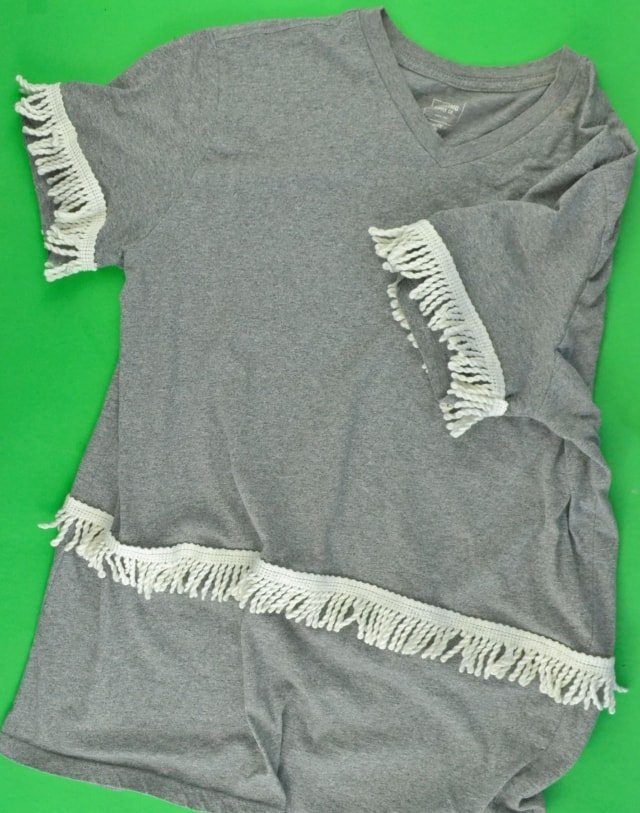
Fold the tee over along the trim so that the woven part of the fringe is encased in the tee.
Sew 1/2 inch away from the fold all the way around the tee and all the war around each sleeve. Try not to sew through any fringe pieces.
Flip it right side out to check if you sewed over any of the fringe pieces. Edgestitch the seam allowance up so that the fringe points down.
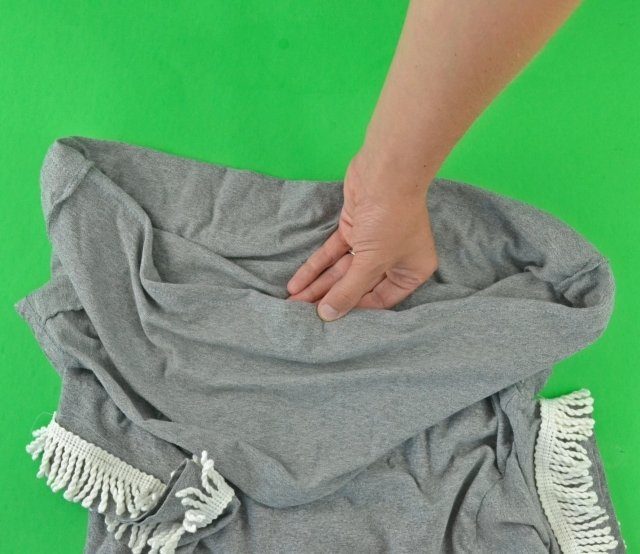
Press all the seam allowances. If you feel the the tee is a little stretched out then wash and dry it which helps the fibers return back to normal size.
Enjoy your new updated tee!
I think this tee will be a little tricky to wear with a cardigan or anything that will layer over the sleeves, but I think it looks great alone and with a vest. I was careful to think through how I would wear it before I made it so that I could do it how I wanted.
I almost did a sweatshirt, but then I realized it would be too hard to wear it with a jacket and I would never wear it in the winter. It’s much better as a summer tee shirt.

If you make something using this sewing project, I’d love to see! Please share it on social media with the hashtag #heatherhandmade and tag me!

I believe small sewing moments can create great joy. Find your own “right” way to sew. -Heather