
Easy DIY Wrapping Paper Holder for Controlling Rolls of Paper

This post may contain affiliate links.
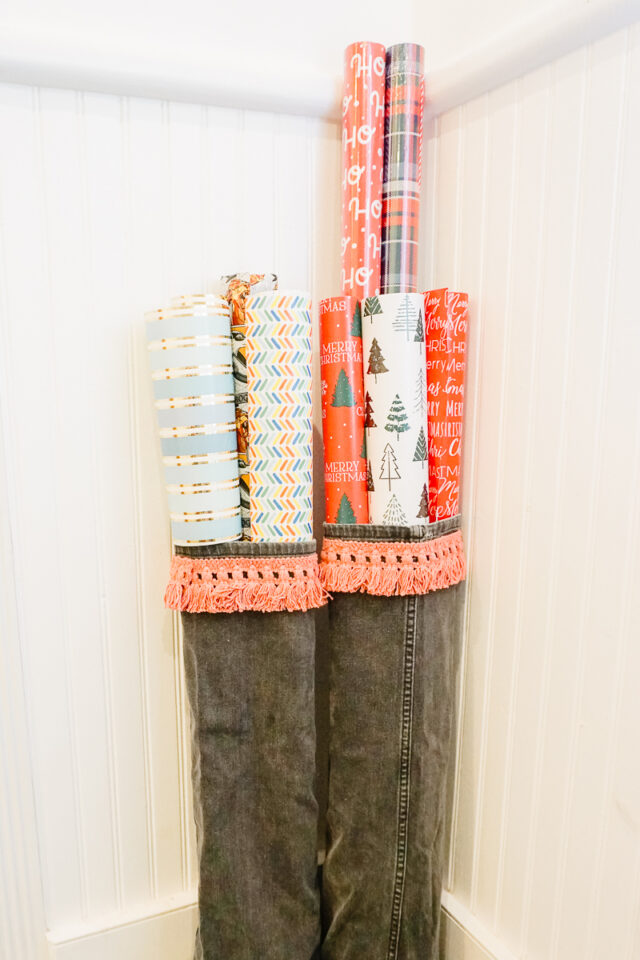
Learn how to make a DIY wrapping paper holder. This beginner sewing project uses a pant leg to make sewing and organizing easy.
How do you organize your rolls of wrapping paper or gift wrap? Do you have rolls of paper for art projects that you need corralled?
Learn how to make an easy DIY wrapping paper holder by reusing some pant legs. It’s a really quick project that already makes such a difference. My husband (who wraps almost all the holiday gifts) even commented on how much he loves how our wrapping paper is organized.
What to use to sew a wrapping paper holder?
Every year my kids (and I!) get holes in the knees of our jeans. I love cutting the bottom half of pants and jeans off to make shorts. My kids get more life out of the shorts, and I get pants and jeans cut offs that are fun to use and work with.
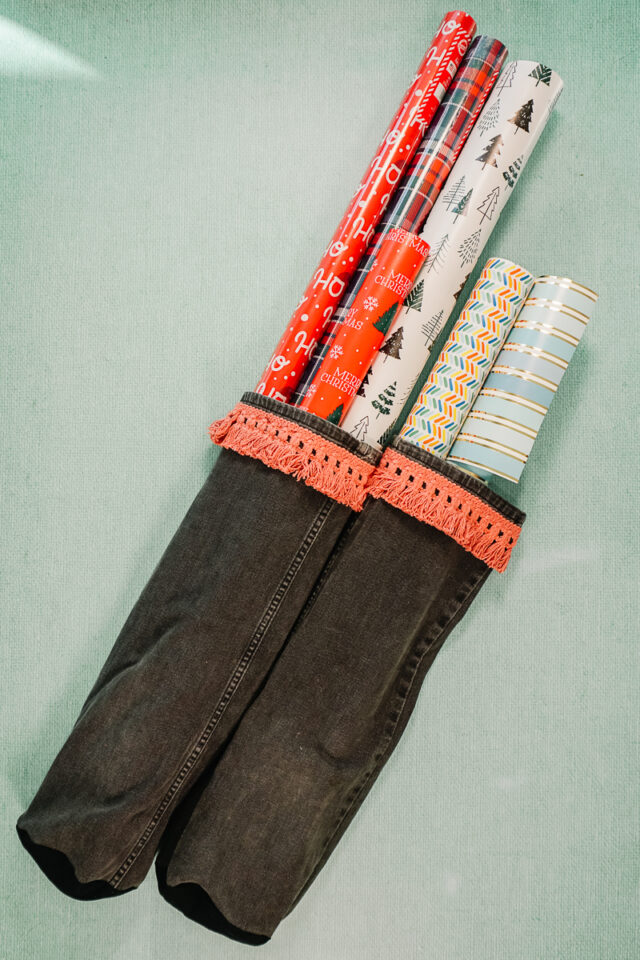
My kids are getting taller so the leg cut offs are getting longer. What do I do with a long tube with a hemmed side? That’s how I came up with a wrapping paper holder. It’s a long tube that only needs a bottom added to become a tall basket. You can use all different kinds of pant legs to make a wrapping paper holder as long as the fabric is thick and strong.
Can I make it all from fabric? How can I make it stand up better?
If you don’t want to use a pant leg, you can start with my free fabric basket sewing pattern and extend the height by double or triple. That way you can add a lot of interfacing and fusible fleece to make it a lot strong and sturdier.
You could also add a loop to one side so that the wrapping paper holder could be hung on a door or wall. Then you wouldn’t have to worry about it standing and leaning against a wall.
Love to sew? Try on of these sewing projects:

Easy DIY Wrapping Paper Holder
Supplies
- 18 inches of pant legs (this can be longer or shorter depending on what you have)
- Optional: 1 yard of trim to decorate the wrapping paper holder
- Sewing tools
- Sewing machine
Instructions
Optional: Add the trim to the hem of the pants. The hem will now be the top so if the trim is directional, it might feel like you are sewing it on upside down.

When you sew the ends on, overlap them with the top layer folded under 1/4 inch. This finishes the edges of the trim to keep it from fraying.

Measure the cut edge opening of the jeans. Use a circle calculator to see how large to cut your circle. Cut out two fabric circles from denim or canvas fabric. (I cut into leftover jeans that had pieces cut out.)

Sew the fabric circles to the cut edge of the tube right sides together and with a 3/8 inch seam allowance. Zigzag stitch or serge the seam allowances.

Turn them right side out.

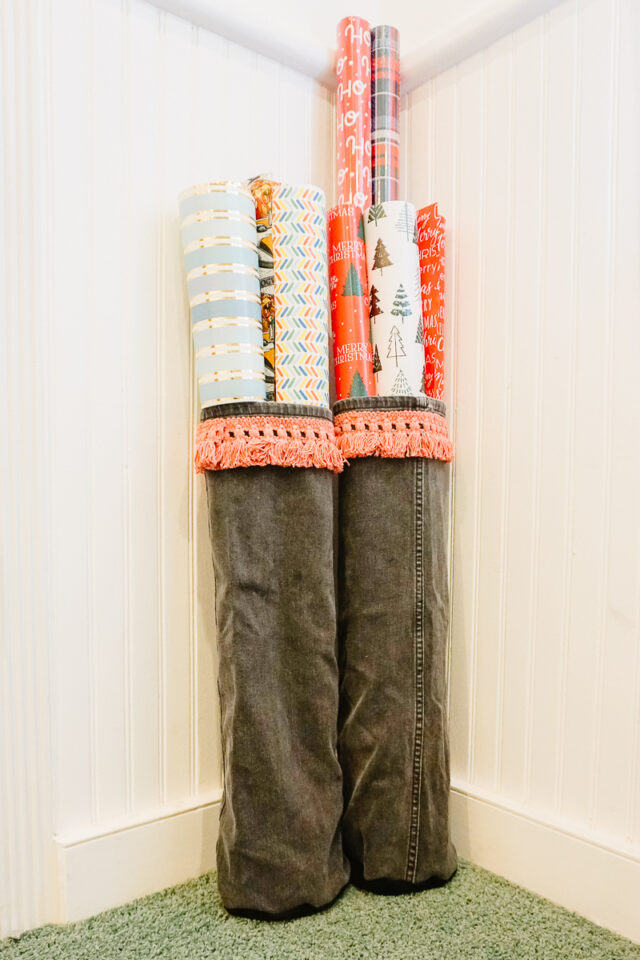
You finished! Fill them with rolls of paper or wrapping paper!

If you make something using this sewing project, I’d love to see! Please share it on social media with the hashtag #heatherhandmade and tag me!


I believe small sewing moments can create great joy. Find your own “right” way to sew. -Heather