
DIY Valentine Tees with Infusible Ink

This post may contain affiliate links.
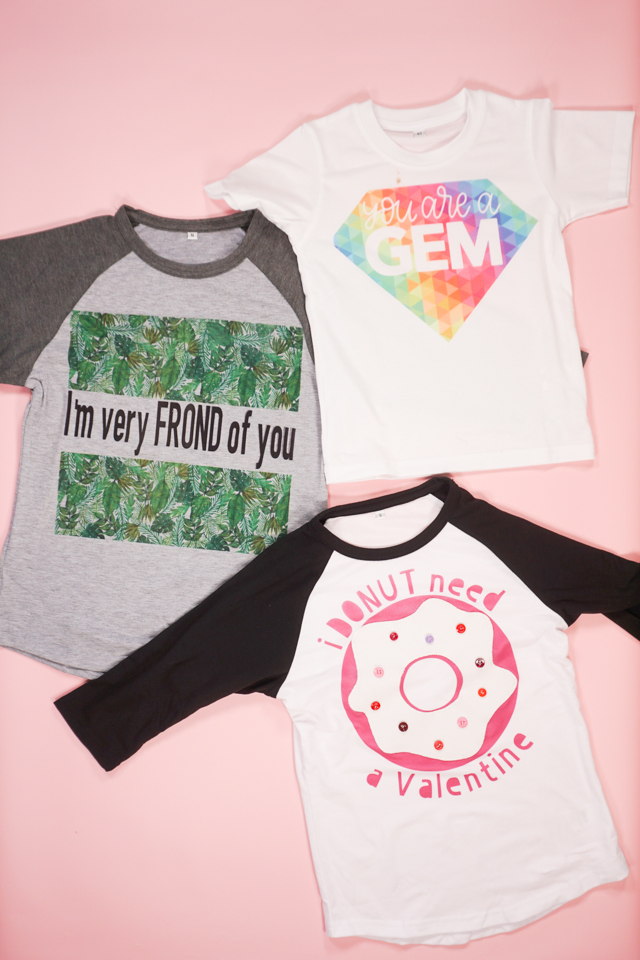
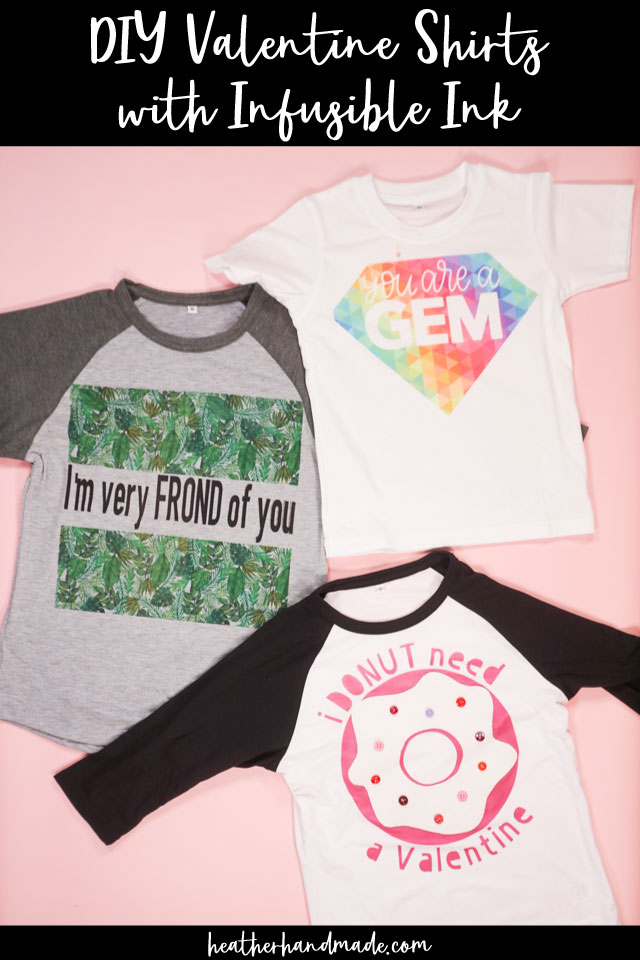
Learn how to make DIY Valentine tees with Cricut Infusible Ink. These kid t-shirts have funny Valentine puns to celebrate!
After making some fun holiday t-shirts for my kids over the past year or so, I starting getting excited about all the different holidays that I could use a new t-shirt. I have made several Valentine inspired shirts, but I couldn’t help making more for this year!
My kids are getting old enough to appreciate puns so I tried looking up Valentine and love puns to use for these designs. One is very Valentine inspired, and the other two are just some love inspired puns. My kids love them!
What is infusible Ink?
Infusible ink is ink that is transferred by heat. It’s essentially sublimation, but it’s now accessible to hobby crafters. When infusible ink is transferred the ink is infused into the item.
Infusible ink can be purchased as an infusible ink transfer sheet and as infusible ink pens. The colors of the infusible ink transfer sheet look pale before being heated, but they are very bright once heated and transferred.
I made a design specific for each kid that I knew they would love. Do you love making? Try some of these ideas:
- Valentine sewing projects
- Cricut Infusible Ink projects
- Infusible Ink vs iron-on vinyl
- Infusible Ink on cotton vs polyester
- 10 DIY Valentine shirt ideas
- Applique patterns and ideas
DIY Valentine Tees with Infusible Ink
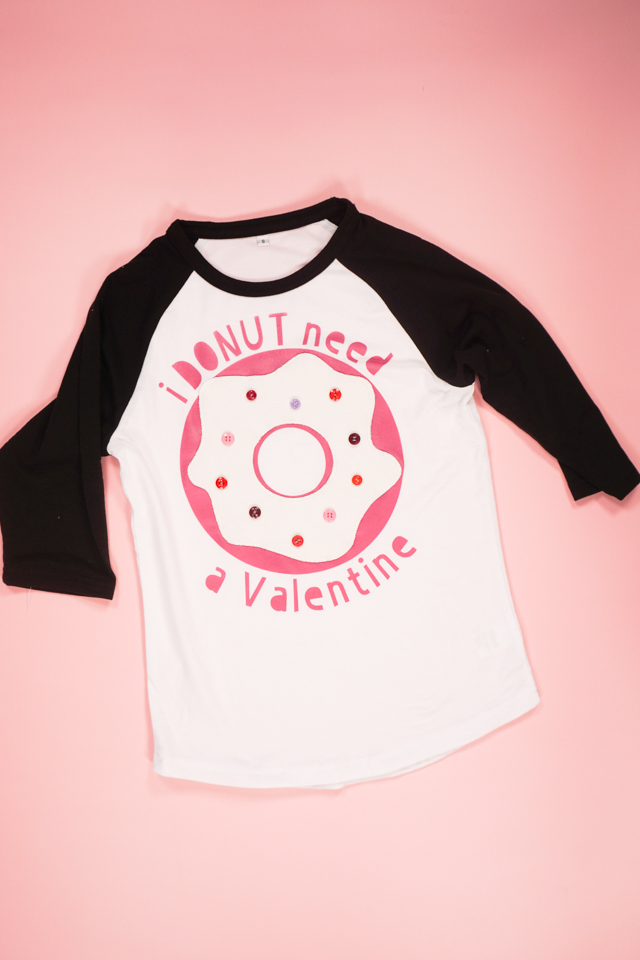
Donut need a valentine shirt
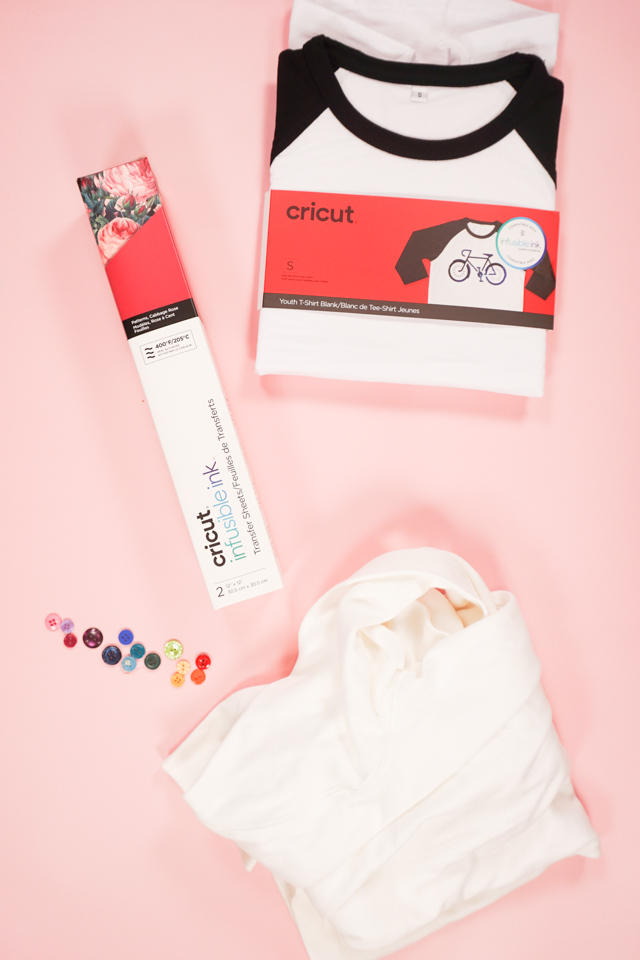
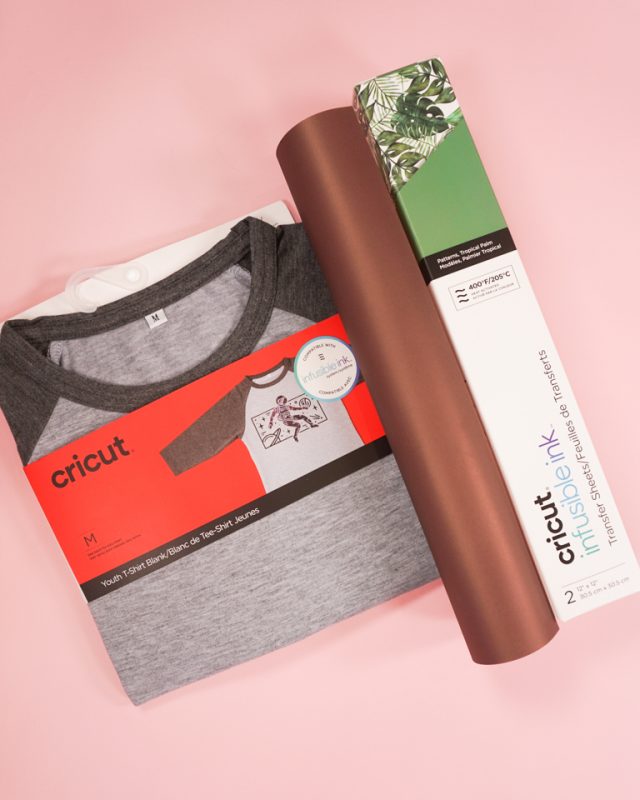
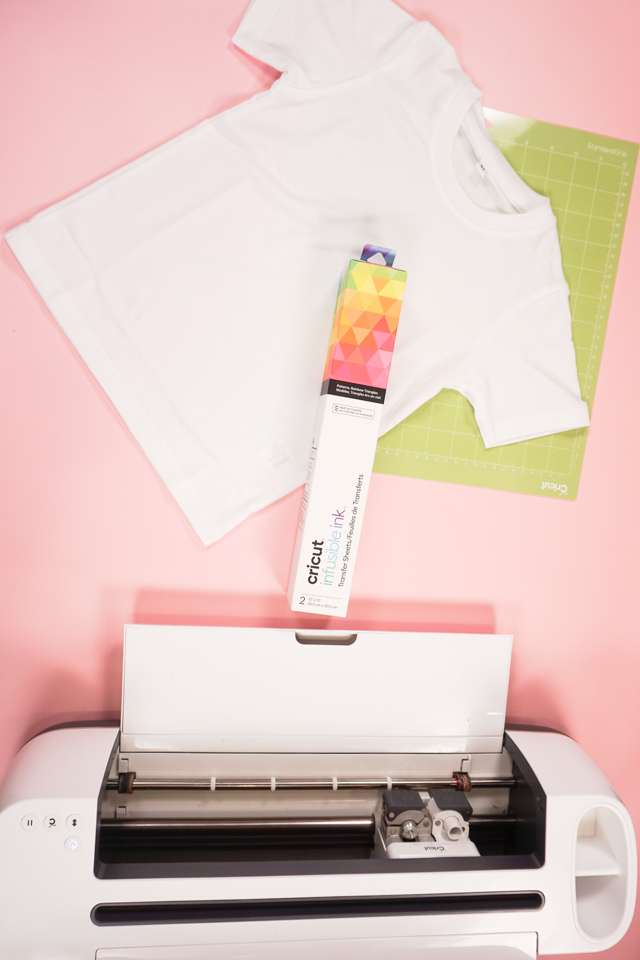
- Pink infusible ink transfer sheet*
- Infusible ink shirt blank
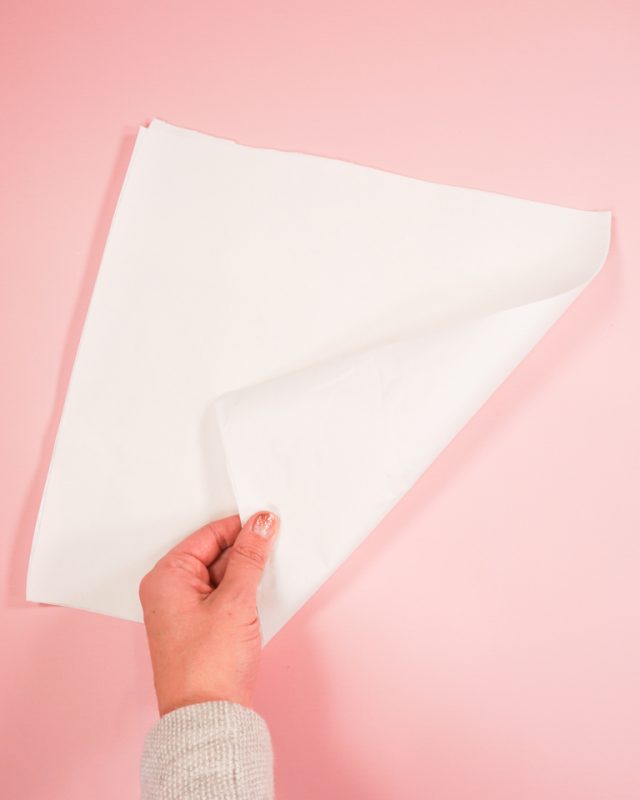
- White scrap fabric
- Fusible double sided adhesive*
- Assorted buttons (pictured is rainbow colored buttons, but I later changed my mind to pink and red buttons)
- Donut need a Valentine design
Cut a 12 inch by 12 inch piece of white fabric and a 12 inch by 12 inch piece of fusible double sided adhesive. Fuse the double sided adhesive to the back of the white fabric.
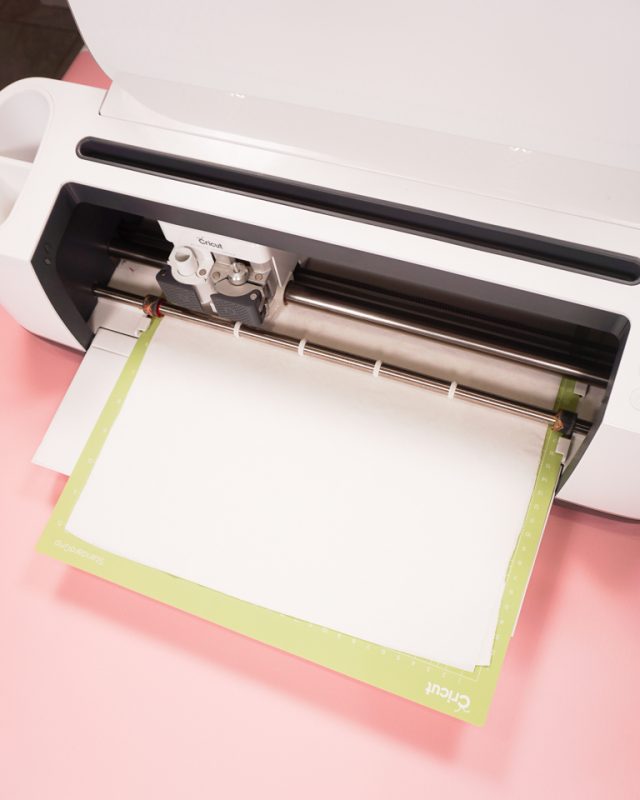
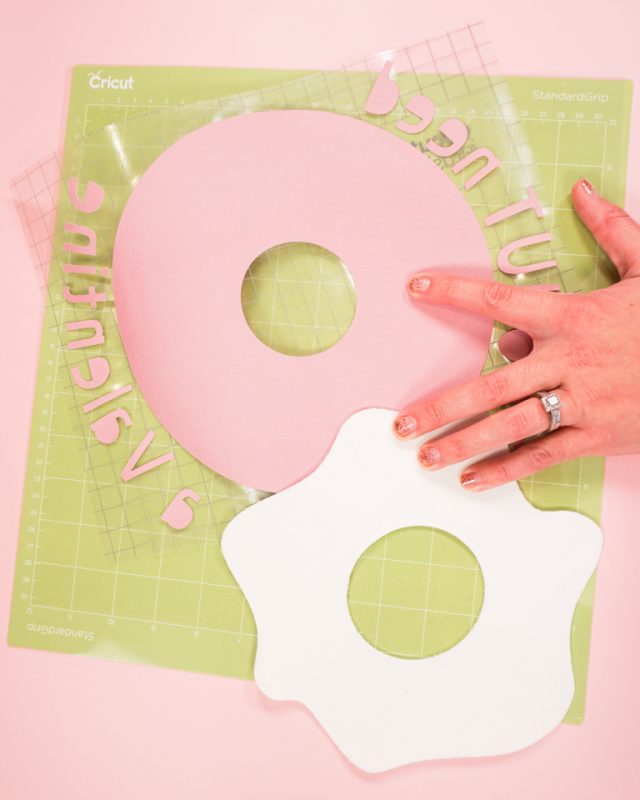
Use a cutting machine to cut out the donut word design from the pink infusible ink transfer sheet.
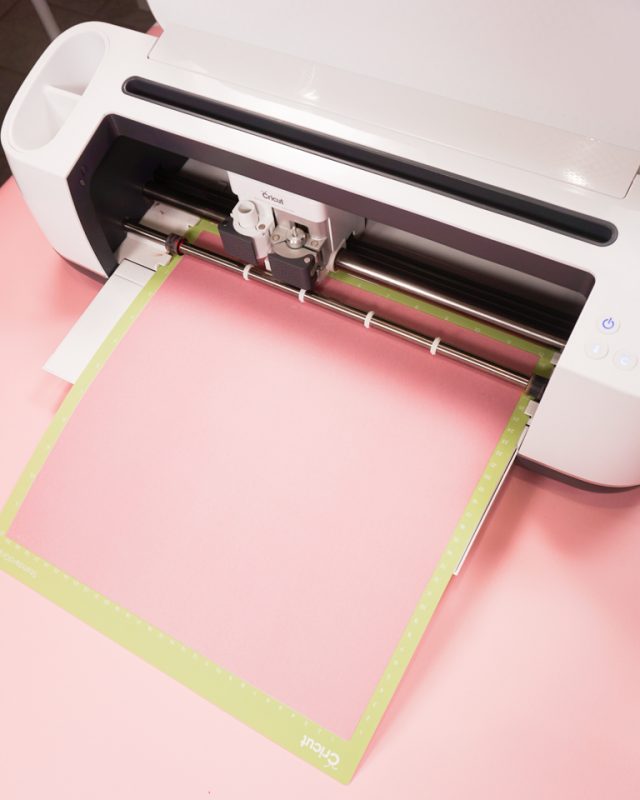
Use a cutting machine to cut out the frosting from the white bonded fabric.
Weed design and peel the paper backing off of the frosting.
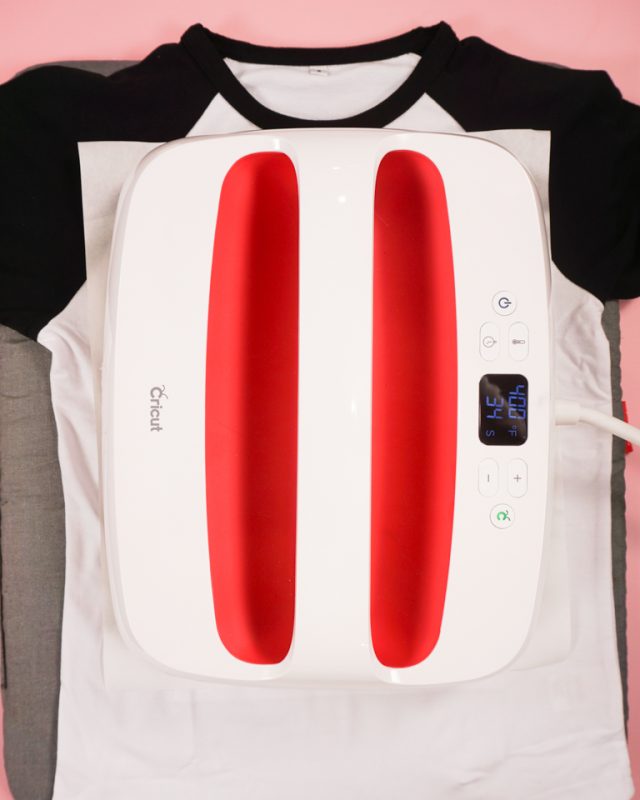
Place the infusible ink design onto the shirt.
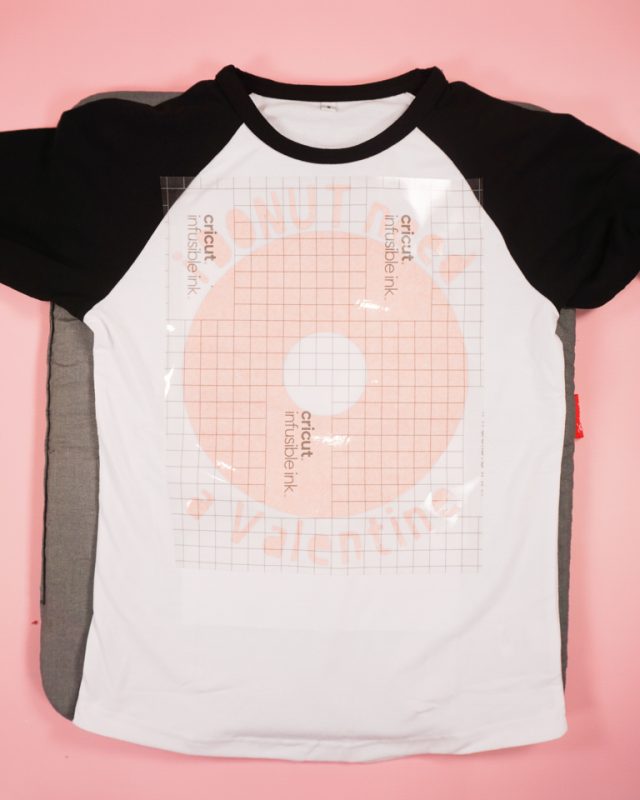
Use an easypress 2 to apply the ink to the shirt. Let it cool and peel of the paper and plastic.
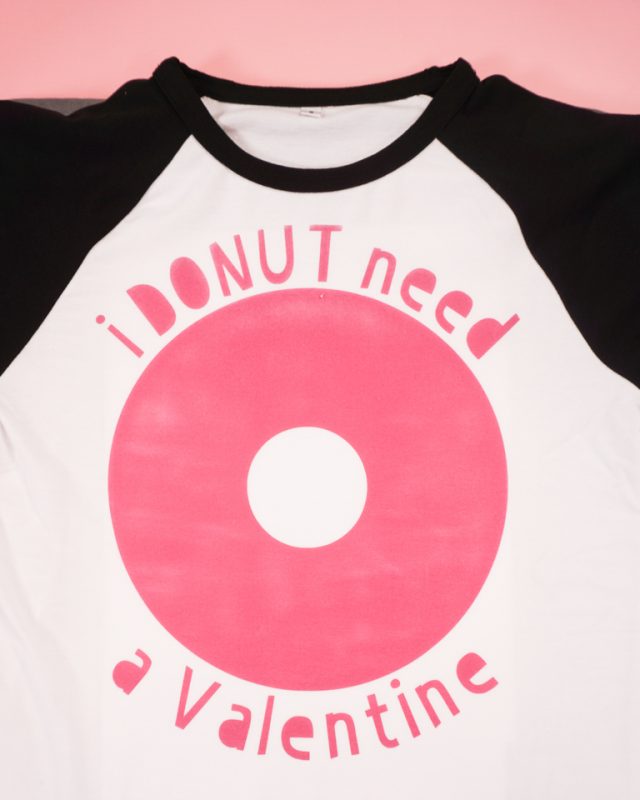
Place the frosting on the donut with the adhesive down.

Heat the frosting for ONLY 10 seconds to fuse it to the shirt without lifting any infusible ink. If you do it for to long the ink will start to come off of the shirt.
Sew a zigzag stitch around the inner and outer edge of the frosting with matching thread. Tape the buttons onto the frosting where you want them to be.
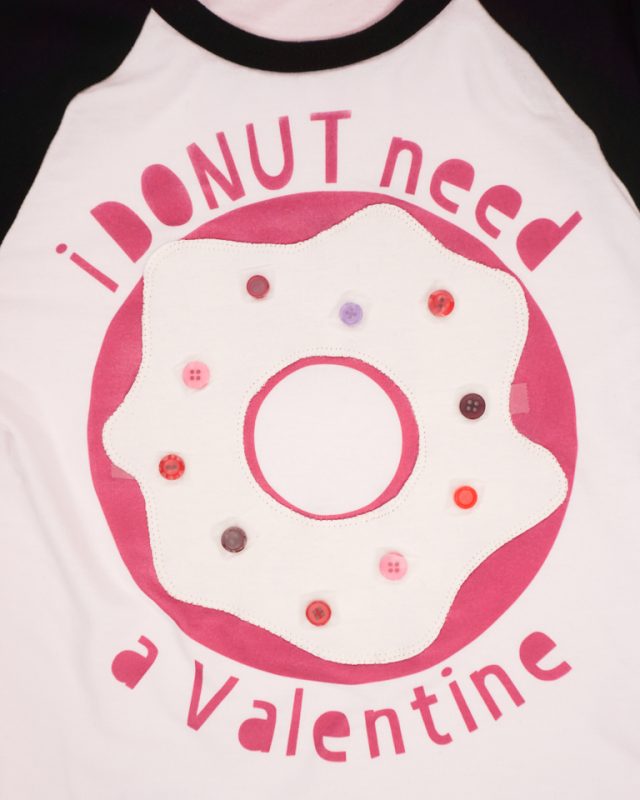
Sew the buttons on with a sewing machine. Add some clear nail polish to the threads at the center of the buttons.
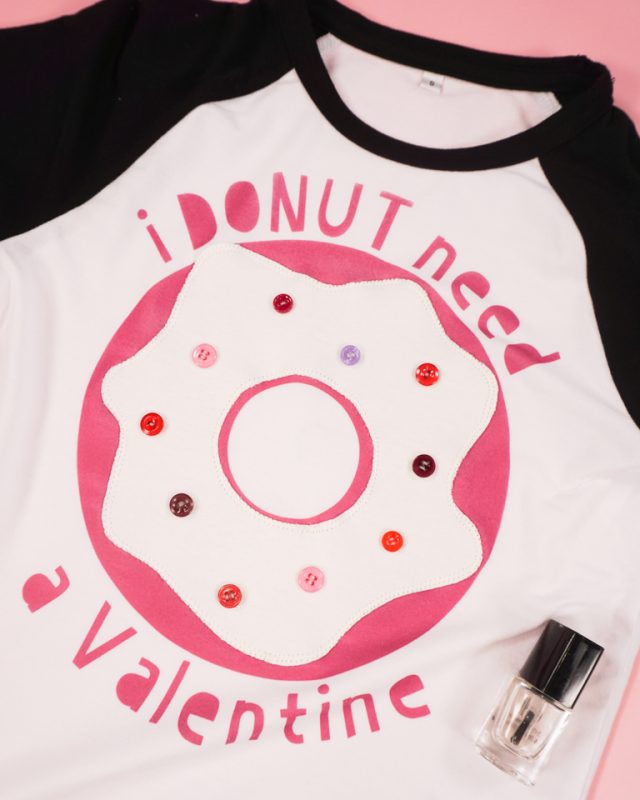
You finished!
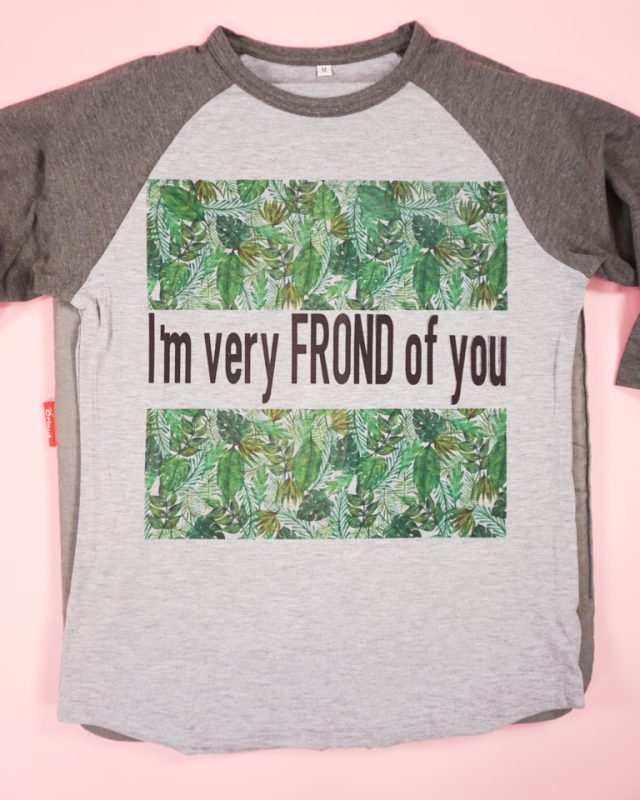
frond of you valentine shirt
- Palm frond infusible ink transfer sheet*
- Black infusible ink transfer sheet* – I used a scrap leftover from another project
- Infusible ink shirt blank
- Frond of You design
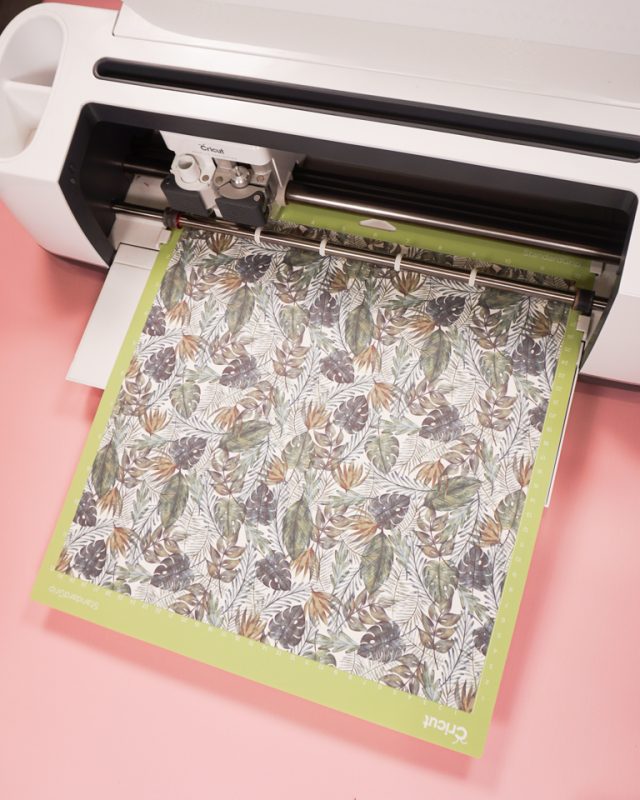
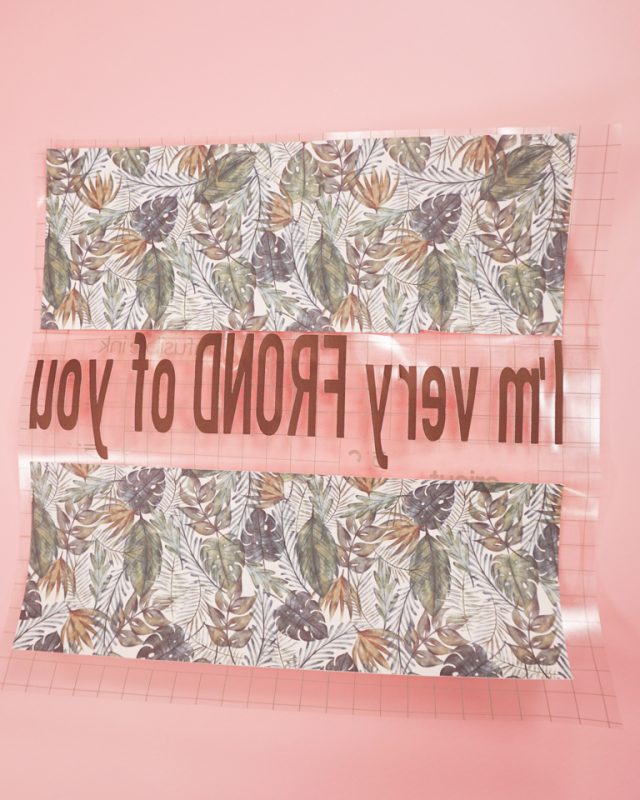
Cut the words out of the black infusible ink transfer sheet.
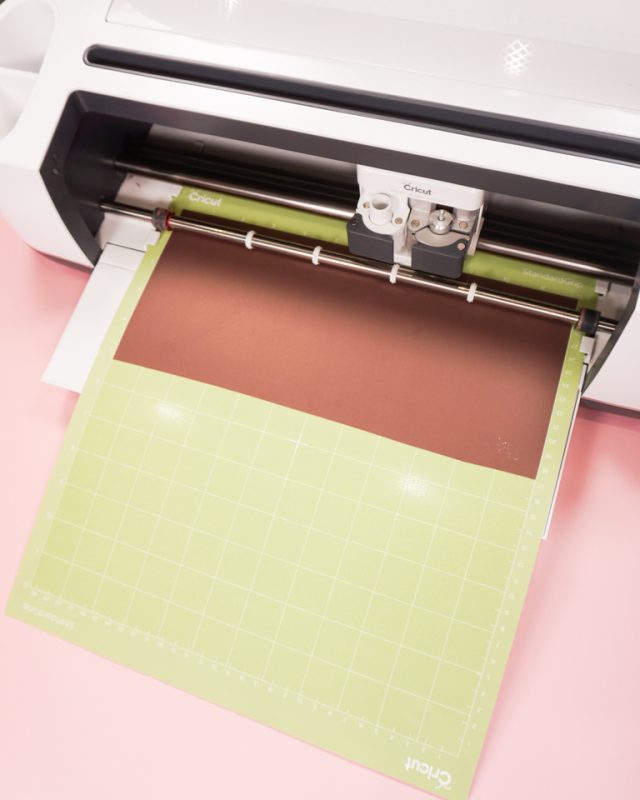
Cut the two rectangles out of the palm frond infusible ink transfer sheet.
Weed the two designs. Trim the plastic backing close to the words.
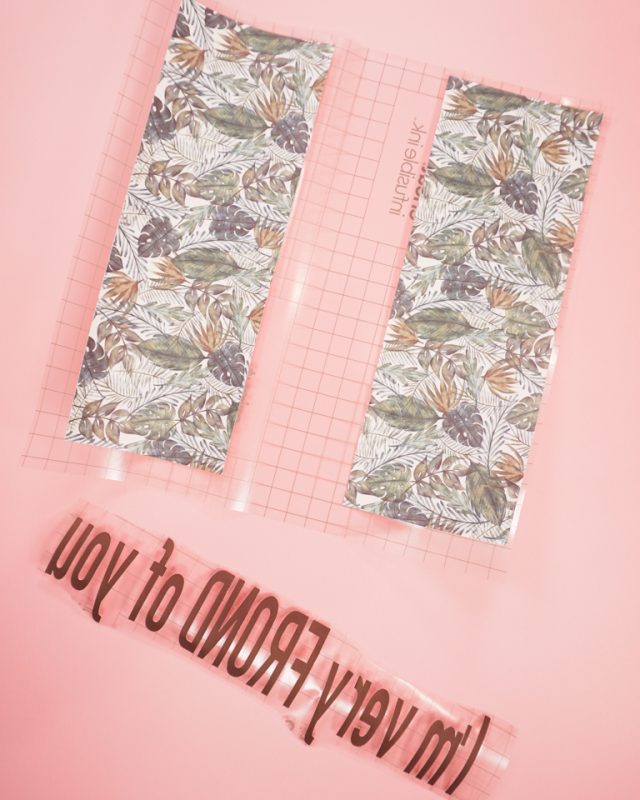
Place the words centered in the middle of the two rectangles. Make sure that none of plastic backing covers the rectangles.
Place the design on the shirt.
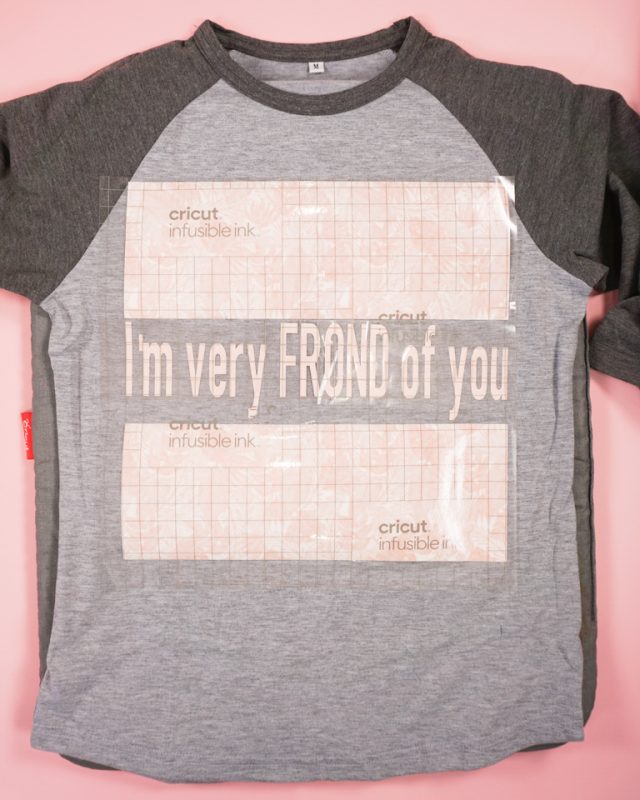
Use an easypress 2 to apply the ink to the shirt. I recommend doing the design in two parts since it’s so large: one rectangle and words first and then the remaining rectangle last.
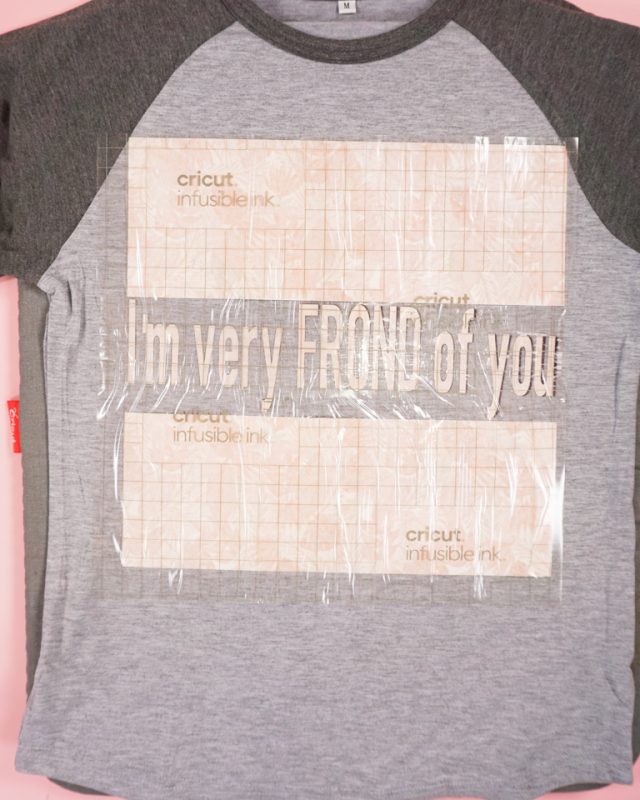
Let the design cool. Peel of the paper and plastic to reveal the design. You finished!
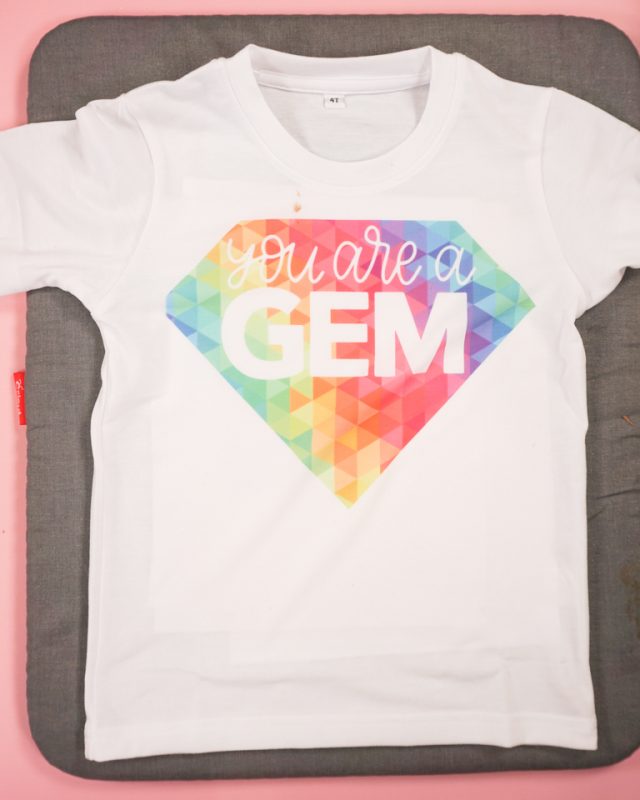
you’re a gem valentine shirt
- Colorful triangle infusible ink transfer sheet*
- Infusible ink shirt blank
- You’re a gem design
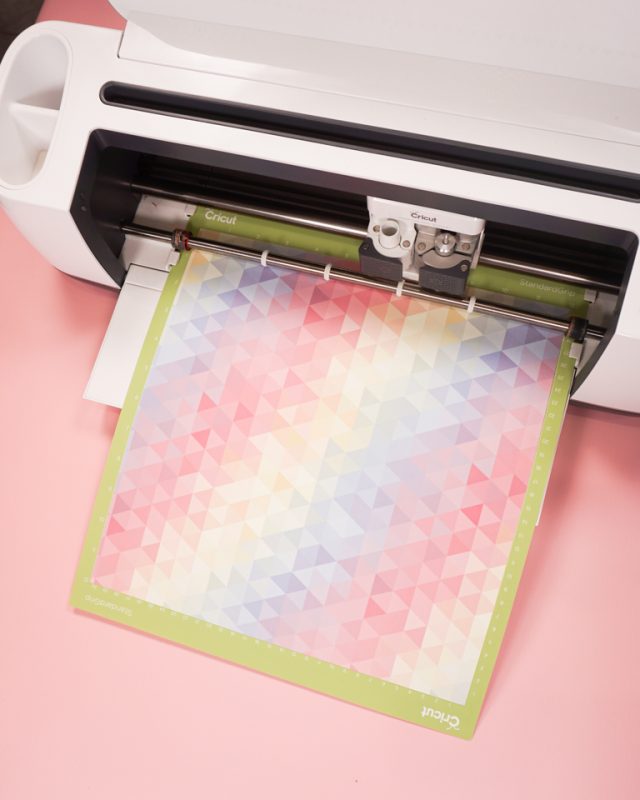
Use a cutting machine to cut out the triangle infusible ink transfer sheet. Try placing the infusible ink transfer sheet on the mat so that let yellow will be used.
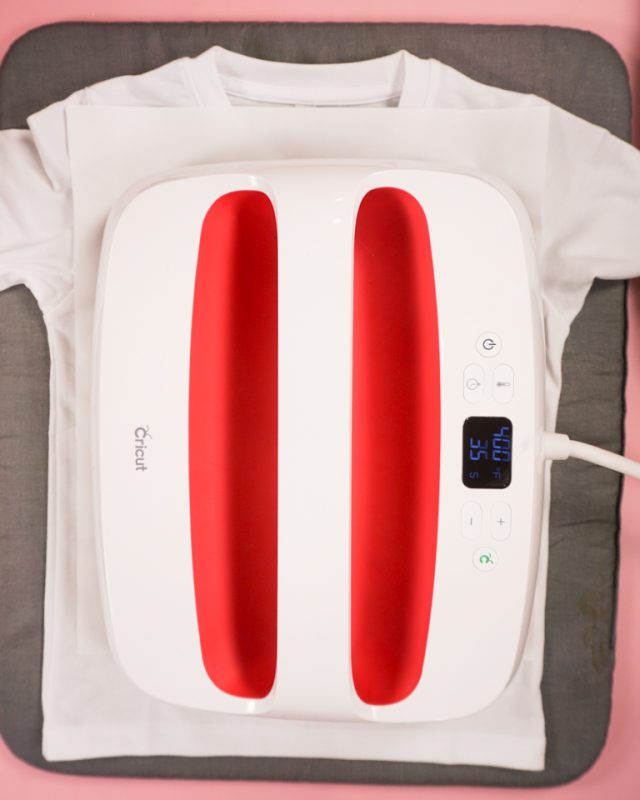
Place the design on the shirt. Apply the ink with an easypress 2.
Let the design cool. Peel of the paper and the plastic. You finished!
If you make something using this sewing project, I’d love to see! Please share it on social media with the hashtag #heatherhandmade and tag me!

I believe small sewing moments can create great joy. Find your own “right” way to sew. -Heather