
Make a DIY Stitch Costume from Lilo and Stitch

This post may contain affiliate links.
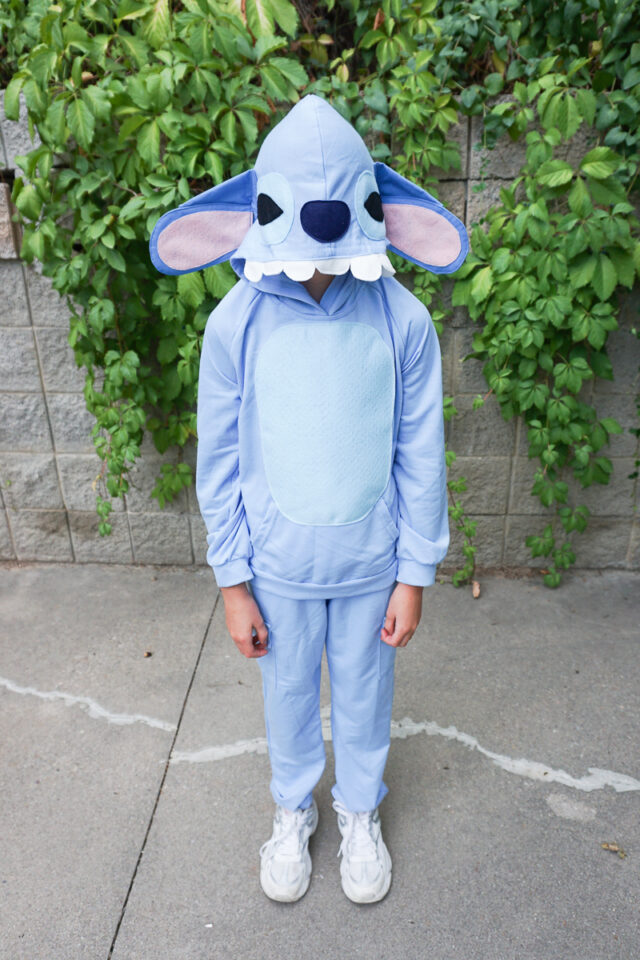
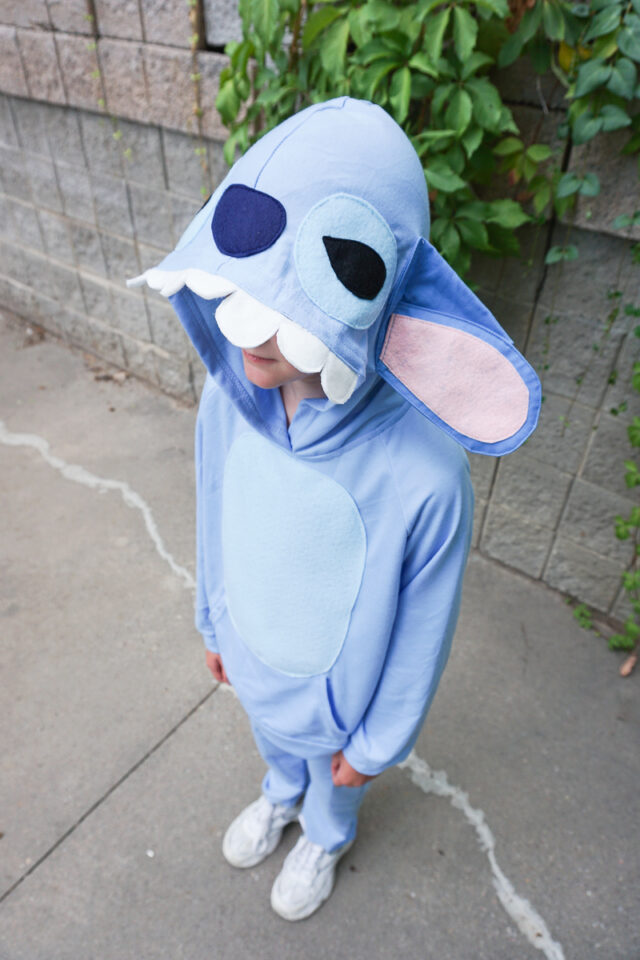
Learn how to make a DIY Stitch costume from Lilo and Stitch for Halloween. This easy sewing project works for kids or adults.
The Stitch character from Lilo and Stitch has been a favorite of my daughter for several years. She loved the cartoon movie, and she loves the new live action movie.
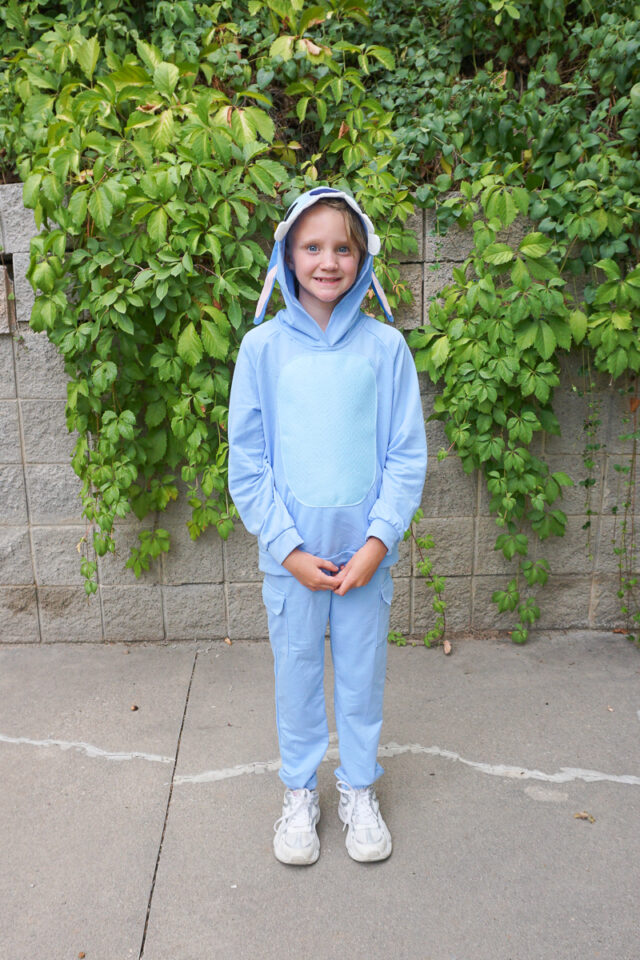
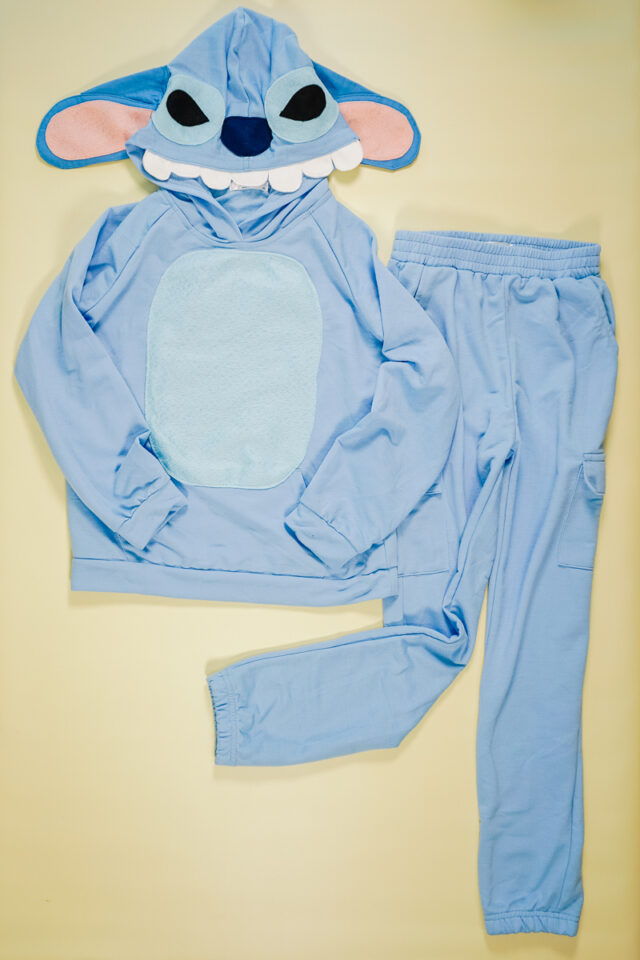
I realized that a DIY Stitch costume would be a really easy costume to make. It’s essentially a sweatshirt and sweatpants set (that my daughter will wear ALL winter) with some details added to the hoodie. I LOVE costumes like this because they are quick, easy, comfortable, and I often take the details off after so they can wear throughout the year.
What should I use for the base of a DIY Stitch Costume?
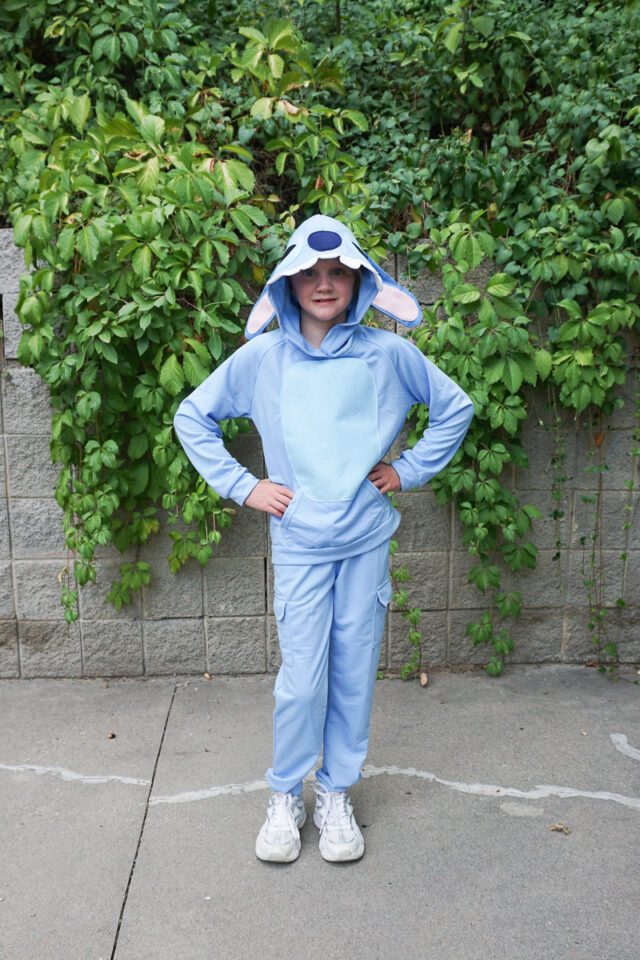
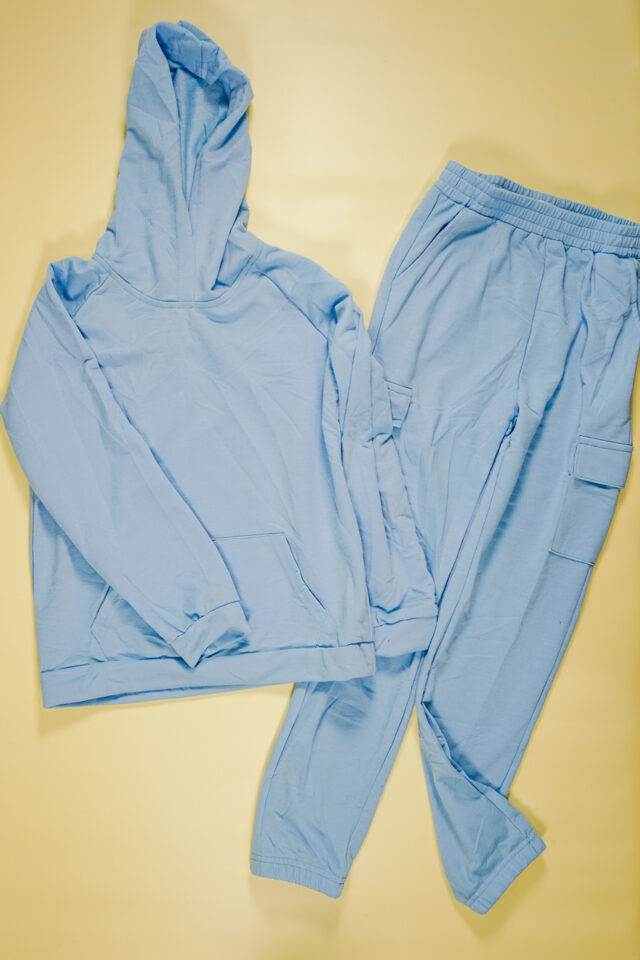
Get a blue matching sweatshirt and sweatpants (like the girls set*) for a really comfortable costume. This will work the same for smaller kids, adults, and teens. As long as you have the hood, any blue set will work.

What felt should I use for the DIY Stitch details?
I used cheap acrylic felt* for this costume, because I wanted it to be cheap. The felt doesn’t look as nice, but I’m going to take the details off after Halloween so she can wear the set through the winter. You can also use wool felt which looks much nicer and lasts much longer, but it’s a little more expensive.
Love to sew? Try one of these sewing projects:

How to Make a DIY Stitch Costume
Supplies
- blue matching sweatshirt and sweatpants (like this girls set*)
- acrylic felt* in blues, black, and white, OR wool felt
- Free large ear sewing pattern for costumes
- Optional: fusible interfacing
- Sewing tools
- Sewing machine
Instructions
Cut two pieces of white felt into a 3 inch by 12 inch rectangle. Layer them on top of each other and then sew scallops/teeth across.
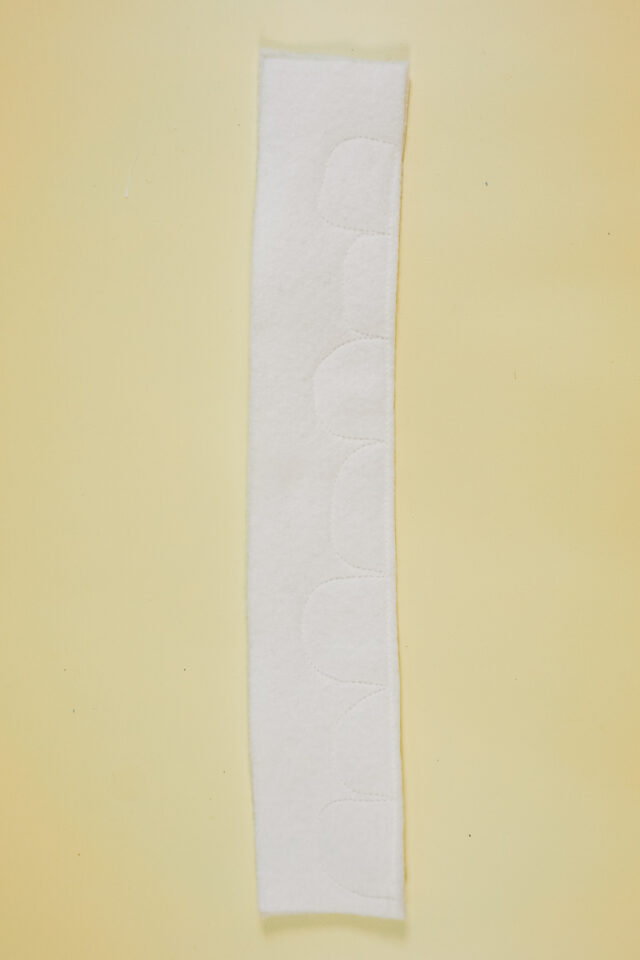
Cut around the stitching to create a strip of white teeth.

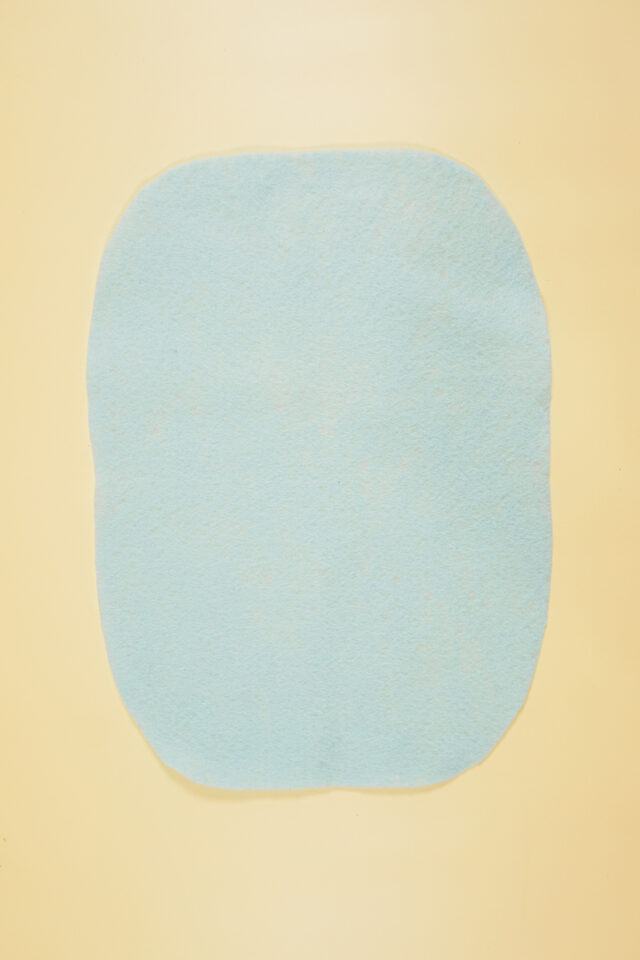
Cut a light blue piece of felt into an oval for the tummy.
Cut a navy blue piece of felt into a random spot shape for the back spot.

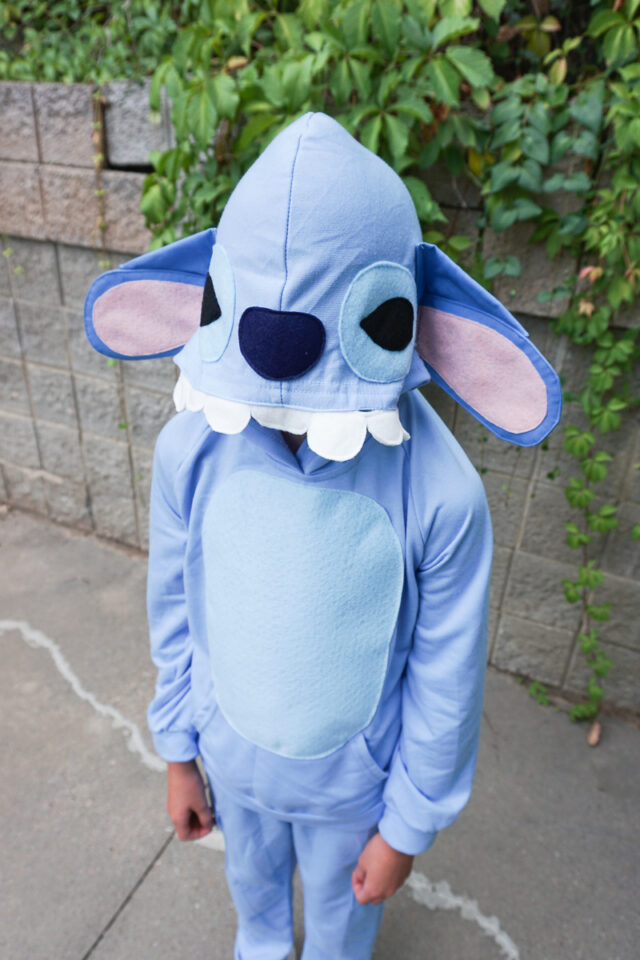
Cut out a large navy blue nose in a dog nose shape. Cut two light blue ovals for the eye spots. Then cut two black tear drop shapes for the eyes.

Make two large pointed ears with the free ear sewing pattern. I could not find felt that matched my set fabric color, so I used quilting cotton instead. That’s why I added fusible interfacing because I had to interface this fabric.
This ear sewing pattern is great because it helps make ears 3D and stand up away from the hood.
I recommend using felt if you can find a matching color because you don’t have to use any interfacing.

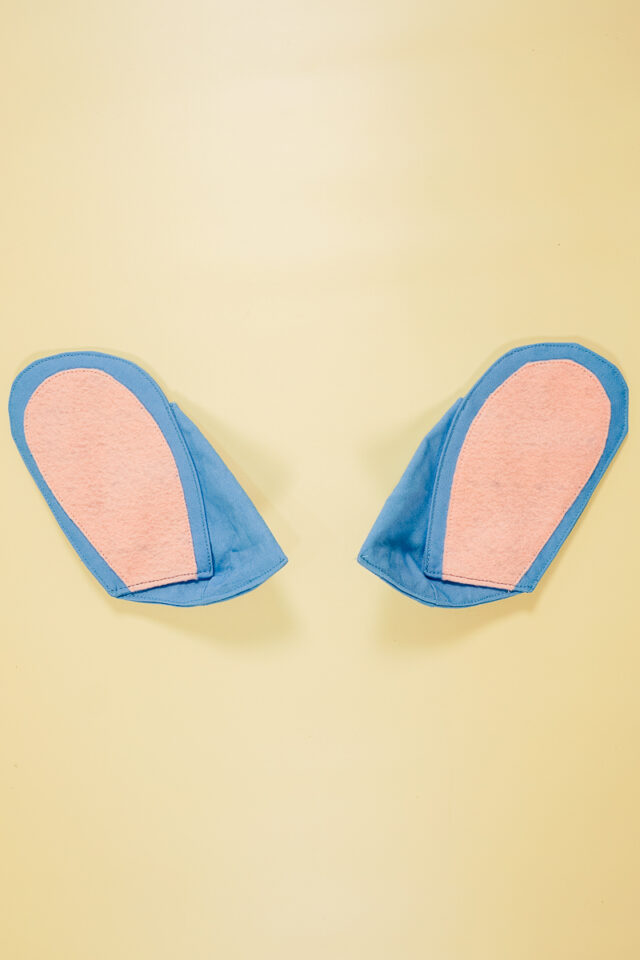
Cut out 4 blue curved ears. Make them a little oversized. Cut out two pink inner ears and sew them onto two of the blue curved ears. (I had to use quilting cotton to match my set, so I had to interface two of the ears. If you are using felt, you don’t need to use fusible interfacing.)

Sew the ears right sides together and leave a 2 inch hole on one of the straight edges.. Trim the seam allowance and corners. Turn the ears right side out. Edgestitch around the ears to make the edges crisp and close the holes.

Sew the rounded ears onto the triangle ears.
Sew the tummy onto the center front. Sew the face onto the top of the hood. Sew the teeth onto the top of the opening of the hood. Sew the base of the ears on each side next to the face.
*If you baste all of these pieces on like I did, it’s really easy to remove these details later after Halloween.

Sew the back spot onto the back.
*If you baste this piece on like I did, it’s really easy to remove after Halloween.

Pair it with the pants. You finished!
If you make something using this sewing project, I’d love to see! Please share it on social media with the hashtag #heatherhandmade and tag me!


I believe small sewing moments can create great joy. Find your own “right” way to sew. -Heather