
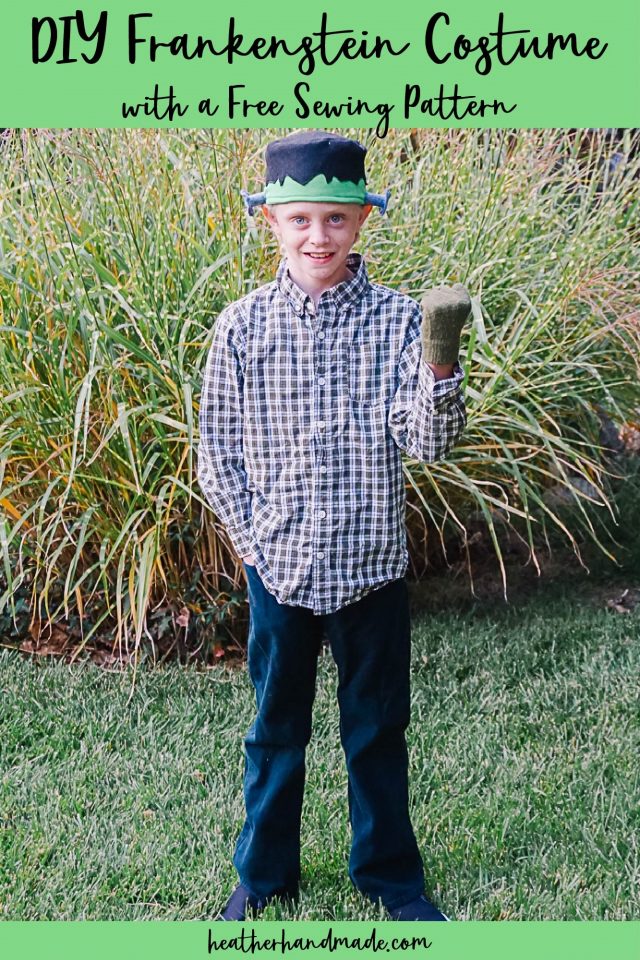
DIY Frankenstein Costume with a Free Hat Pattern

This post may contain affiliate links.
Learn how to make an easy DIY Frankenstein costume for Halloween with a free hat sewing pattern that looks like the monster’s head!
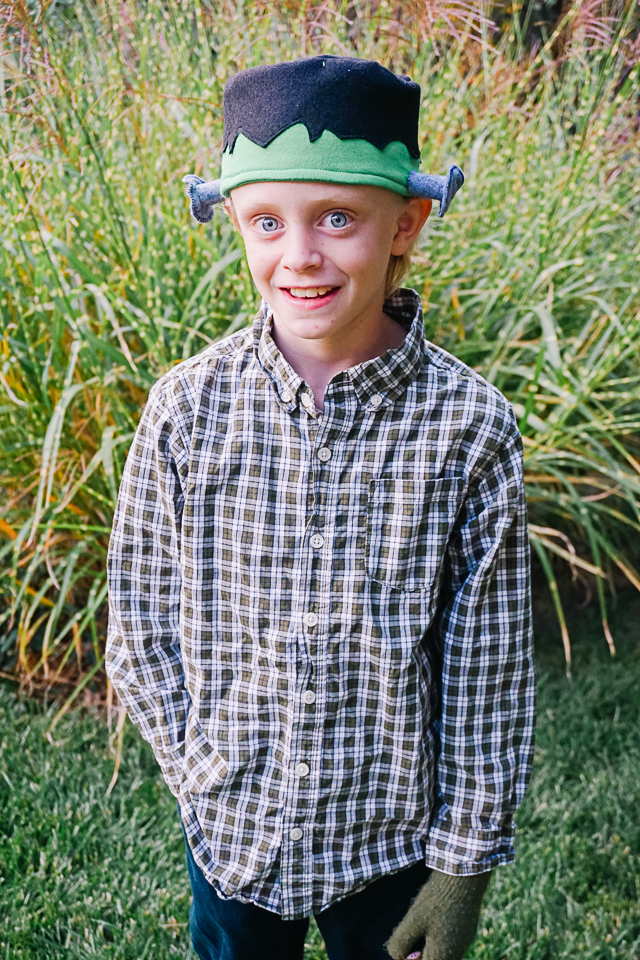
When my kids and I talked about all the costumes we’ve done over the years, we realized we’ve never done Frankenstein’s monster (or just Frankenstein as most people call it). It’s such a classic character for Halloween, and it’s actually really easy to put together.
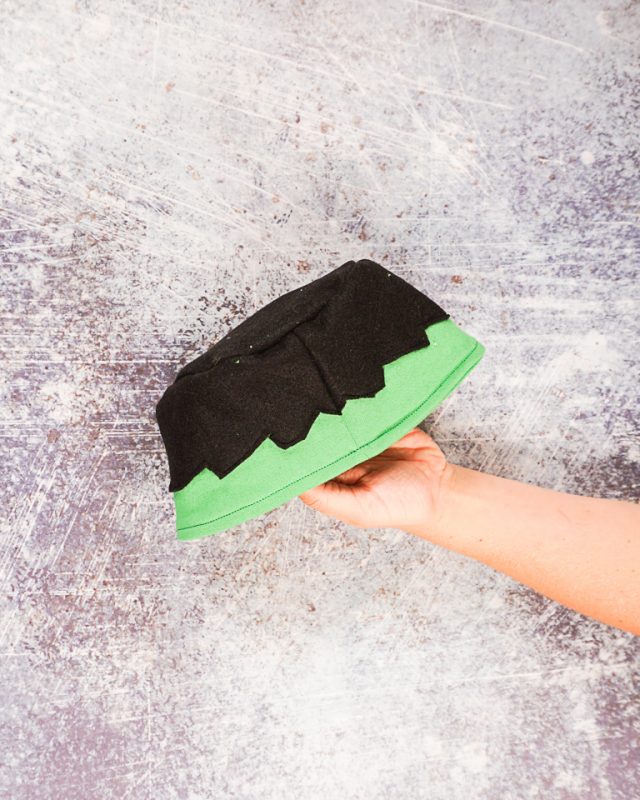
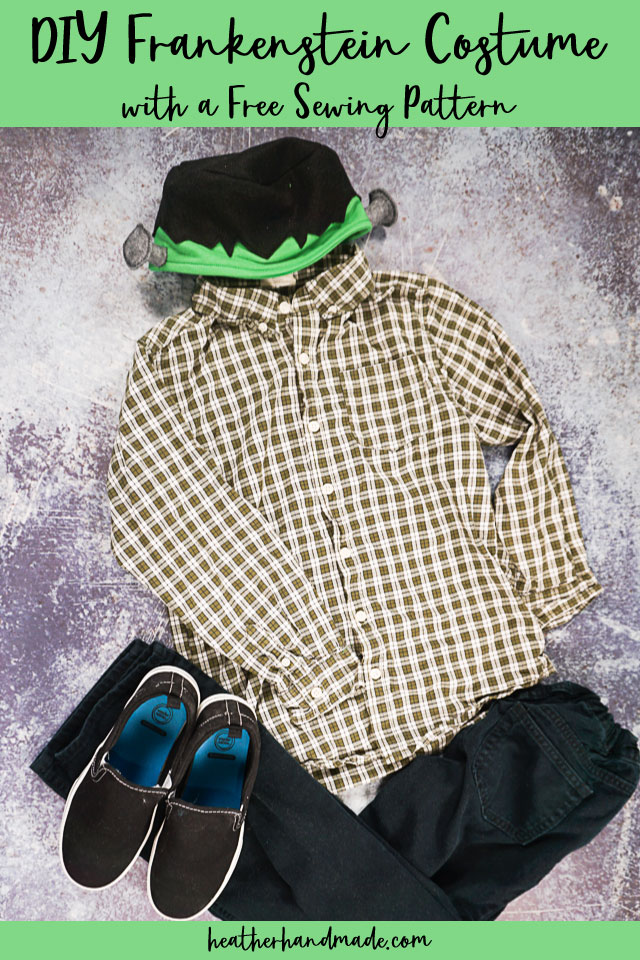
The clothing can all be found in your child’s closet, and the head, which is the most iconic part of the costume, can made with this free hat sewing pattern. This is a fun and easy DIY costume to put together.
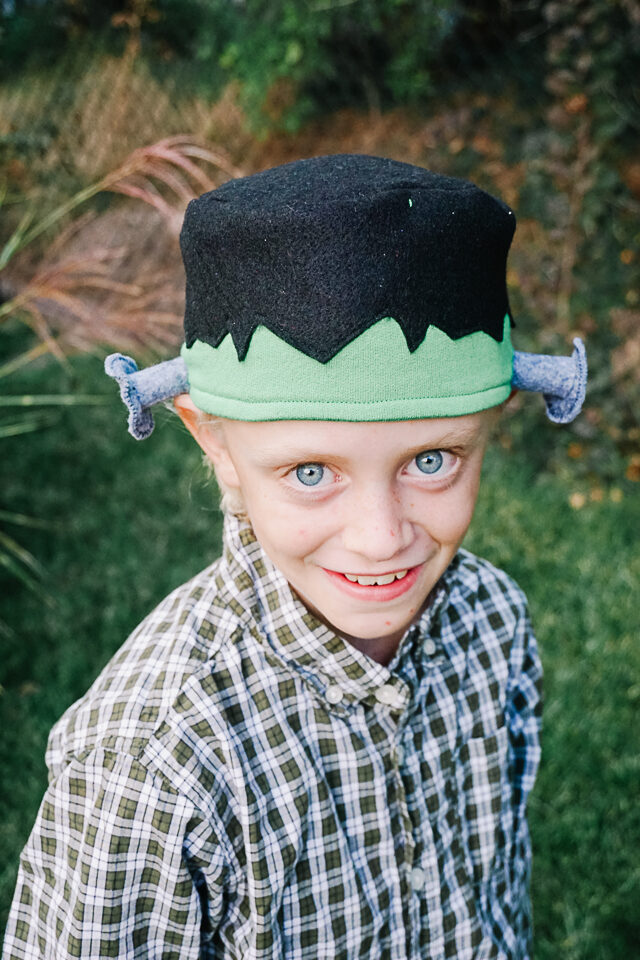
This hat is a simple circle hat shape, and it fits children ages 5-10 years old depending on the size of the child’s head. This hat would be great if you live in a place that’s cold.
Pair it with clothing that is green and black for an easy and great costume. You can even add green gloves to make the hands look like Frankenstein’s hands.
What is a PDF sewing pattern?
A PDF pattern is a sewing pattern designed on the computer and organized so that it can be printed on several letter or A4 size pieces of paper.
I love using PDF sewing patterns because if the pattern gets ruined or if my children or I changed sizes, I can always print it again. It’ll never be destroyed since I have a digital version!
How do you use a PDF sewing pattern?
Open the PDF on a computer and click print. When printing make sure that the scaling is set to 100% or no scaling so that the pattern prints at the correct size. Learn how to use PDF sewing patterns.
Do you love to sew? Try one of these fun sewing projects:
DIY Frankenstein Costume
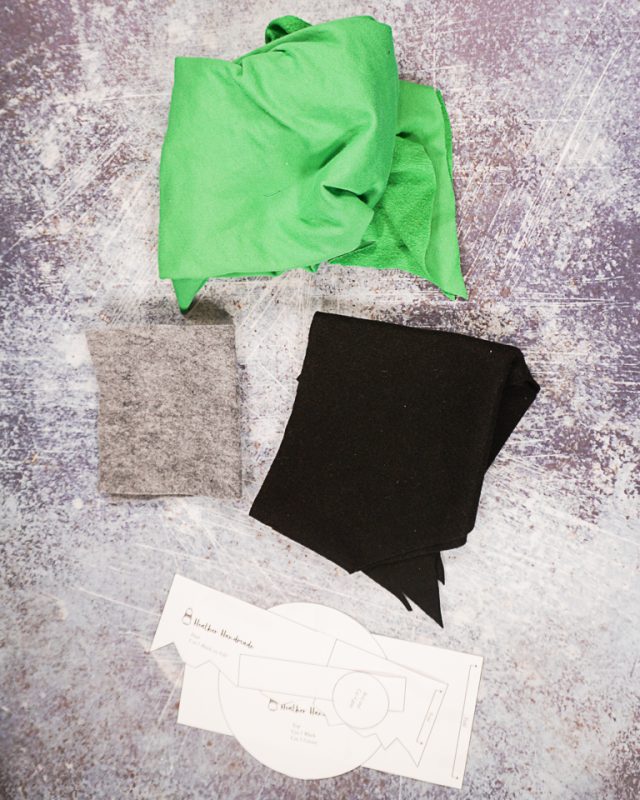
Supplies
For the Hat
- 1/4 yard green fleece
- 1/4 yard black fleece
- Scraps of gray felt or fleece
- Sewing tools
- Sewing machine
- Free Frankenstein hat sewing pattern – get it at the end of the post
For the Costume
- Green plaid shirt
- Green gloves
- Black pants
- Black shoes
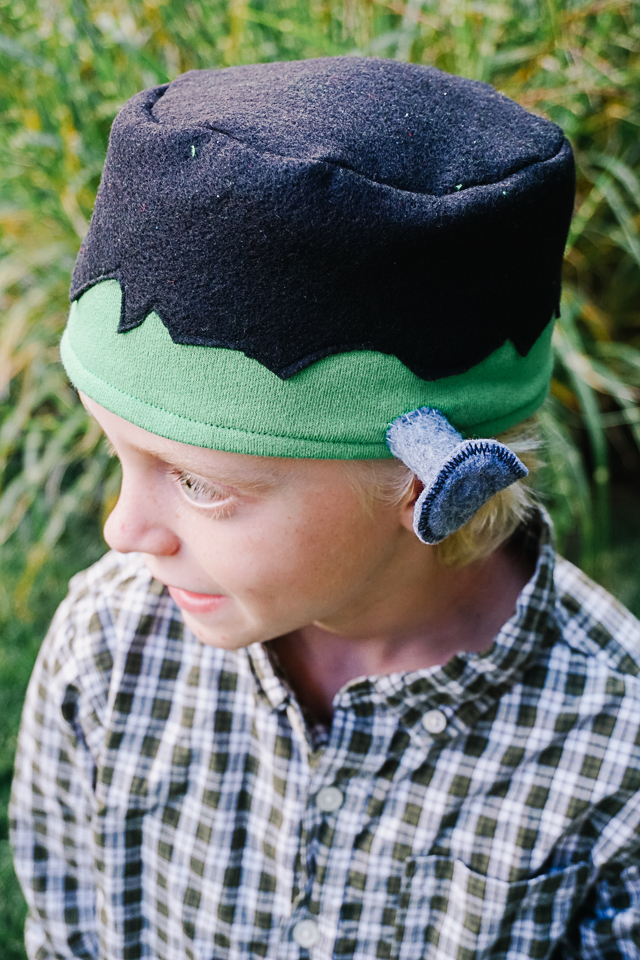
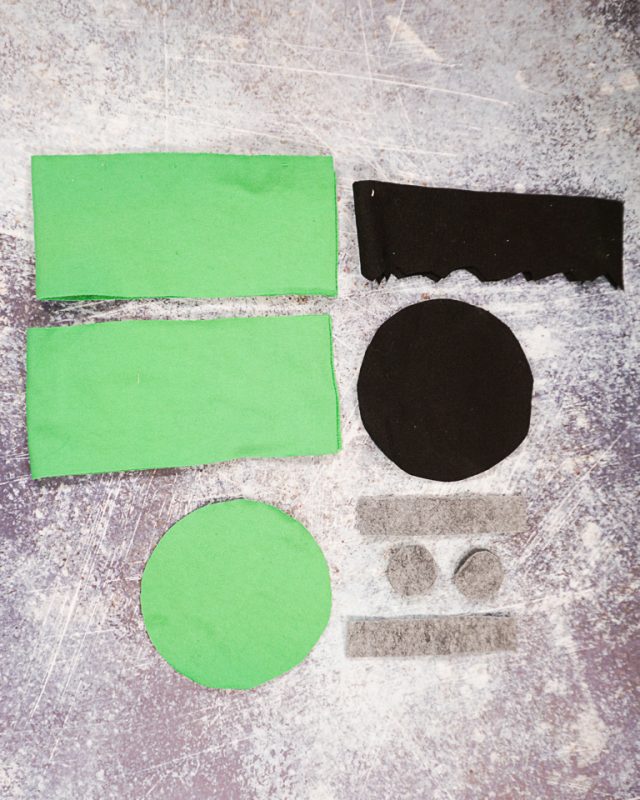
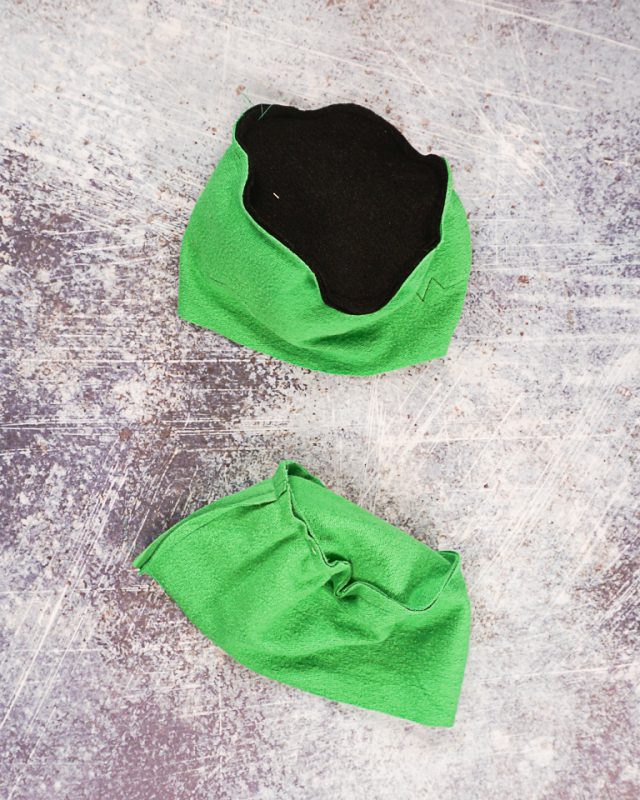
Cut out two hat sides from green fleece fabric. Cut out a top circle from both green fleece and from black fleece. Cut out one hair side from black fleece.
From the gray felt cut out four circles and two rectangles.
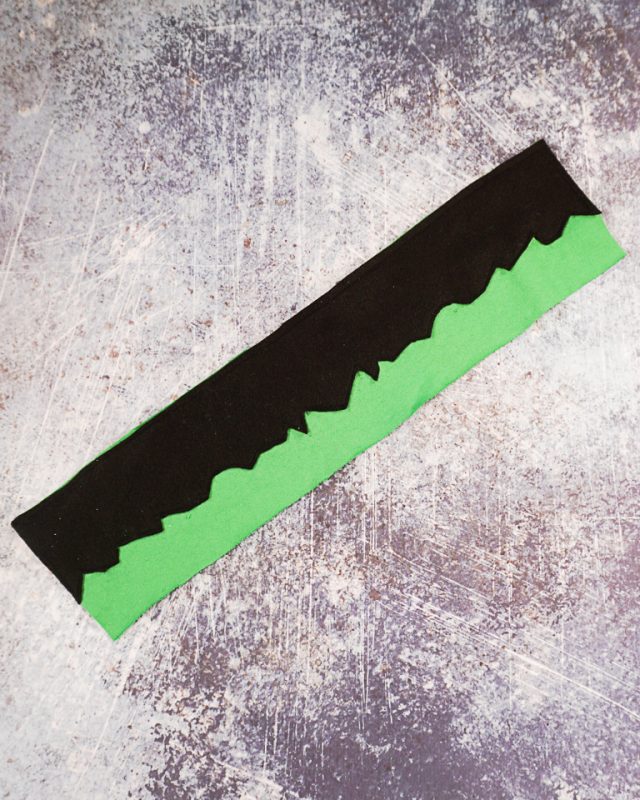
Pin and sew the black side hair to one of the green sides.
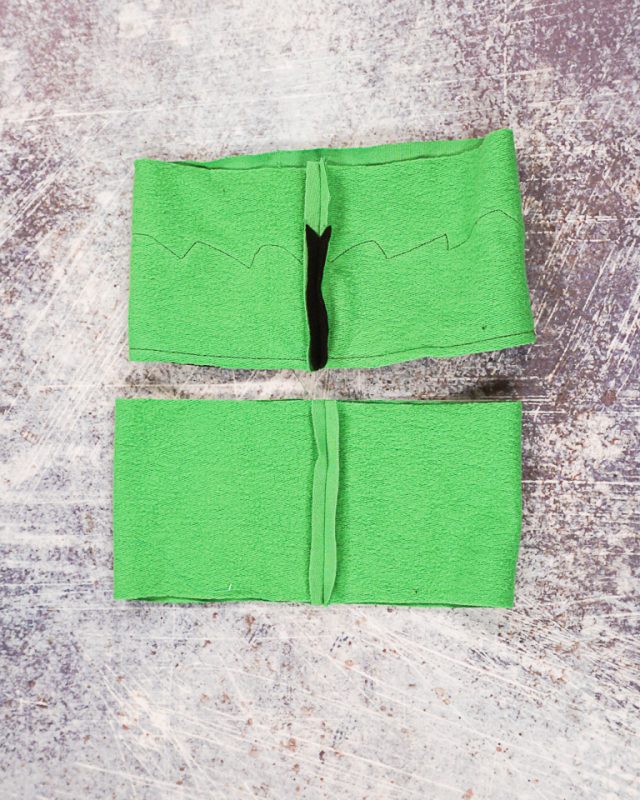
Match up the short sides of each side pieces with the right sides together. Sew each side together.
Pin the circle hat pieces to the side pieces with right sides together and sew. The black piece should be paired with the side piece with hair and the green piece should be paired with the gree side piece.
Place the hats one inside the other with right sides together. Sew around the edges and leave a 3 inch hole. Backstitch when you start and when you stop.
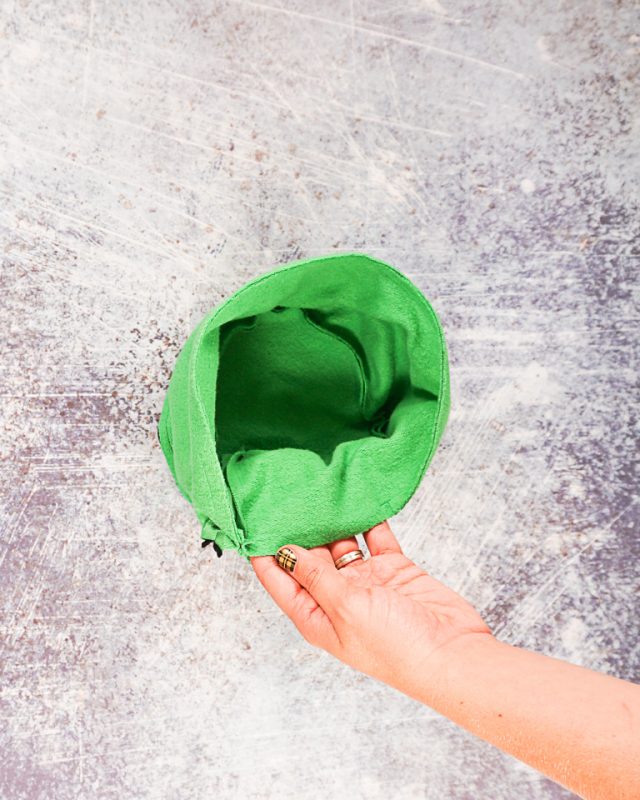
Turn the hat right side out through the hole. Push the lining inside the hat.
Topstitch around the edge of the hat to keep the lining inside the hat and to close the hole.
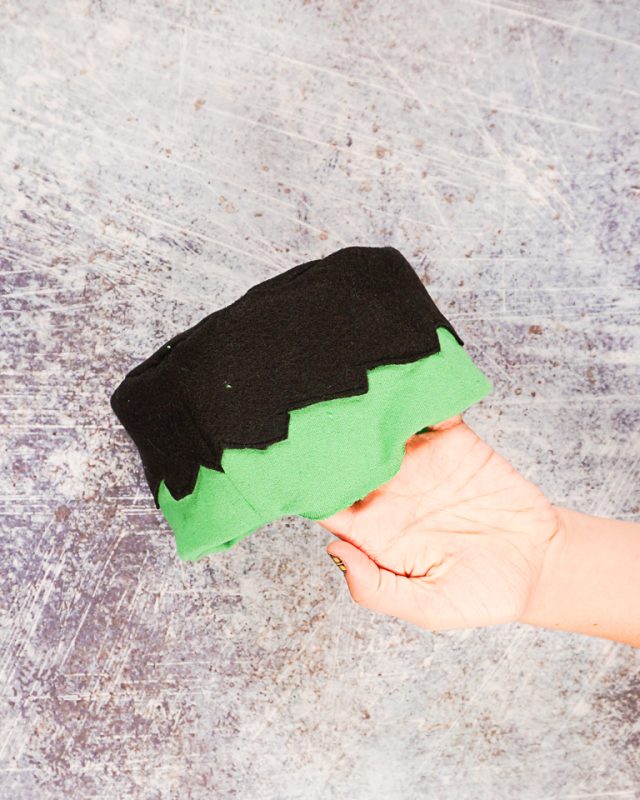
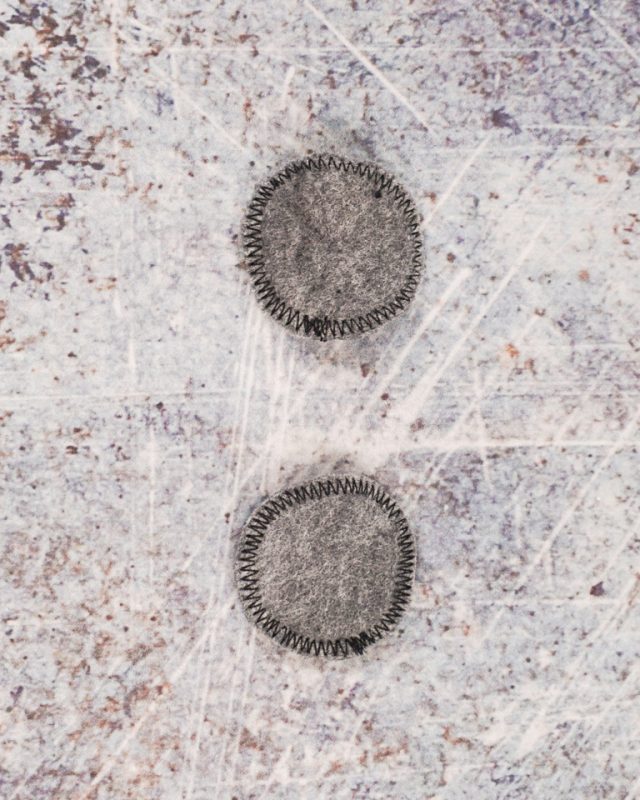
Place two felt circles on top of each other, and zigzag around the edges. Do the same to the other two circles.
Roll up both of the rectangles into tubes. Hand stitch the tube in place.
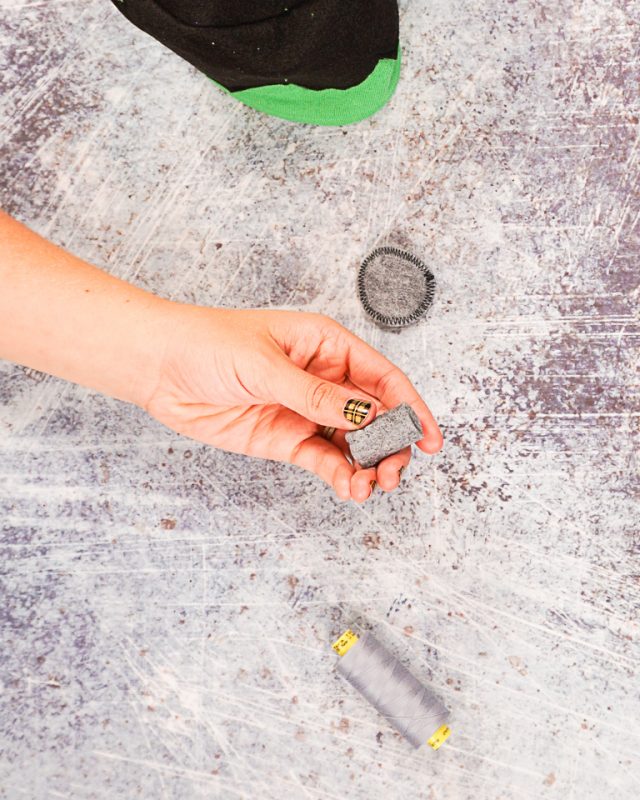
Place the ends of the bolts onto the tubes and hand stitch in place.
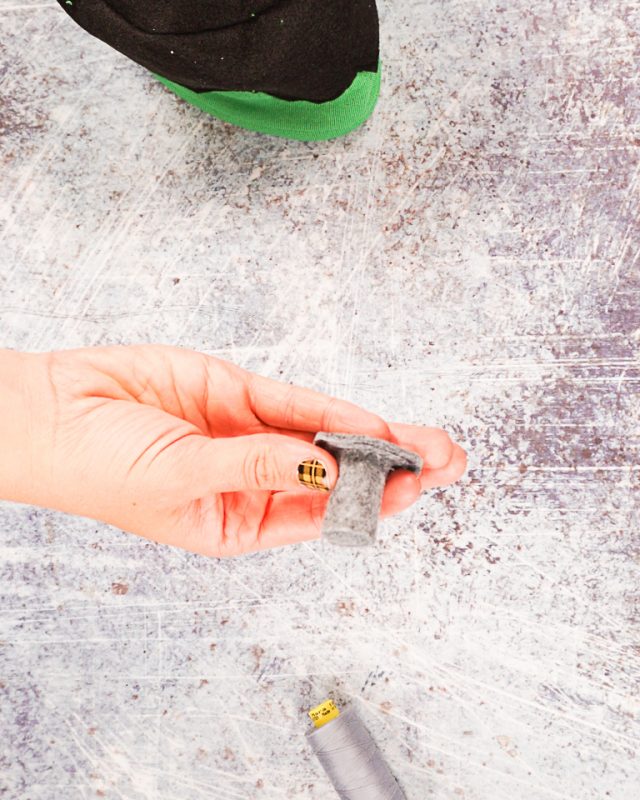
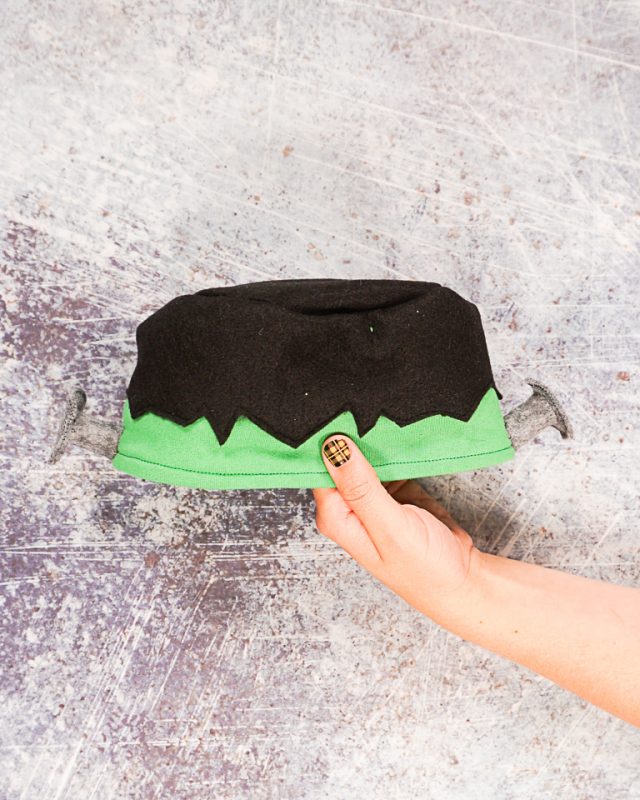
Hand stitch the bolts onto each side of the hat.
Get the Free Sewing Pattern here!
If you make something using this sewing project, I’d love to see! Please share it on social media with the hashtag #heatherhandmade and tag me!

I believe small sewing moments can create great joy. Find your own “right” way to sew. -Heather
I don’t understand #2 in the pattern. Is it a big square?
It’s a big rectangle, but it needs to be cut on the fold