
DIY Ella Langley “Choosin’ Texas” Costume

This post may contain affiliate links.
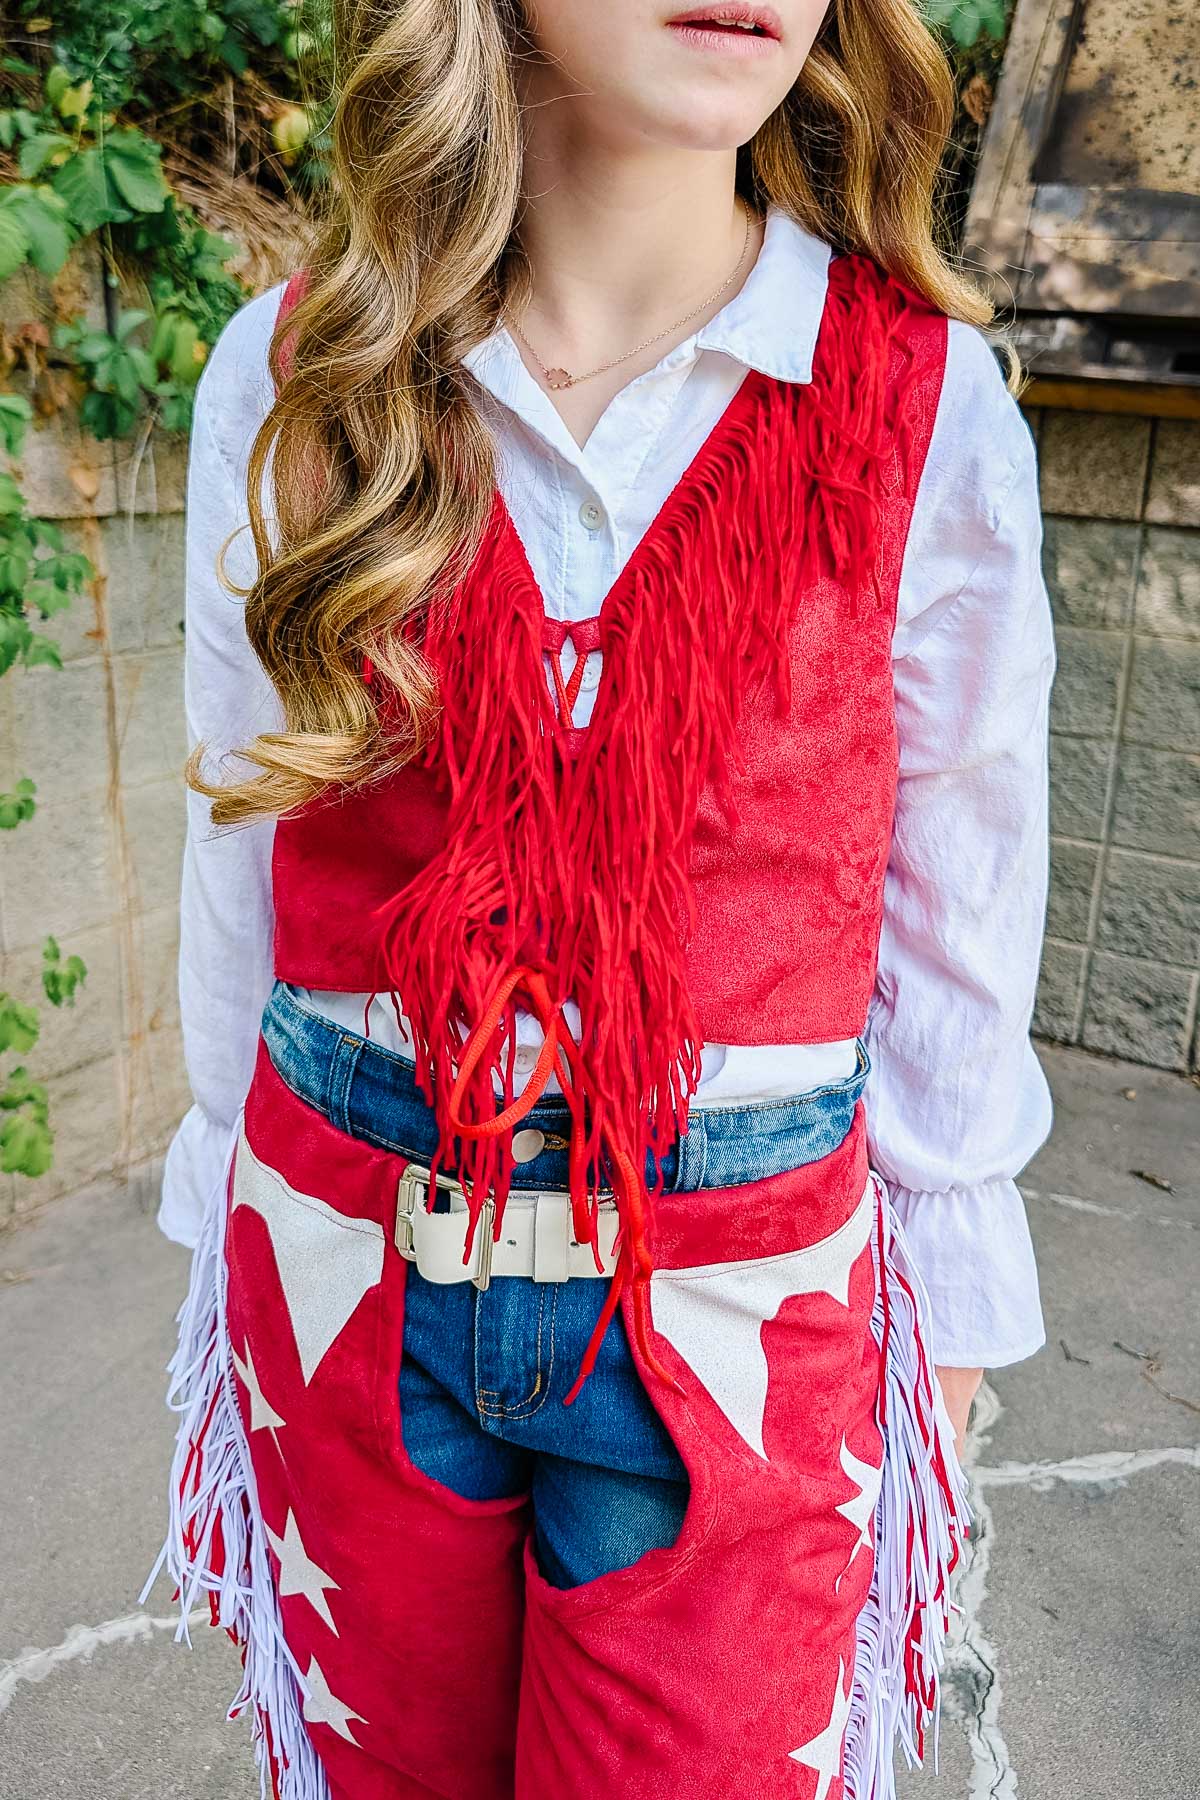
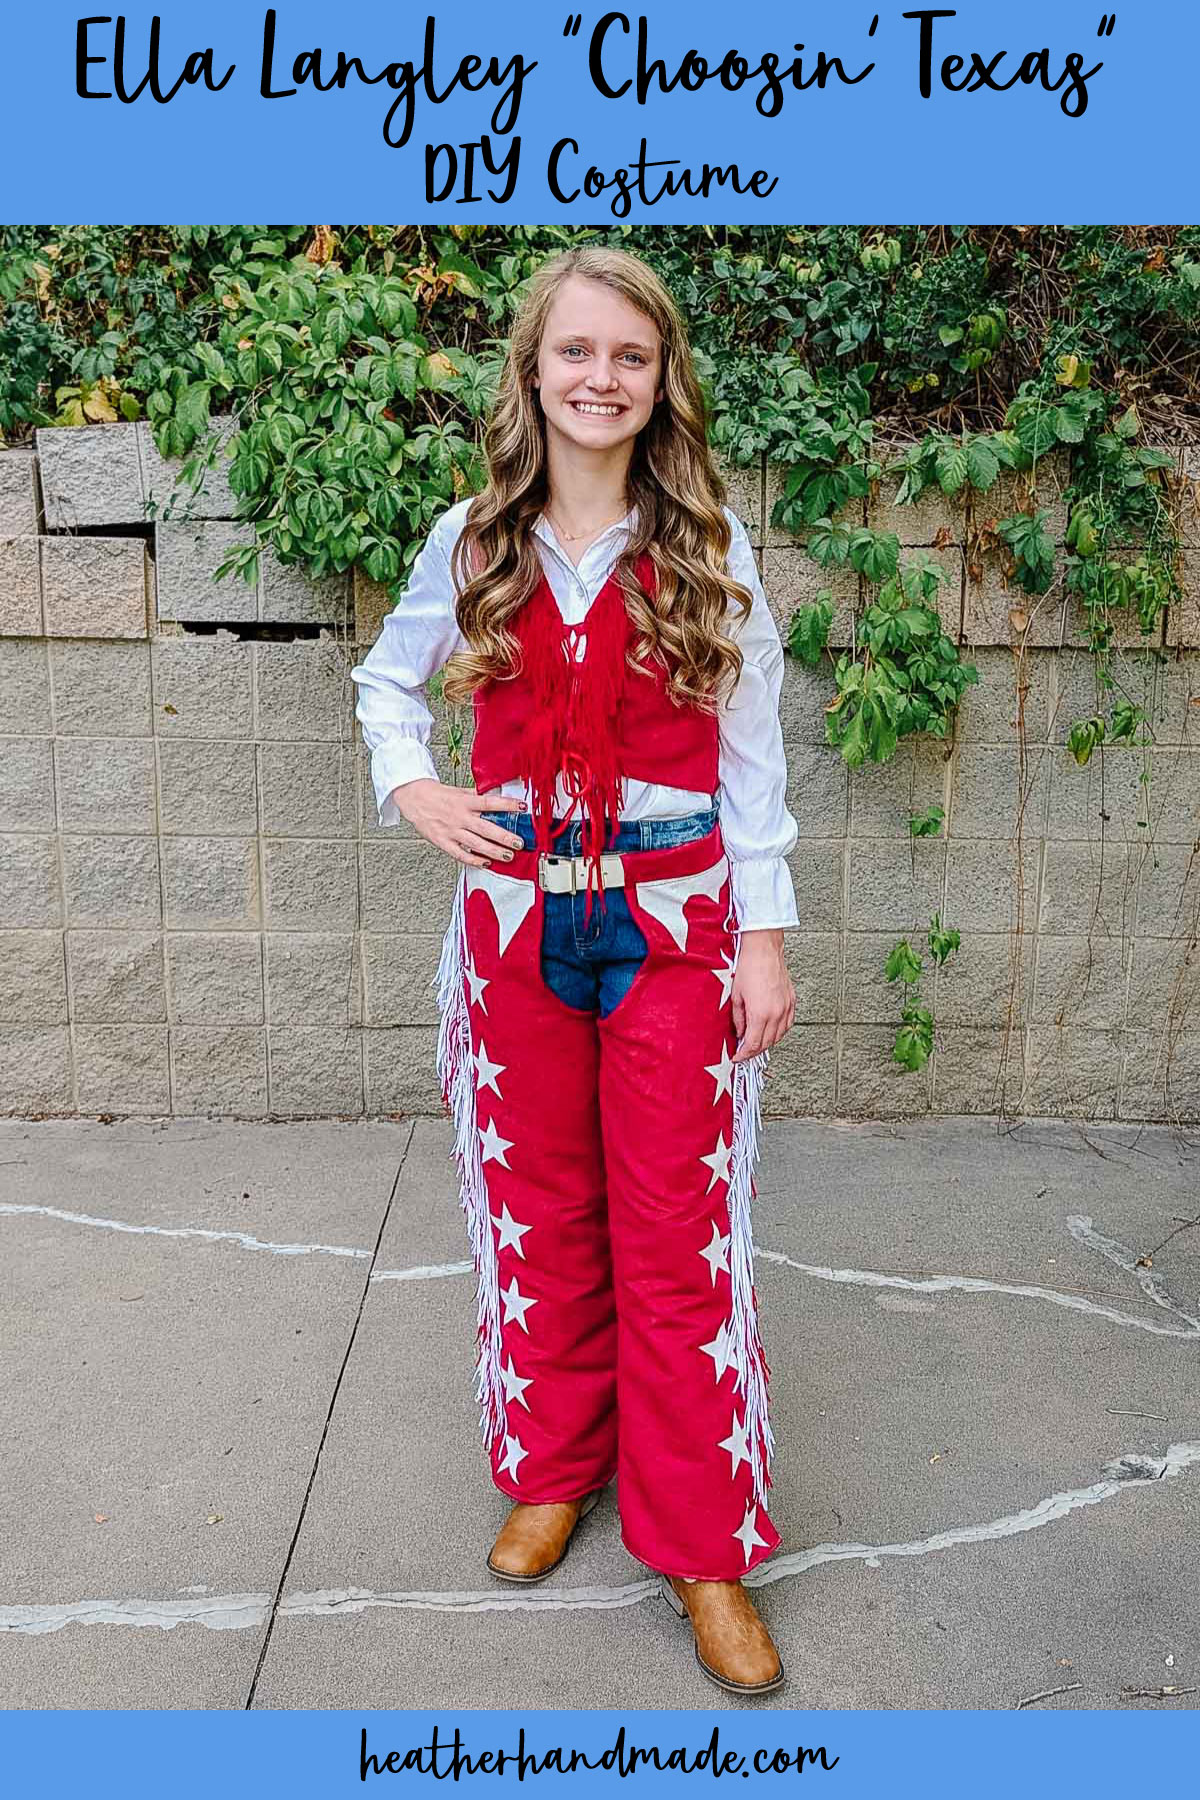
Learn how to make a DIY Ella Langley costume inspired by the “Choosin’ Texas” music video. This costume also works as a cowgirl costume.
My girls and I have enjoyed listening to Choosin’ Texas all summer. When it came time to pick a costume, my daughter was excited to be Ella Langley from the Choosin’ Texas music video. I had so much fun putting this costume together, and learning how to sew chaps.
Since we live in a place with cold Halloween nights, I took some creative liberties and combined the different outfits in Choosin’ Texas to make this costume work. My daughter and I both love the look! Let’s learn how to make this costume.
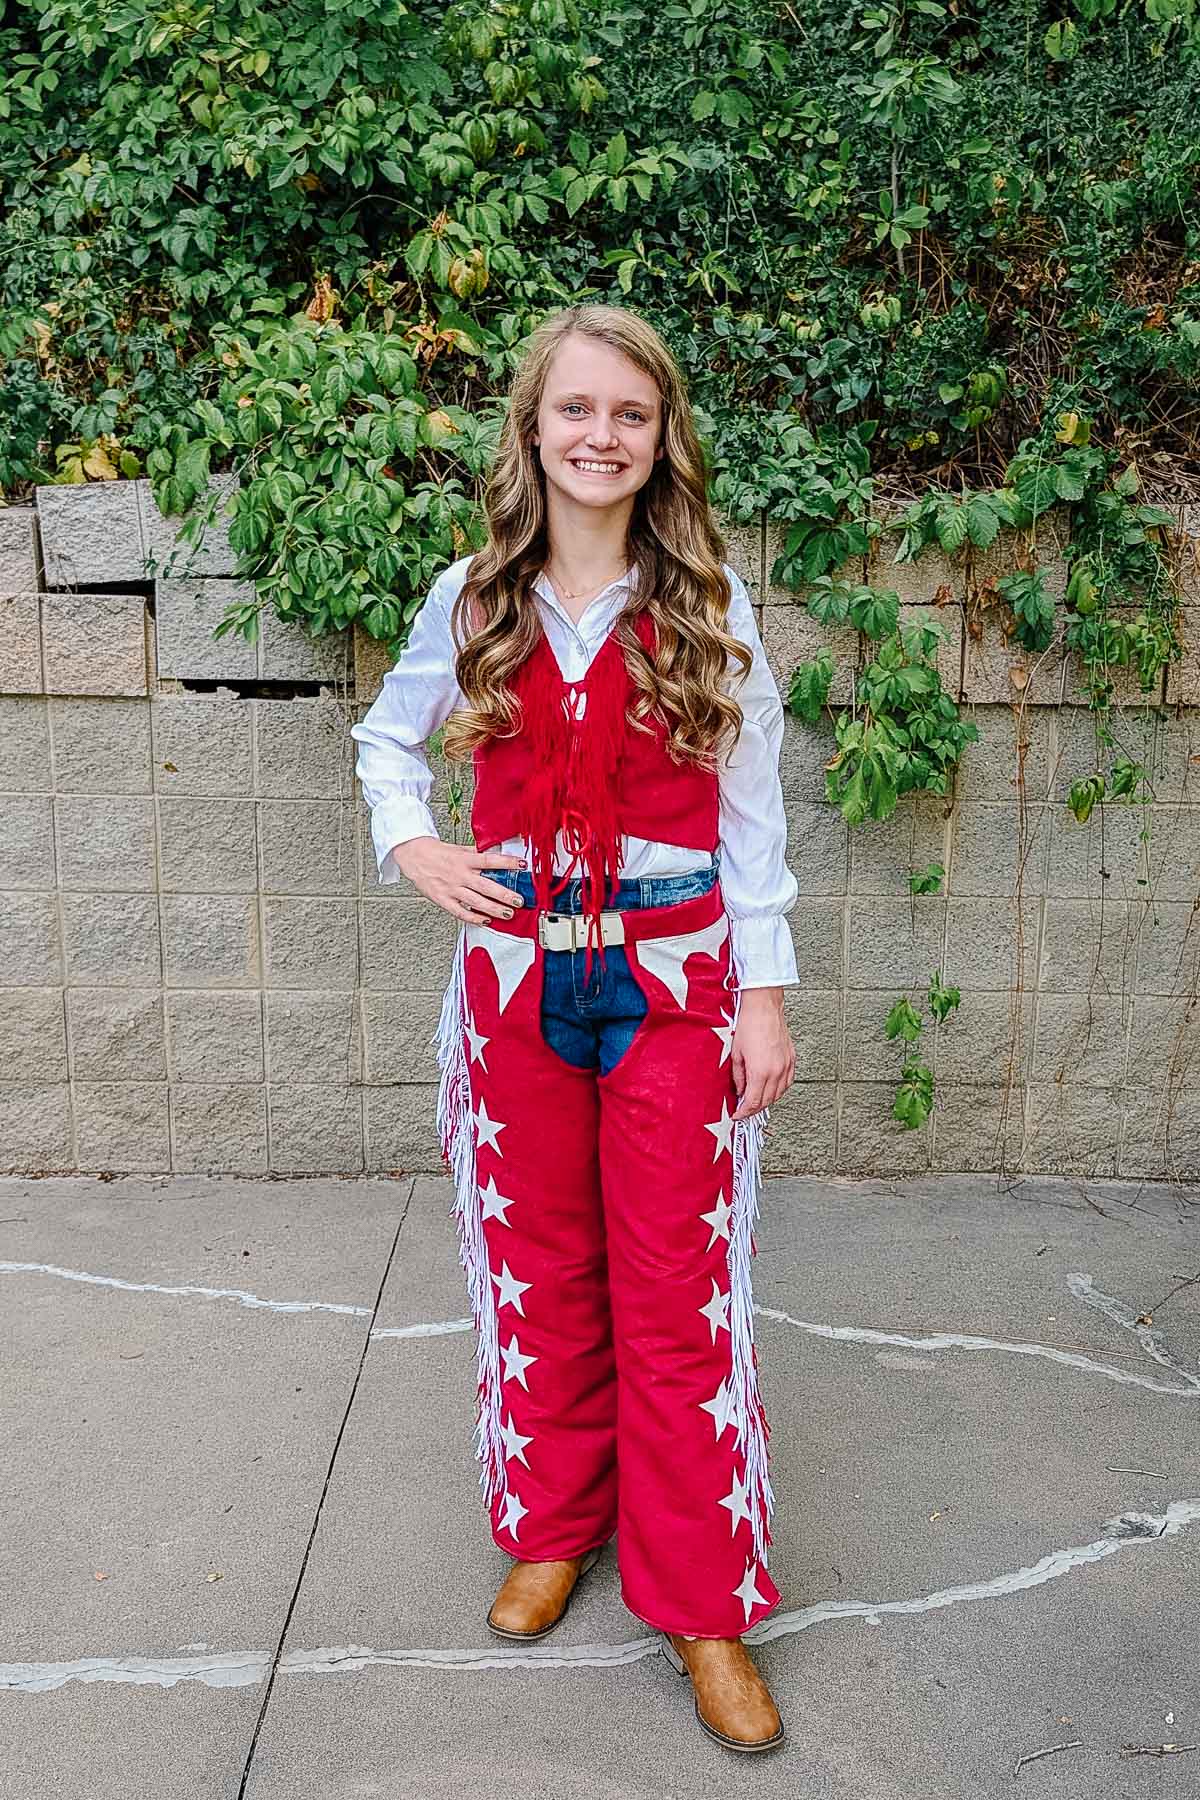
What do you need for this costume?
The items I used for this costume are:
- White button up shirt – thrifted and altered the sleeves
- Red vest – made with faux suede fabric* and red fringe*
- White leather belt – thrifted
- Denim bootcut jeans* – I wanted to thrift these, but after checking our store mutliple times I never saw the right pair of jeans come through.
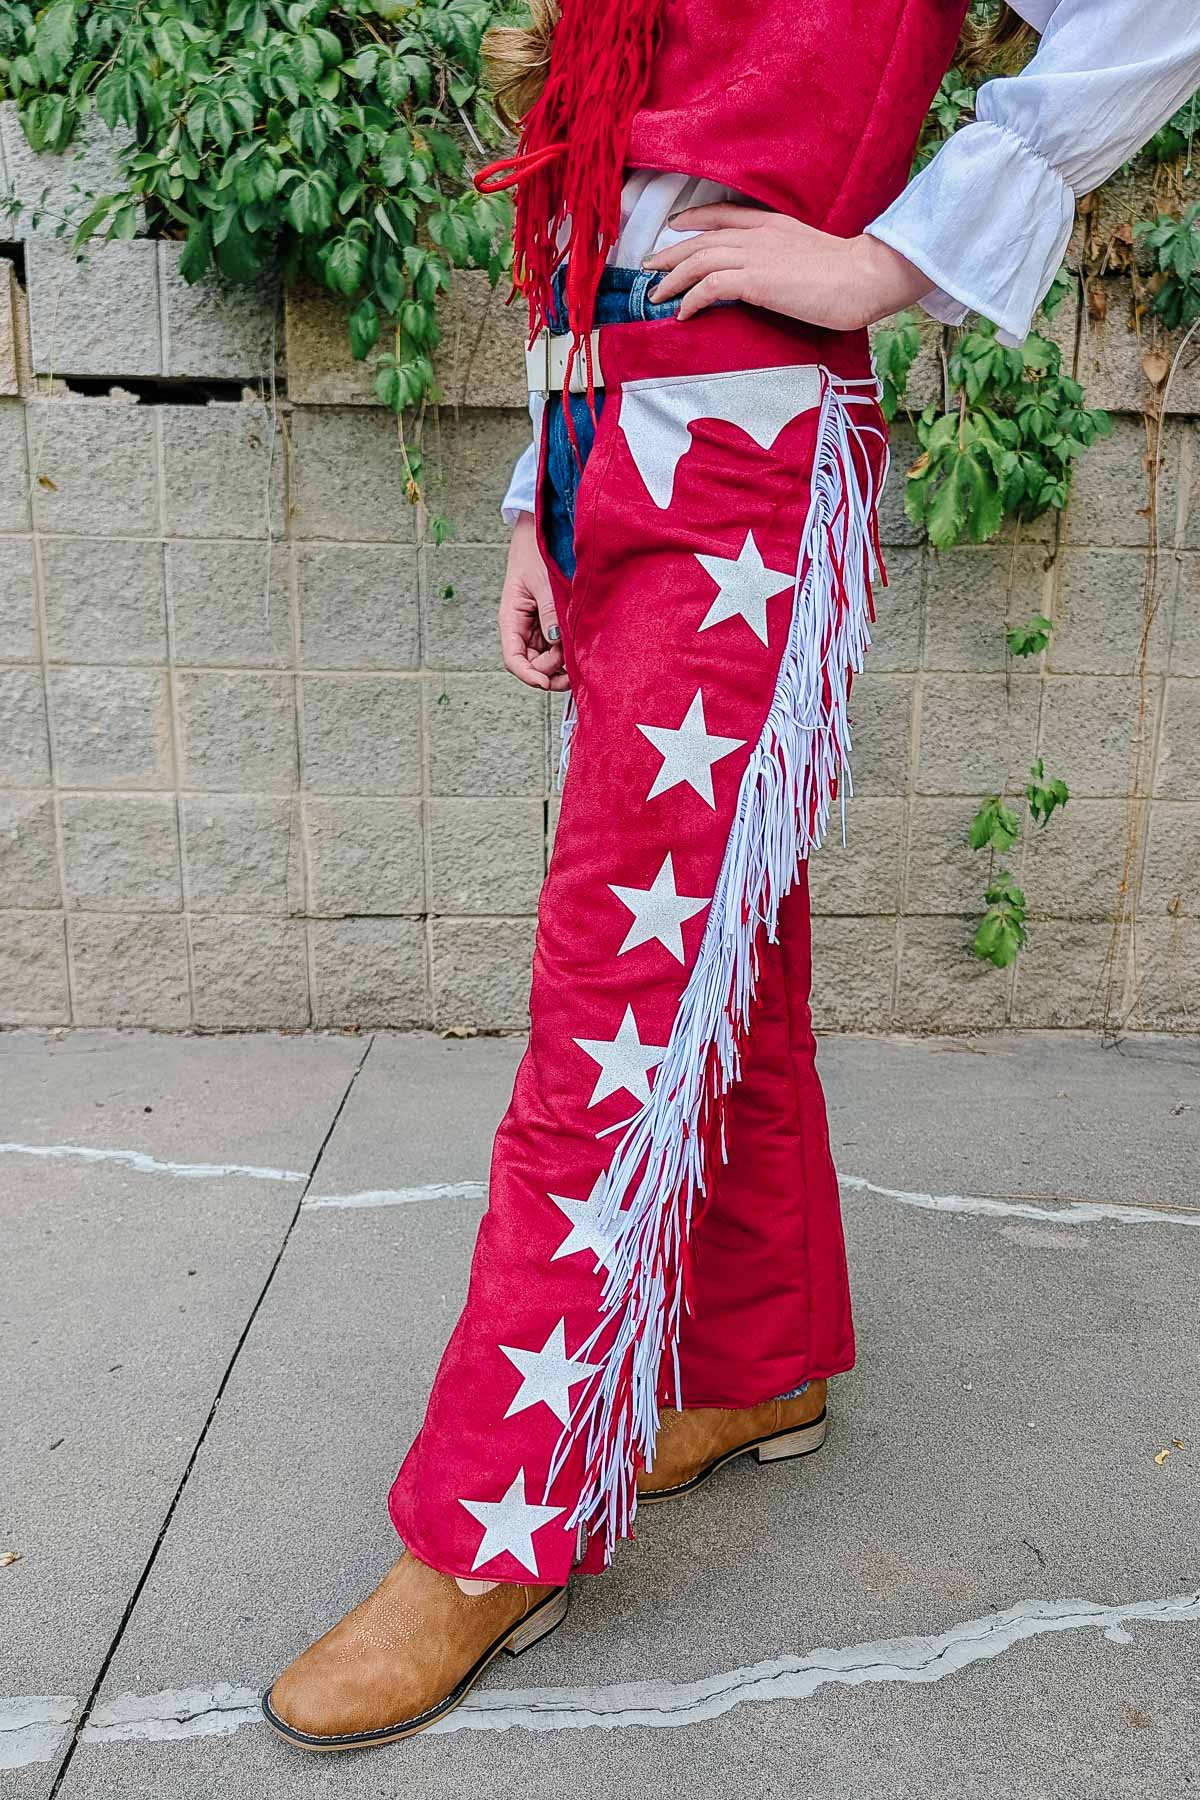
- Red chaps – made with faux suede fabric*, red fringe*, white fringe*, and glitter iron-on vinyl*
- Cowboy boots*
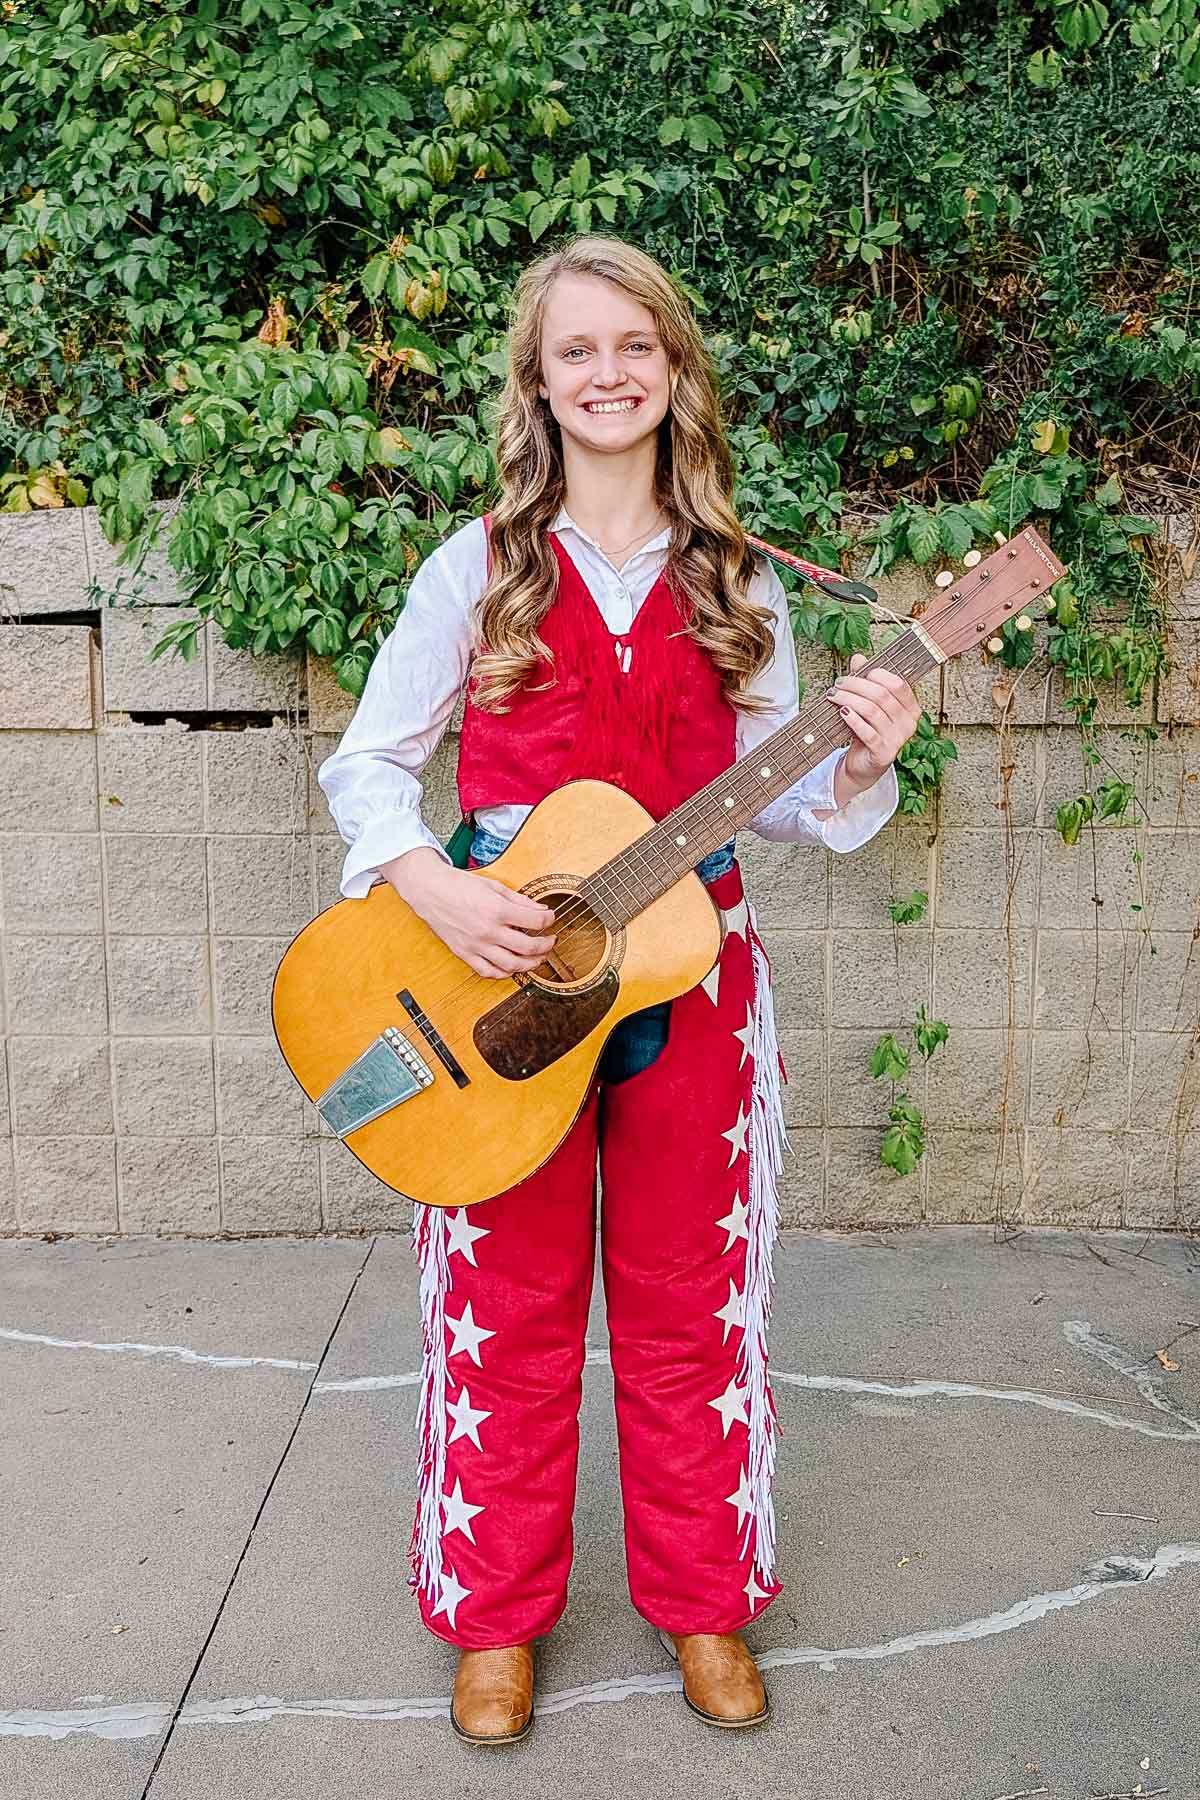
- Guitar – this is my mom’s old guitar and it goes great with the outfit
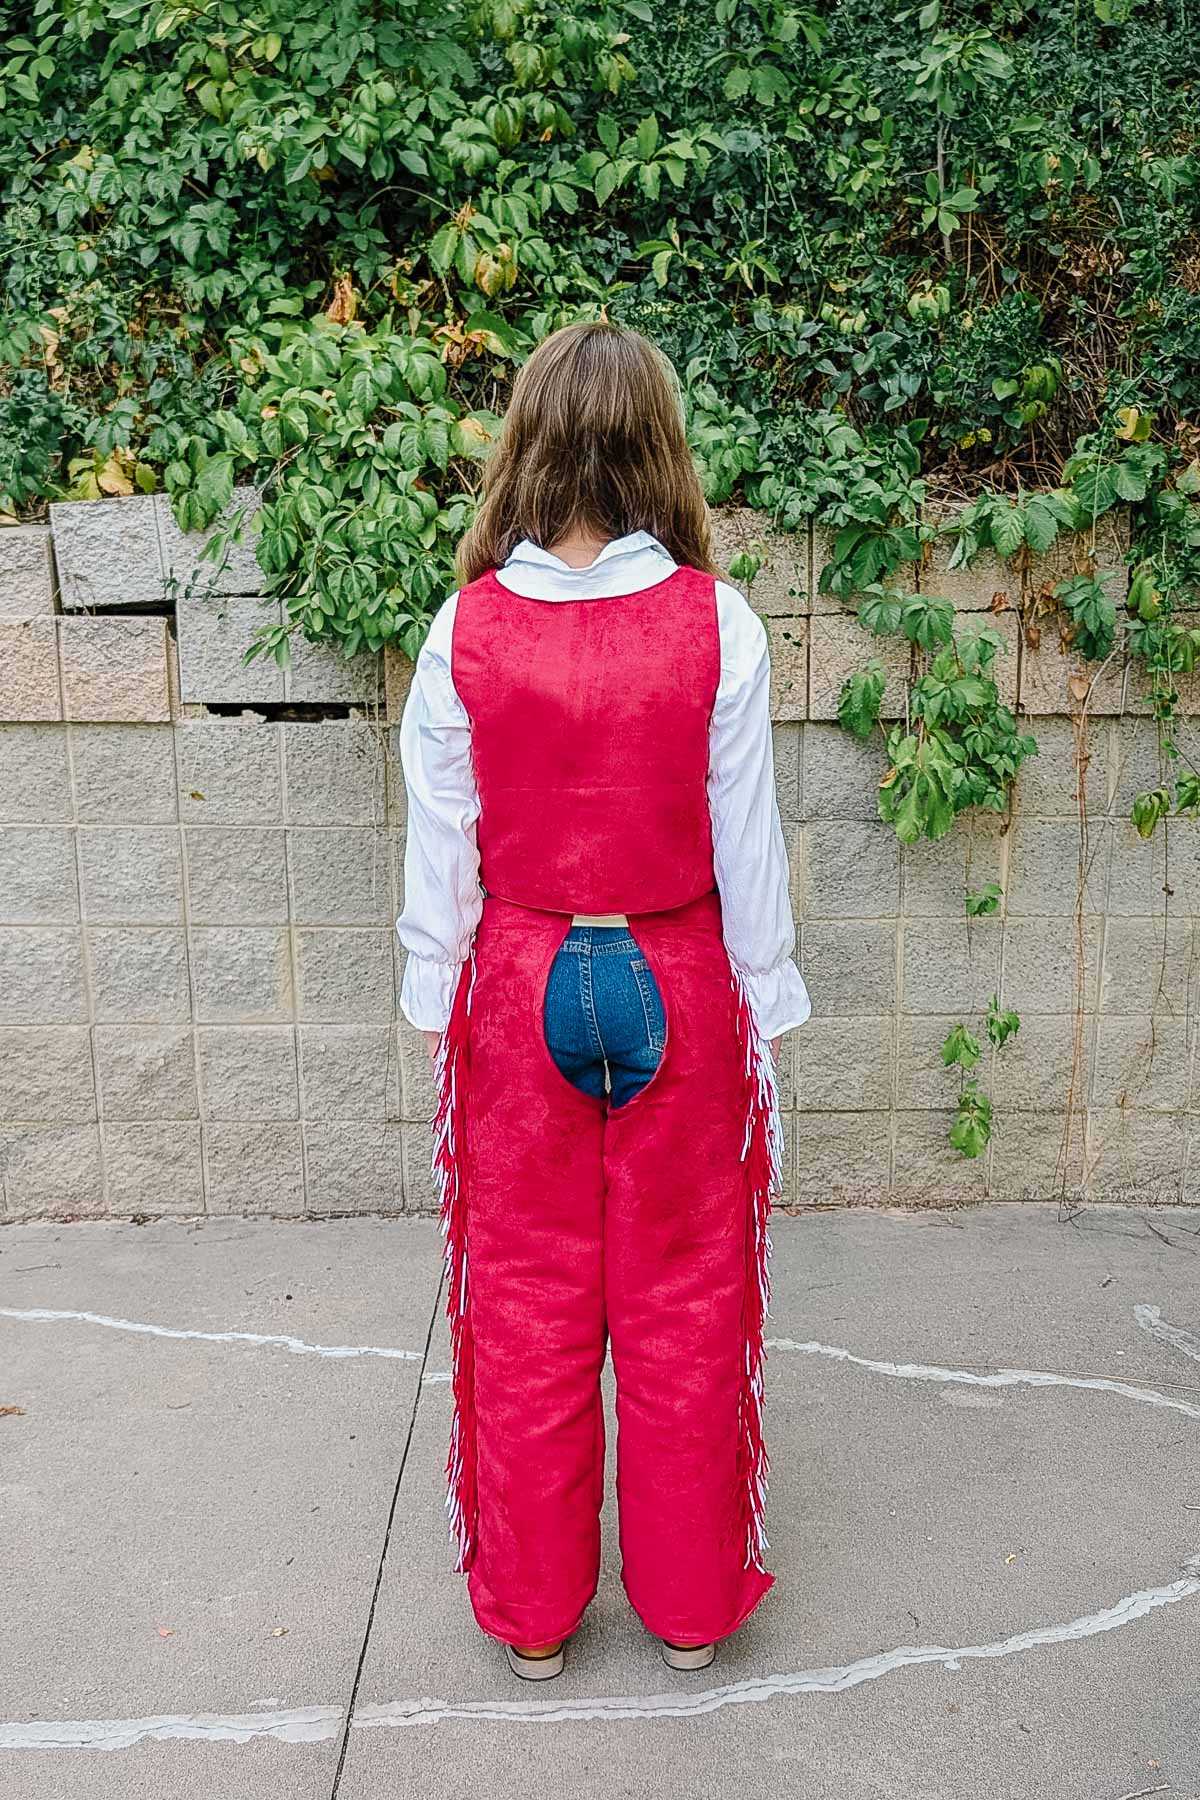
Why isn’t the cotume exactly like what Ella Langley wears?
We live in northern Utah with cold Halloween nights. We always have to plan our costumes around being warm and wearing several layers. This combination of a white long sleeve shirt and jeans under the vest and chaps is a great way to get the look while also being warm.
Love making costumes? Try one of these:
- DIY costume ideas
- Upcycled costume ideas
- Free costume sewing patterns for kids
- DIY Taylor Swift Costume from the Eras Tour
How to Make a DIY Ella Langley Costume
Supplies
- White button up shirt – thrifted and altered the sleeves
- Red vest – made with faux suede fabric* and red fringe*
- White leather belt – thrifted
- Denim bootcut jeans* – I wanted to thrift these, but after checking our store mutliple times I never saw the right pair of jeans
- Red chaps – made with faux suede fabric*, red fringe*, white fringe*, and glitter iron-on vinyl*
- Cowboy boots*
- Sewing tools
- Sewing machine
White Shirt
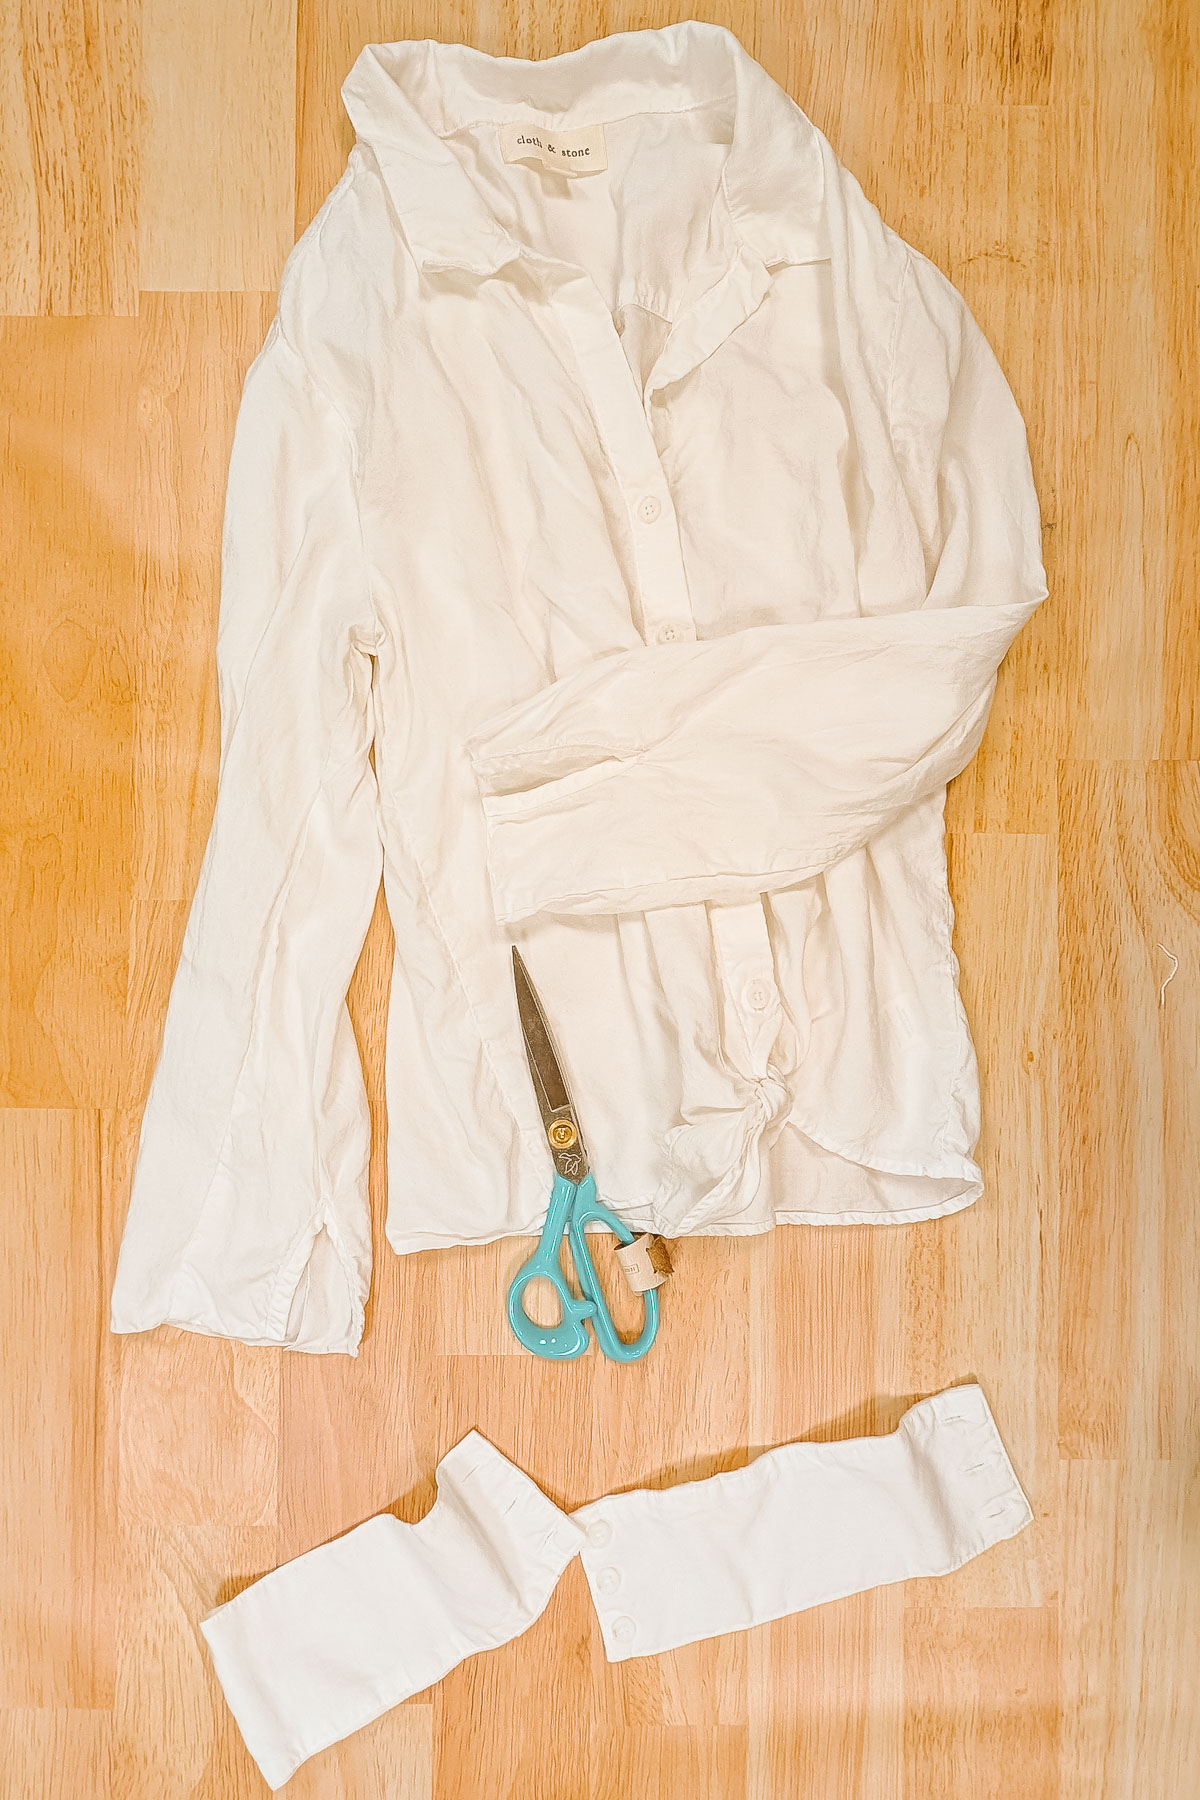
Cut the cuffs off of the shirt sleeves.
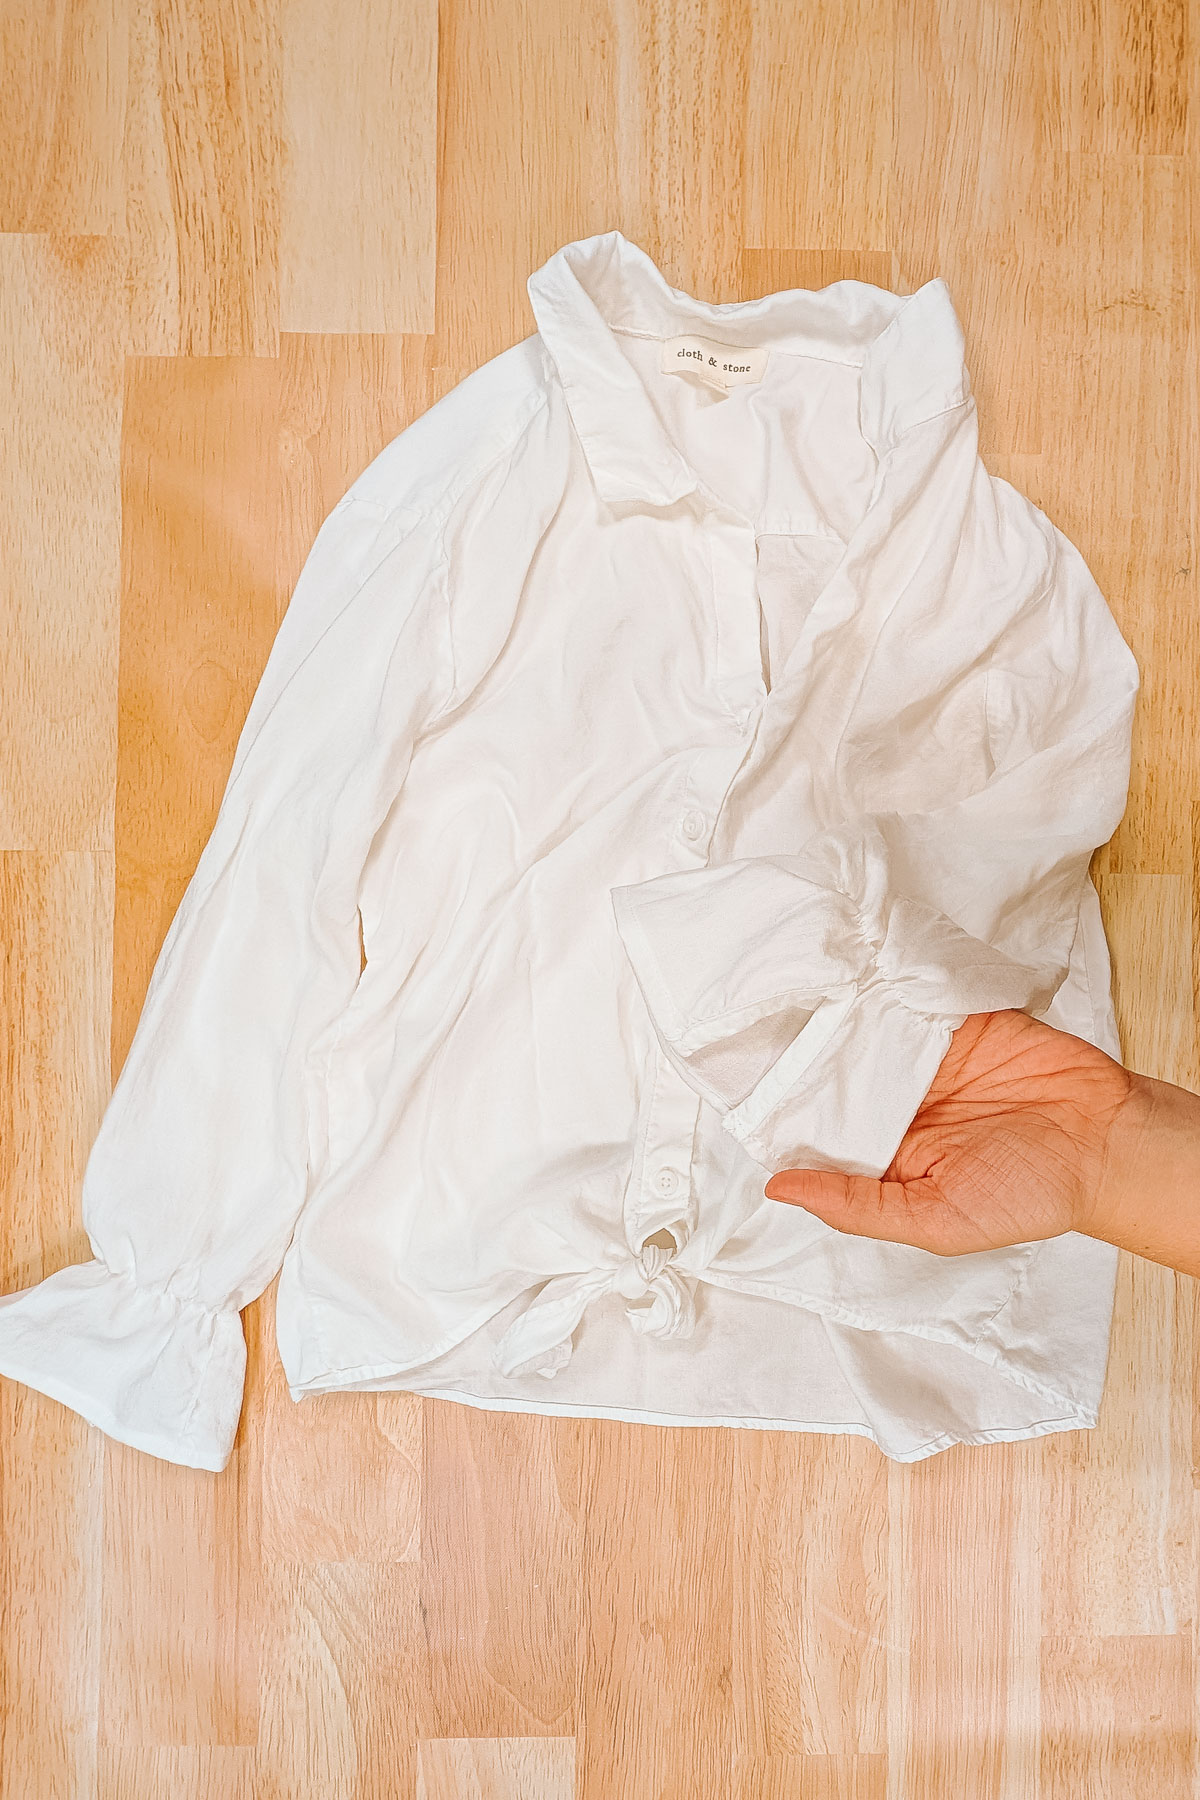
Hem the raw edge of the sleeves. Add a row of shirring just above the button placket.
Vest
I used a shirt from my daughter to draw out a pattern. I held up the paper pattern to her and did a little bit of altering. Then I used the pattern to cut out the vest pieces. I forgot to add seam allowance to the faux suede, but I added seam allowance to the lining. I ended up sewing everything the size of the faux sueded which turned out fine, but always remember to add seam allowance!
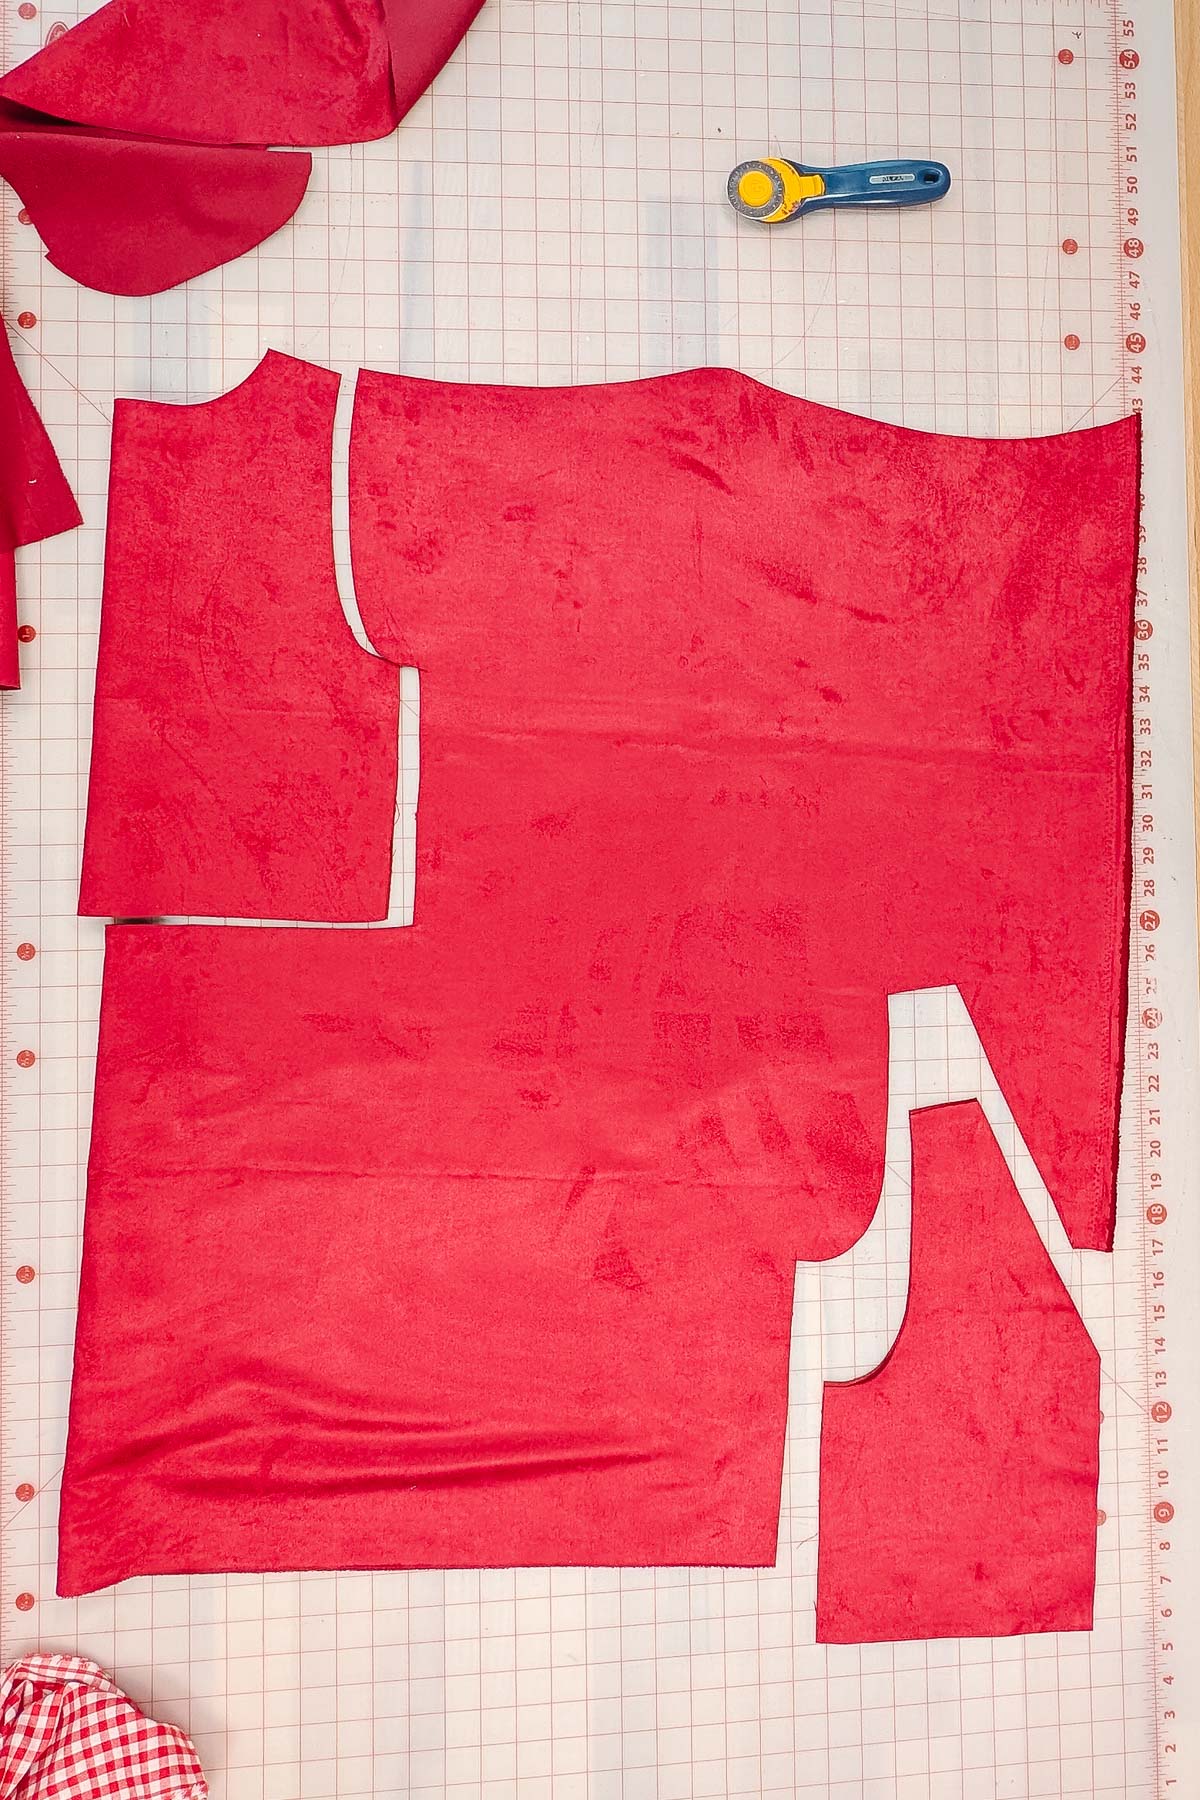
Cut out the lining, I used a cotton gingham, and fusible interfacing.
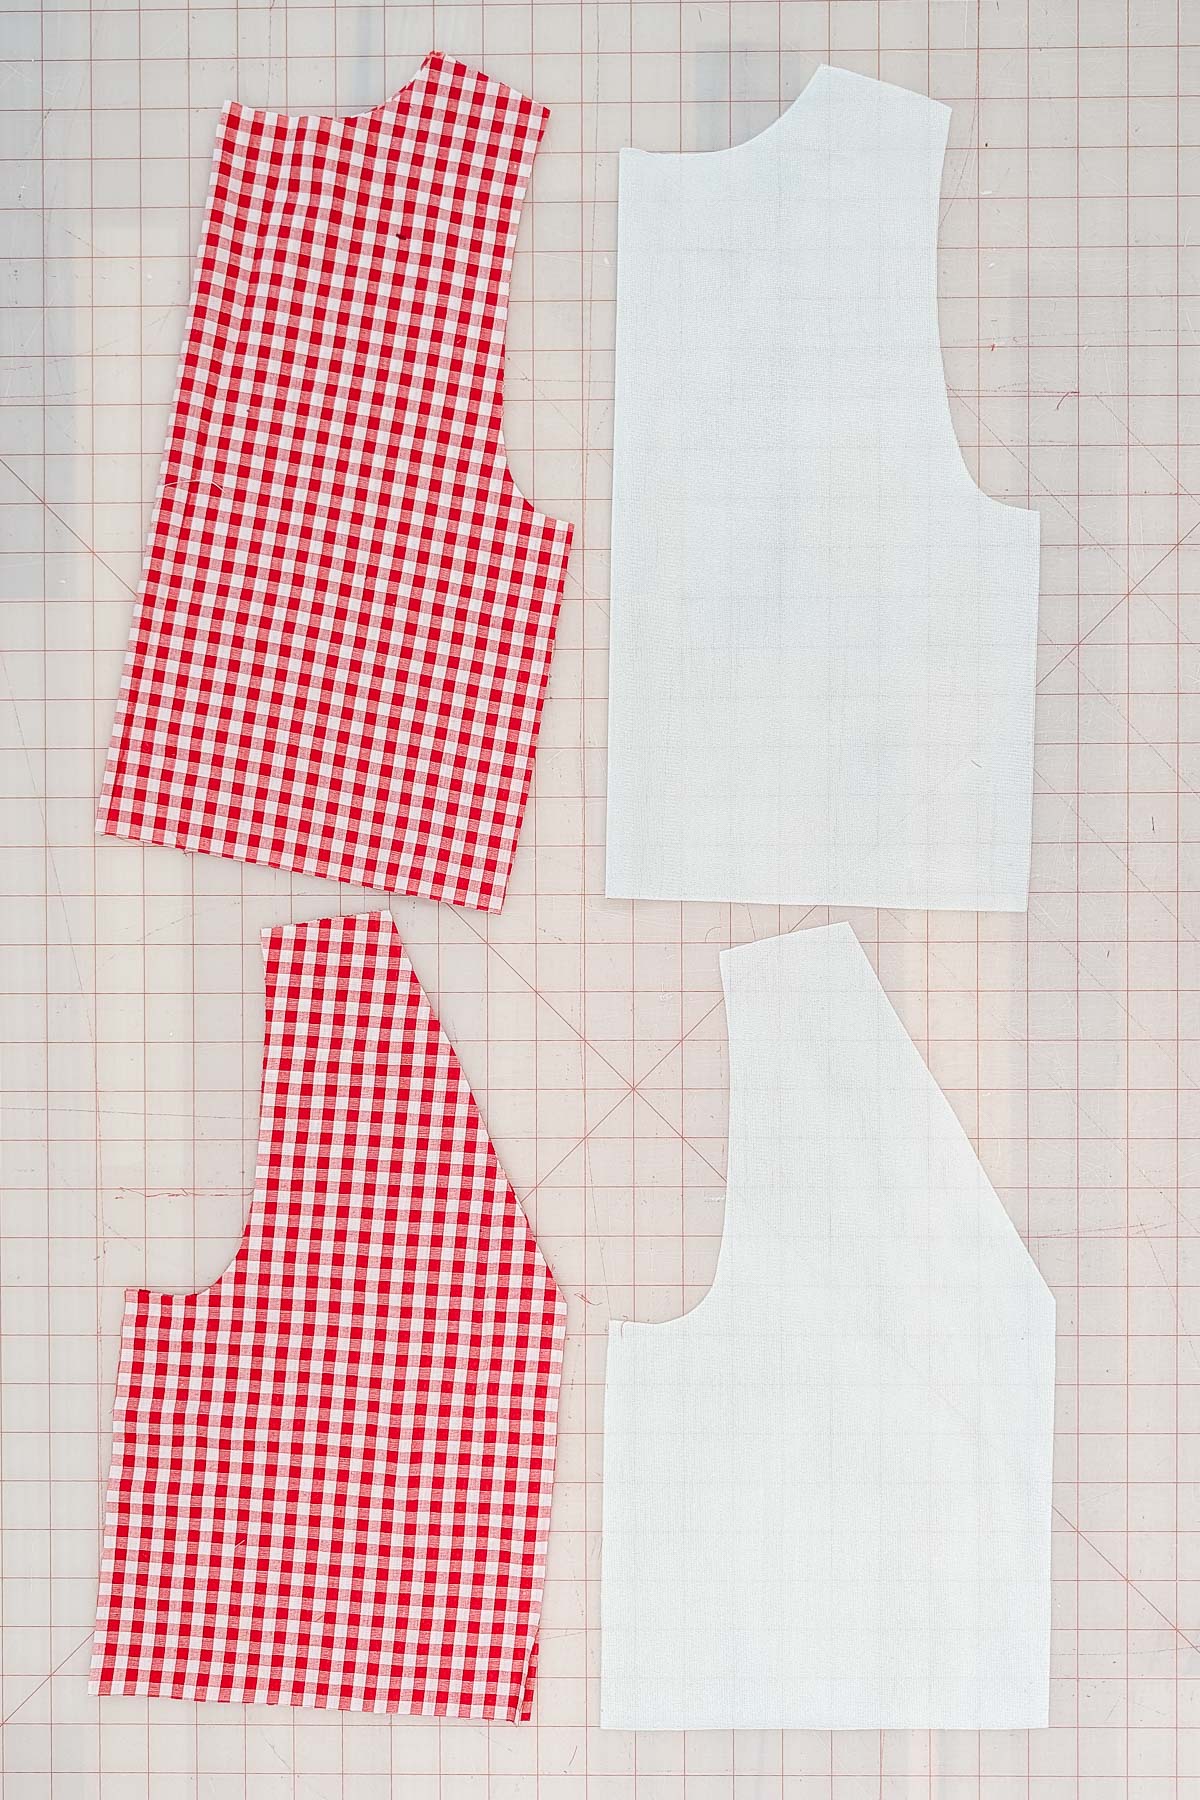
Iron the fusible interfacing onto the back of the lining.
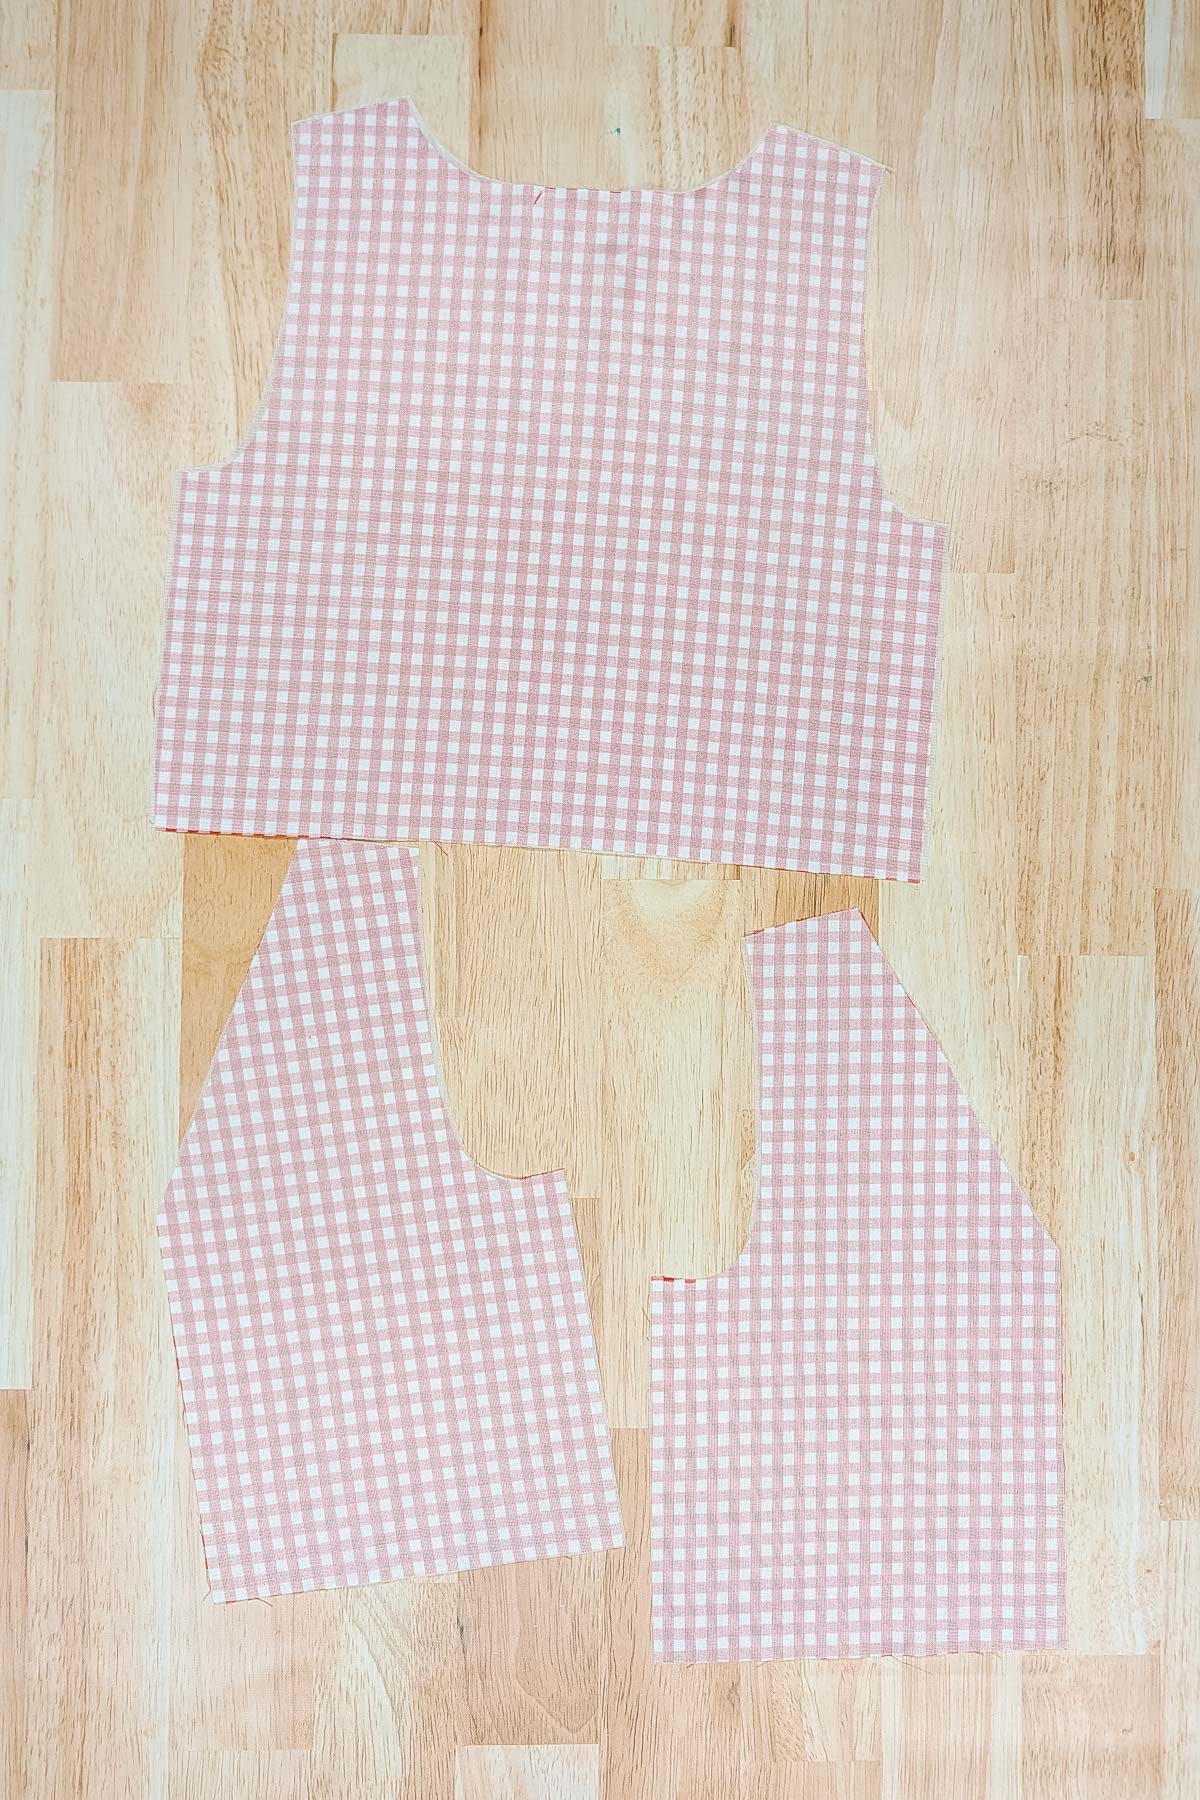
Sew the side seams of the faux suede and sew the side seams of the lining. Leave the shoulders open!
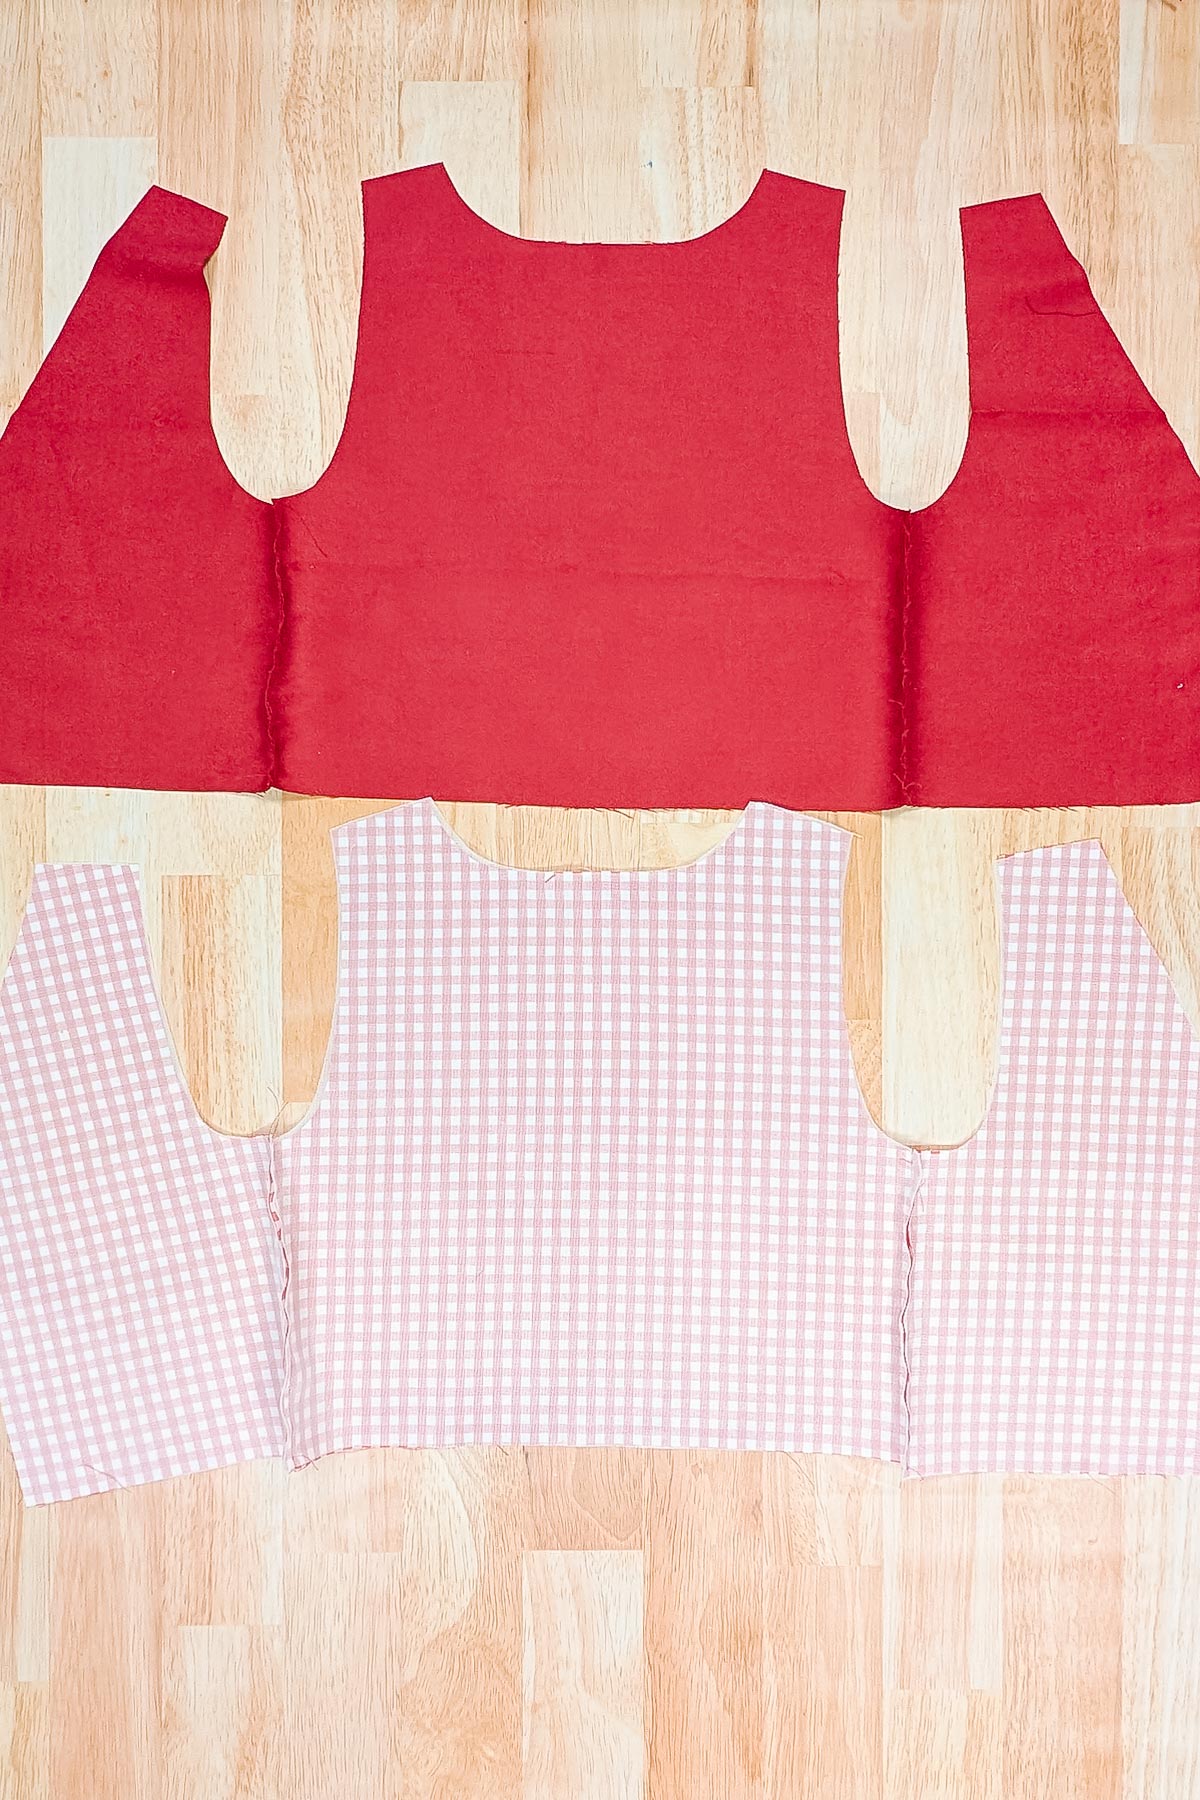
Cut the fringe the length of the front of the vest. Use the leftover bias binding (from the chaps that you’ll see down below) to make loops. Sew the bias binding closed into a long rectangle and then cut eight 1 inch pieces.
Pin and baste the fringe to the front of the vest. Pin and baste four loops on each side of the front opening.
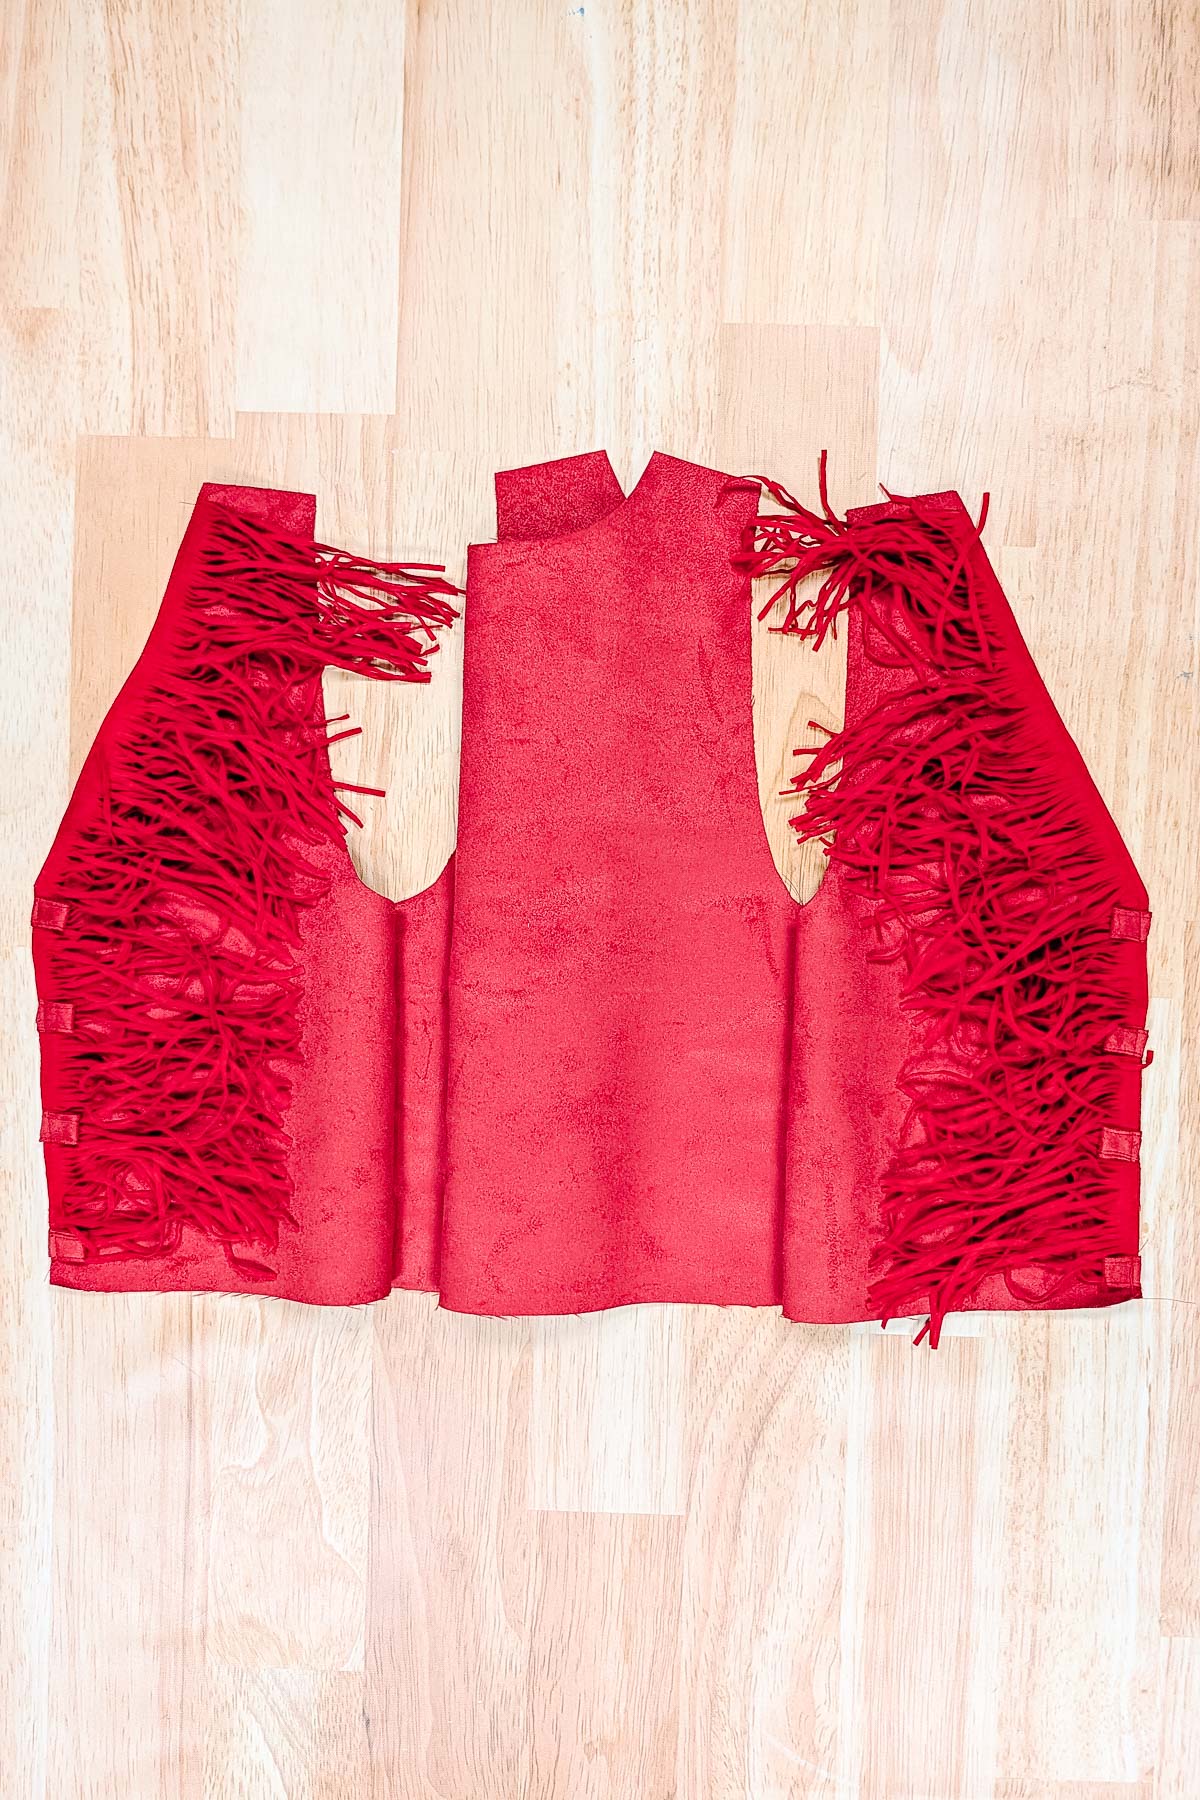
Place the lining and the faux suede right sides together. Sew the front, bottom edge, armholes, and neckline. Leave the armholes open.
Trim the excess fabric, trim the corners, and clip into the inner armhole circle seam allowances.
Turn the vest right side out. I thought I would be able to turn the vest right side out through one of the shoulder openings, but the hole was too small. I ended up opening a side seam of the lining and pulled the vest right side out through that hole.
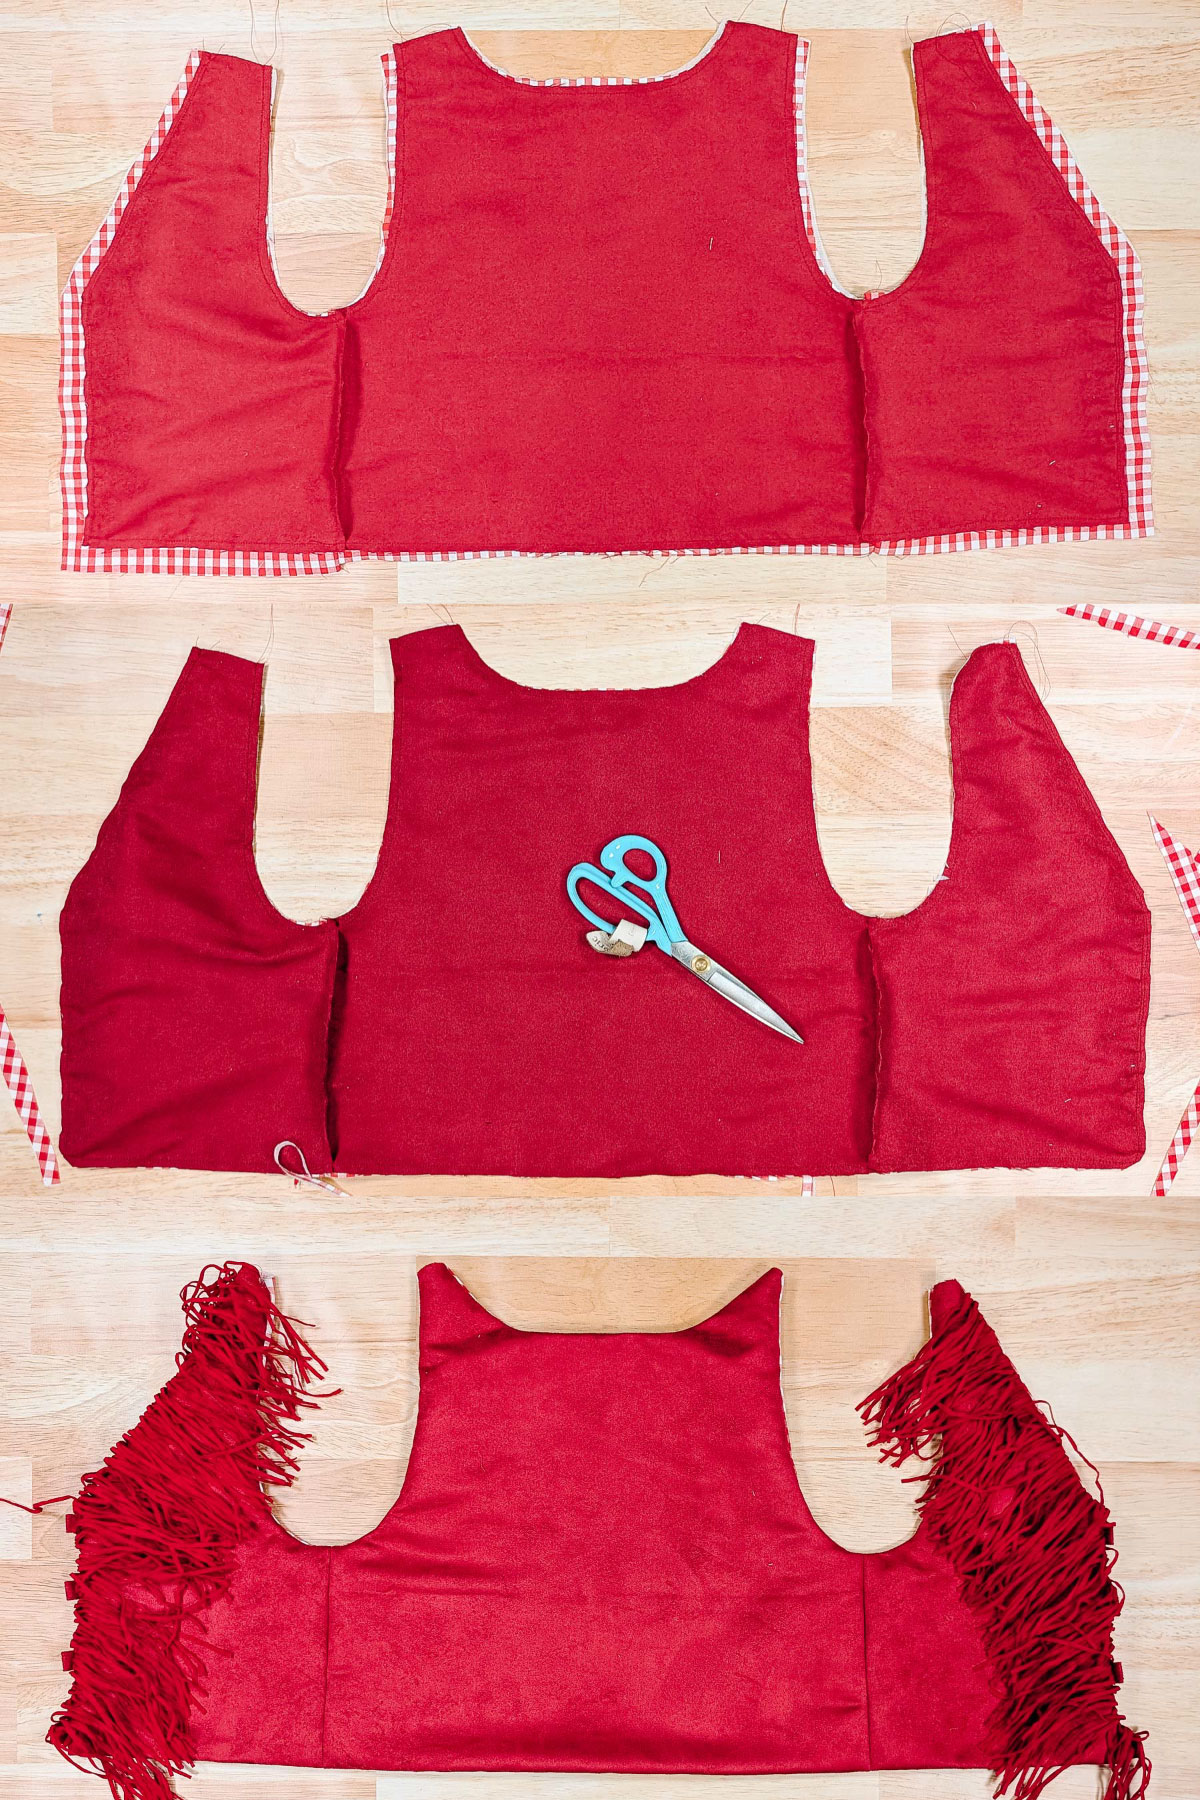
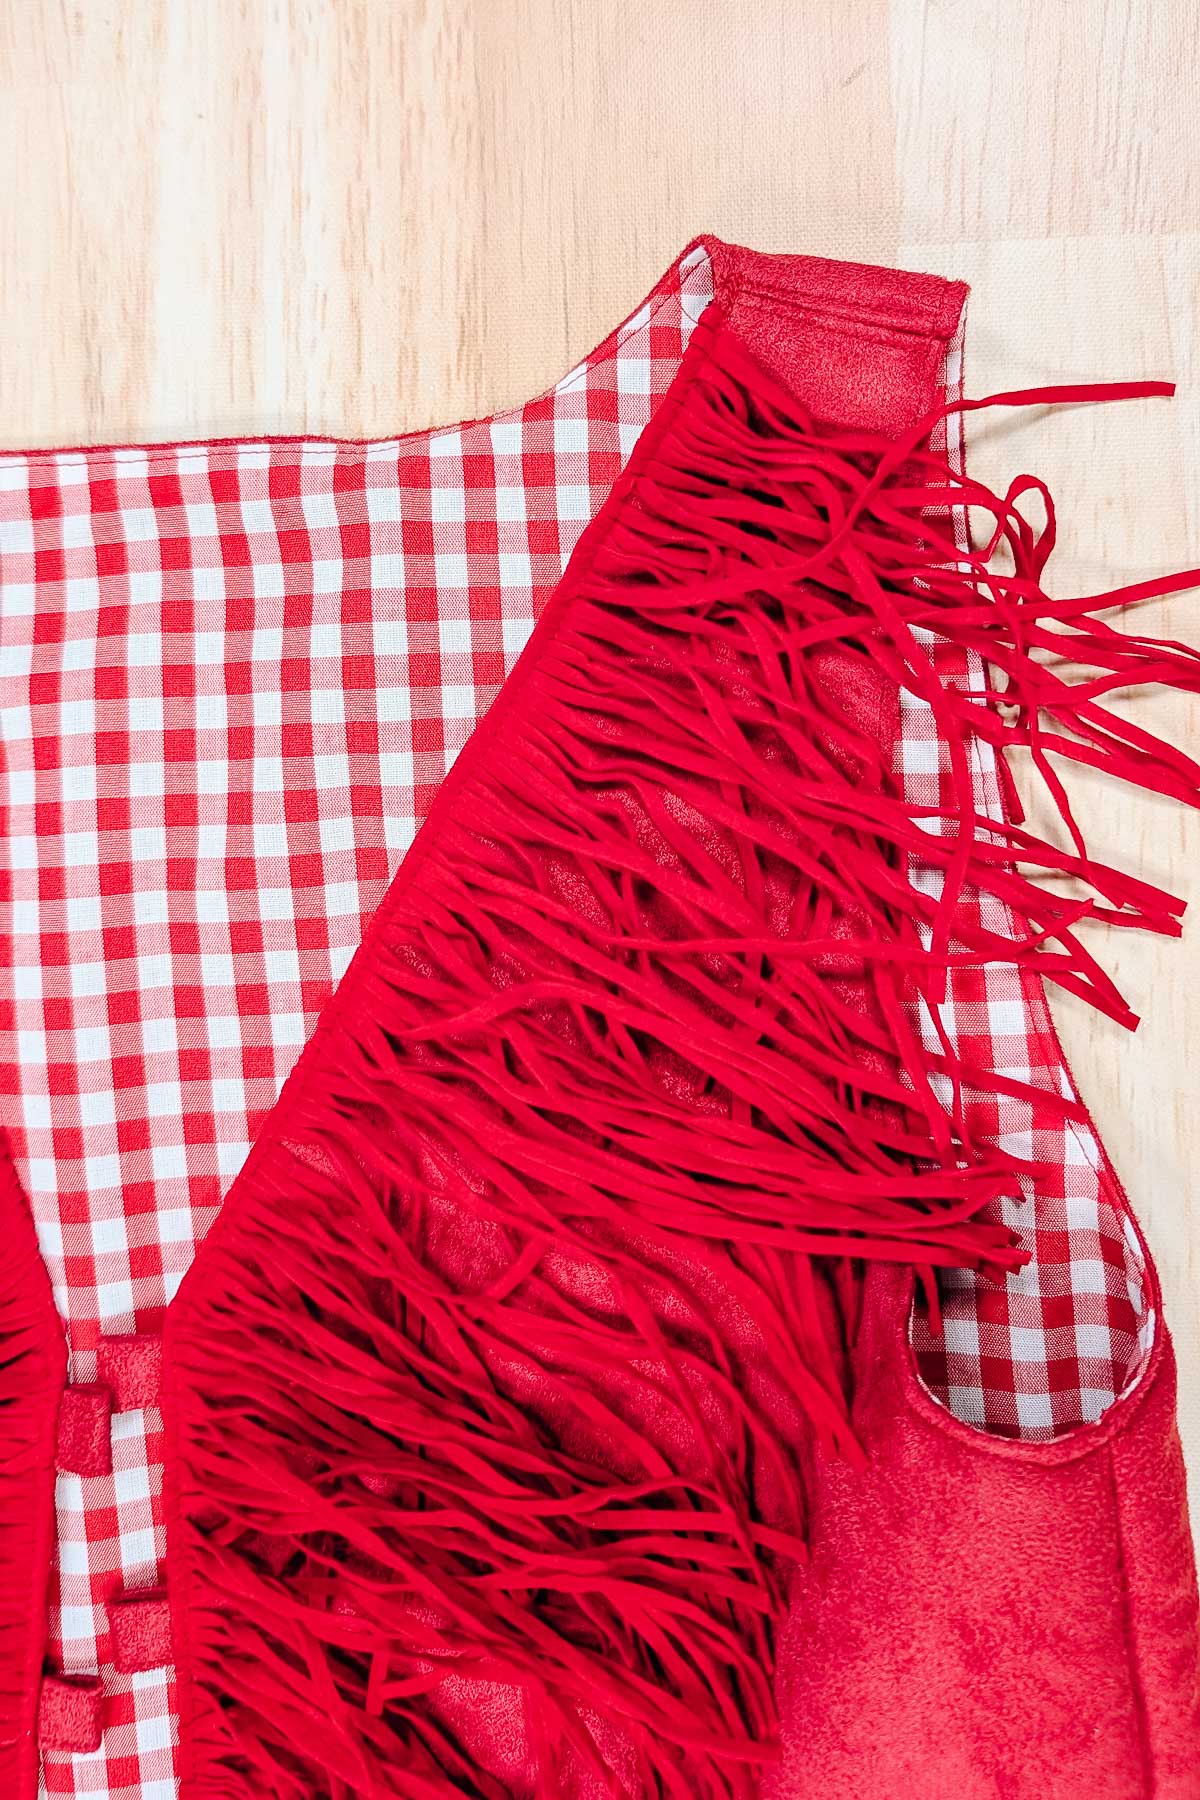
I cheated and sewed the shoulder seams right sides together. I didn’t hand stitch it closed to keep the seams enclosed. Then I topstitched the shoulder seams open. Pinch the hole in the lining closed and edgestitch it closed.
Edgestitch all the way around the vest to make the edges crisp and nice. Make sure you edgestitch the fringe down towards the vest and the loops out away from the vest.
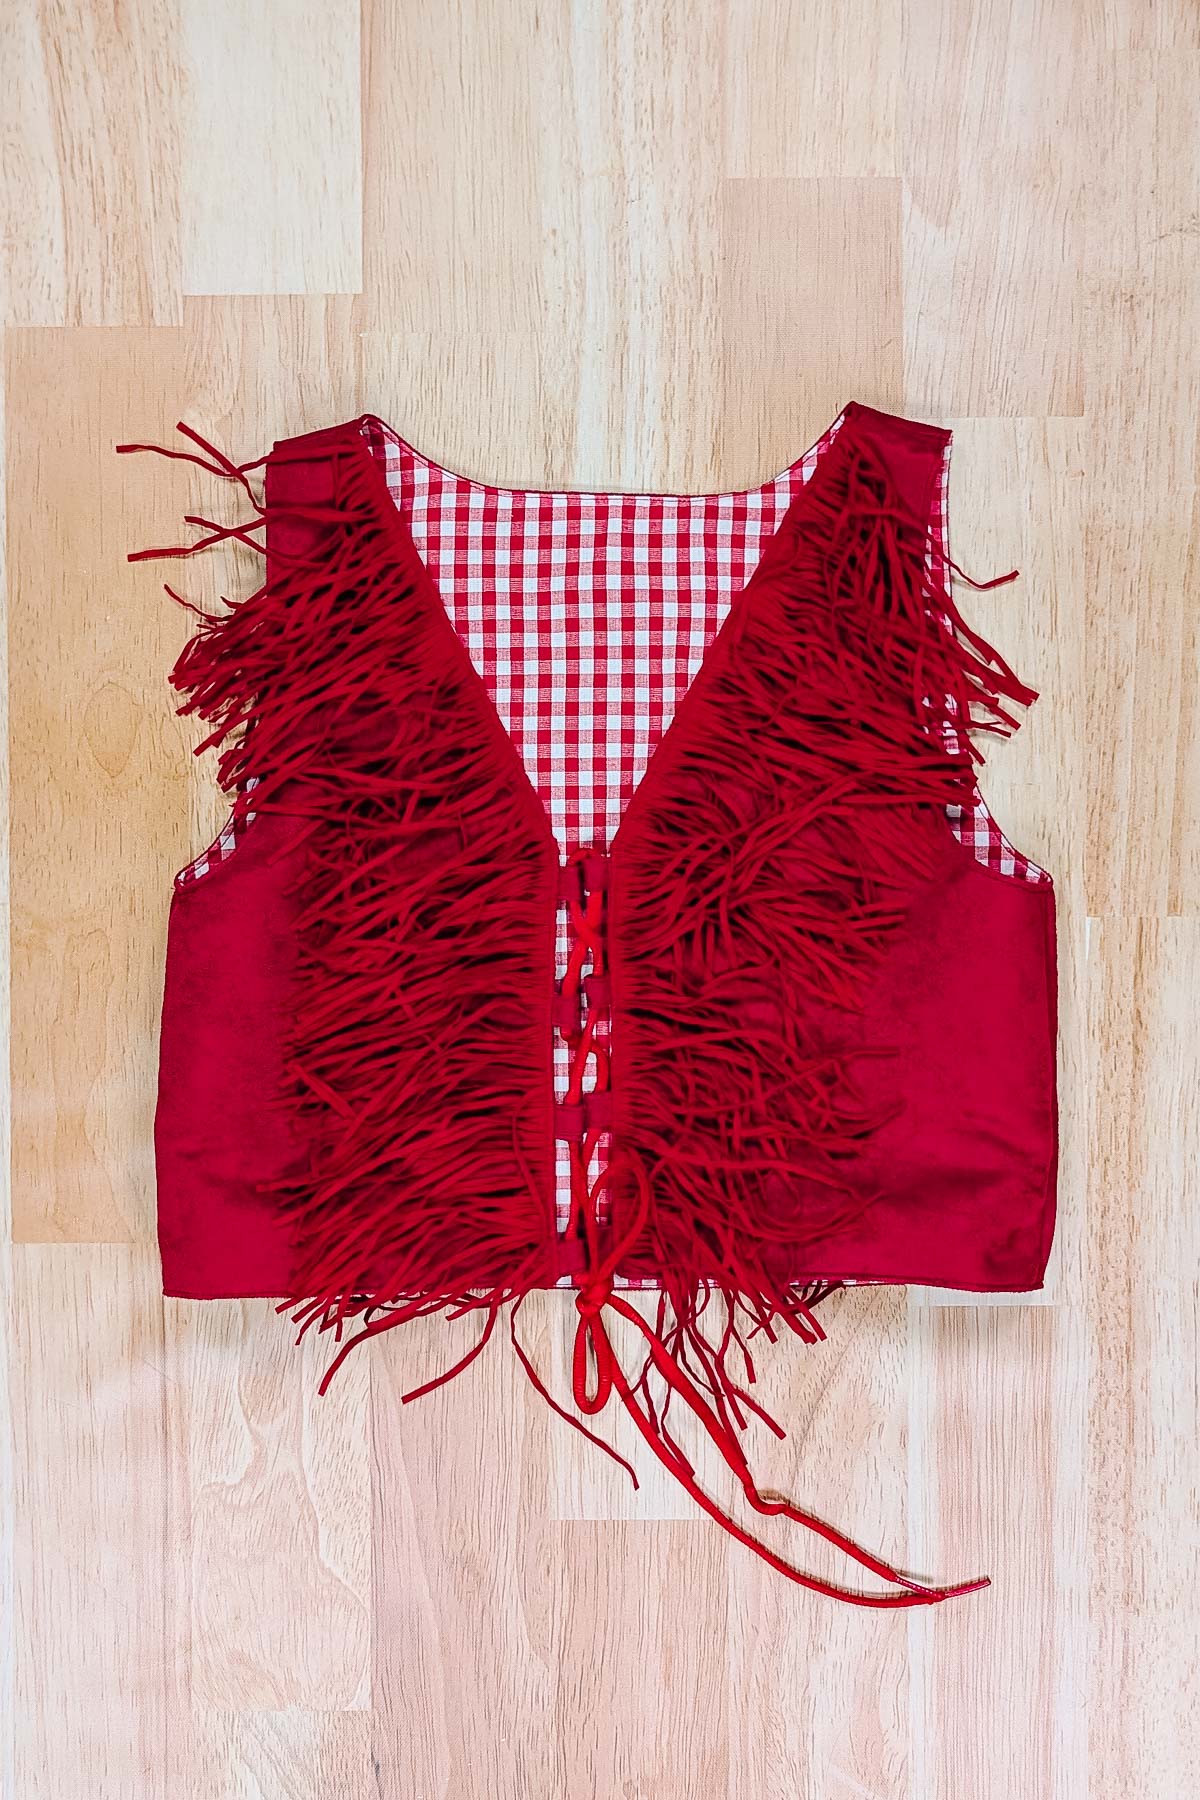
Use a red ribbon or trim, I used a red shoelace, to lace the front of the vest. You finished the vest!
Chaps
I looked up a bunch of ways to measure for chaps and that’s what I used to make a chaps pattern. I compared it to a pants pattern to get the curve and length right. I added seam allowance and added length to the top for a casing for the belt.
Cut out two front pieces and two back pieces from the faux suede.
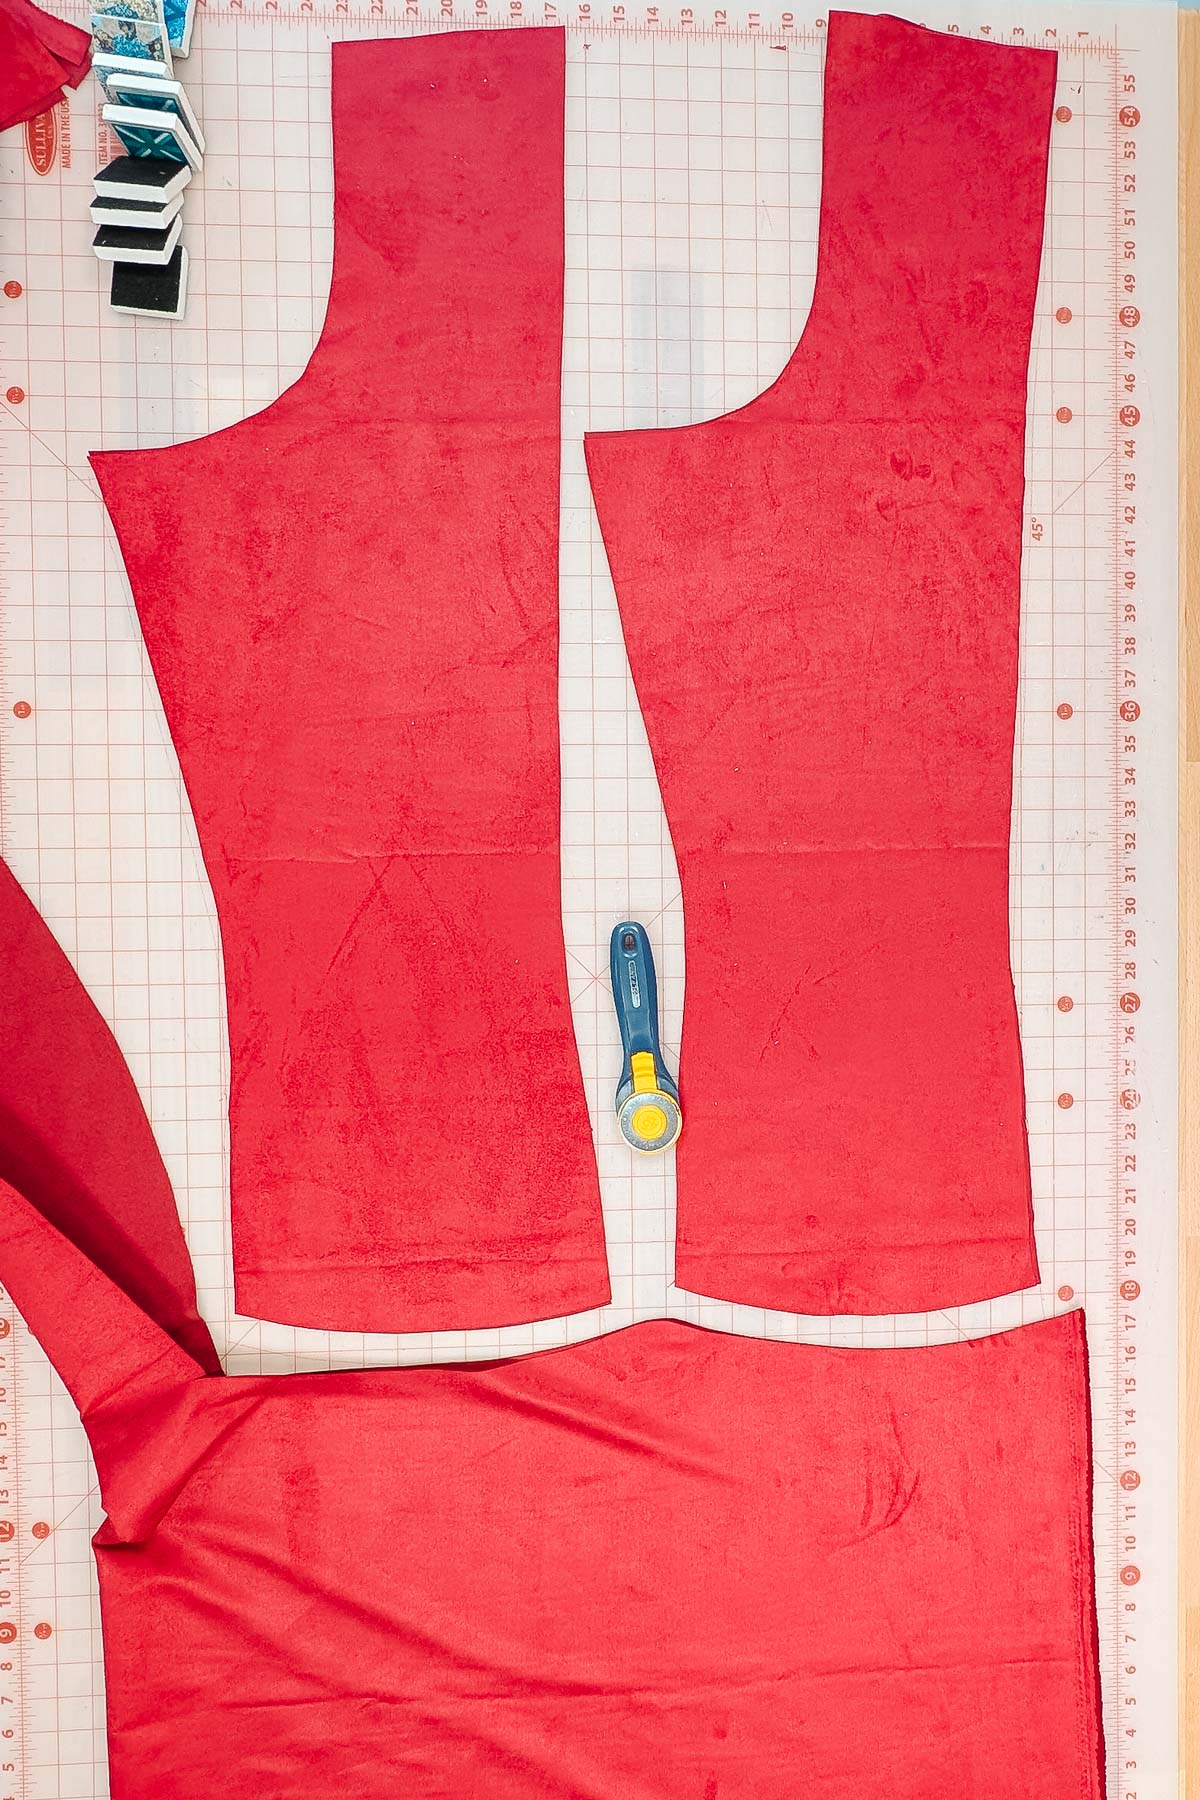
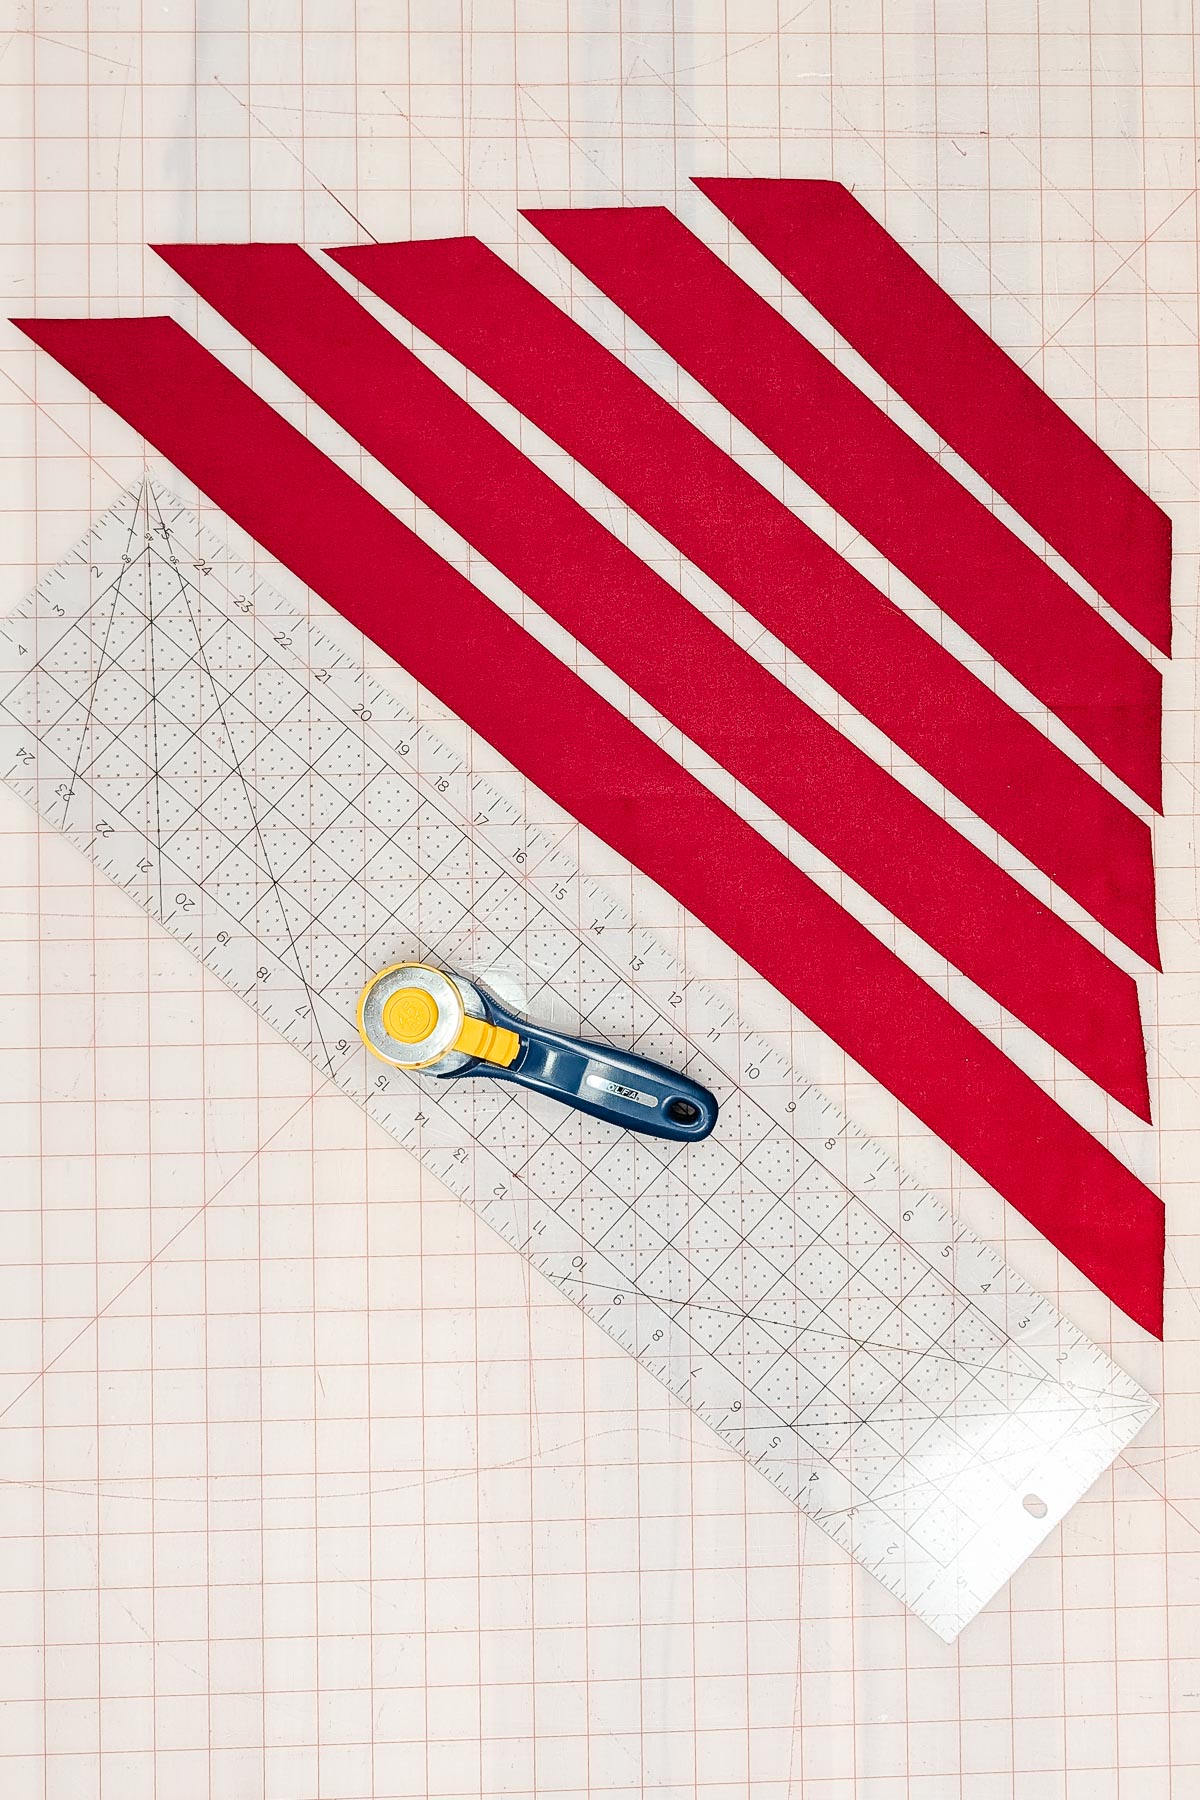
From the leftover fabric cut some fabric on the bias that you will use for bias binding.
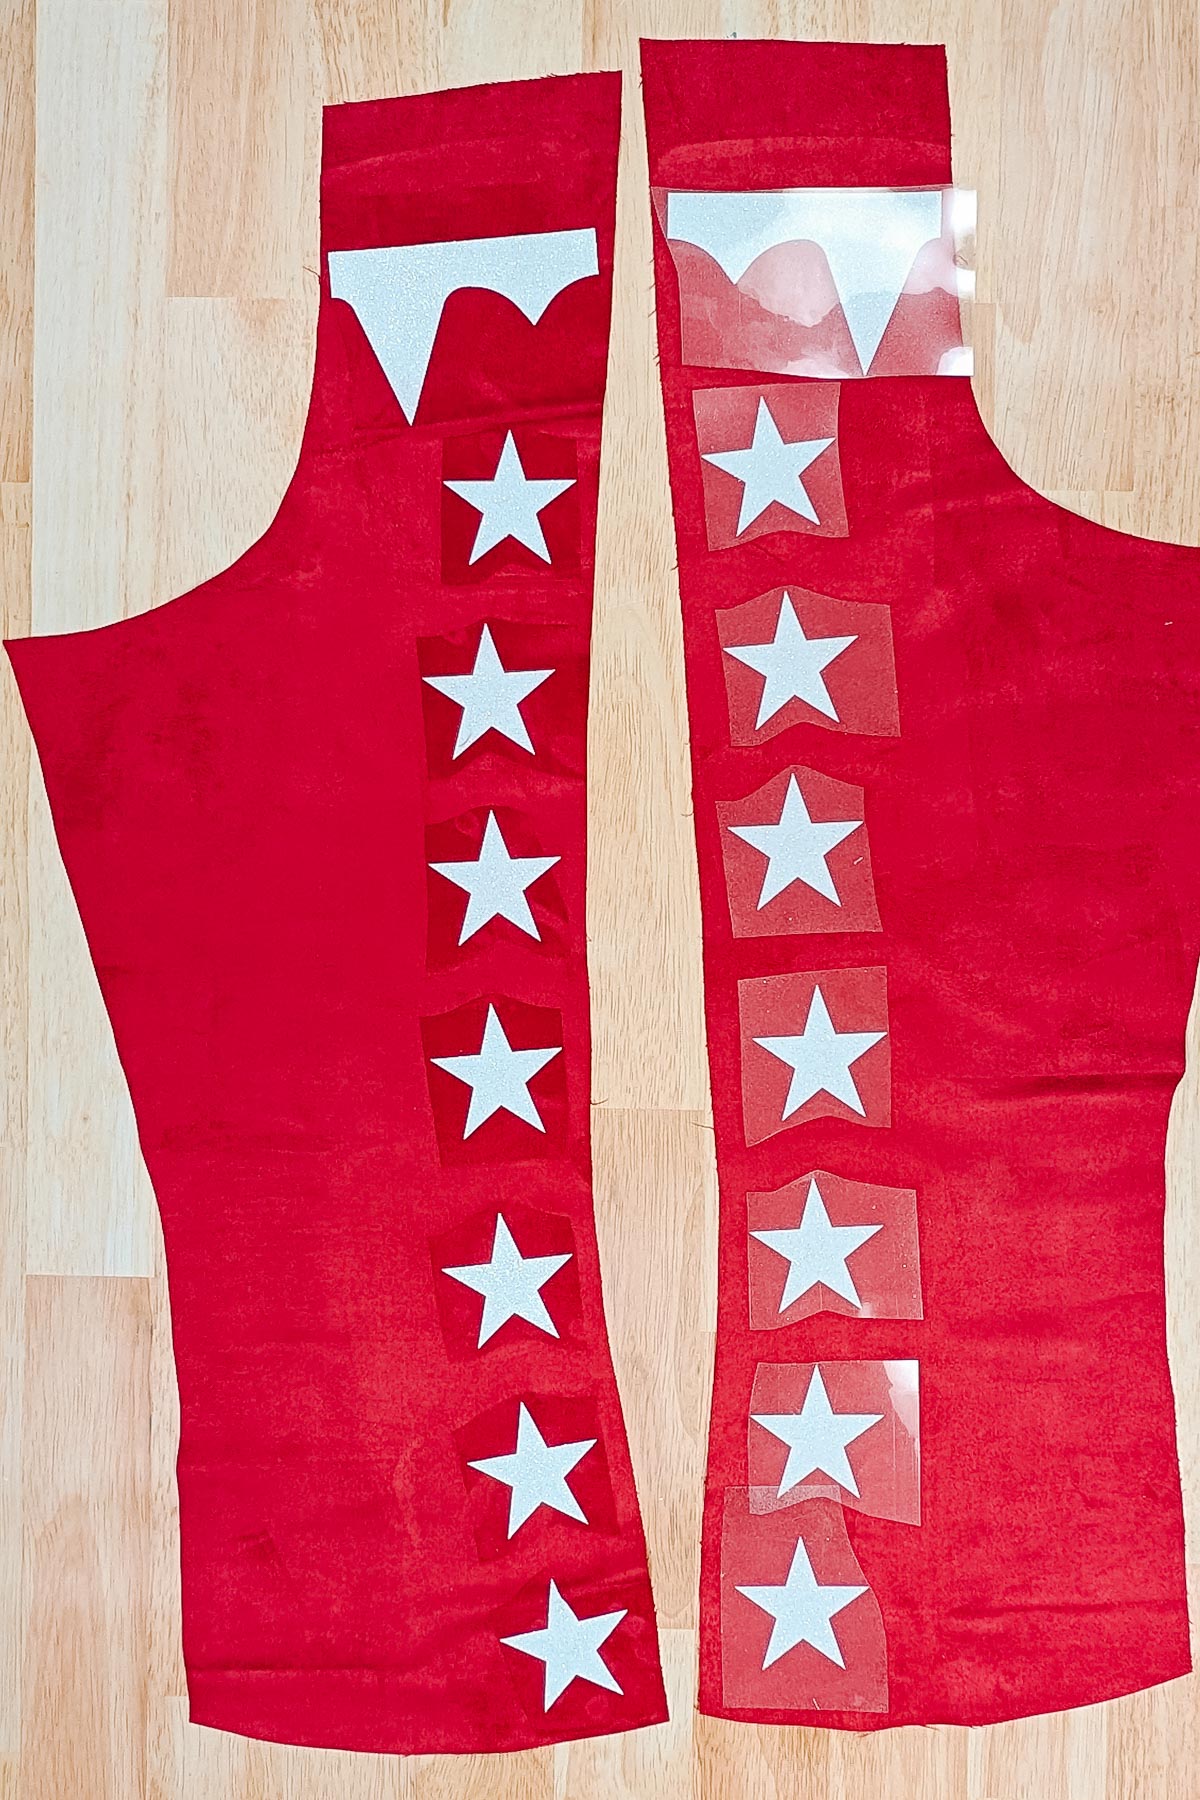
Cut out the stars and waist design from iron on vinyl. Fuse it to the front pieces of the chaps.
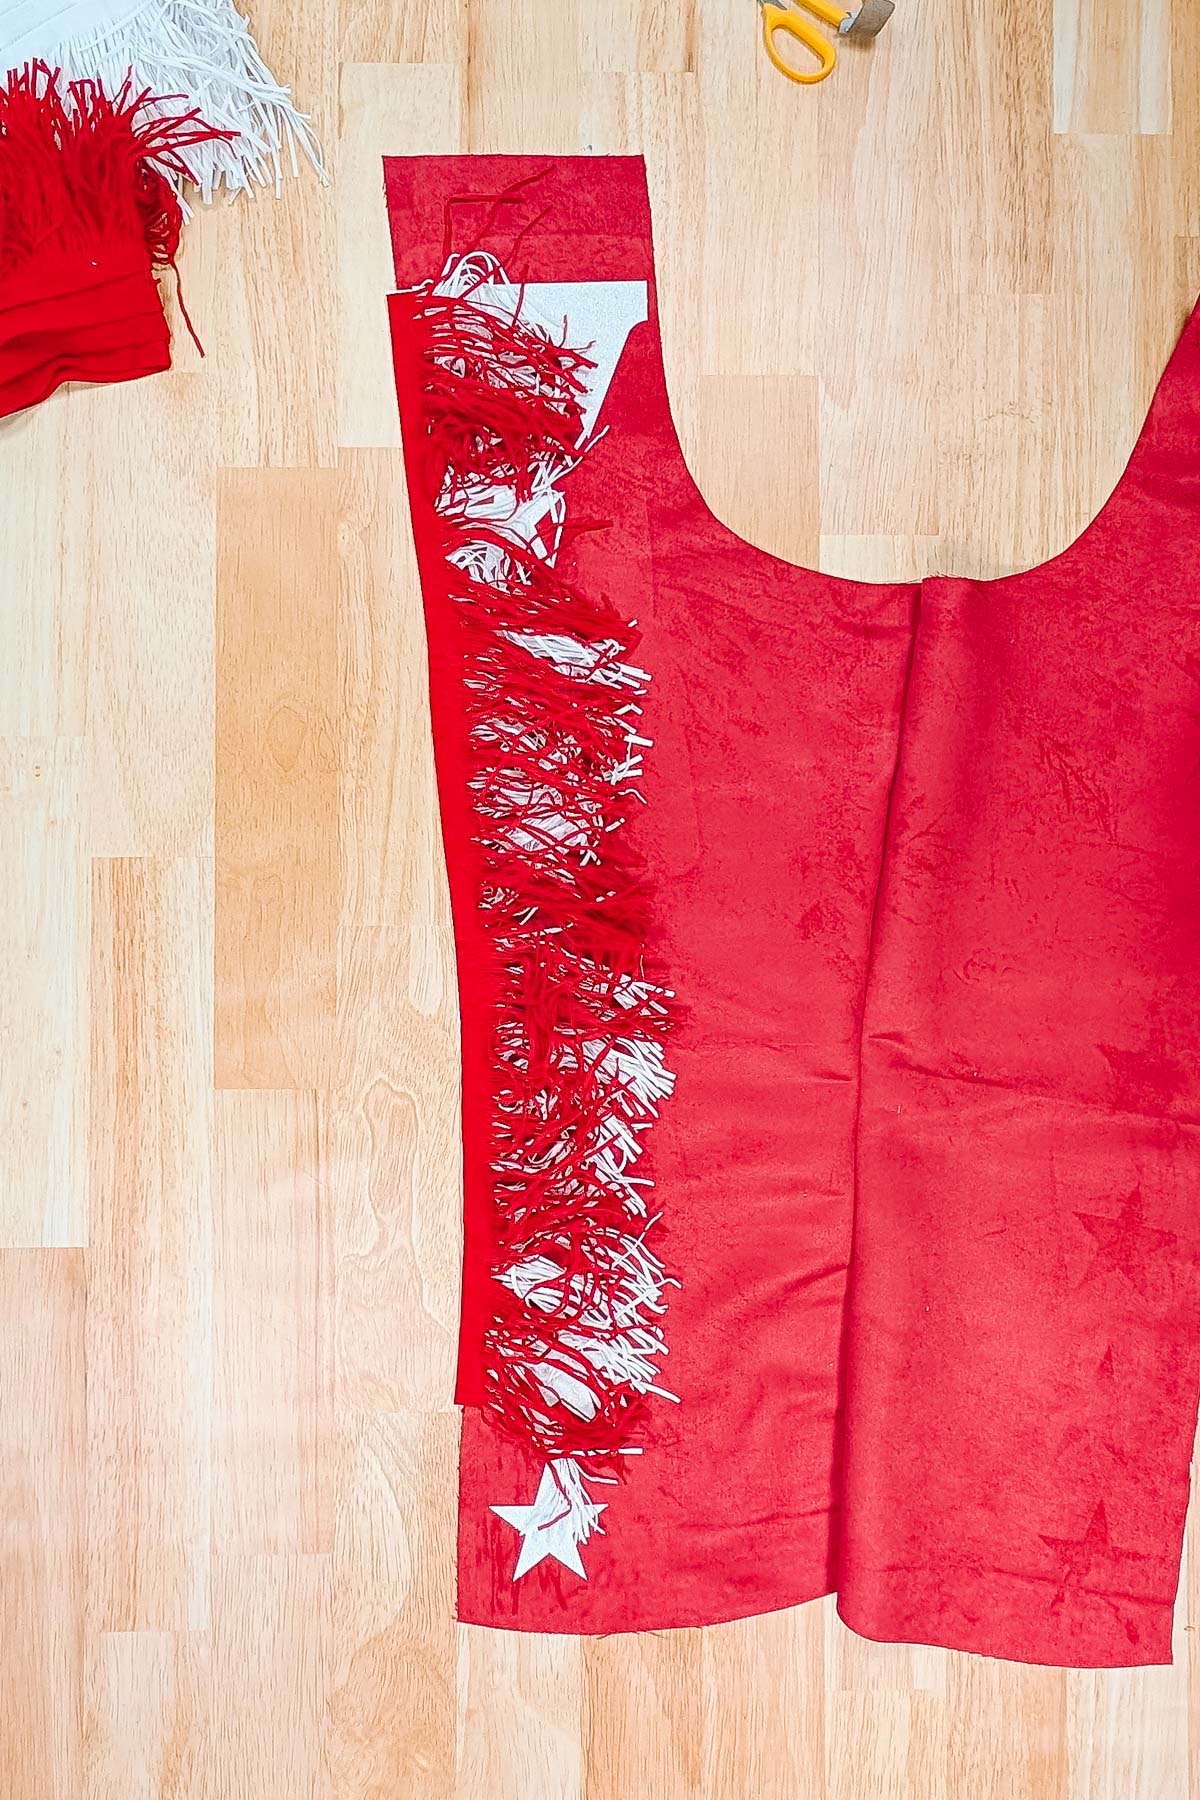
Cut the fringe to be the length of the side seam. You want it to start below the casing and end about 4 inches from the bottom hem. Pin and baste the fringe to the side seam with the white fringe closest to the front.
Sew the inseam and finish the edges.
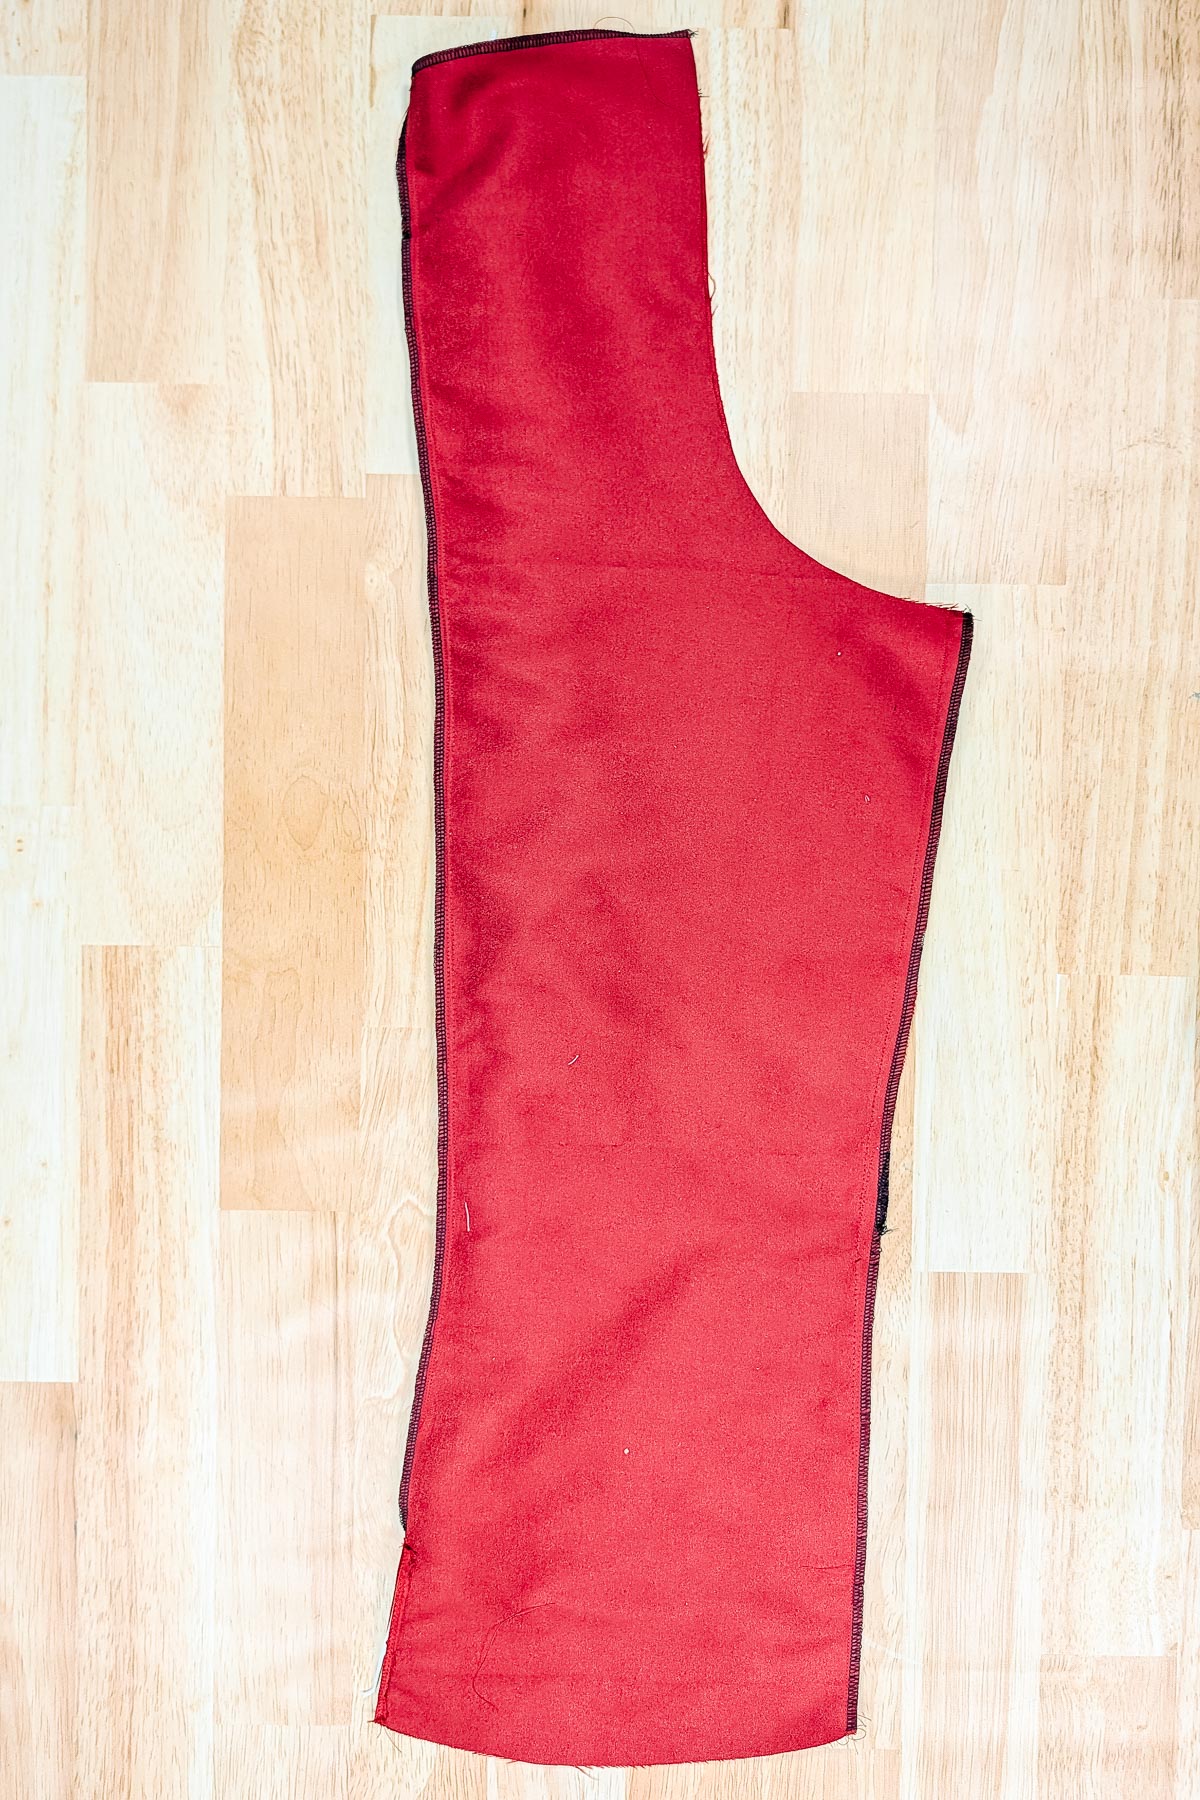
Sew the side seam and finish the seam.
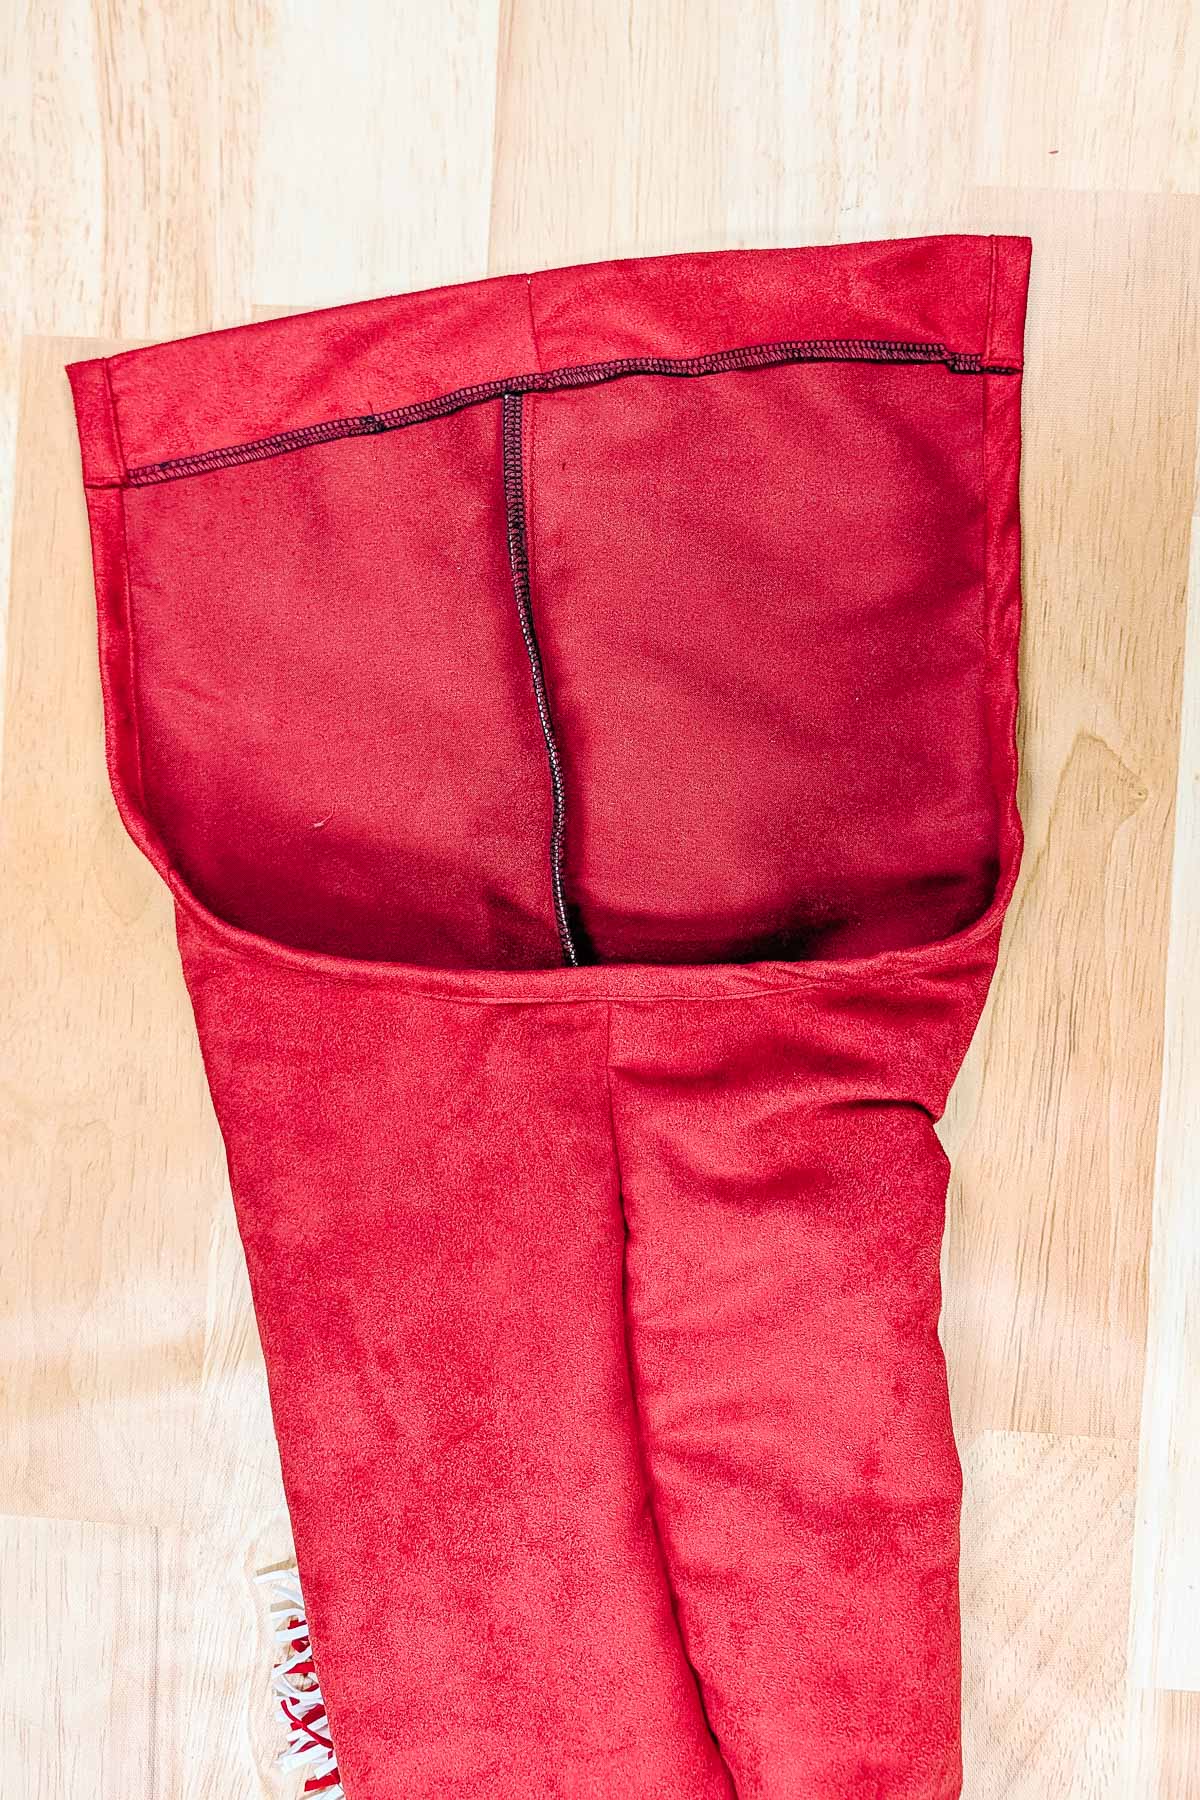
Finish the front curve with the bias binding.
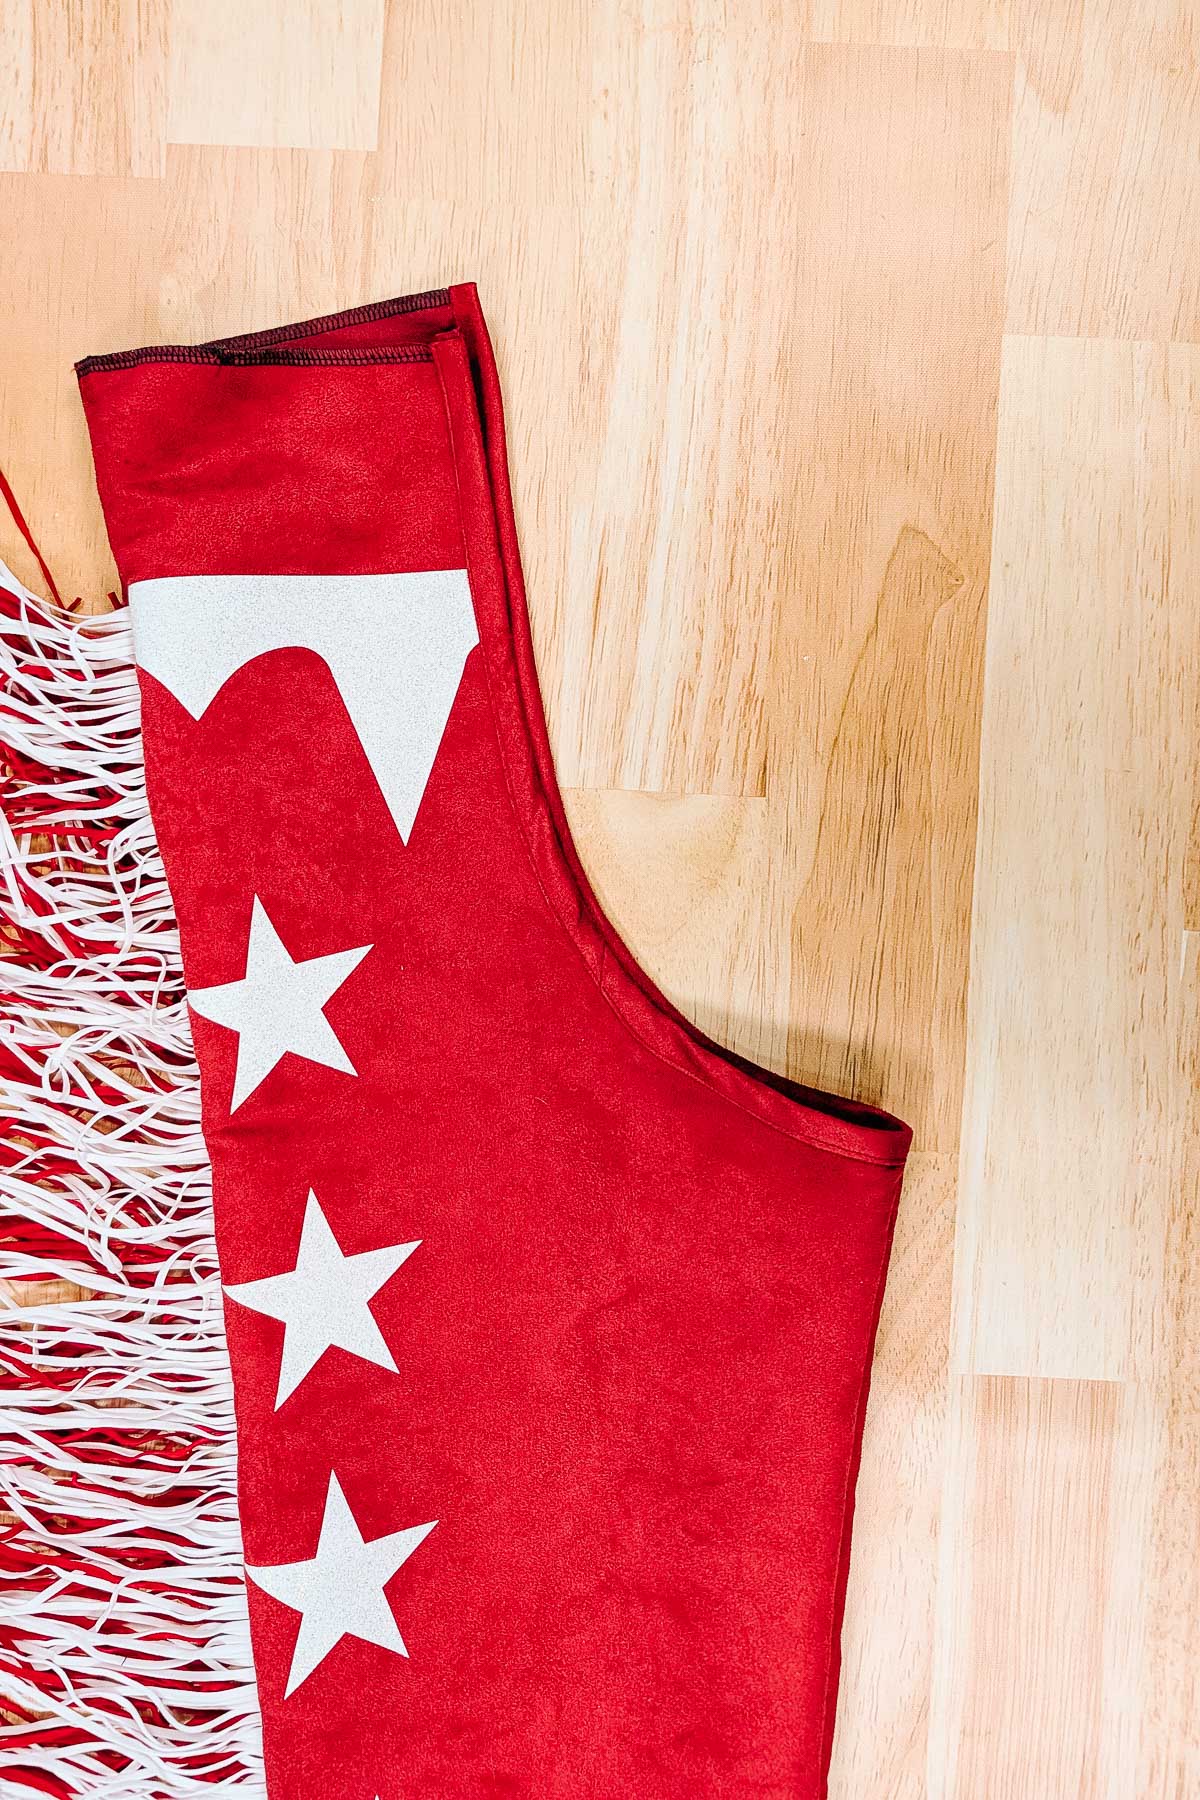
Finish the top edge of the chaps. Fold the top edge down for the casing and sew it in place.
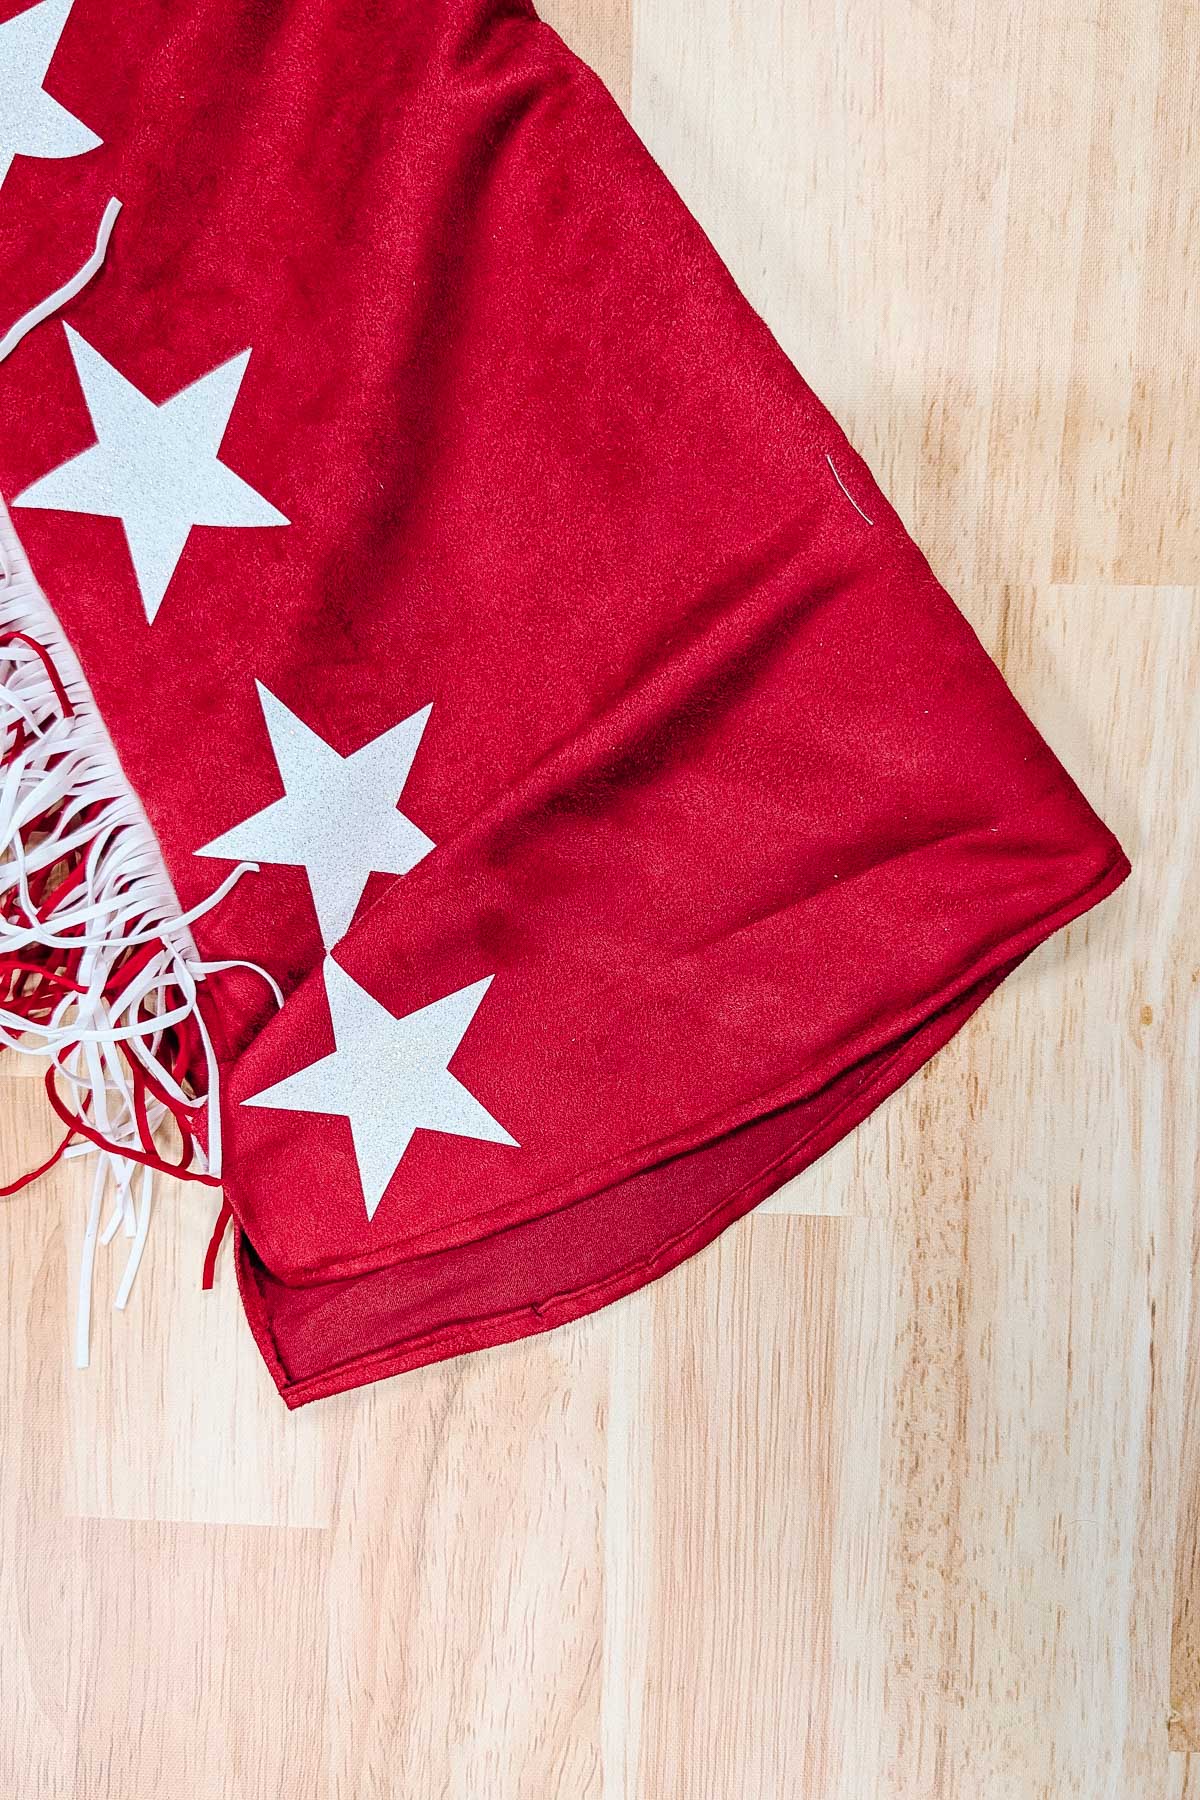
Hem the bottom edges of the chaps.
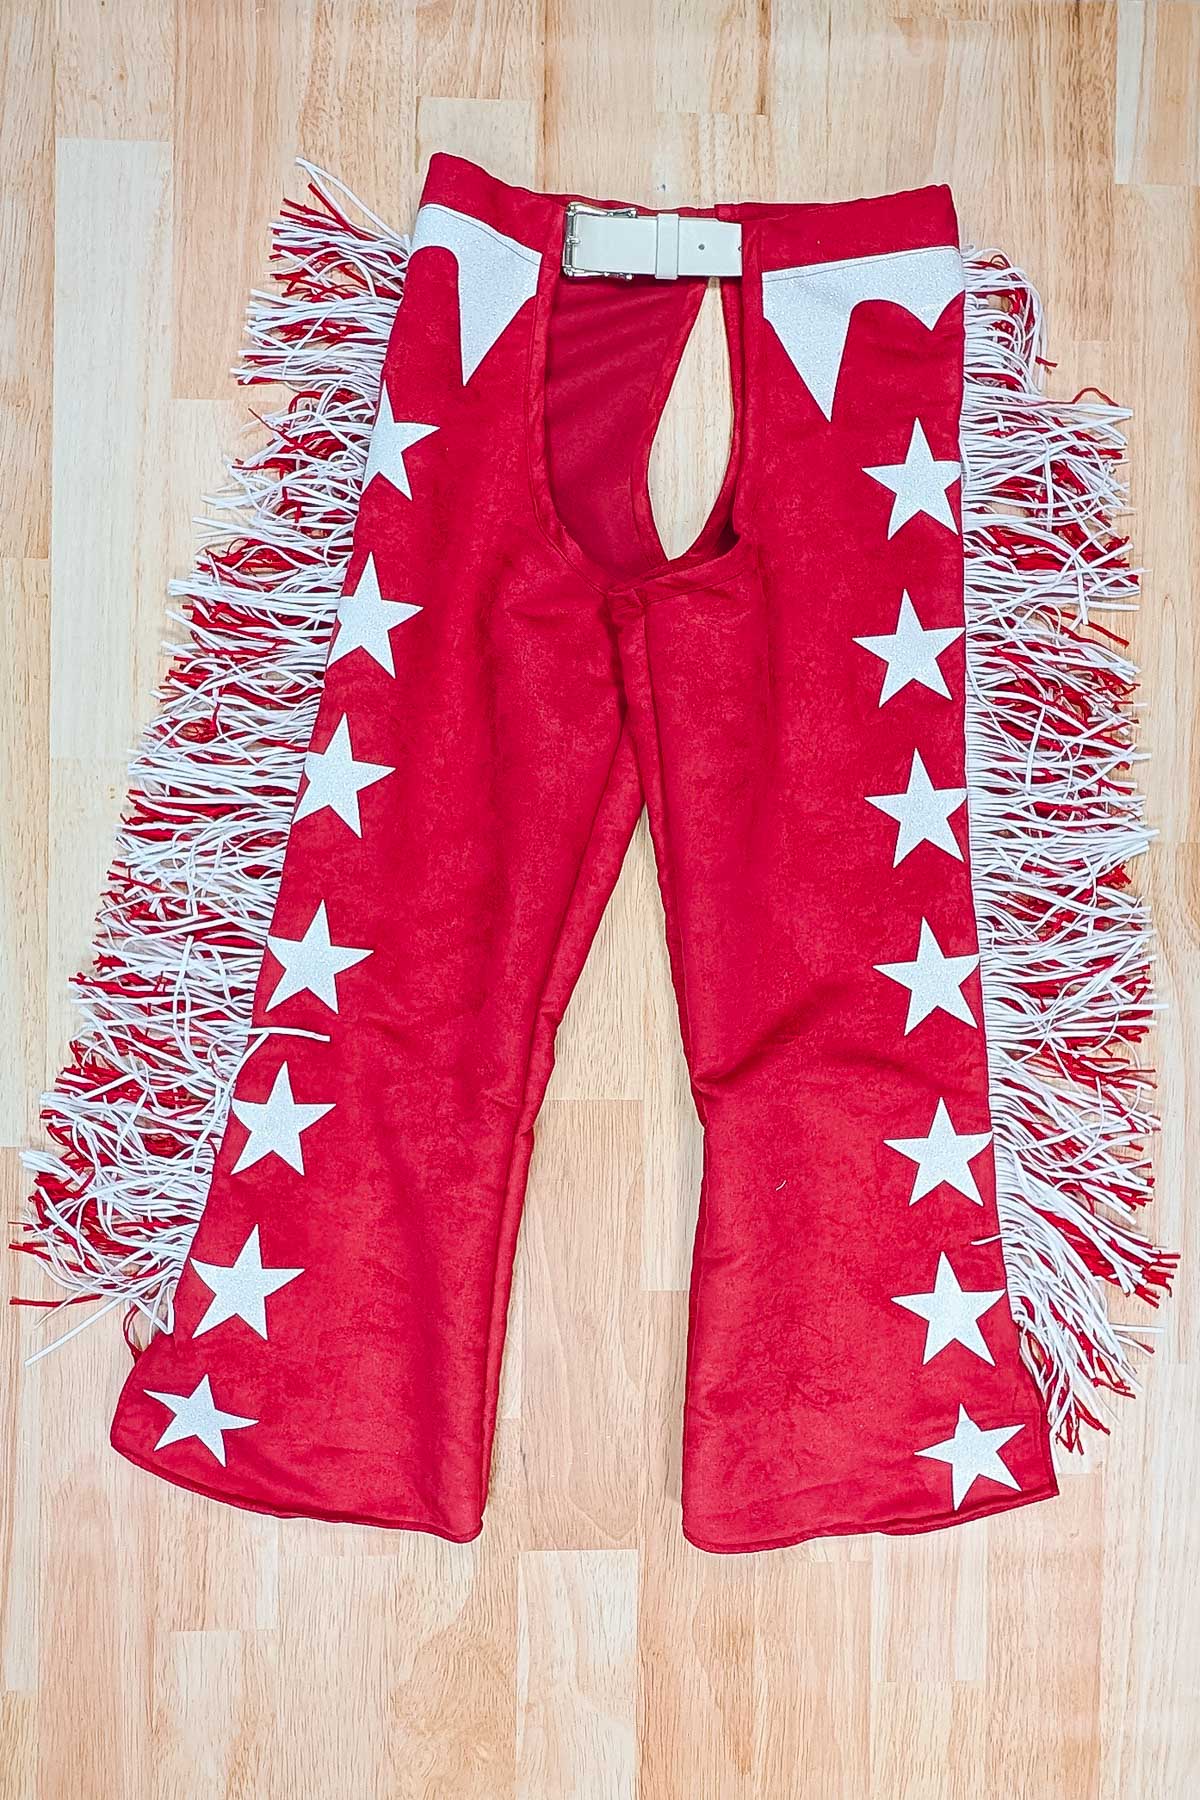
Slide the belt through the casing of each chaps leg. You finished the chaps!
If you make something using this sewing project, I’d love to see! Please share it on social media with the hashtag #heatherhandmade and tag me!

I believe small sewing moments can create great joy. Find your own “right” way to sew. -Heather