
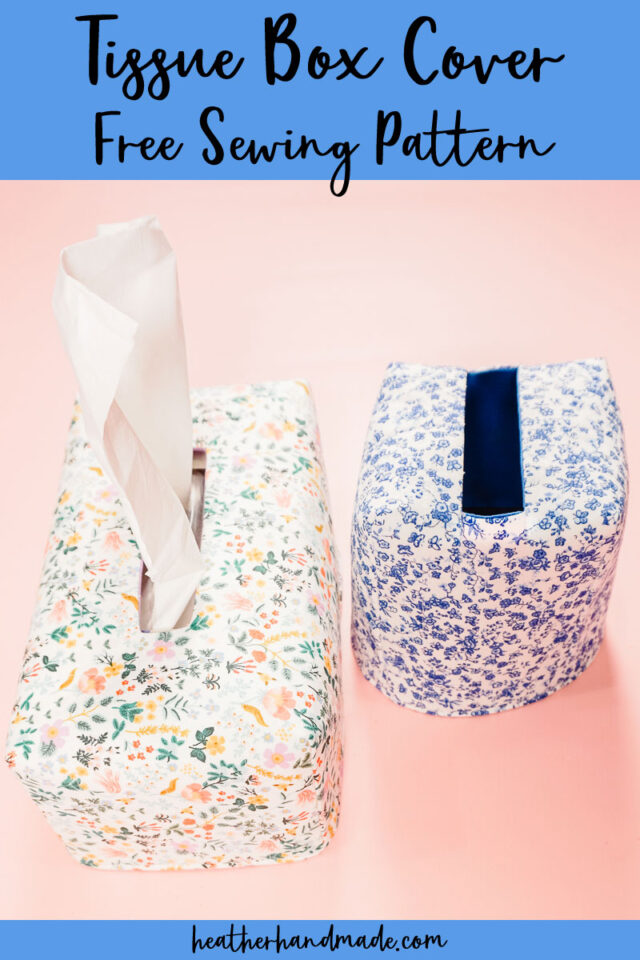
Cute and Free Tissue Box Cover Sewing Pattern

This post may contain affiliate links.
Learn how to sew a cute tissue box cover with a free sewing pattern. This beginner sewing project is great for the home and a handmade gift.
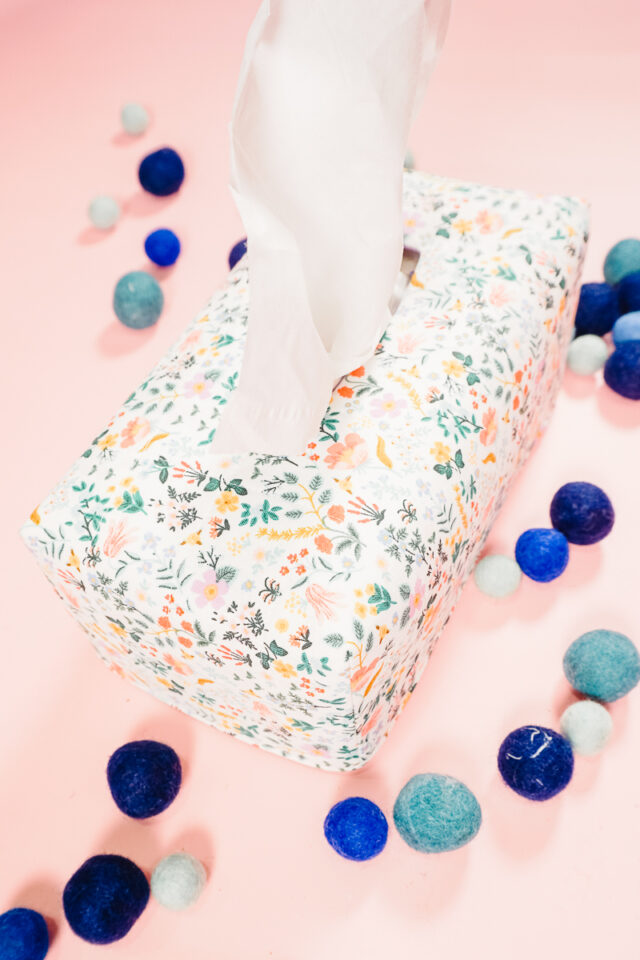
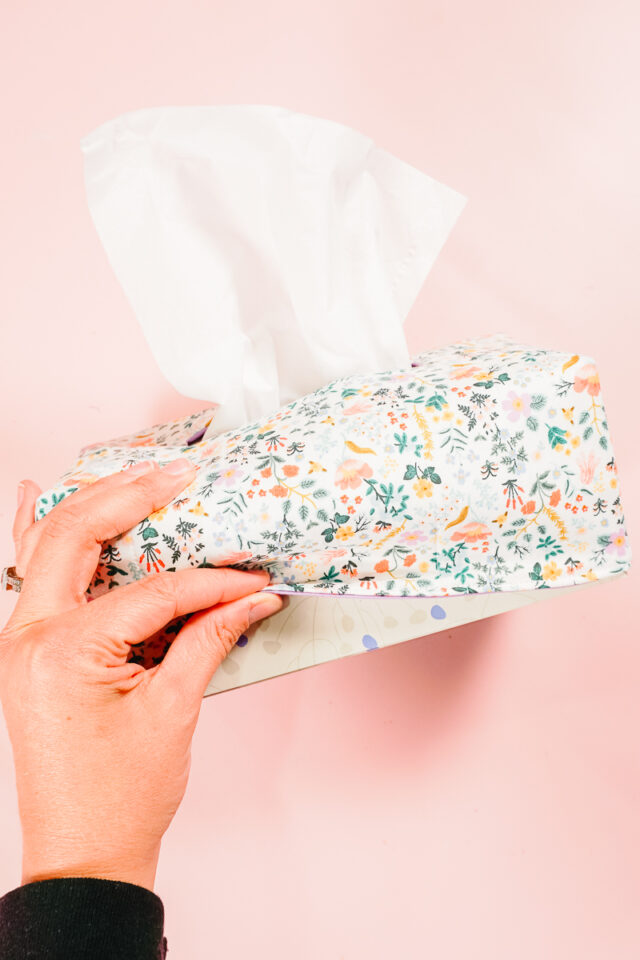
Do you like the look of purchased tissue boxes? I have a lot of blue in my house so I also choose a blue tissue box print, but the prints have a lot to be desired.
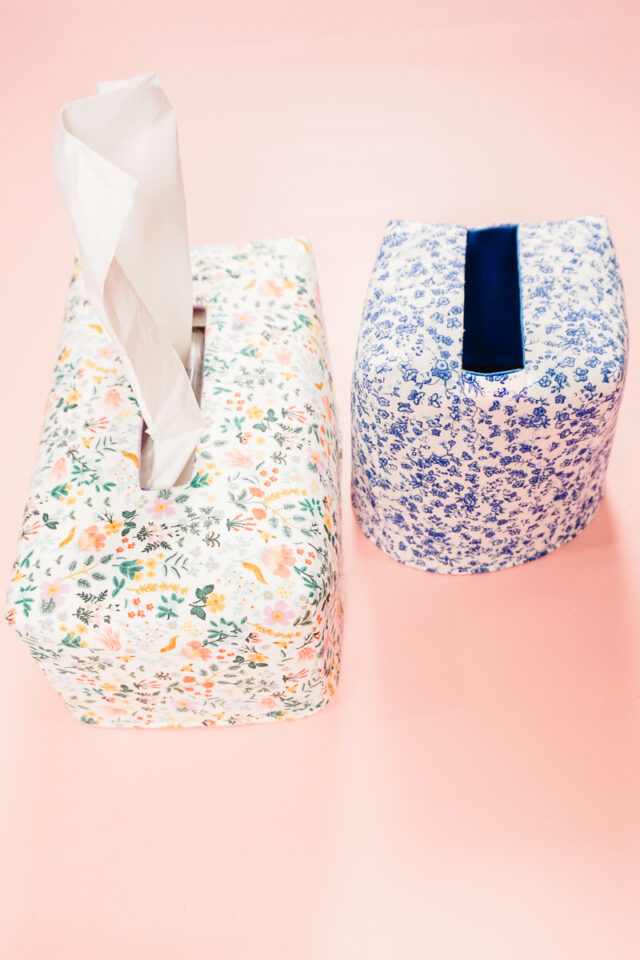
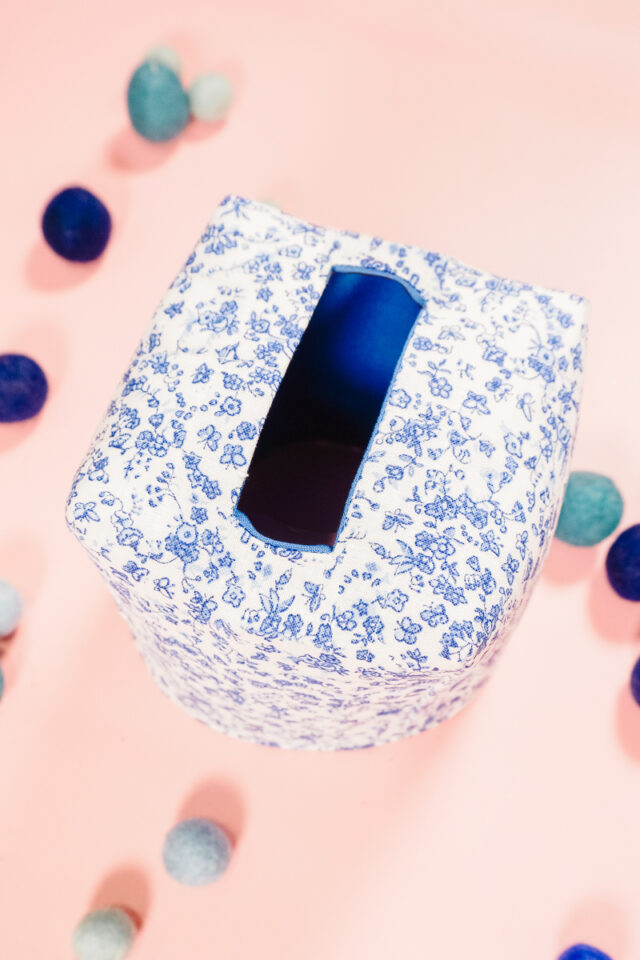
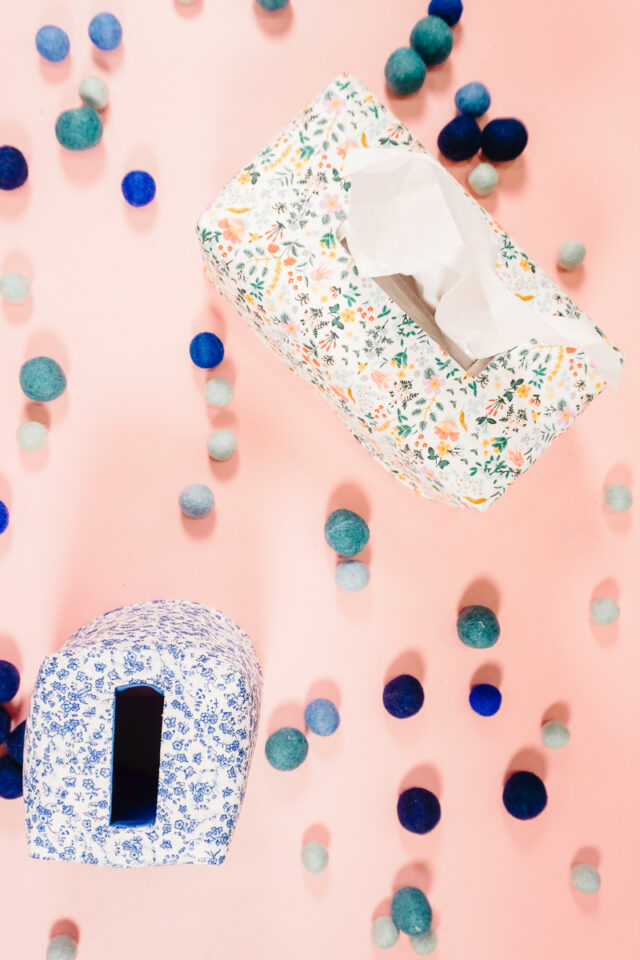
I decided to make a tissue box cover, and I designed a pattern so you can make your own! There’s a rectangle tissue box and a square tissue box cover, and they are really easy to sew. I LOVE how mine turned out, and I love looking at it in my kitchen and front room!
Wouldn’t it be fun to make holiday versions with pretty holiday fabric?
What fabric should I use to make a tissue box cover?
The best fabric to make a tissue box cover is quilting cotton. It’s easy to sew, easy to find, and comes in every print and color imaginable. It makes the box durable and washable, and it’s so fun to find fabric that coordinates with your home decorations or holidays.
How do I make my tissue box cover stand up?
A tissue box cover will stand up when it’s around a tissue box, but to make it stiff and hold it’s shape it’s important to add interfacing and fusible fleece. I even quilted the fabric to the fusible fleece for an extra special detail.
The combination of the two also add a little bit of weight to the tissue box holder to help it stay on the tissue box.

Love to sew? Try one of these sewing projects:
- Beginner sewing projects
- Free PDF sewing patterns
- Home sewing projects
- Gifts to sew
- Fat quarter sewing projects
- Small sewing projects
How to Make a Tissue Box Cover
Supplies
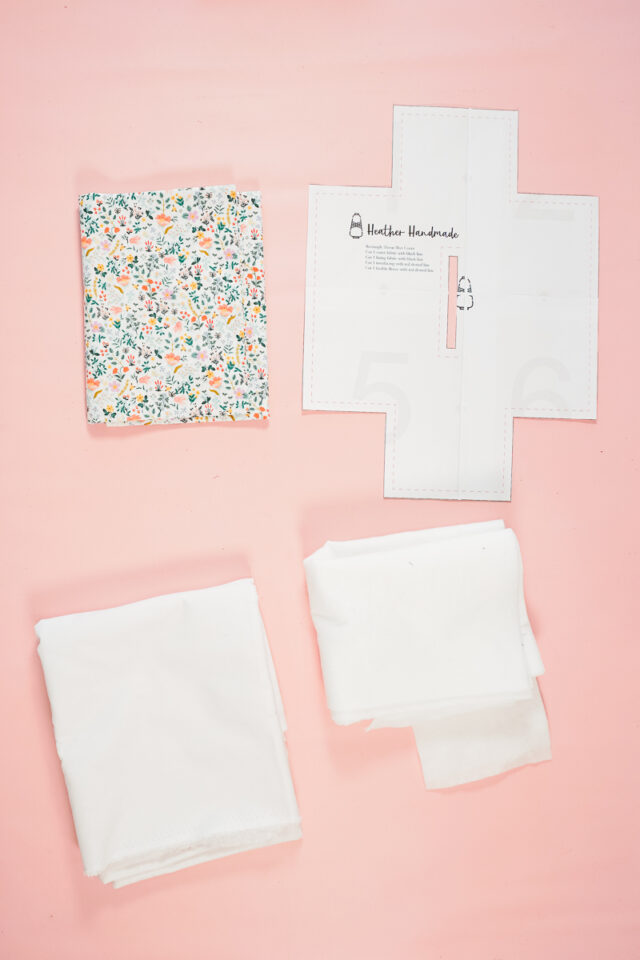
- Free sewing pattern – get it at the end of the post
- Two coordinating fat quarters
- Fusible lightweight to medium weight interfacing
- Fusible fleece
- Sewing tools
- Sewing machine
Do you just want the pattern and tutorial as a PDF? Get the pattern and tutorial for just $5. You won’t need to access the internet every time you want to make it. Or get the Pattern Bundle with ALL the PDF tutorials!
Instructions
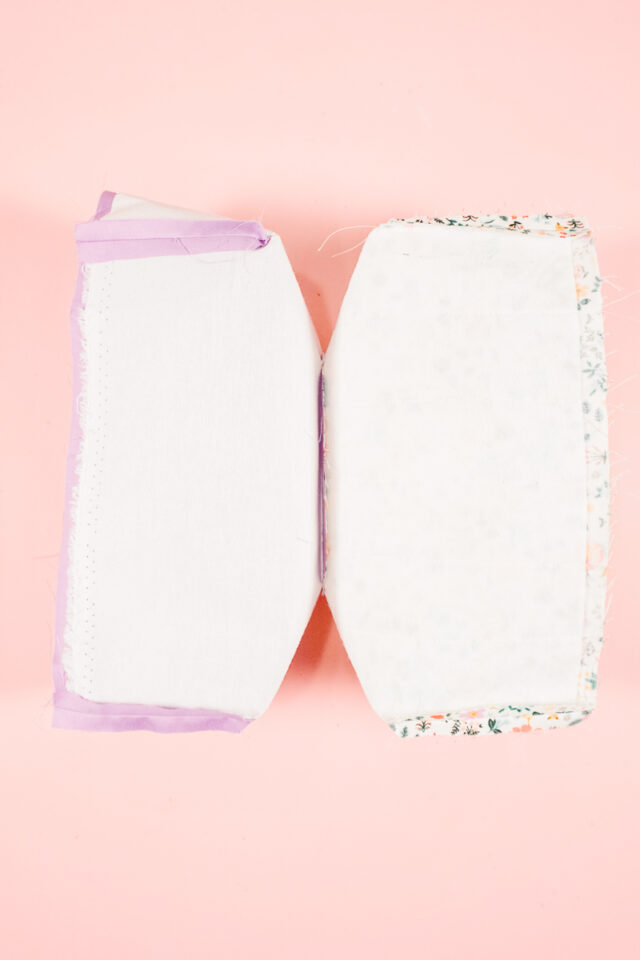
Cut one outer piece, one lining piece, one fusible interfacing, and one fusible fleece.
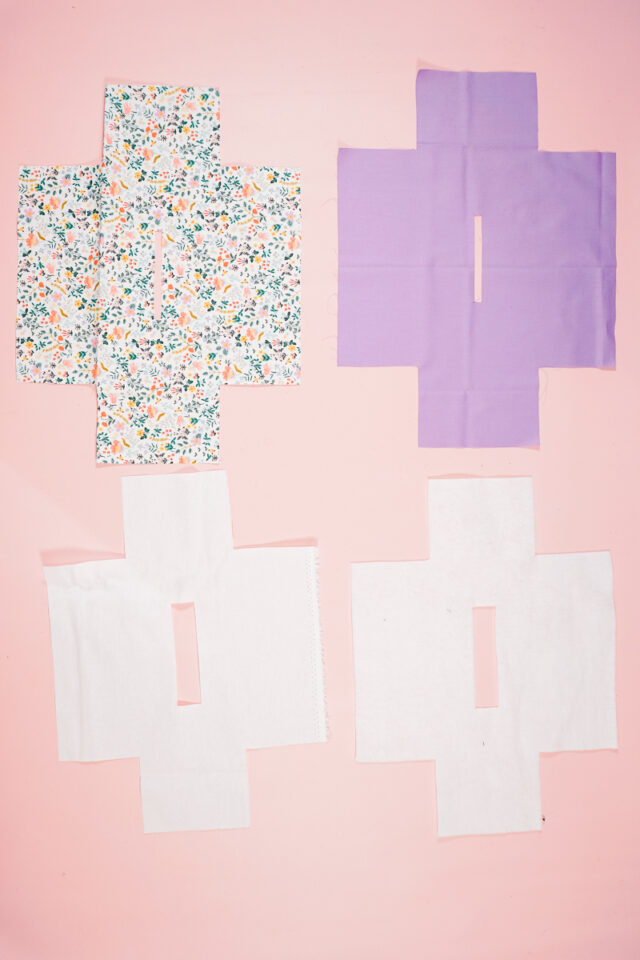
Iron the fusible fleece to the outer piece and the interfacing to the lining piece. Make sure the interfacing and fleece is perfectly centered before ironing it on.
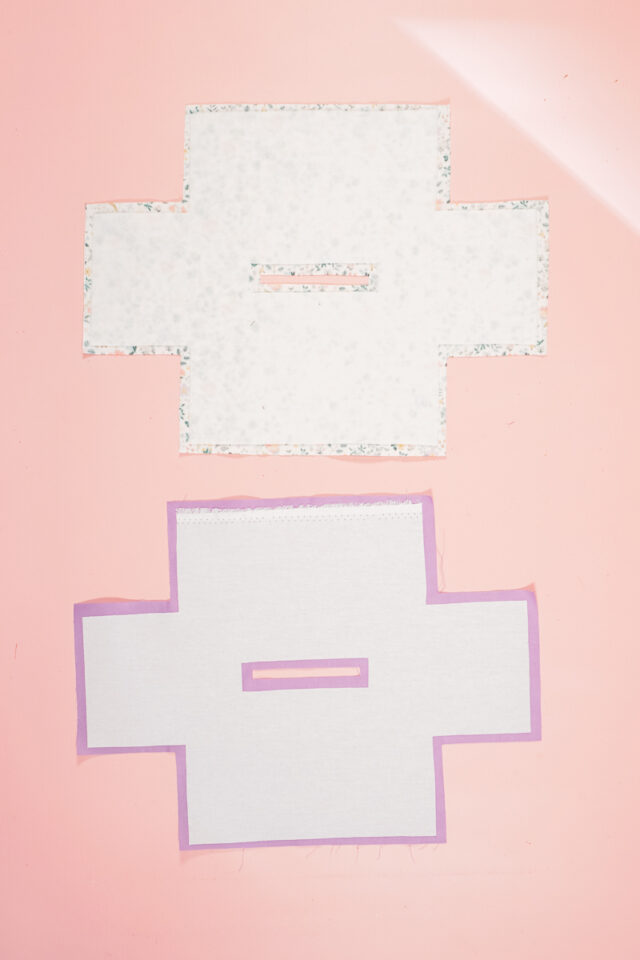
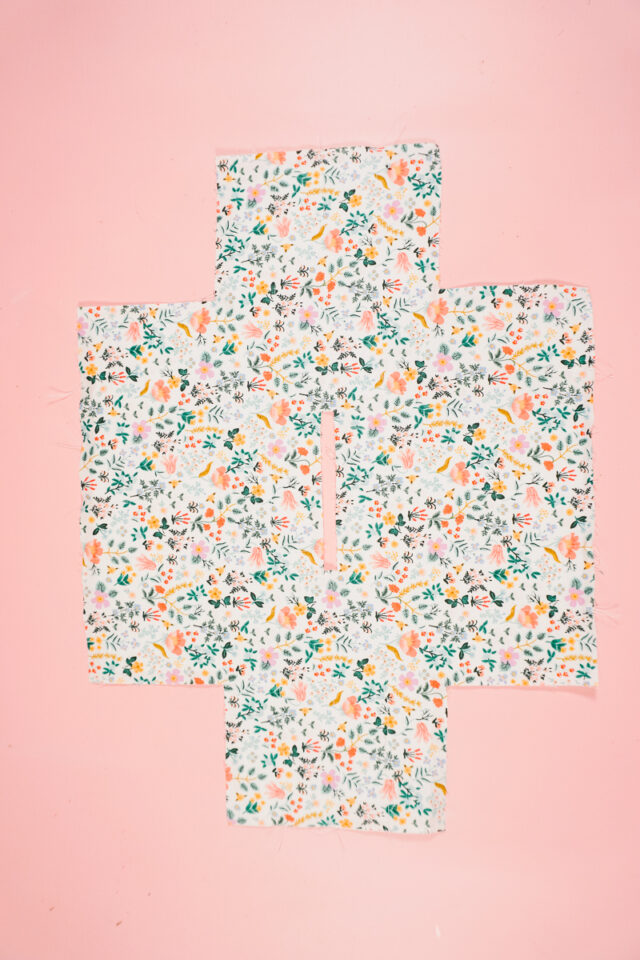
Quilt the fleece and outer fabric with whatever lines you prefer. I did a couple of lines each direction about 1.5 inches apart.
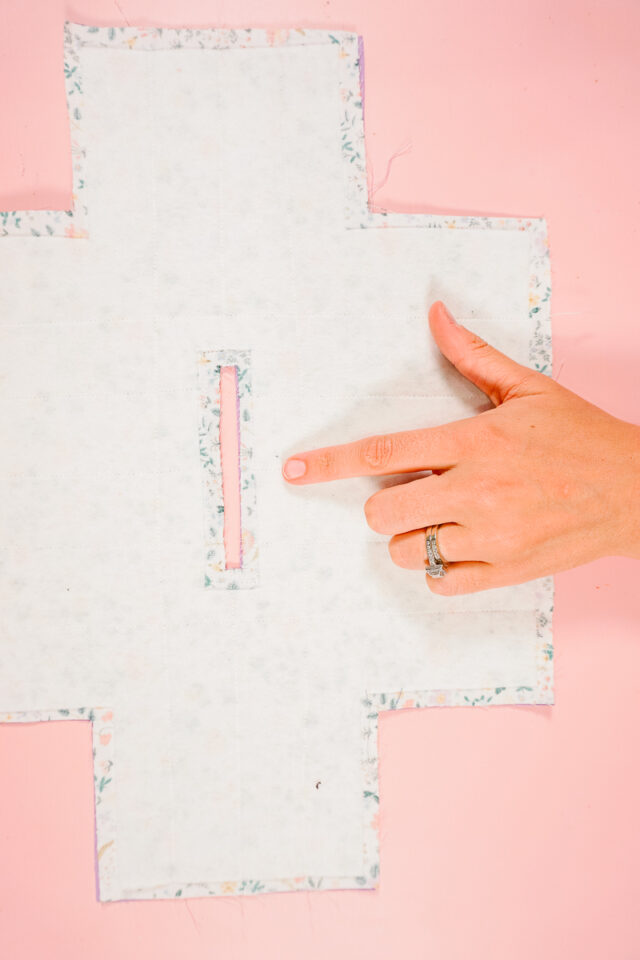
Place the fabric pieces right sides together lining up all the edges. Pin the center rectangle. Sew around the rectangle with a 3/8 inch seam allowance and pivot at the corners.
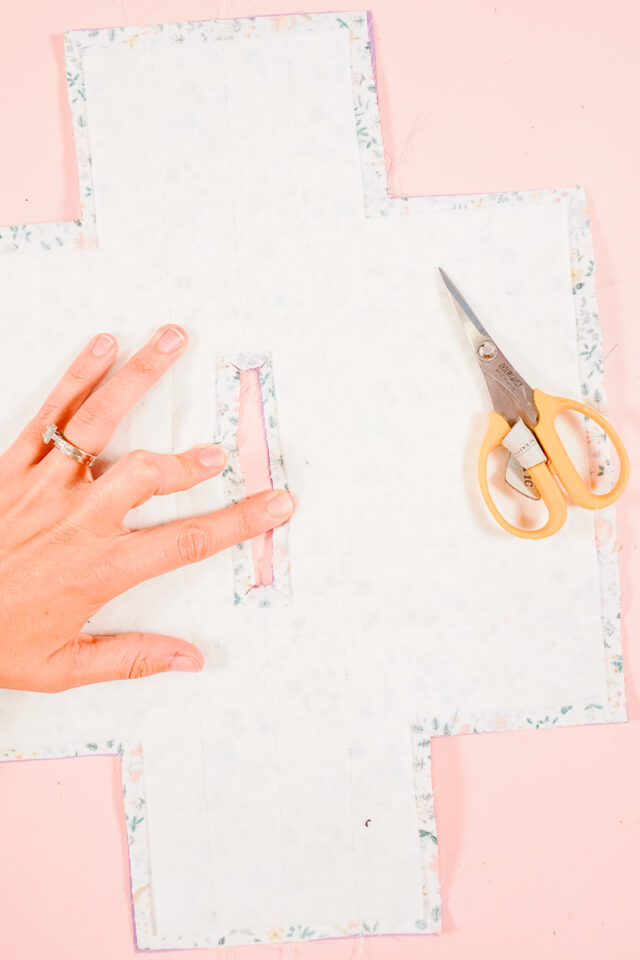
Cut into the corners of the rectangle without cutting through any stitches.
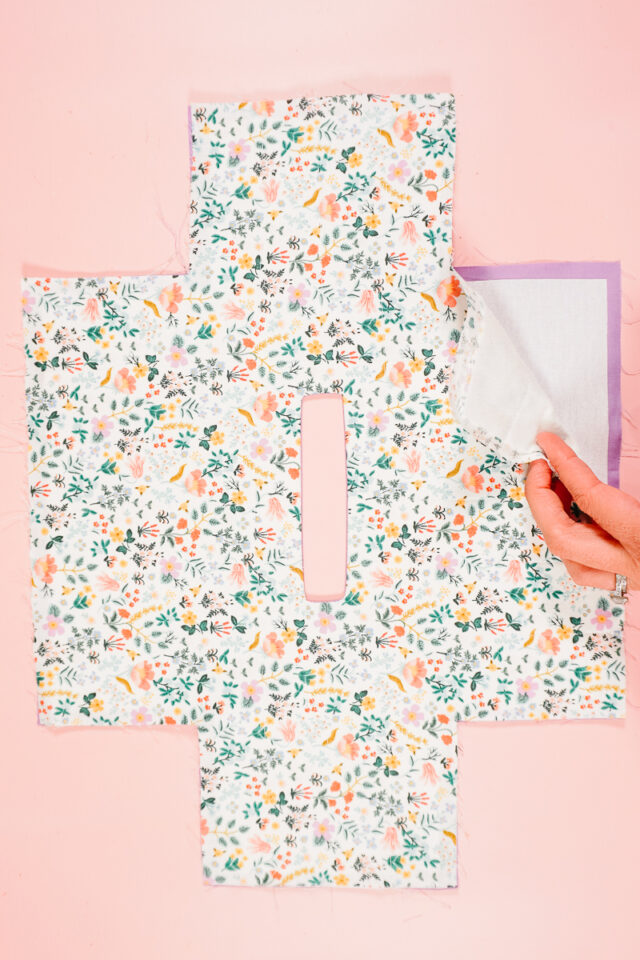
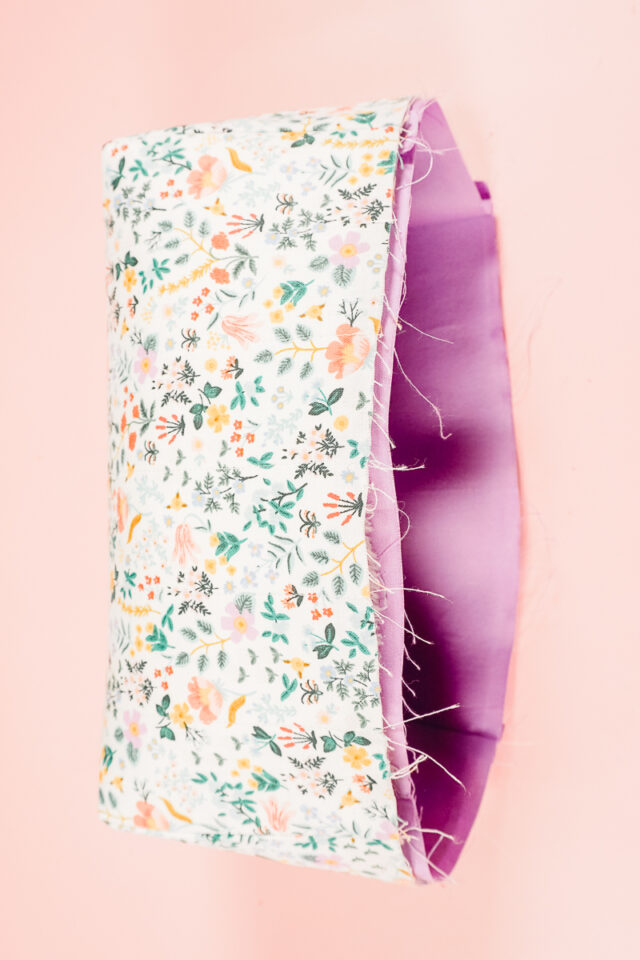
Push the outer fabric through the hole so that the fabric pieces are wrong sides together and the center rectangle is finished edges. Press the center rectangle edges.
Match the cut out sections to create the sides. Sew each side with a 3/8 inch seam allowance and backstitch when you start and when you stop. Do all four sides on the outer pieces and the lining piece.
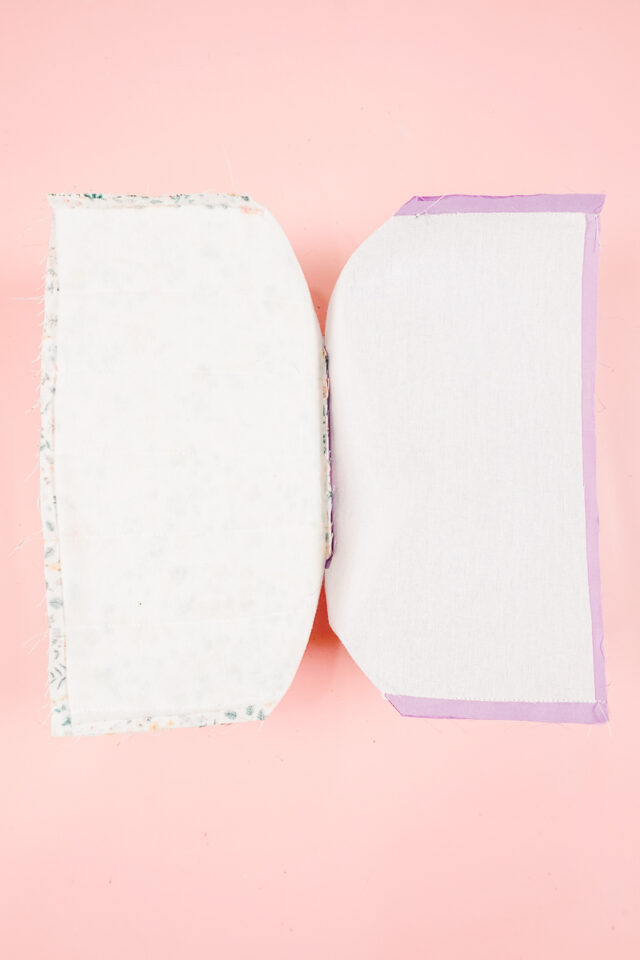
Press the seams open.
Turn the outer piece right side out over the lining. They have the wrongs sides facing.
Fold up the bottom edge of the outer and lining pieces 3/8 inch. Pin them together with the seam allowances tucked inside. The edge of the interfacing and fusible fleece is a great guide to see where to fold the fabric.
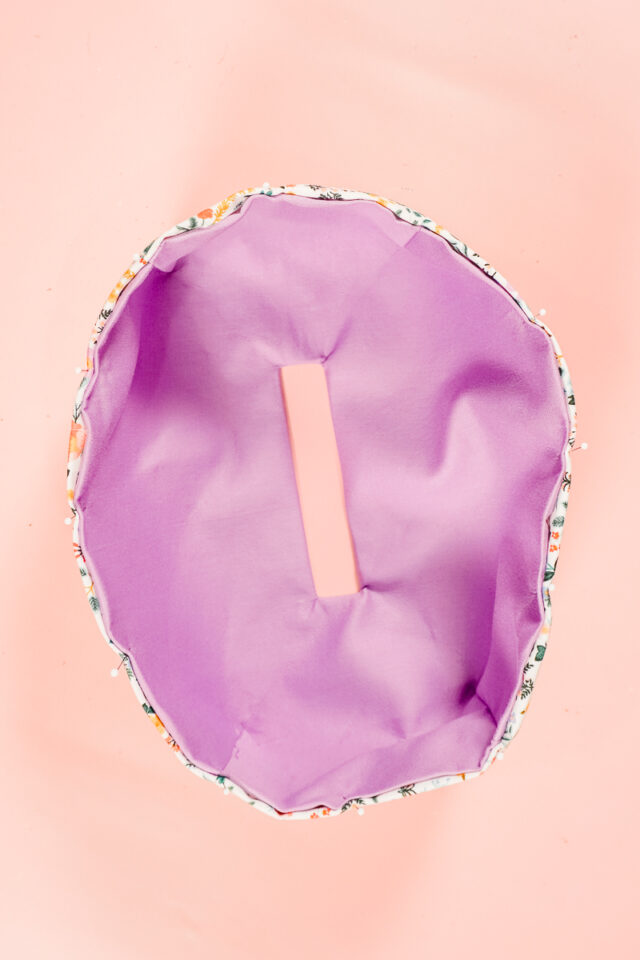
Sew 1/8 inch around the bottom edge to close the bottom and enclose the seam allowances.
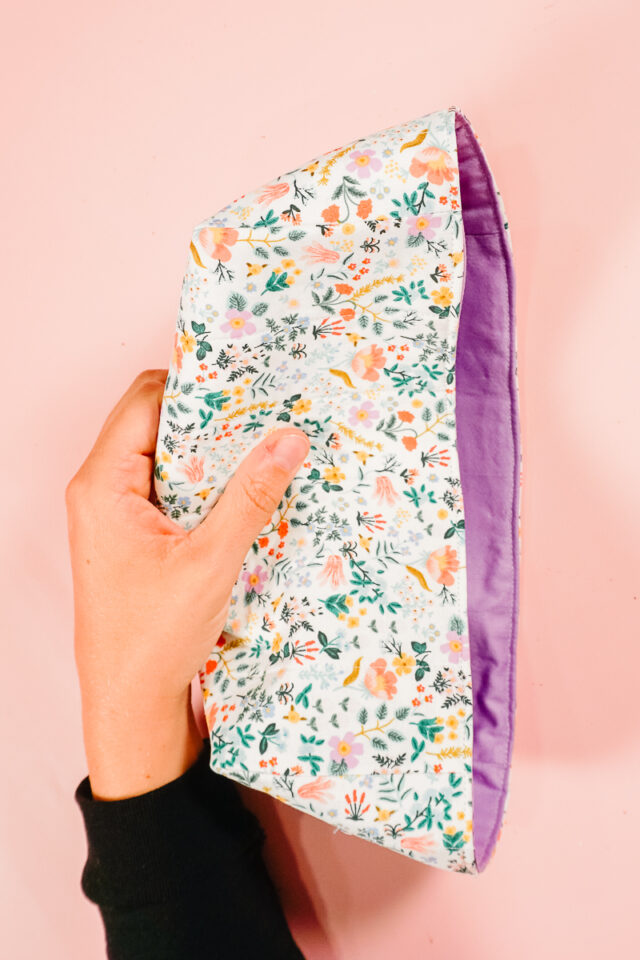
Slide your cover over a tissue box. Pull out a tissue to start the tissues coming out.
You finished!

Get the Free Sewing Pattern here!
If you make something using this sewing project, I’d love to see! Please share it on social media with the hashtag #heatherhandmade and tag me!

I believe small sewing moments can create great joy. Find your own “right” way to sew. -Heather
I made this during my little ones naptime – and let me tell you – it is easy and fun! I was able to complete this project in a little under an hour – printing the template, assembling, choosing fabric, etc etc. What a great way to spend a Sunday Sew Afternoon!
That sounds like an awesome day!
Hope I can understand how to make this Kleenex box cover.
which pattern pieces for the square tissue box? Just 7 & 8? how?
Is there a way that I can print out the instructions? So I don’t have to use my phone? Please and Thank you!!
You can use the instructions on this page or you can purchase the pattern that has the instructions in PDF format from my shop.
It would be so easy to make a matching toaster cover. Just cut two slots instead of one.😜
Remove the toaster cover before toasting anything so you do not start a fire!
Very smart and easy. Thanks