
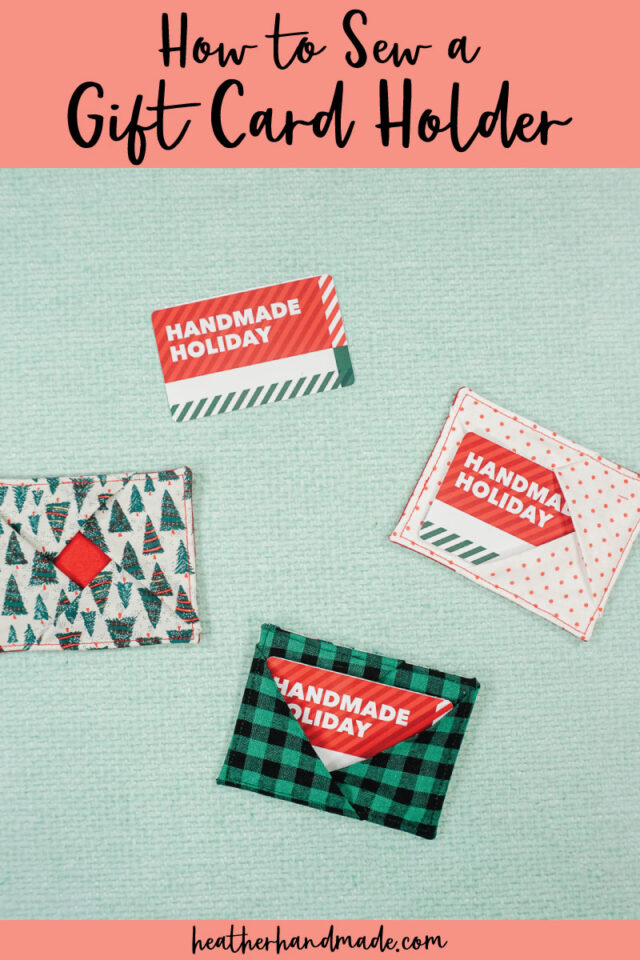
How to Sew a Gift Card Holder

This post may contain affiliate links.
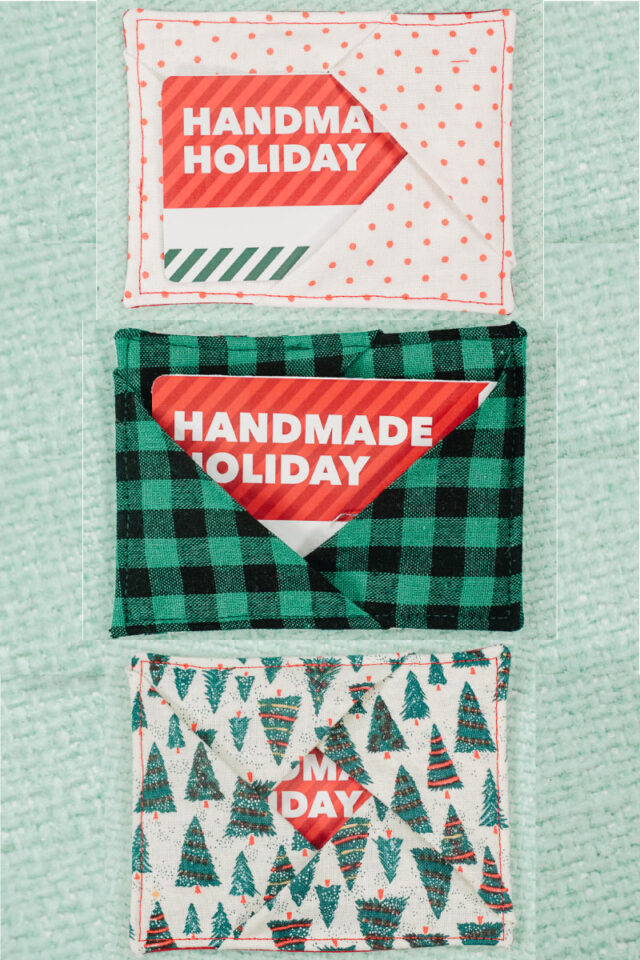
Learn how to sew a gift card holder with cotton fabric and one line of stitching. This easy sewing project uses scraps for a great gift.
It’s getting close to the end of the holidays, and you might be scrambling to find some gifts. I love giving gift cards to certain people since it can be an experience gift that you do together. And sometimes that’s the only gift that makes sense!
To make the gift card a little more special, I like to sew a gift card holder. There’s still a handmade element to the gift, and it looks nice when it’s opened up or seen during the gifting process. This gift card holder is only one seam and some scraps of cotton fabric. It’s a really quick and easy sewing project, so let’s get started!
What fabric should I use for a gift card holder?
This gift card holder was designed to be used with cotton fabric or quilting cotton fabric. This is the most basic type of fabric to find and sew.
It’s easy to sew, easy to find, and comes in lots of great holiday prints. You can even use fabric scraps to make this project because it’s so small!
What is the finished size of the gift card holder?
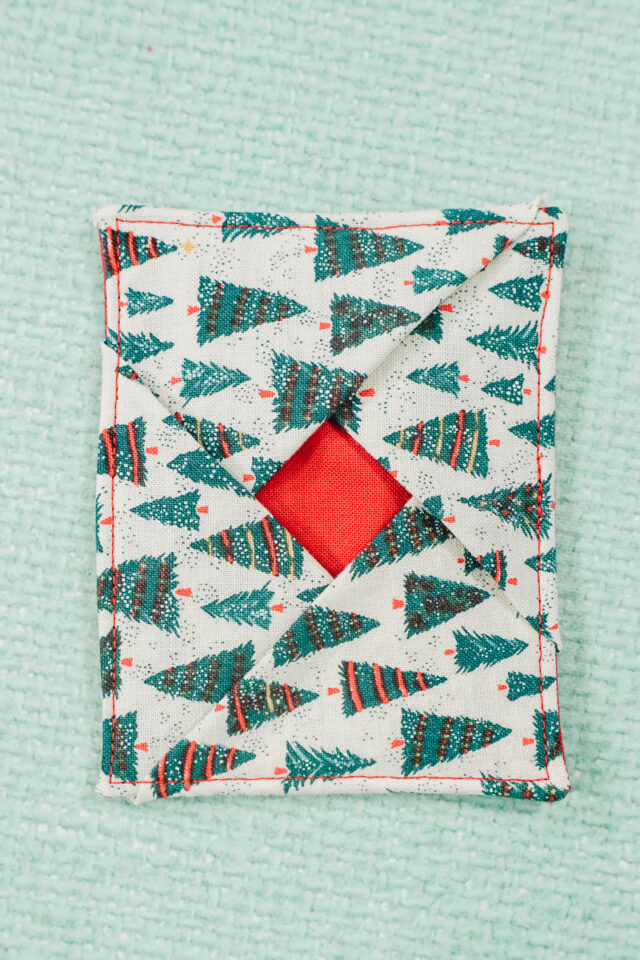
The finished size is 4 inches wide and 2.5 inches tall. The internal space for holding a card is 3.75 inches wide and 2.25 inches tall.
Want more sewing project ideas?
- Easy gifts to sew
- Christmas sewing projects
- Scrap fabric sewing projects
- Free gift card holder sewing pattern
How do you put a card in the gift card holder?
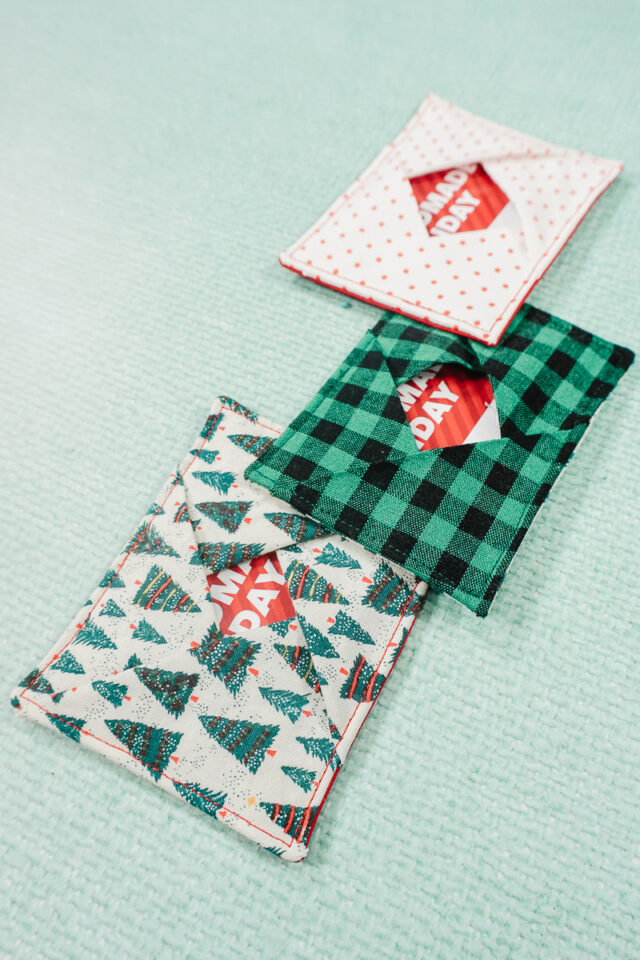
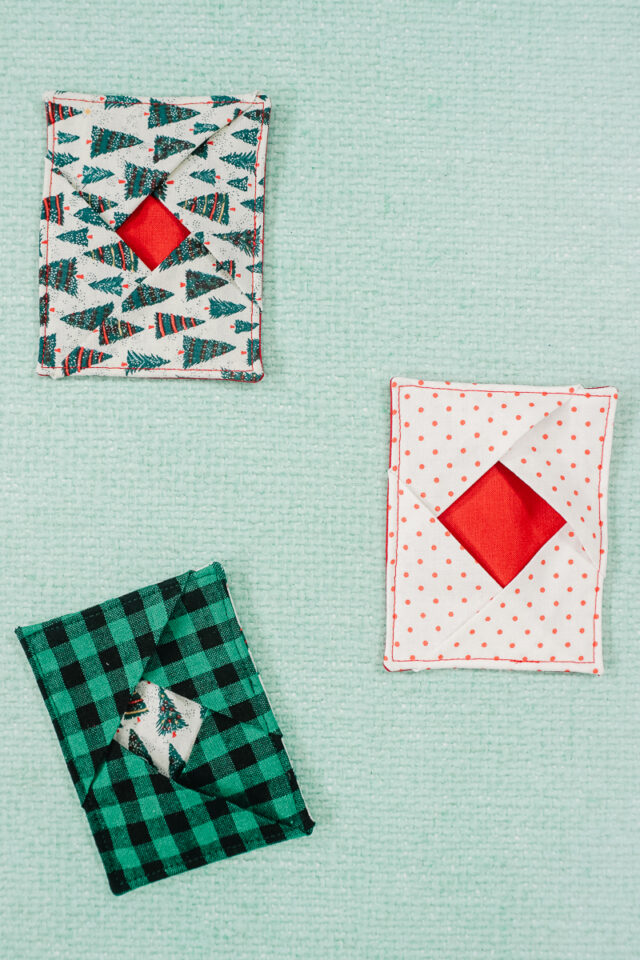
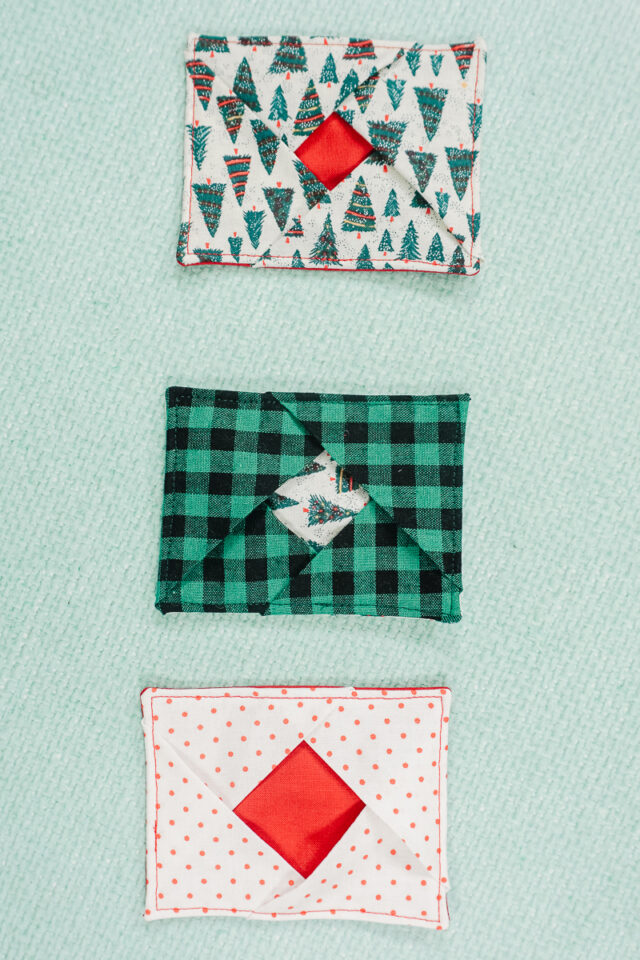
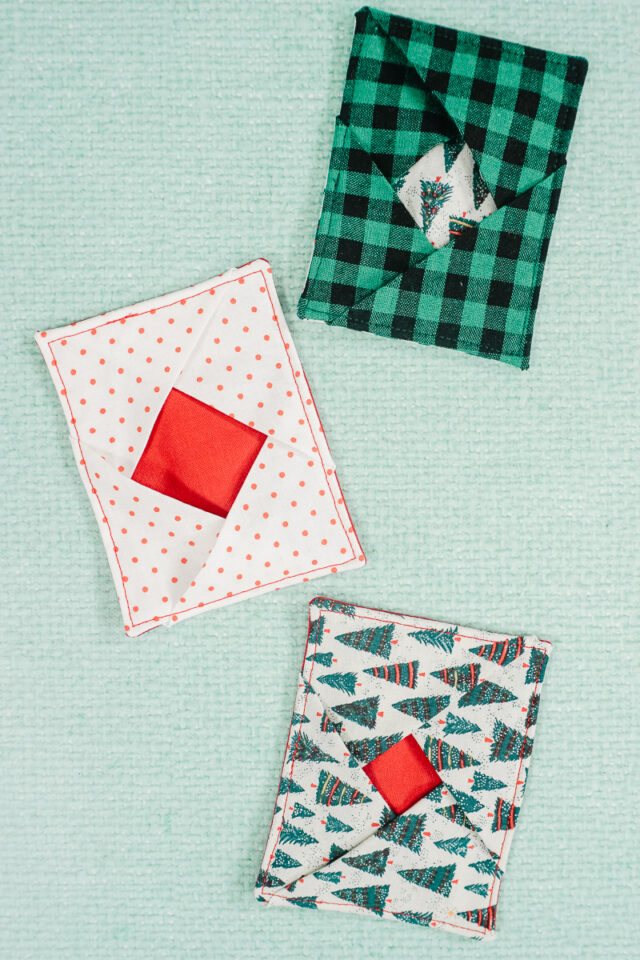
Since there’s four corner fabric pieces, you can stretch two at a time to slip a card in. You can also put a card into only two corners (either horizontally or vertically) so that you can see more of the card.
How to Sew a Gift Card Holder
Supplies
- Scraps of quilting cotton fabric
- Sewing tools
- Sewing machine
Instructions
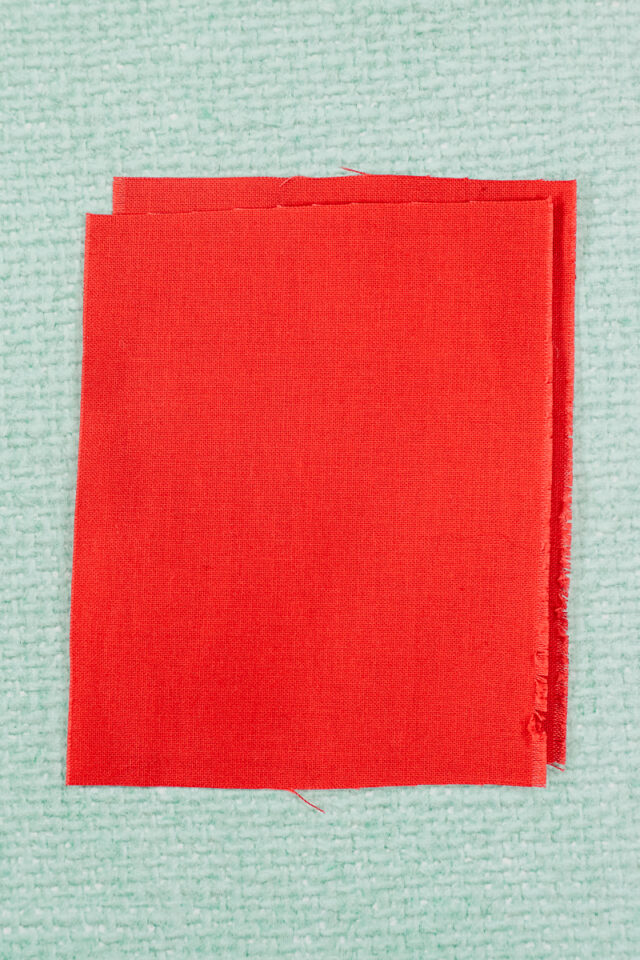
Cut out two pieces of fabric that are 3.5 inches wide by 4.5 inches tall (this will be the back).
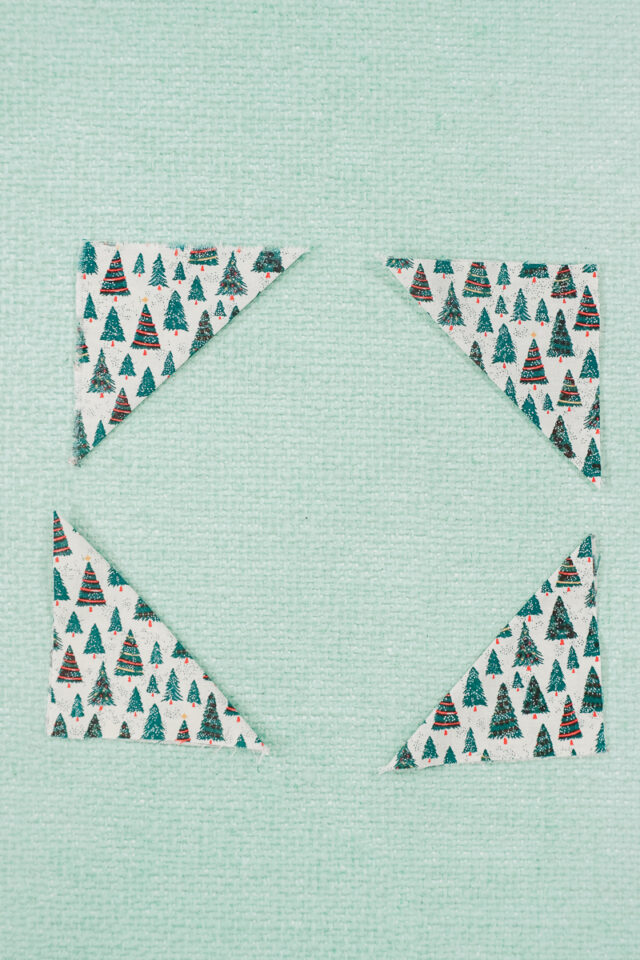
Cut out four pieces of fabric that are 3.5 inches by 3.5 inches square (this will be the corners).

Press the four squares into triangles by matching two corners.
Lay the two rectangles on top of each other.
Place a triangle in each corner with the corners matching up. Pin all the layers together.
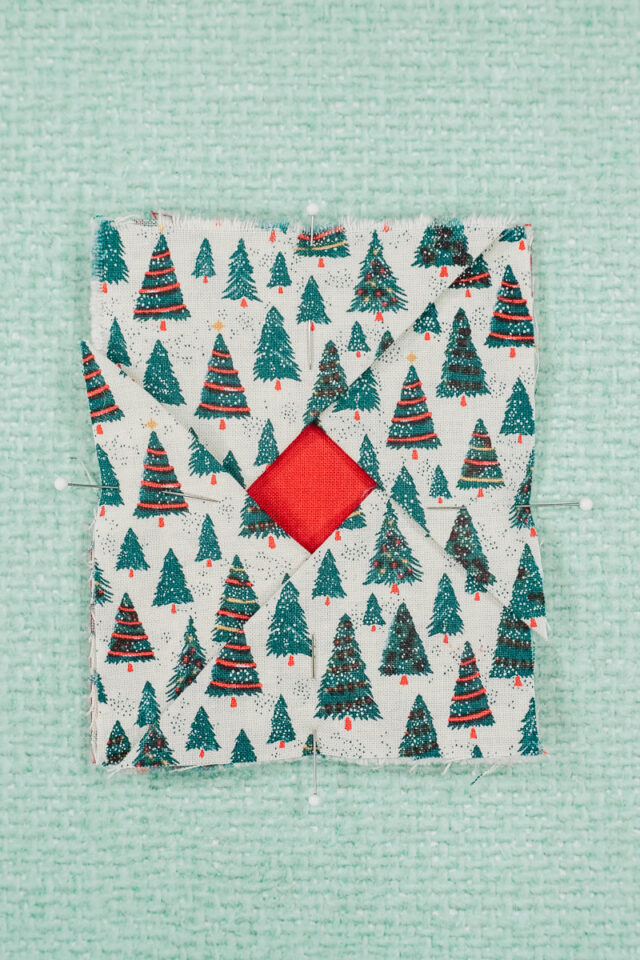
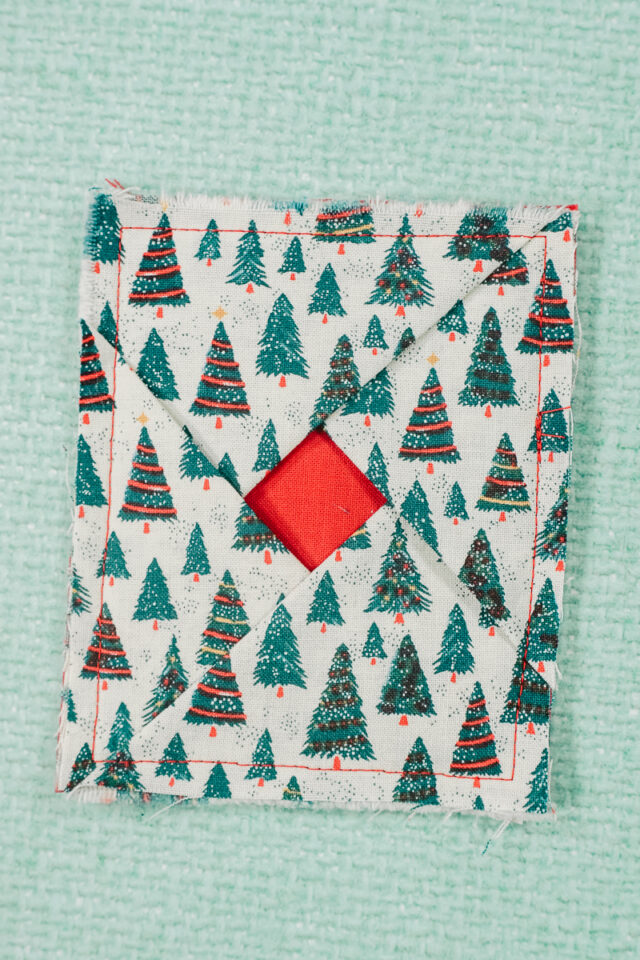
Sew around the rectangle with a ¼ inch seam allowance. Pivot at the corners.
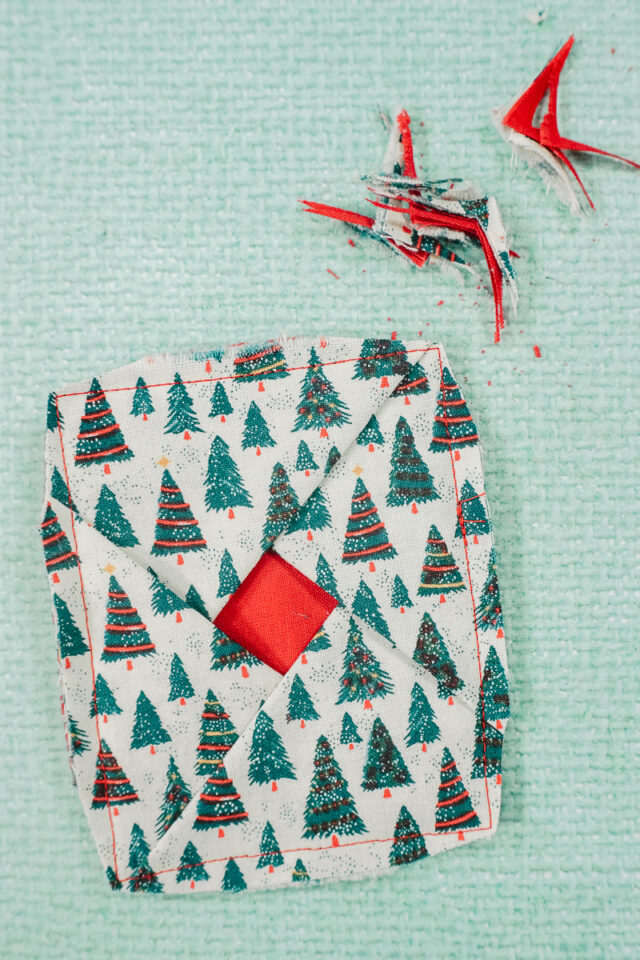
Trim the corners to reduce the bulk.
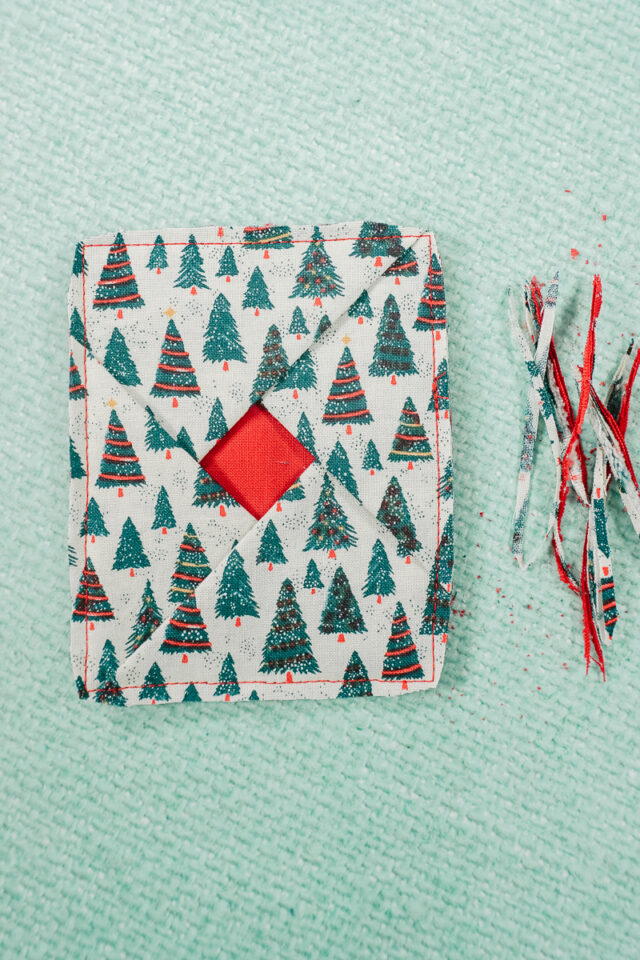
Trim the seam allowance down to ⅛ inch.
Turn everything right side out and carefully poke out the corners. Press flat.
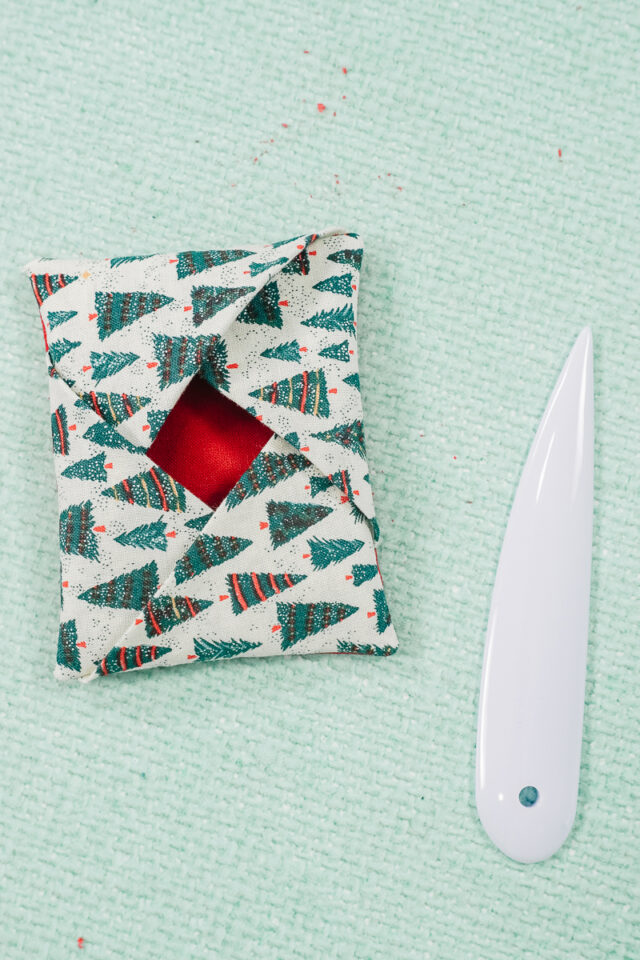
Sew around the rectangle ⅛ inch from the edge. Pivot at the corners.
You finished and you can add a gift card or nice note!
If you make something using this sewing project, I’d love to see! Please share it on social media with the hashtag #heatherhandmade and tag me!

I believe small sewing moments can create great joy. Find your own “right” way to sew. -Heather
Heather, this is ingenious! I just made some out of cardstock and it took me forever! I always give money (check) to kids and grands, with an heirloom ornament I hand embroider each year. I attach the money holder to the ornament with some kind of holder. THIS holder will be my new go-to from now on! Thanks so much!!
Oh what a great idea! I love that this quick project will help you!