
How to Make a Playing Card Holder

This post may contain affiliate links.
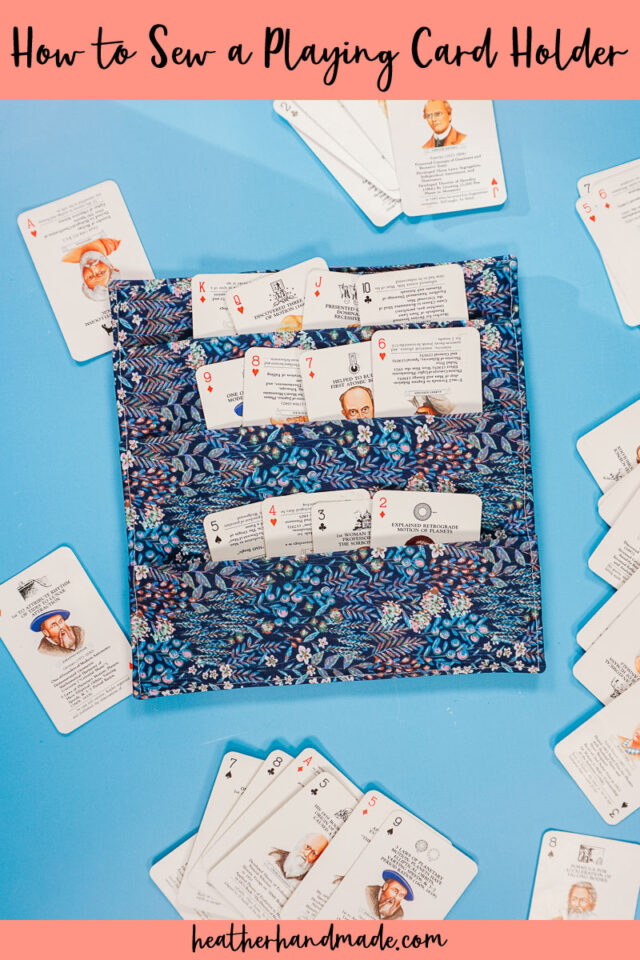
Learn how to make a playing card holder to make it easier for kids to hold cards. This beginner sewing project is a great handmade gift.
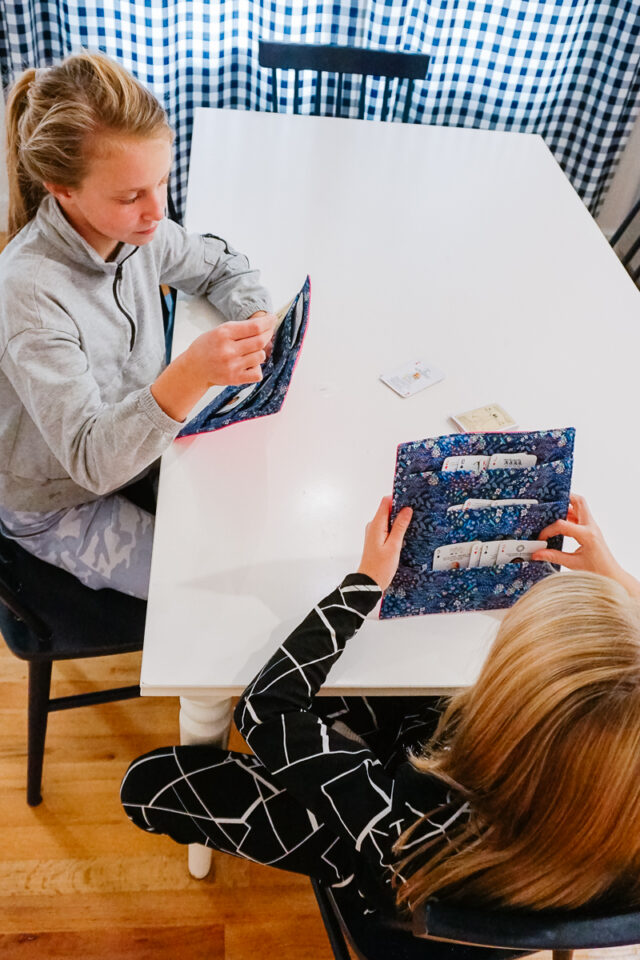
My kids love playing games, but sometimes it’s hard for them to hold all the cards in their hands. They often drop some cards or hold it so everyone else can see their cards. They needed an easier way to hold all their cards.
I have seen playing card holders, and I realized they would be really easy and fun to sew. I love sewing projects like this. It’s quick, enjoyable, and it gets used every time we play a card game!
To get the free sewing pattern, scroll to the end of the tutorial. Put your email address in the form under “Get the Free Sewing Pattern Here.” Once you confirm that you want to receive emails from Heather Handmade, the free pattern will be sent to your email address. Check your spam and promotions for the email.
What is a playing card holder?
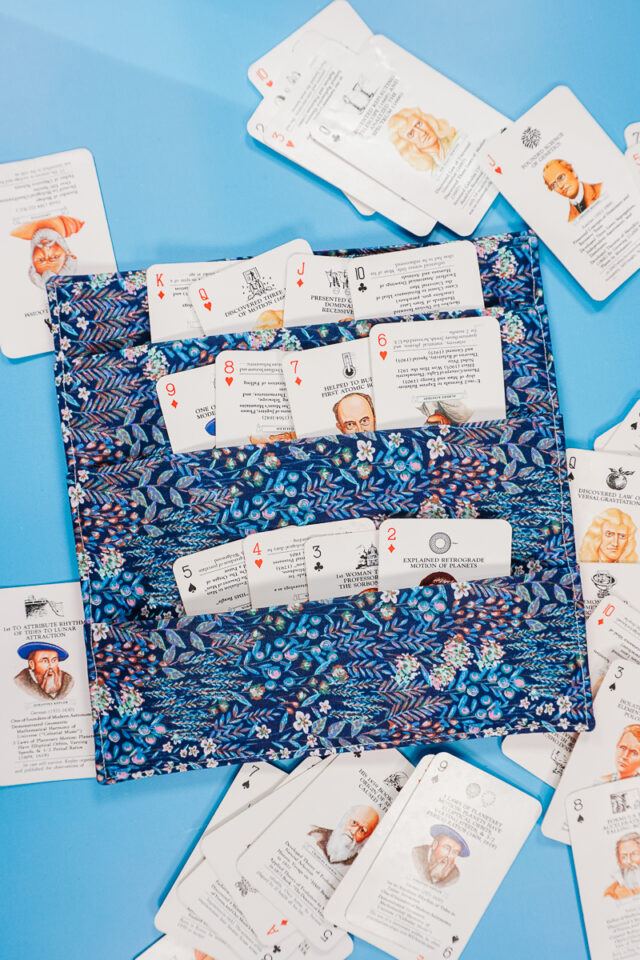
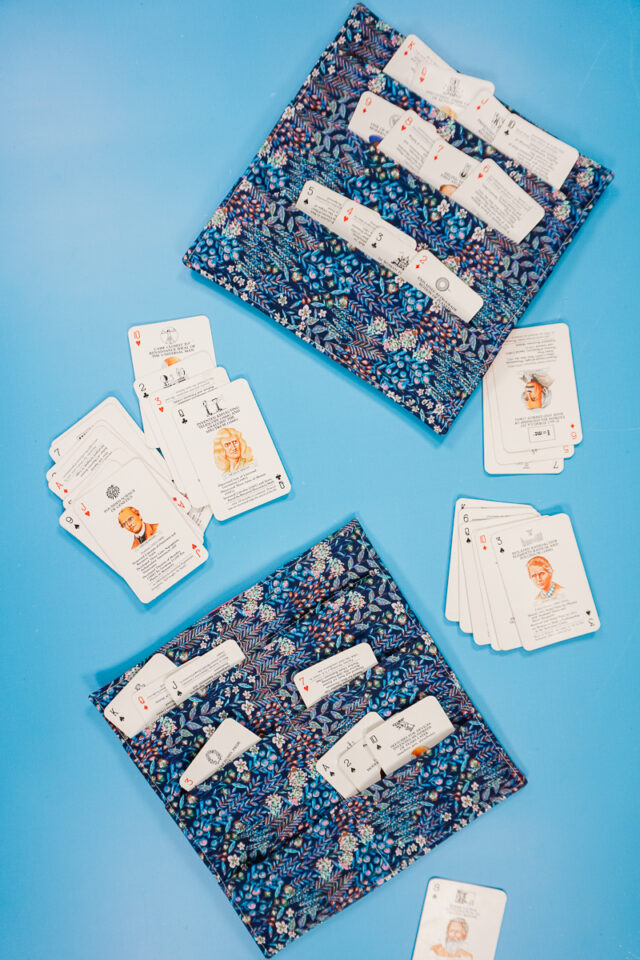
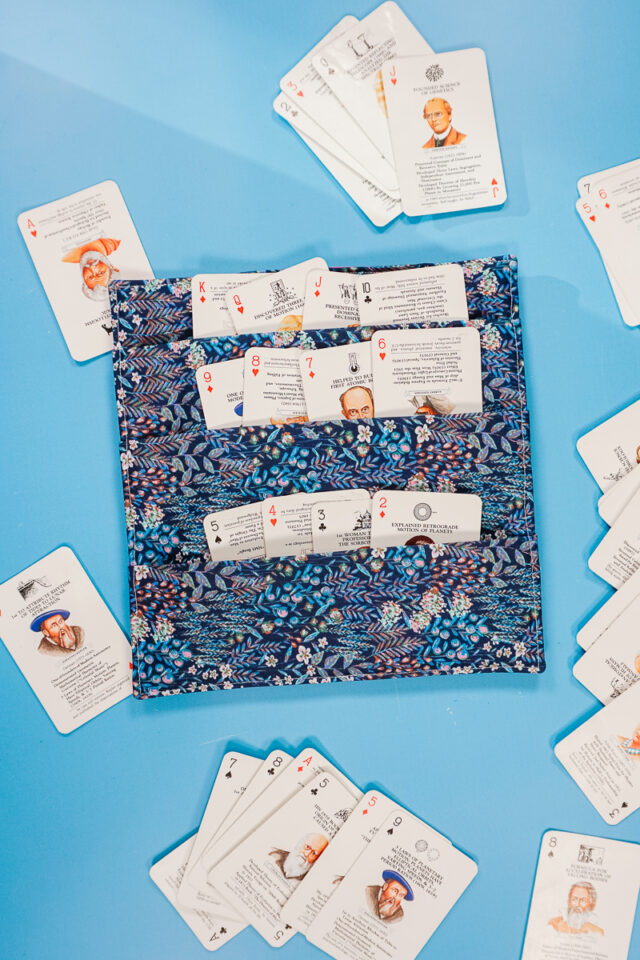
A playing card holder is a fabric piece with pockets to put the cards in. It’s wide enough to hold lots of cards, to help you see all the cards, and to organize them in different places. It’s really great for kids with smaller hands that have a hard time holding cards, or a senior that still wants to play games but having a hard time holding cards.
What fabric should I use to make a playing card holder?
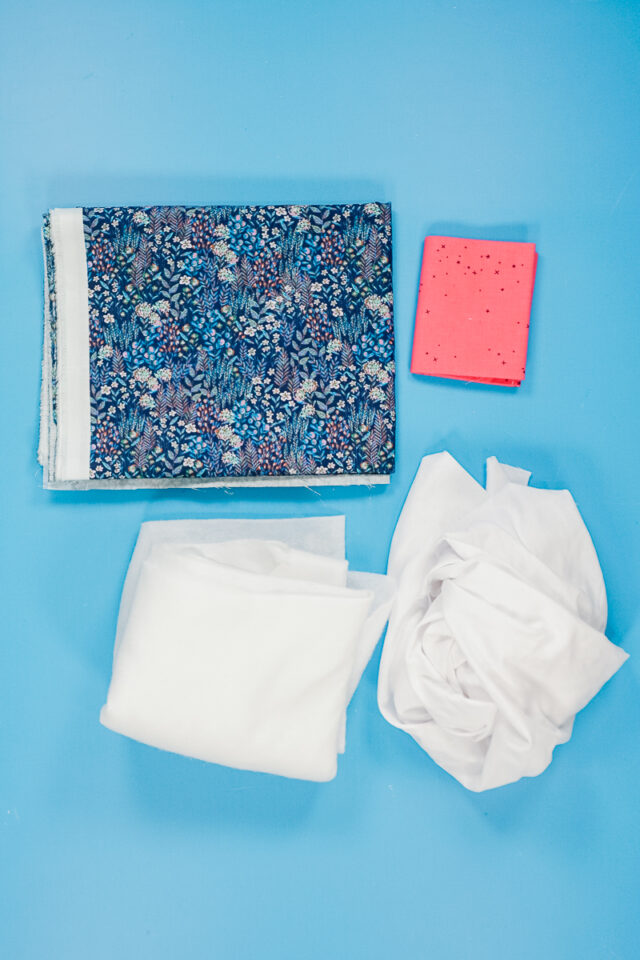
A playing card holder is great when it’s made out of quilting cotton. Quilting cotton is easy to find, easy to sew, and comes in lots of prints and colors. It’s easy to add interfacing and fusible fleece to the back of the fabric to make it a little stiffer.
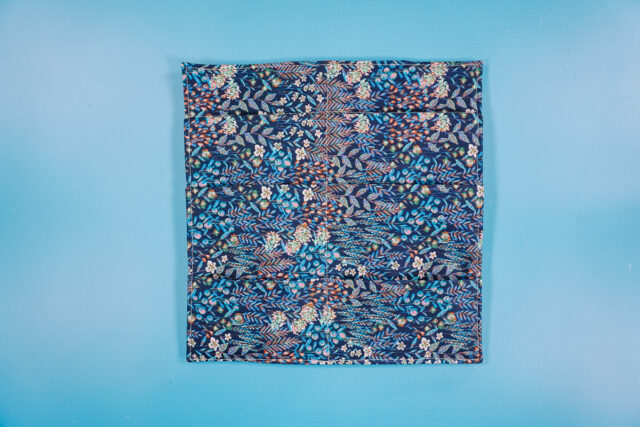
I chose a fun floral print on one side and a bold pink for the back, but you can choose any fabric you have!

Should I interface the fabric?
Yes! It’s very important to add interfacing and fusbile fleece to the fabric before you start sewing. You need the strength, stability, and stiffness to make the pockets work.
Love to sew? Try one of these fun sewing projects:
- Beginner sewing projects
- Free PDF sewing patterns
- Free sewing patterns for kids
- Gifts to sew for kids
- Sewing projects for kids
How to Make a Playing Card Holder
Supplies
- 1/4 yard of quilting cotton (I used two fabrics so you could see the front and back, but 1/4 yard is enough for one)
- 1/4 yard of medium fusible interfacing
- 1/4 yard of fusible fleece
- Sewing tools
- Sewing machine
Do you just want the pattern and tutorial as a PDF? Get the pattern and tutorial for just $5. You won’t need to access the internet every time you want to make it. Or get the Pattern Bundle with ALL the PDF tutorials!
Instructions
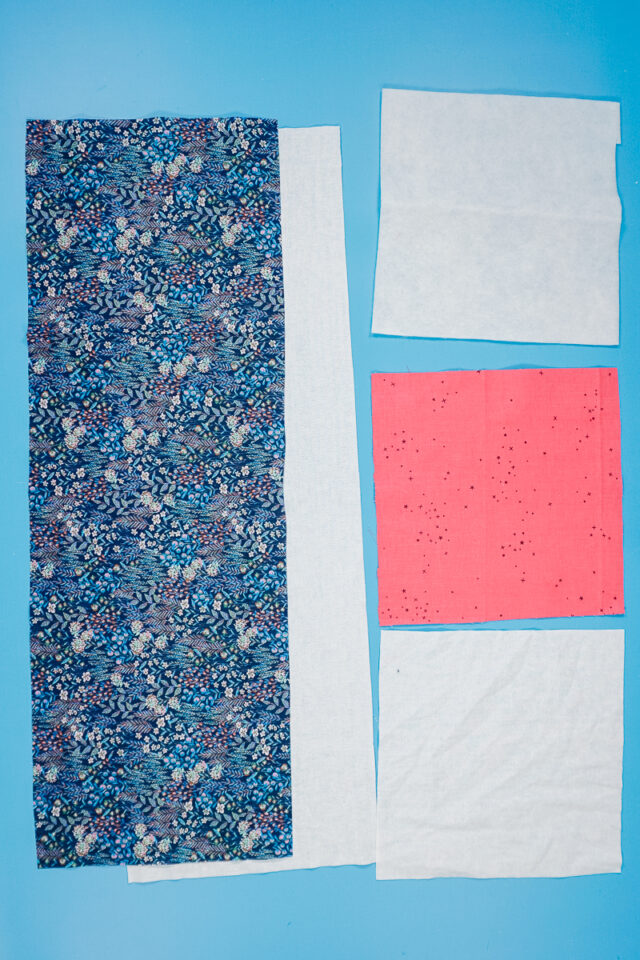
Cut out fabric:
- Front is 8 inches wide by 25 inches tall
- Back is 8 inches by 8 inches
Cut out interfacing:
- 1 piece that is 8 inches by 25 inches
- 1 piece that is 8 inches by 8 inches
Cut out fusible fleece:
- 1 piece that is 8 inches by 8 inches
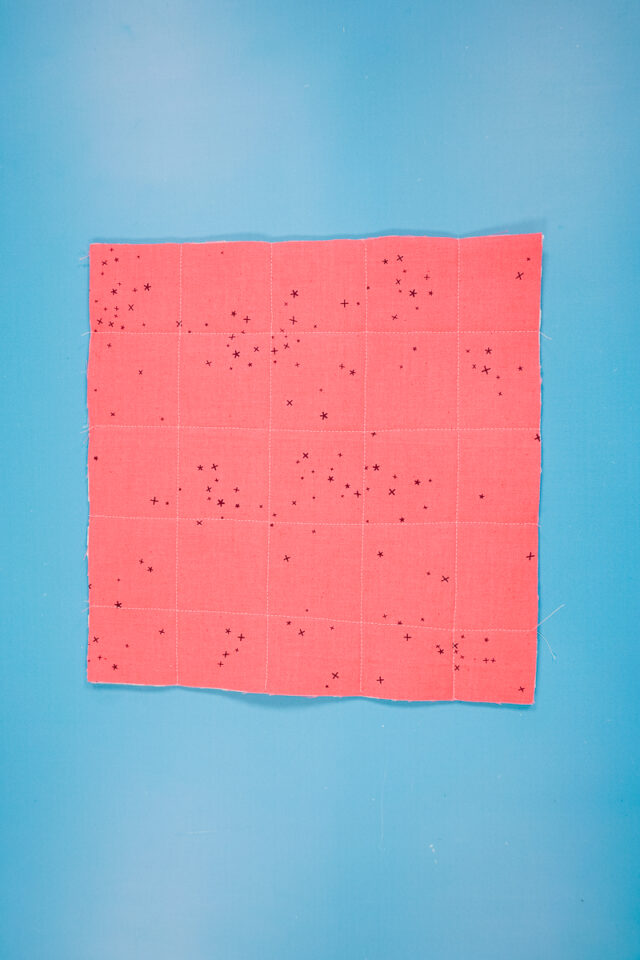
Iron the large piece of interfacing to the back of the large piece of fabric. Iron the small piece of interfacing to the back of the small piece of fabric. Then iron the fusible fleece onto the back of the interfaced small piece of fabric.

Sew quilting lines across the back piece. I sewed lines every two inches both horizontally and vertically.
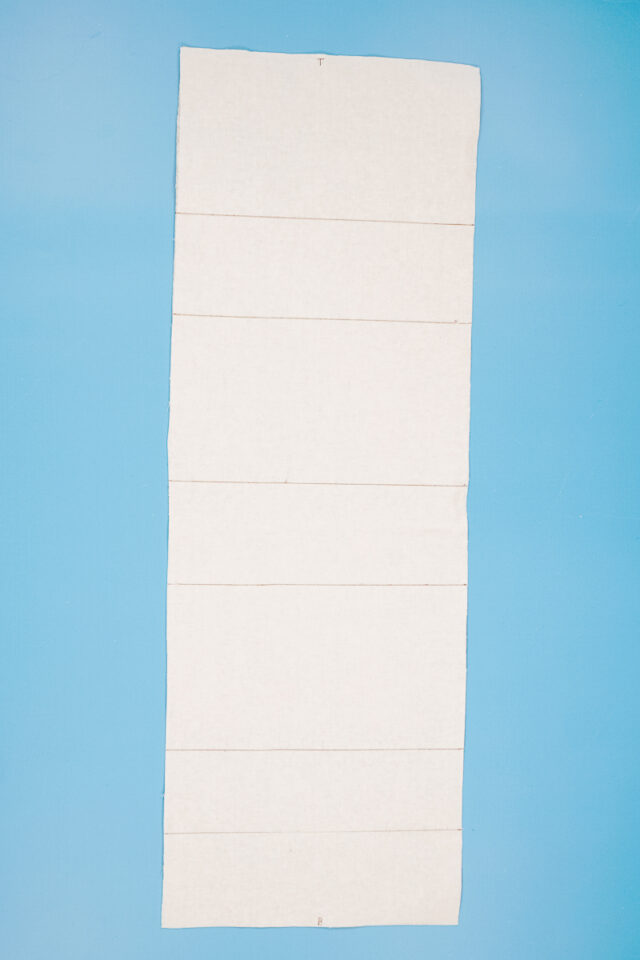
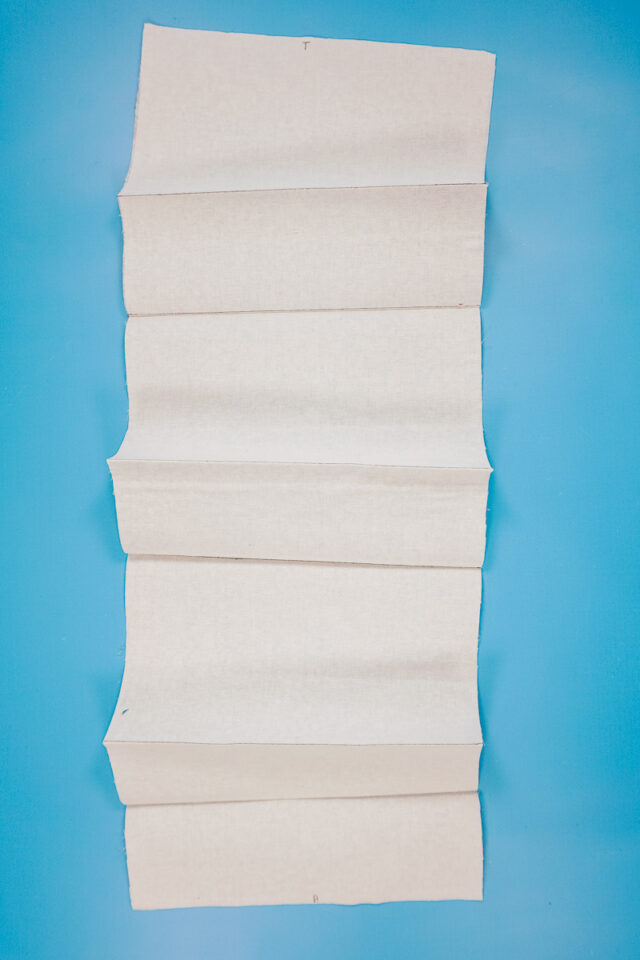
Mark the top and bottom on the back of the front. Then mark these lines on the back of the front:
- From the bottom mark up 3 inches, then 2.5 inches, then 4.5 inches, then 2.5 inches, then 4.5 inches, and then 2.5 inches.
Press the folds in place. The folds start by going up and then alternating down and up to create the pockets.
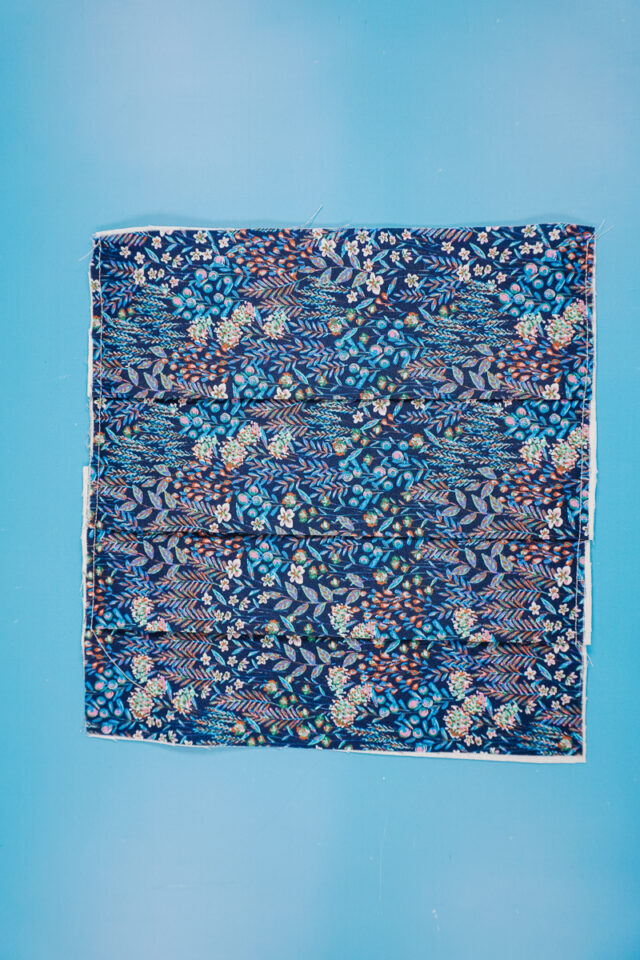
Fold all the folds in place. Baste along each side 1/4 inch from the edge to secure the pockets.
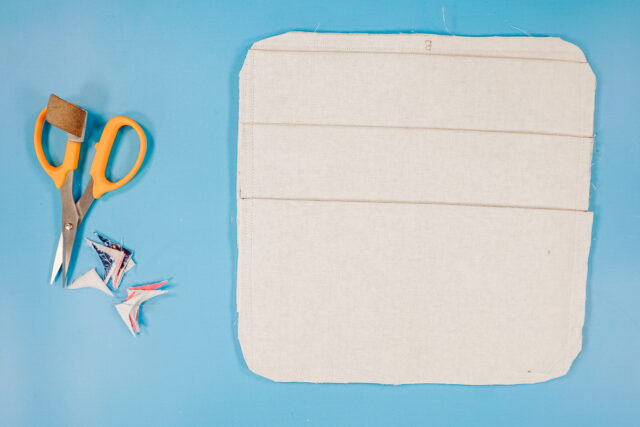
Place the front and back right sides together. Make sure the bottom pocket is not in the seam allowance. Sew around the edge with a 3/8 inch seam allowance. Leave a 3 inch hole for turning and backstitch when you start and when you stop.

Trim the corners to reduce the bulk.
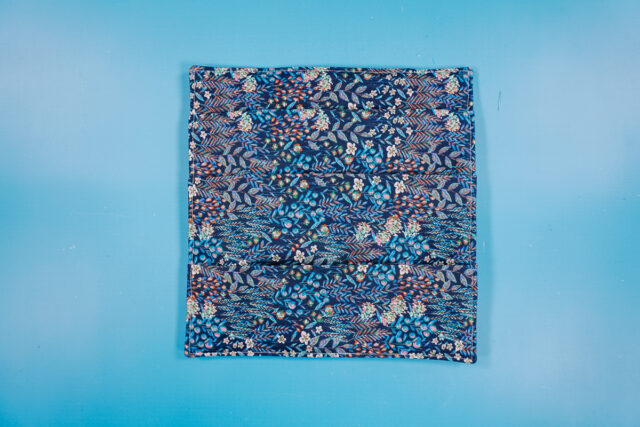
Turn the holder right side out through the hole. Carefully poke out the corners with a point turner.

Press the holder flat rolling the edges to pull out the seam and pressing the seam allowance of the hole inside.
Sew around the edge 1/8 inch from the edge to neaten the edges and to close the hole.
Optional: Sew a stitch down the center of the playing card holder to create more pockets.
If you make something using this sewing project, I’d love to see! Please share it on social media with the hashtag #heatherhandmade and tag me!

I believe small sewing moments can create great joy. Find your own “right” way to sew. -Heather