
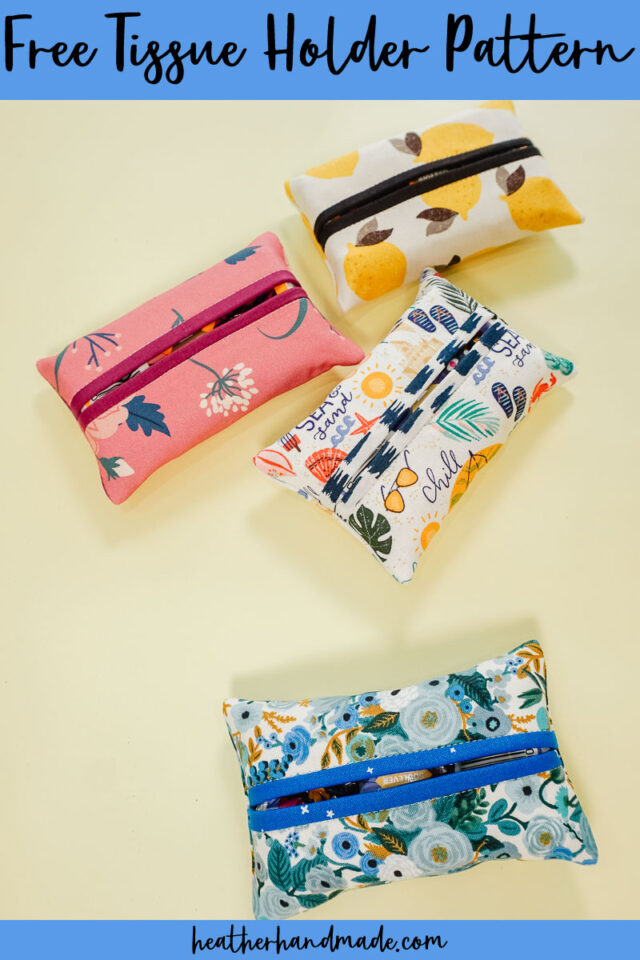
Free Travel Tissue Holder Sewing Pattern

This post may contain affiliate links.
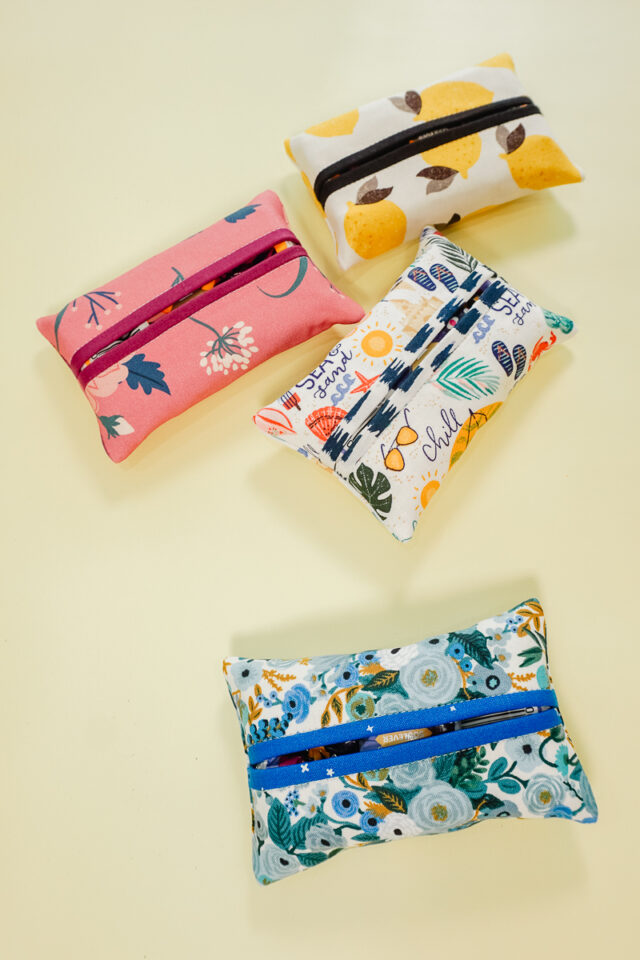
Learn how to make a tissue holder sewing pattern. This beginner sewing project is small and quick, and it makes a great handmade gift.
Have you ever needed a tissue and didn’t have one? Have you ever needed a reminder to put a small package of travel tissues in your purse?
Make a tissue holder to hold travel tissue packages. This is a great scrap fabric sewing project because it only uses a small amount of fabric, and it’s really quick and easy. It’s so fun to pair two cut fabrics together.
To get the free sewing pattern, scroll to the end of the tutorial. Put your email address in the form under “Get the Free Sewing Pattern Here.” Once you confirm that you want to receive emails from Heather Handmade, the free pattern will be sent to your email address. Check your spam and promotions for the email.

What fabric should I use to make a tissue holder?
The best fabric to use for a tissue holder is quilting cotton. Quilting cotton is easy to find and easy to sew. You can use up your cute scraps of fabric for this project, and make lots and lots of tissue holders.
Should I use interfacing for a tissue holder?
Yes! Interfacing will make the tissue holder sturdy and durable. Also, if you ever have to wash it, it won’t get all wrinkled so you won’t have to iron it.

Love to sew? Try one of these fun sewing projects:
- Beginner sewing projects
- Small sewing projects
- Scrap fabric sewing projects
- Gifts to sew
- Travel sewing projects
- Free PDF sewing patterns
- Back to school sewing projects

How to Sew a Travel Tissue Holder Sewing Pattern
Supplies
- Scraps of quilting cotton
- Lightweight fusible interfacing
- Sewing tools
- Sewing machine
Do you just want the pattern and tutorial as a PDF? Get the pattern and tutorial for just $5. You won’t need to access the internet every time you want to make it. Or get the Pattern Bundle with ALL the PDF tutorials!

Instructions
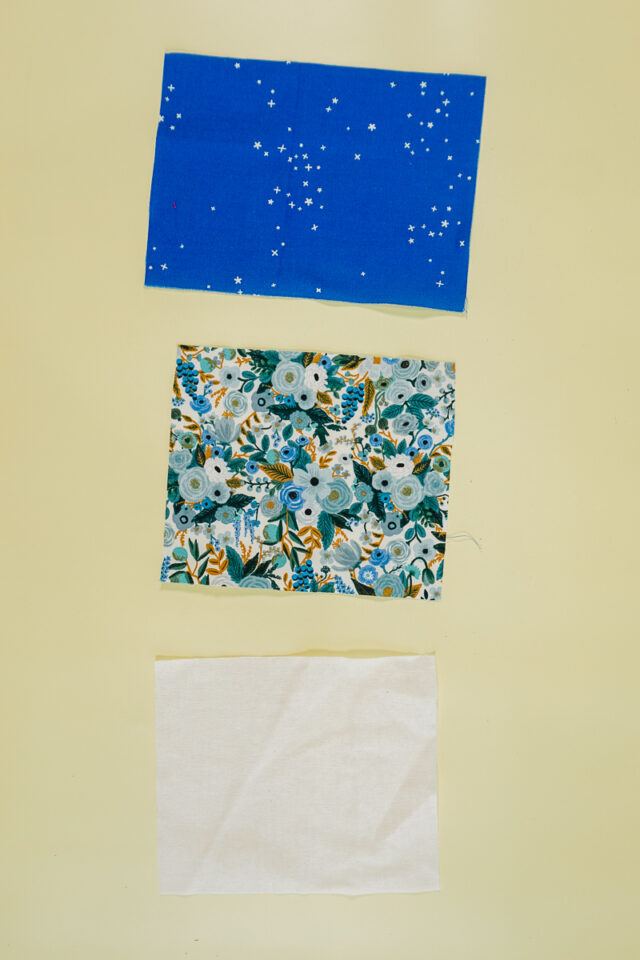
Cut the outer fabric to be 5.5 inches by 6.5 inches. Cut the lining fabric (and contrasting edge) to be 5.5 inches by 7.75 inches. Cut the fusible interfacing to be 5.5 inches by 6.5 inches.
Iron the interfacing to the back of the outer fabric.

Pin the short ends of each rectangle right sides together. Sew the seams with a 1/4 inch seam allowance.

Turn it right side out.

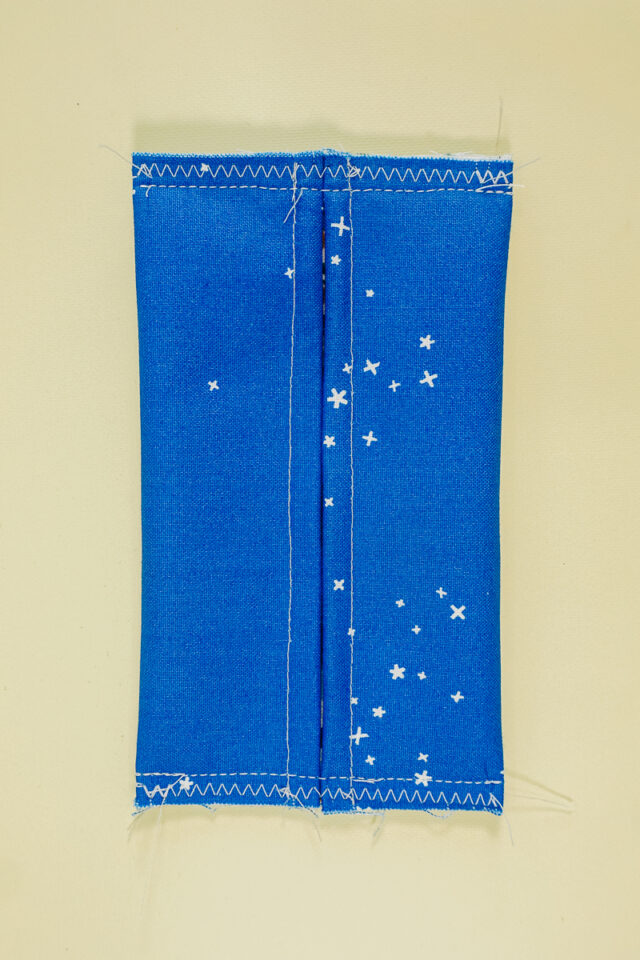
The lining is a little bigger than the outer fabric. Center the outer fabric with a little bit of lining showing on each side. The seam allowance should be pointing away from the center inside the contrast edges. Press it in place so the contrast shows on each side and the seam allowance is inside the contrast.

Stitch in the ditch along each contrast edge to secure the folds.

Fold the holder in half matching the contrast edges so that you can find the center. Finger press folds into the center.

Fold the holder with the outer fabric right sides together. The contrast edges will fold into to meet at the center fold. Pin the unfinished edges in place.

Sew each short side with a 1/4 inch seam allowance.

Finish the seam edges with either a zigzag stitch or a serger.
Turn it right side out. Carefully poke out the corners.

Get your travel tissue package and pull the opening open before putting it inside the tissue holder.

Slide the tissue package inside the tissue holder with the tissue opening facing the opening of the holder. You finished!

If you make something using this sewing project, I’d love to see! Please share it on social media with the hashtag #heatherhandmade and tag me!

I believe small sewing moments can create great joy. Find your own “right” way to sew. -Heather
Why would you make something that always has a cover? Will this work with tissue taken from a box?
It would depending on how you fold the tissue.
You are so right, just a few minutes out of you day sewing and you feel like you are right back on track for the rest of you day.