
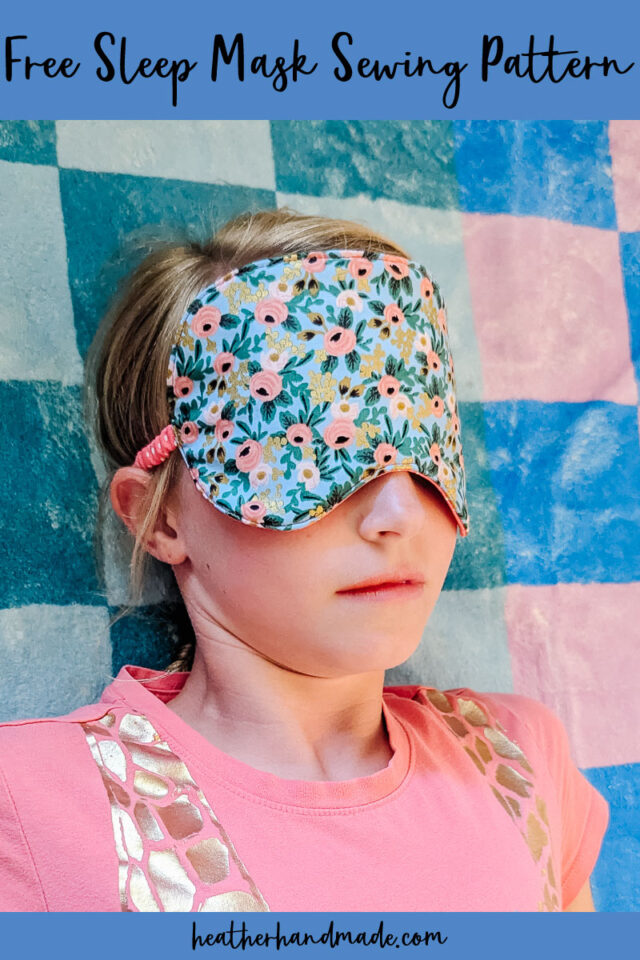
Free Sleep Mask Sewing Pattern

This post may contain affiliate links.
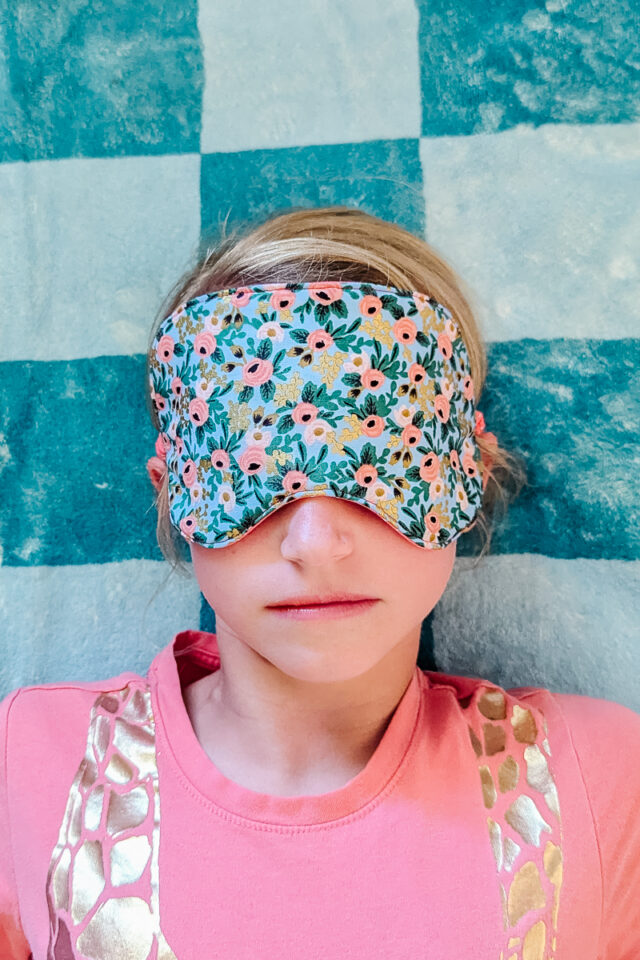
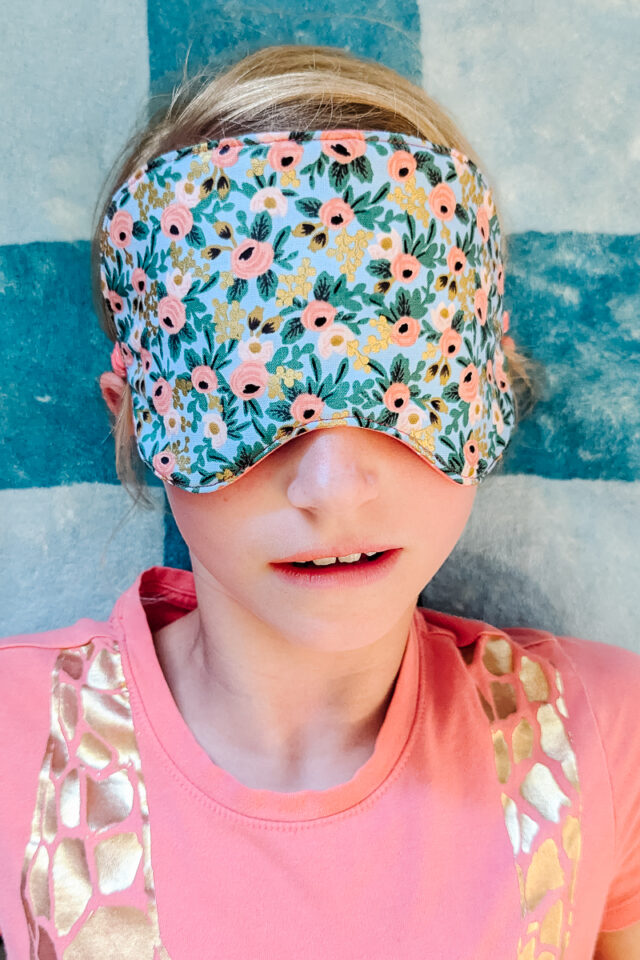
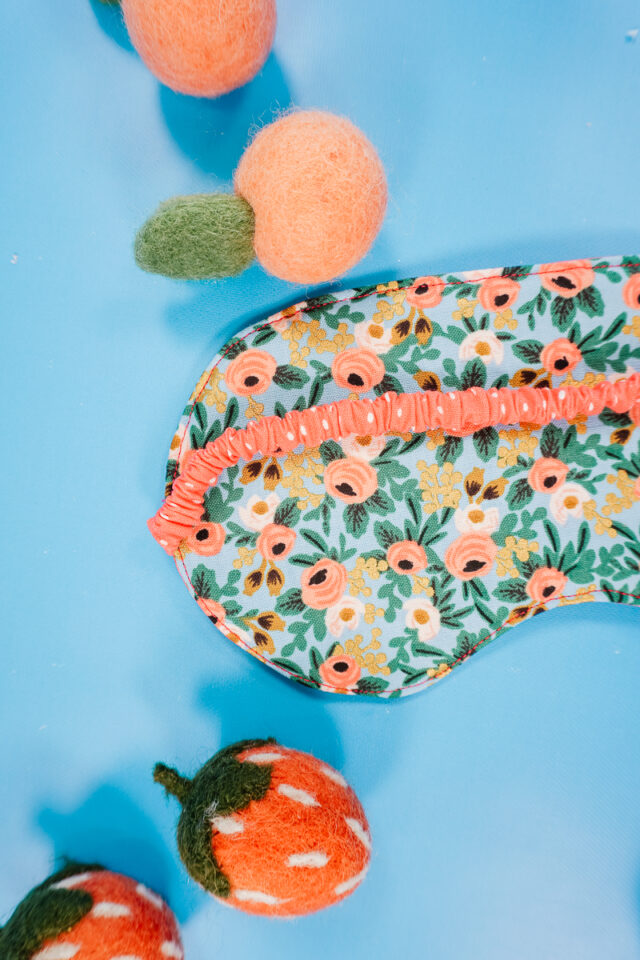
Learn how to make a sleep mask with a free sewing pattern. This beginner sewing project helps with sleep and makes a great handmade gift.
Do you need a small sewing project that’s quick to make, only uses a little bit of fabric, and is really useful? A sleep mask is a great project. It helps you practice curves if you’re still learning, and it’s still satisfying for anyone who has been sewing for a long time.
A sleep mask is a great way to use all the beautiful fabric scraps you can’t let go of! If you want the sleep mask to be a little more challenging and softer on the skin, then try using silk fabric.
To get the free sewing pattern, scroll to the end of the tutorial. Put your email address in the form under “Get the Free Sewing Pattern Here.” Once you confirm that you want to receive emails from Heather Handmade, the free pattern will be sent to your email address. Check your spam and promotions for the email.

What fabric should I use for a sleep mask?
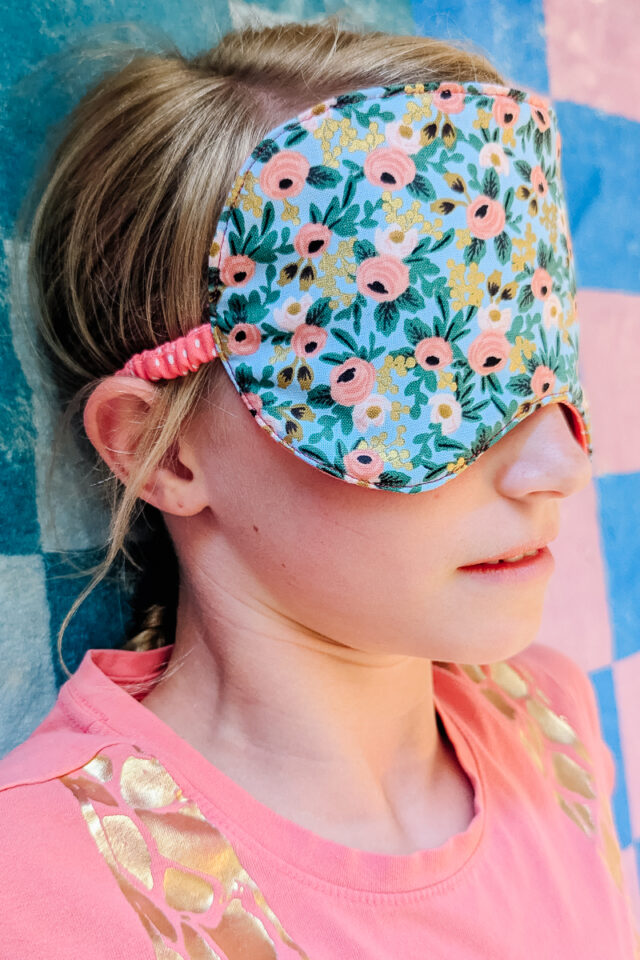
To make this sleep mask easier to sew, I used quilting cotton for both sides of the sleep mask and for the strap across the back. Cotton is breathable and good for skin while also being easy to sew, easy to find, and easy to wash.
If you want to take your sleep mask up to the next level, you can make it out of silk. Silk is harder to sew, but it’s wonderful on your skin and hair. You can do everything the same as detailed in this project but replace the cotton fabric with silk fabric.
What batting should I use for a sleep mask?
To make this sleep mask the easiest to sew, I used fusible fleece. Fusible fleece is great to fuse it to fabric, but it is not as breathable as other types of fibers since it is polyester. It is durable and washable, but it won’t create the most cushioned sleep mask.
If you wanted the sleep mask to be breathable and washable, you can use 100% cotton batting. Cotton batting is a great natural fiber and it is just as durable as fusible fleece. Cotton batting would have a lot more loft to make the sleep mask more cushioned.
What is a PDF sewing pattern?
A PDF pattern is a sewing pattern designed on the computer and organized so that it can be printed on several letter or A4 size pieces of paper.
I love using PDF sewing patterns because if the pattern gets ruined or if my children or I changed sizes, I can always print it again. It’ll never be destroyed since I have a digital version!
How do you use a PDF sewing pattern?
Open the PDF on a computer and click print. When printing make sure that the scaling is set to 100% or no scaling so that the pattern prints at the correct size.
Once the pattern is printed it can be taped together to get the full size. Then the pattern can be cut for each pattern piece size or individual sizes can be traced so that the pattern can be used again and again. Learn how to use PDF sewing patterns.
Love to sew? Try one of these sewing projects:
- Gift ideas to sew
- Beginner sewing projects
- Free PDF sewing patterns
- Fat quarter sewing projects
- Quilting cotton sewing projects
- Scrap fabric sewing projects
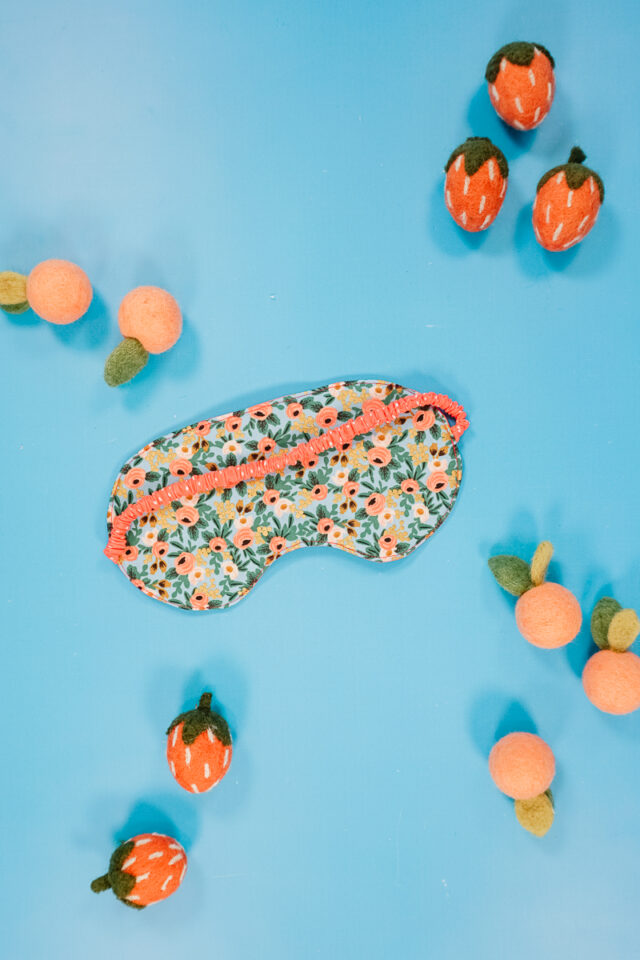
How to Make a Sleep Mask
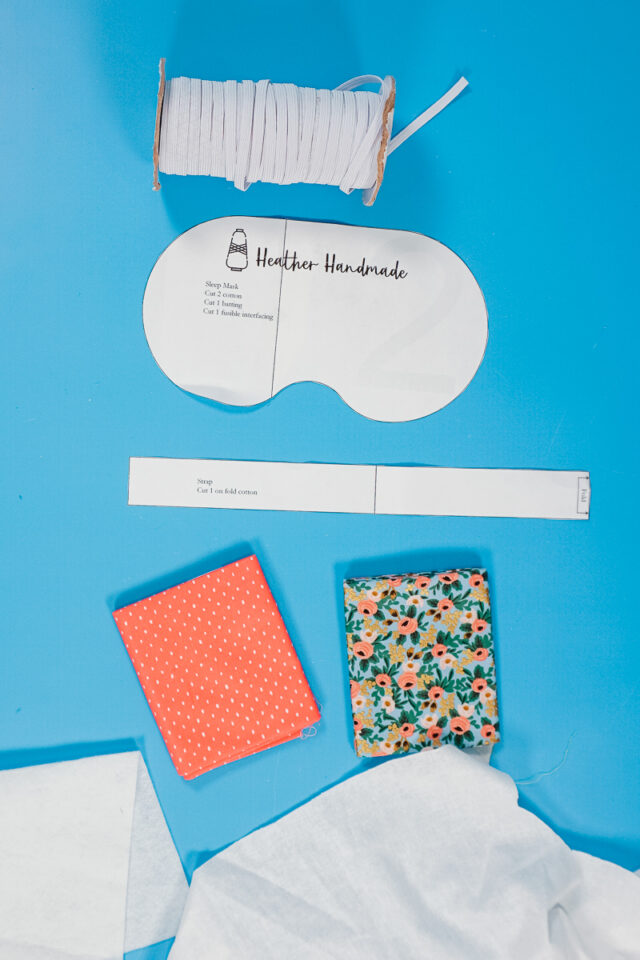
Supplies
- Free sleep mask sewing pattern – get it at the end of the post
- Scraps of quilting cotton (or silk) about 12 by 12 inches
- Fusible fleece or cotton batting
- Lightweight fusible interfacing
- 10 inches of 1/4 inch elastic
- Sewing tools
- Sewing machine
Do you just want the pattern and tutorial as a PDF? Get the pattern and tutorial for just $5. You won’t need to access the internet every time you want to make it. Or get the Pattern Bundle with ALL the PDF tutorials!
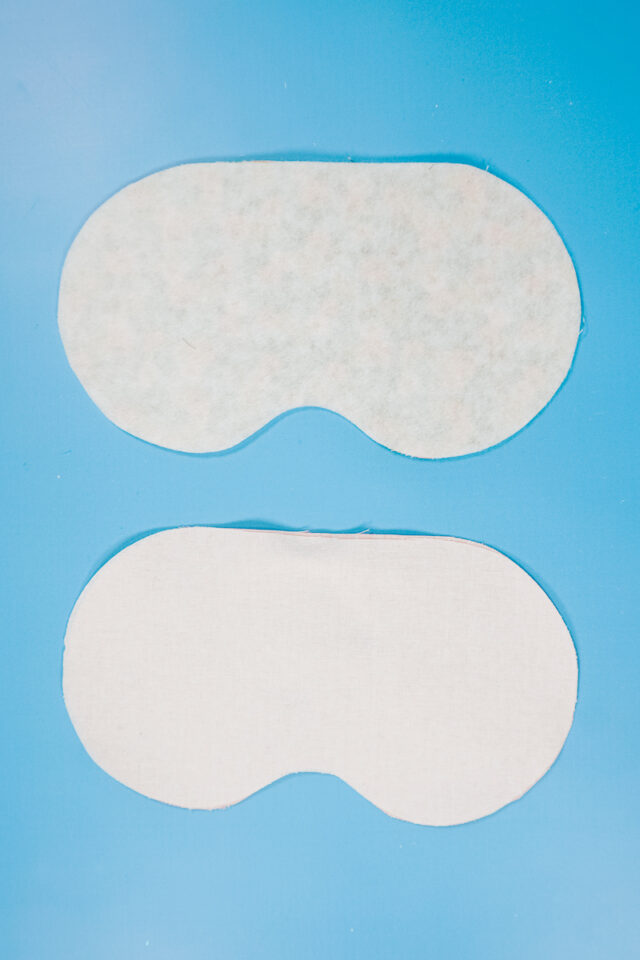
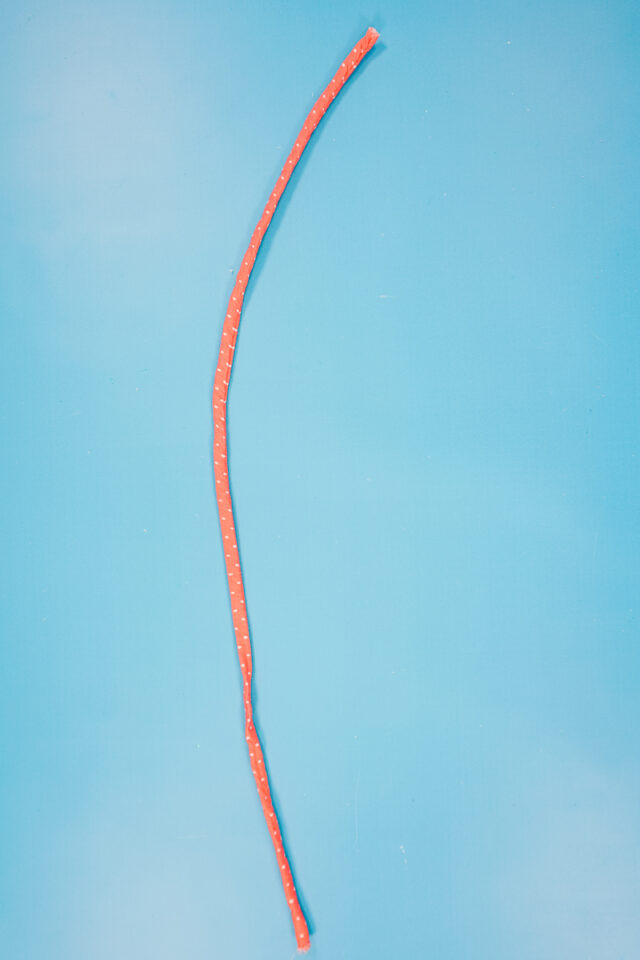
Cut out two mask pieces from fabric, one strap piece from fabric, one mask piece from fusible fleece (or cotton batting), and one mask piece from fusible interfacing. Cut the elastic to 10 inches.
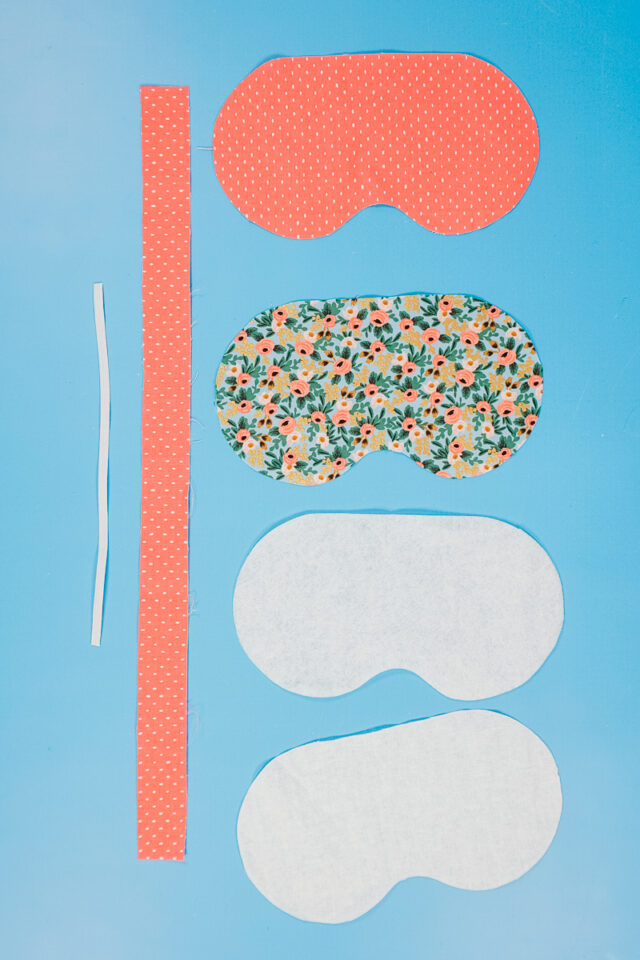
Use an iron to apply the fusible fleece to the wrong side of one piece of fabric and the fusible interfacing to the wrong side of the other piece of fabric.
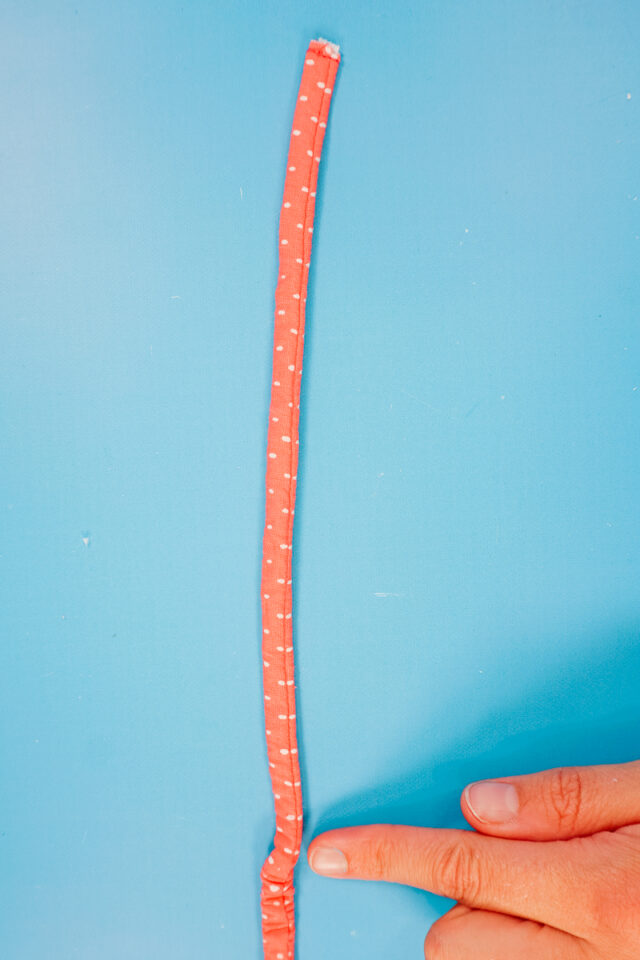
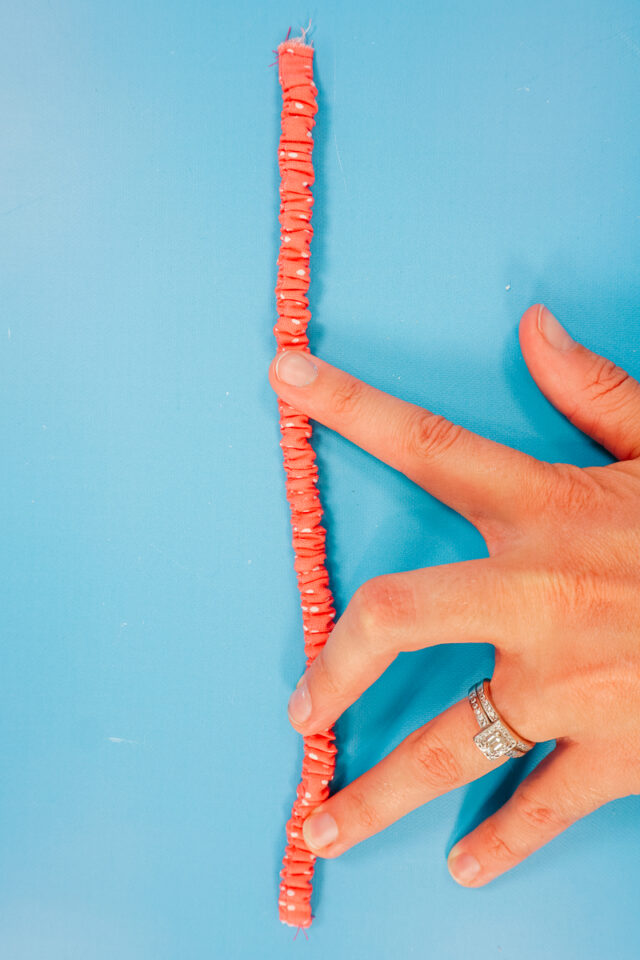
Fold the strap in half with right sides together matching up the long edges. Pin the edges together.

Sew along the long edge with a 1/4 inch seam allowance.

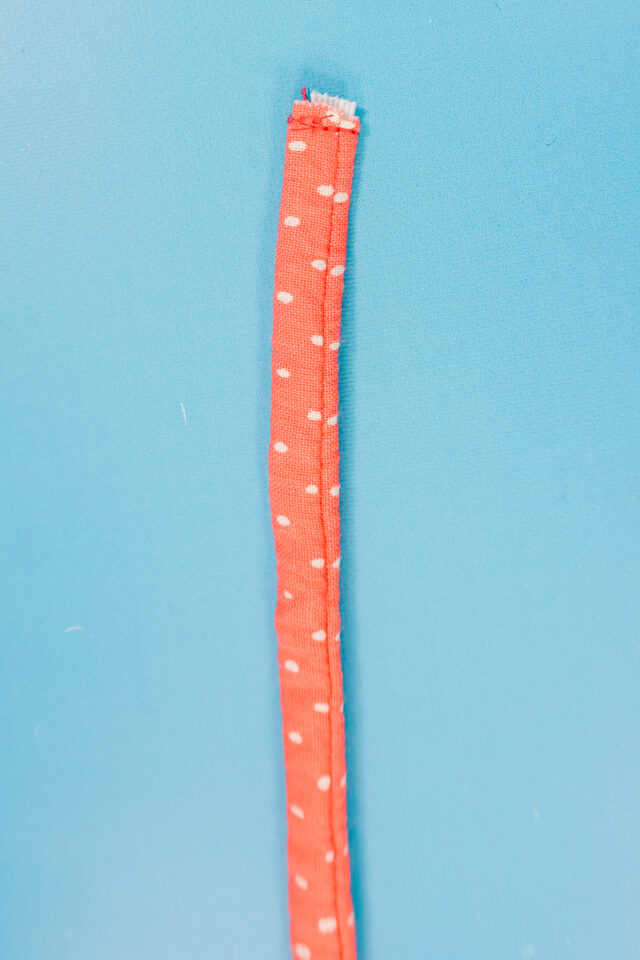
Attach a safety pin to the seam allowance at one opening of the tube.

Slide the safety pin inside the tube and pull through. Start to turn the tube right side out.

Keep pulling the safety pin until the tube is all the way right side out. Take the safety pin off.
Attach the safety pin to one end of the elastic and slide it into the tube.

Pull the safety pin until the other end of the elastic is at the edge of the tube. Sew the elastic end to the end of the tube.
Sew well so that the elastic doesn’t get sucked into the tube.
Keep pulling the safety pin until it comes out the other side of the tube. The tube will start bunching up.
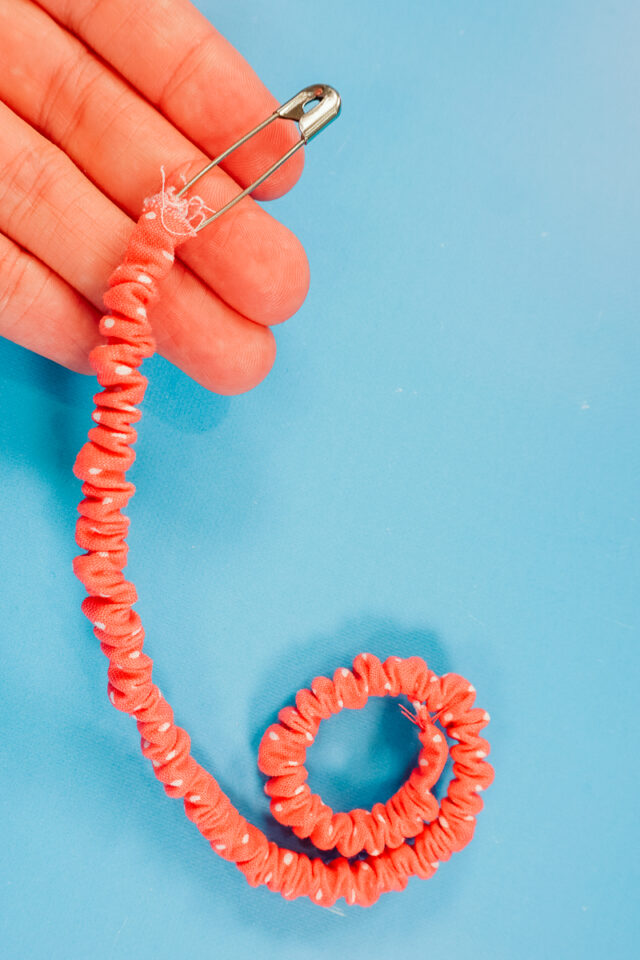
Remove the safety pin and keep ahold of the elastic end. Put it inline with the edge of the tube. Sew the elastic to the end of the tube. Sew it well so the elastic can’t get sucked inside.
Place the strap ends on the front of one of the fabric pieces. Sew the strap on each end to the center of the sides at 1/4 inch seam allowance.
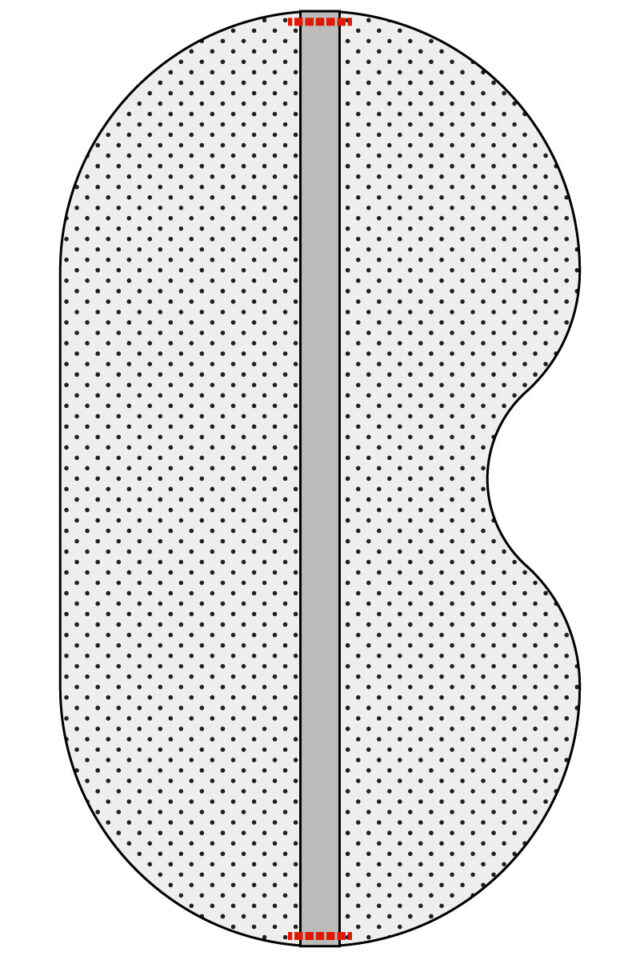
Place the other fabric piece on top with right sides together. The strap will be sandwiched in between the layers.
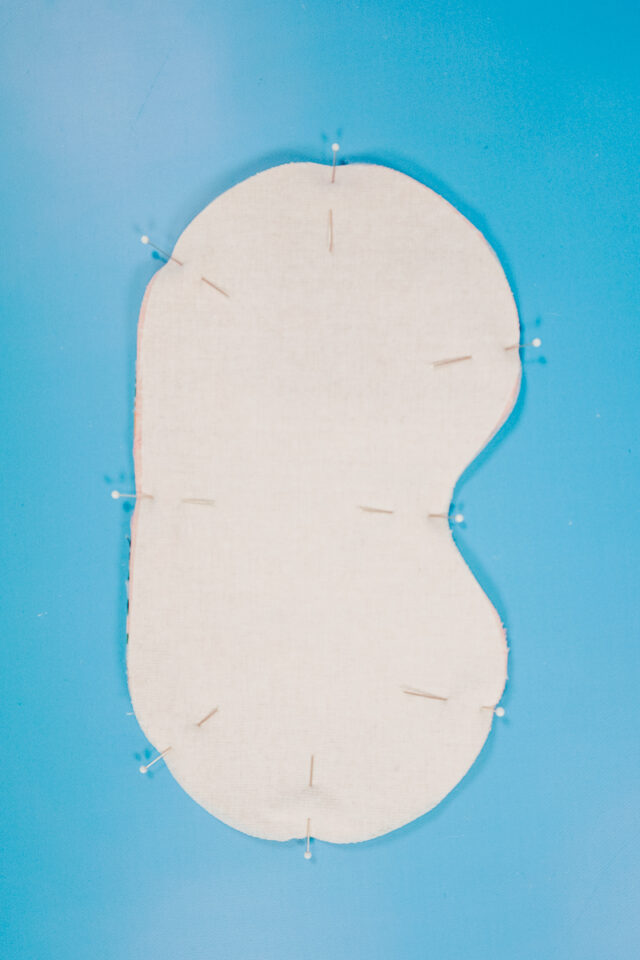
Sew around the edge being careful around the curves. Leave a 2 inch hole along the top straight edge for turning. Backstitch when you start and when you stop.
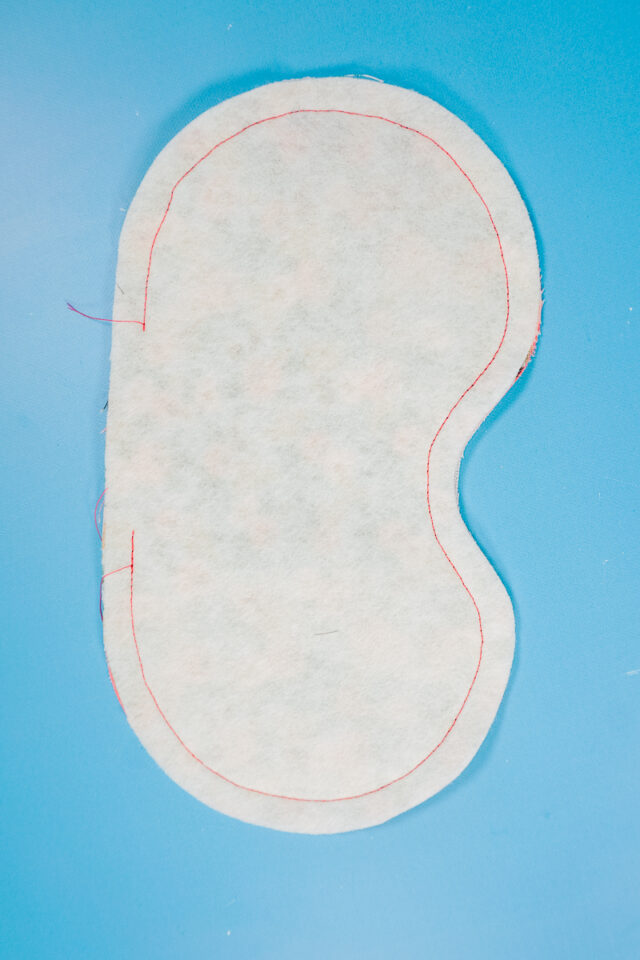
Notch the seam allowances of the outer curves. You can cut out all the little triangles or you can use pinking shears to make it a little quicker and easier.
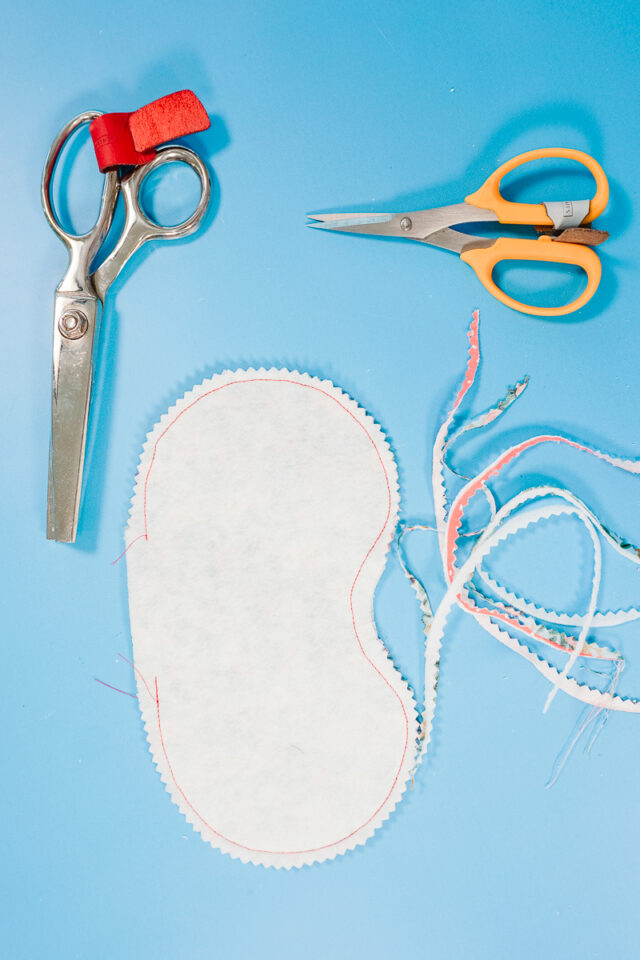
Clip the inner curve right above the nose.

Turn the sleep mask right side out through the hole. Carefully push out all the curves with a point turner. Press all the edges flat.
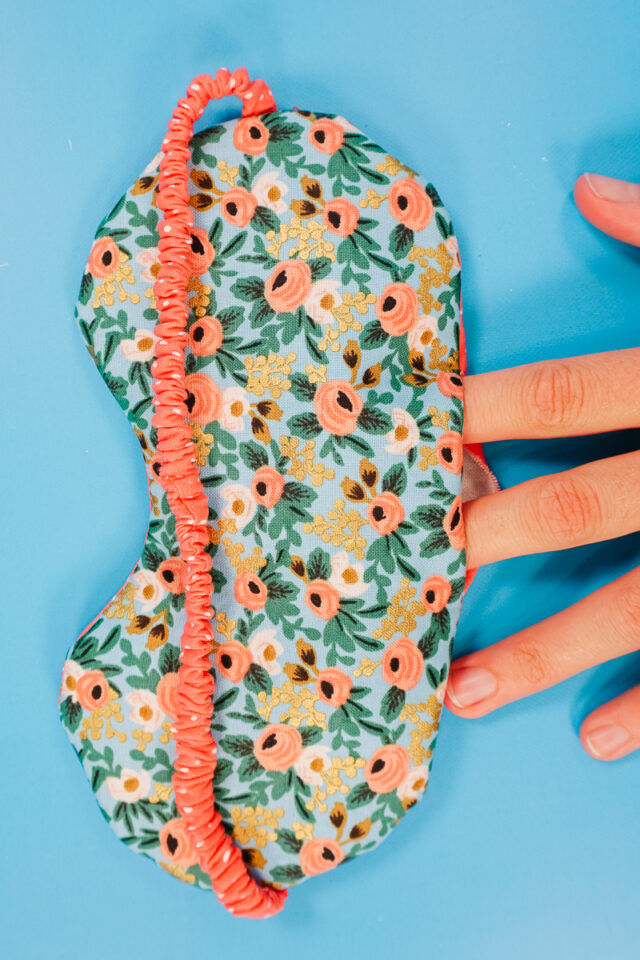
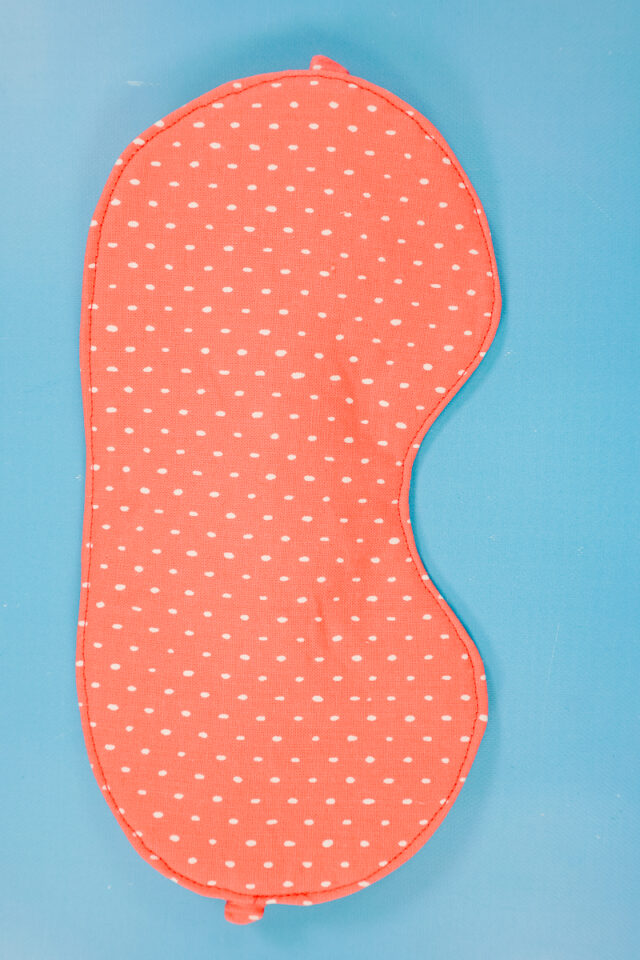
Edgestitch all around the edge. Pinch the hole closed and edgestitch over the hole to close it. You finished!
Get the Free Sewing Pattern here!
If you make something using this sewing project, I’d love to see! Please share it on social media with the hashtag #heatherhandmade and tag me!

I believe small sewing moments can create great joy. Find your own “right” way to sew. -Heather
Do you have anything *longer*? Something like this flat out won’t block any light. There’s still an open area at the base of the nose.
You can alter the sleep mask pattern to fit you how you like.
Your reflection on sewing with focus rather than rigid goals is insightful. It highlights how tailoring your sewing habits around what you truly believe allows for a more meaningful creative process. By focusing on creating pieces that resonate with your style and needs, you’ve built a collection of garments that naturally become your go-to choices. That deeper satisfaction you feel is proof that sewing with intention, rather than just following an arbitrary list, leads to more fulfilling and wearable results. Keep nurturing that purposeful mindset!