
Free Pull Out Key Case Pattern

This post may contain affiliate links.
Learn how to make a pull out key case to keep keys organized. This beginner sewing project uses fabric scraps and is a great handmade gift.
Do your keys get tangled or get caught on things in your purse? Do they scratch other objects easily? Do you wish there was a way to contain them?
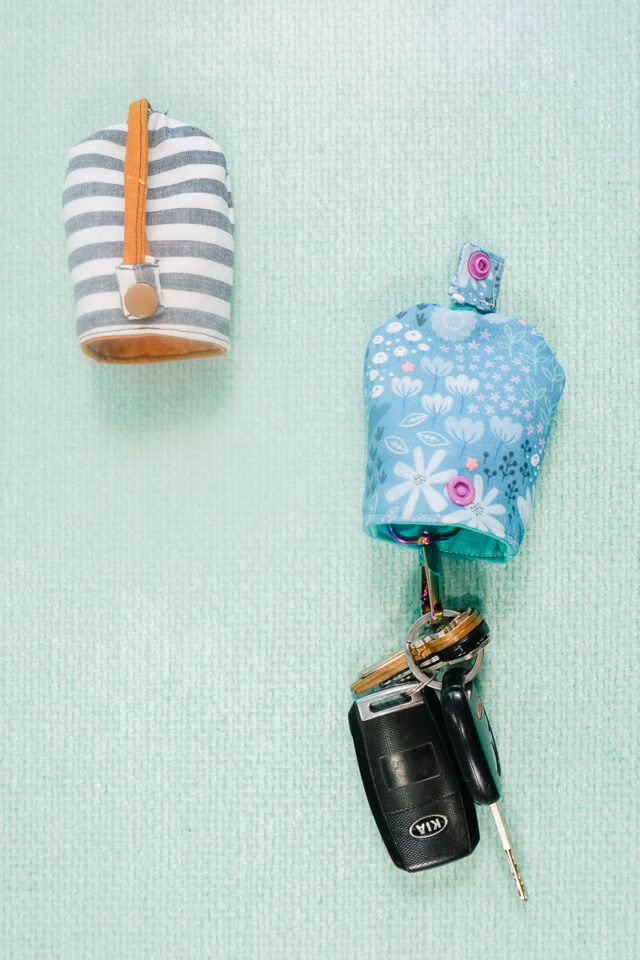
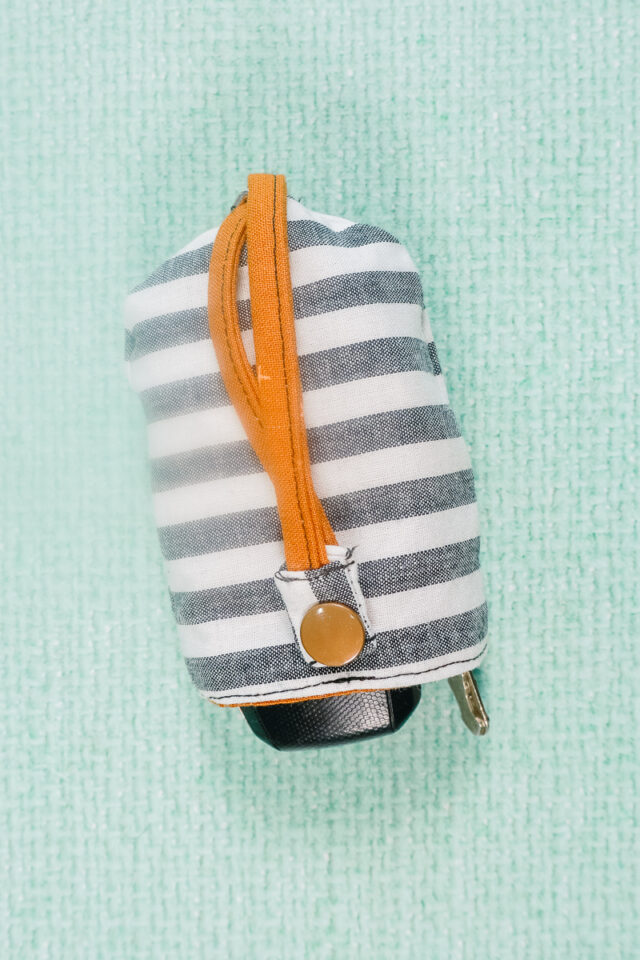
Try a pull out key case! This little case hooks onto your keys so that you can pull the keys inside to keep them secure and organized. You can use fun fabric scraps that make you happy every time you see it.
To get the free sewing pattern, scroll to the end of the tutorial. Put your email address in the form under “Get the Free Sewing Pattern Here.” Once you confirm that you want to receive emails from Heather Handmade, the free pattern will be sent to your email address. Check your spam and promotions for the email.
What is a pull out key case?
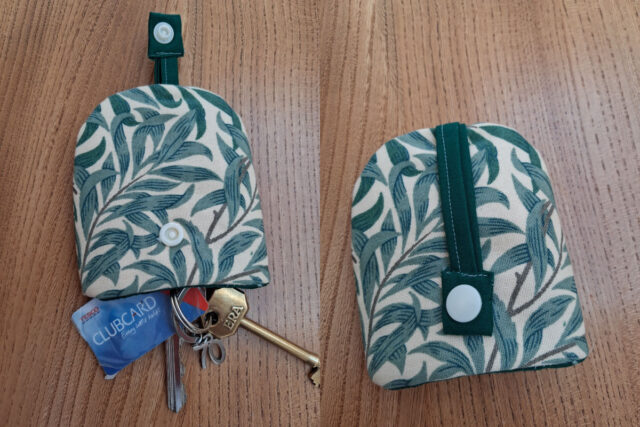
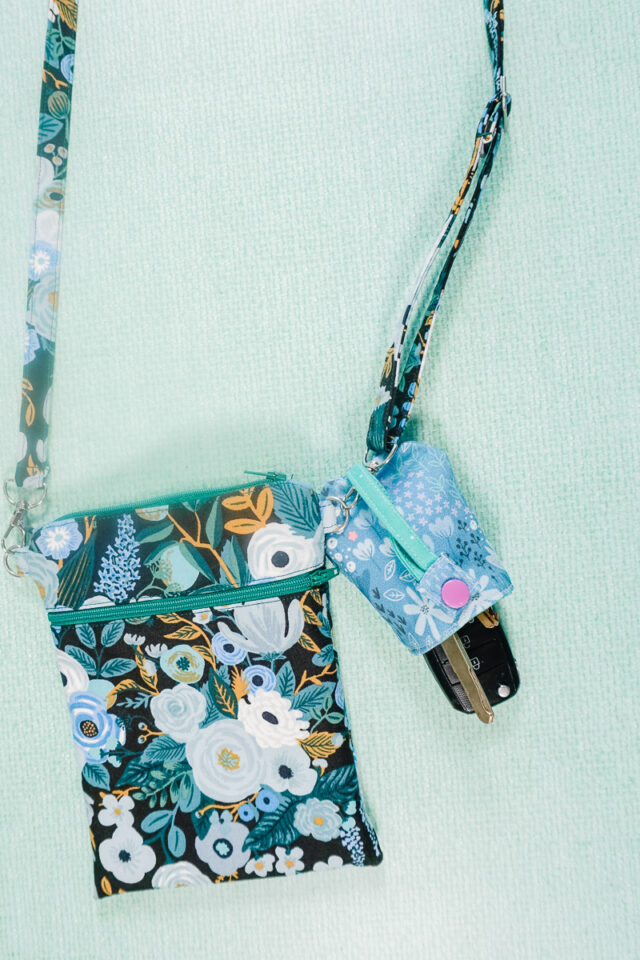
A pull out key case is a little pouch that holds keys. There’s a loop that when pulled, it pulls the keys into the pouch or case to secure them. The loop can be snapped in place to the case to keep the keys inside. The loop can be snapped around a strap or handle for another way to secure it.
What fabric should I use?
This pull out key case works great with quilting cotton. Quilting cotton is easy to find and easy to sew. There are so many prints and colors to choose from. Since these pattern pieces are so small, its a great way to use up scraps of fabric.
What interfacing should I use?
This key case needs to be sturdy and strong to stay stiff around the keys. The best interfacing to use is medium to heavy weight fusible interfacing.
Love to Sew? Try one of these sewing projects:
- Beginner sewing projects
- Free PDF sewing patterns
- Scrap fabric projects
- Small sewing projects
- Gifts to sew
How to Make a Pull Out Key Case
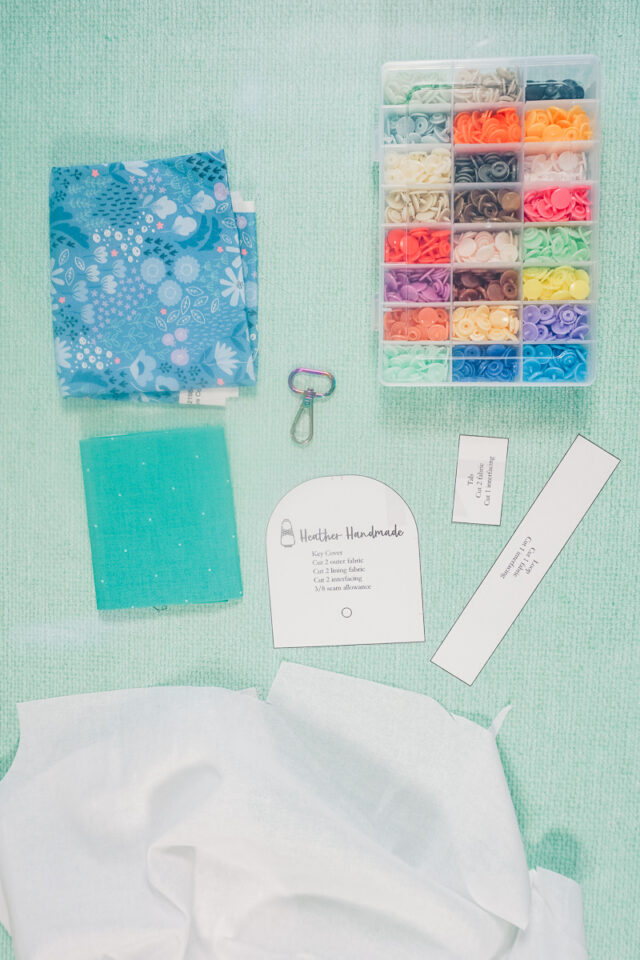
Supplies
- Free pull out key case – get it at the end of the post
- Scraps of quilting cotton
- Medium weight to heavy weight fusible interfacing
- 1/2 inch to 1 inch lobster clasp – the larger the clasp the longer it is and less likely the keys will get pull up inside the case
- Plastic snaps and pliers
- Sewing tools
- Sewing machine
Do you just want the pattern and tutorial as a PDF? Get the pattern and tutorial for just $5. You won’t need to access the internet every time you want to make it. Or get the Pattern Bundle with ALL the PDF tutorials!
Instructions
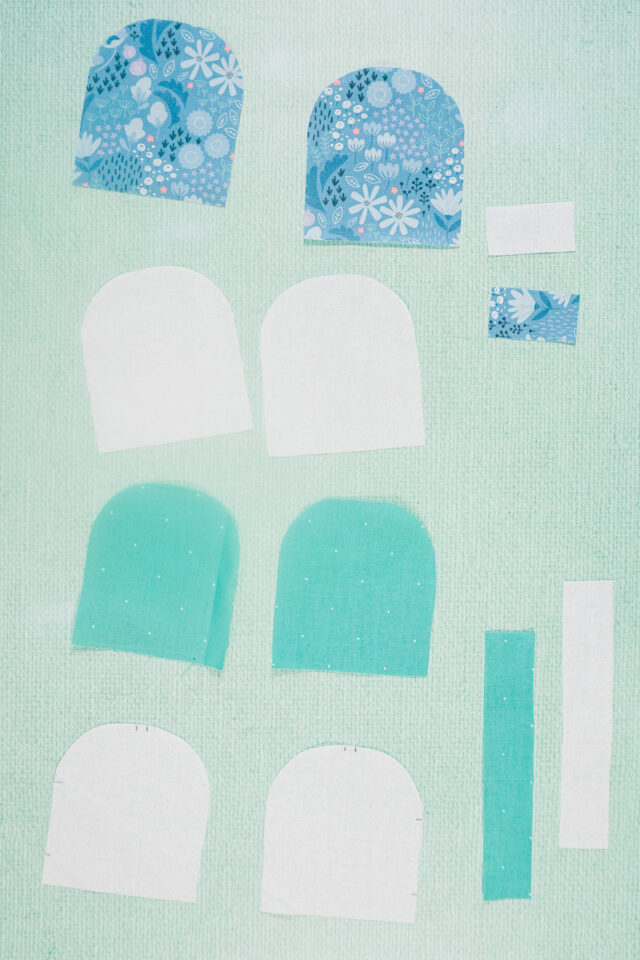
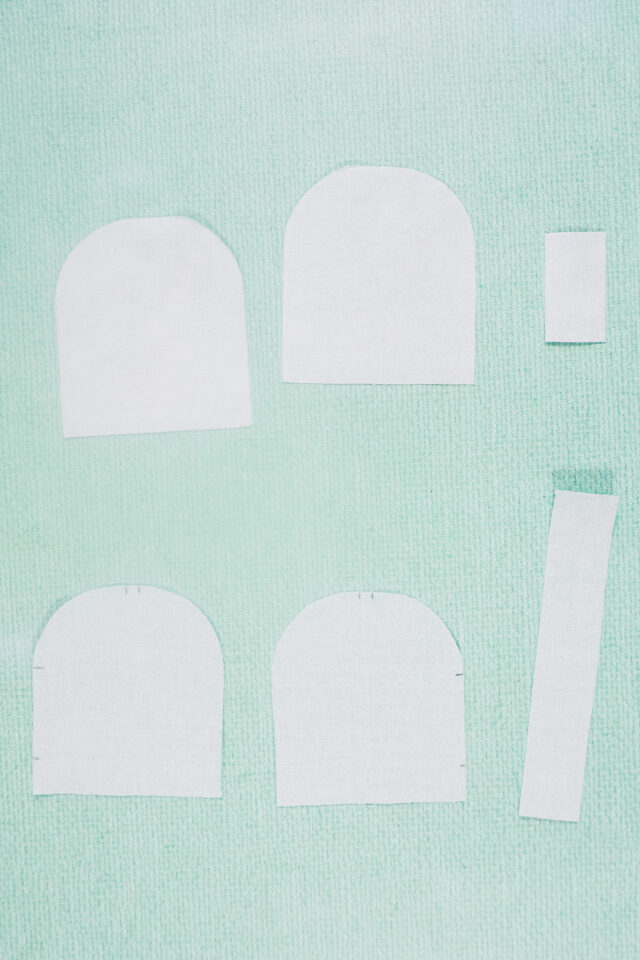
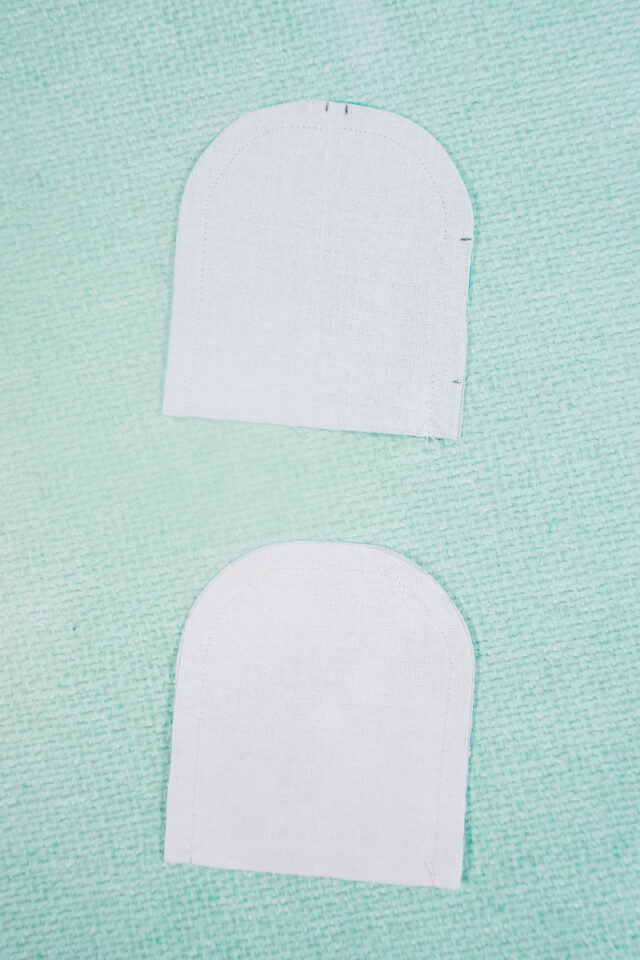
Cut out four case pieces from fabric, and four case pieces from interfacing. Cut out one tab piece from fabric and one tab piece from interfacing. Cut out one loop piece from fabric and one loop piece from interfacing.
Transfer the markings on the case to the interfacing. The case has an opening along the top so all interfacings need those marks, but the opening on the side is only for the lining so only two interfacings need those marks.
Apply the interfacing to the back of the piece of fabric.
Pin the case pieces right sides together. Don’t sew between the marks along the top and the marks on the side of the lining. Sew the cases together with a 3/8 inch seam allowance. Backstitch when you start and stop each time.
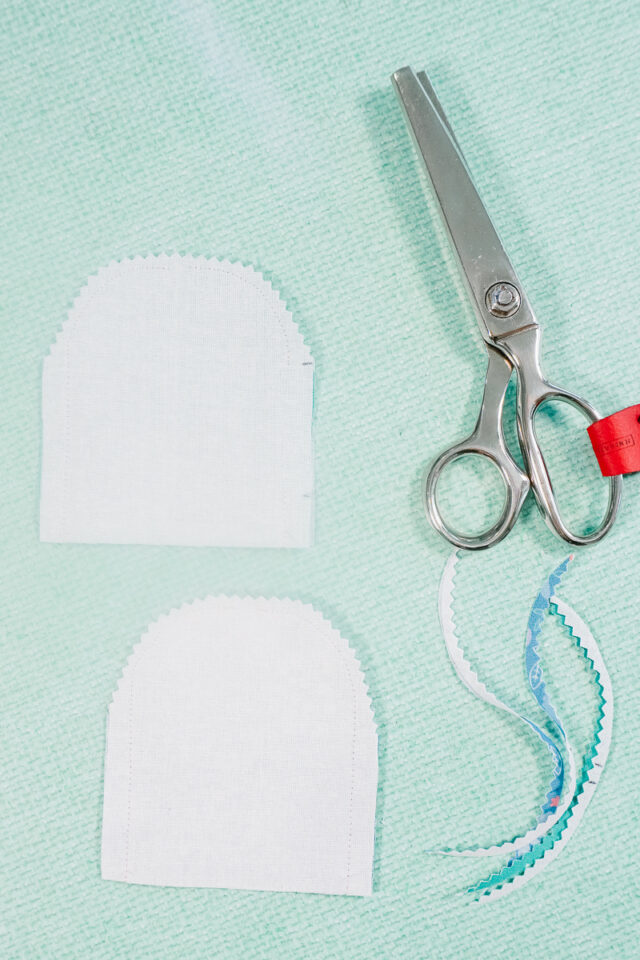
Notch the outer curves on each case or cut with pinking shears.
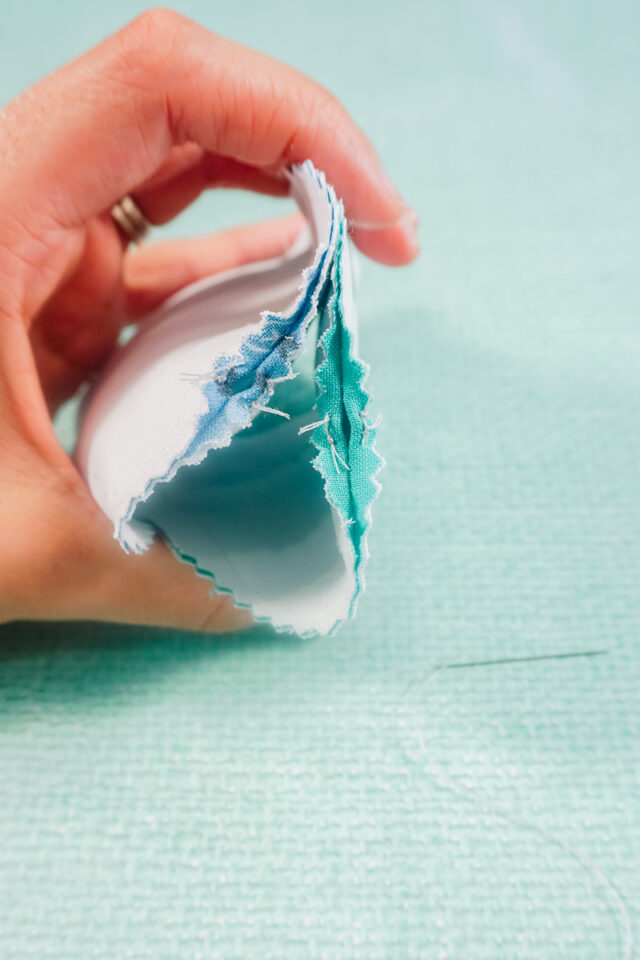
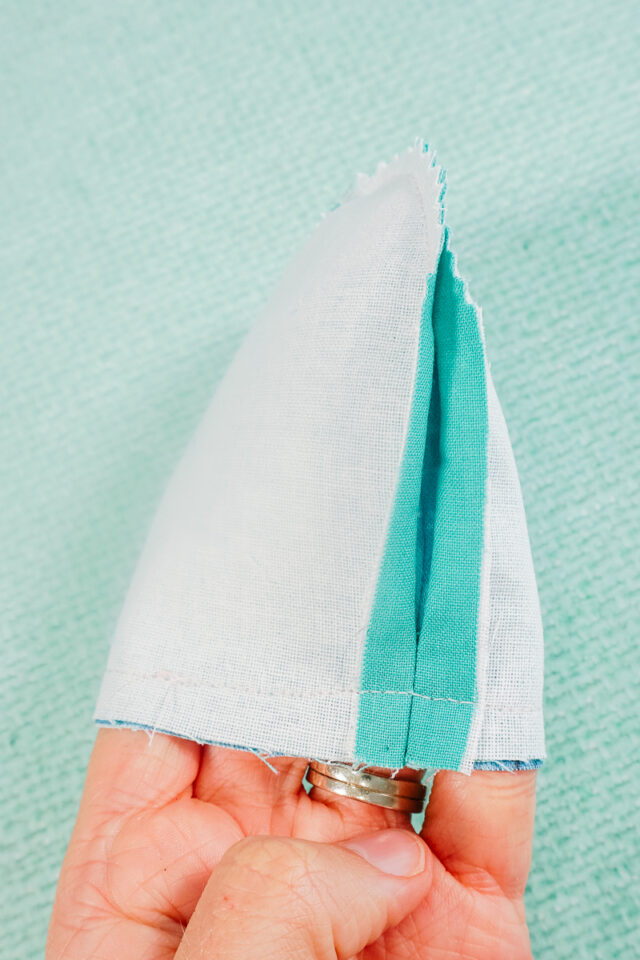
Take a hand needle and some thread and stitch the seam allowance open at the top hole. This stitches will show but they are so tiny it’s not a big deal.
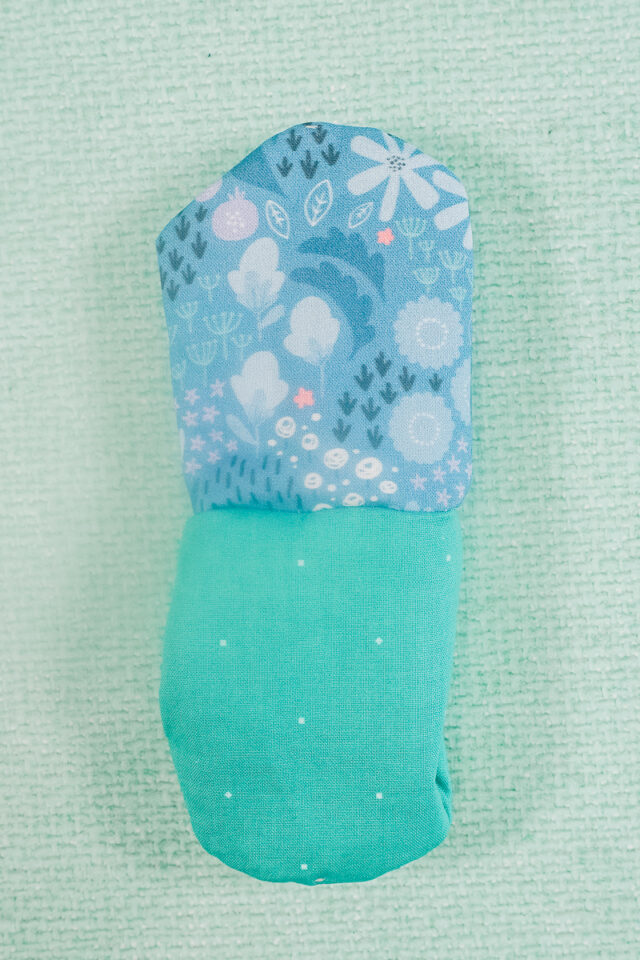
Turn one case right side out. Slide it into the other case so that they are right sides together. Match up the sides seams and pin the bottom edges together.

Sew the bottom edges together all the way around.
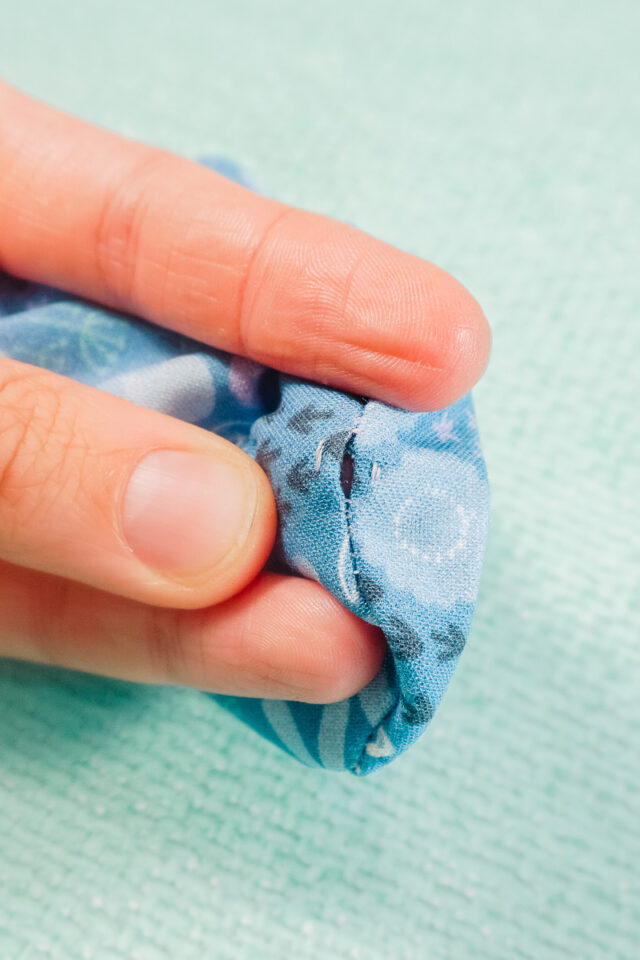
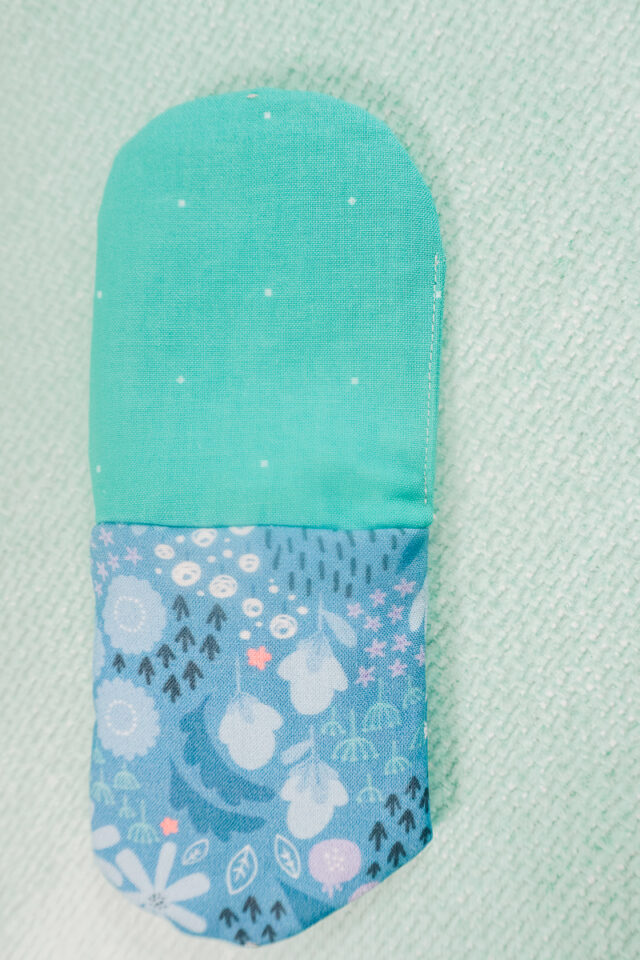
Turn it right side out through the hole in the lining.
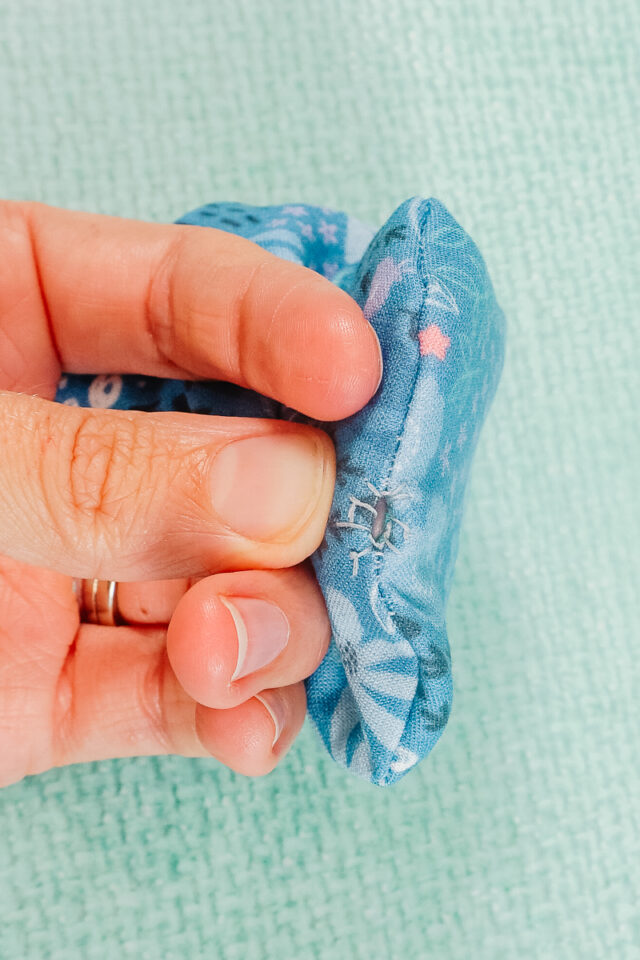
Pinch the hole closed and sew a scant edgestitch along the seam to close it.
Push the lining inside the case. Use a pencil or something long and thin to line up the two holes at the top.

Use the hand needle and thread to sew some stitches around the edge of the hole to keep the holes lined up.
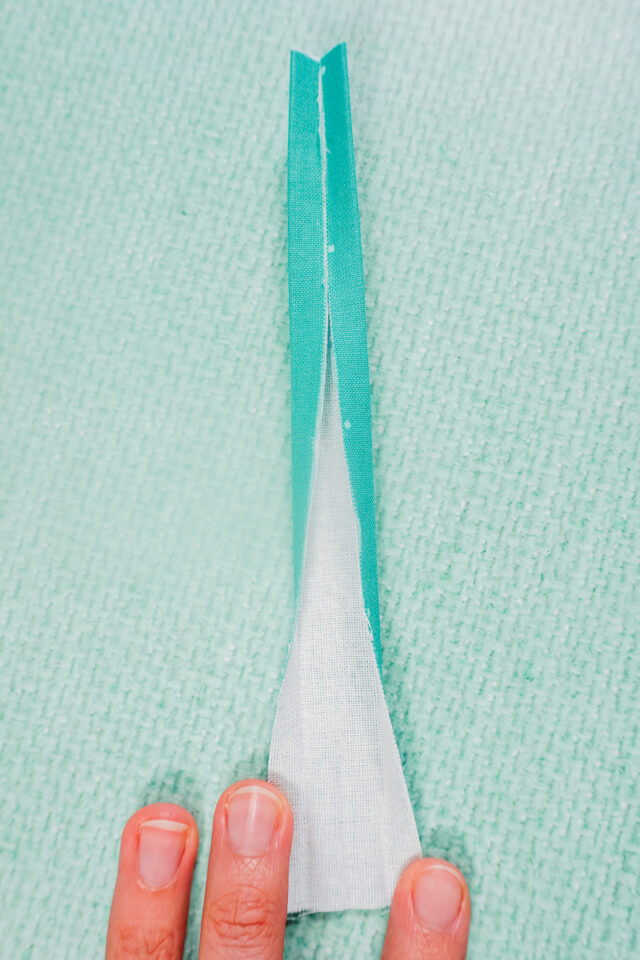
Take the loop and fold it in half with wrong sides together so that the long sides are matching. Press the fold in place. Take each long side and fold them wrong sides together to meet at the center fold and press. With the long sides folded, fold the first fold so that the long sides are enclosed inside. (This is how bias binding is folded and pressed.)
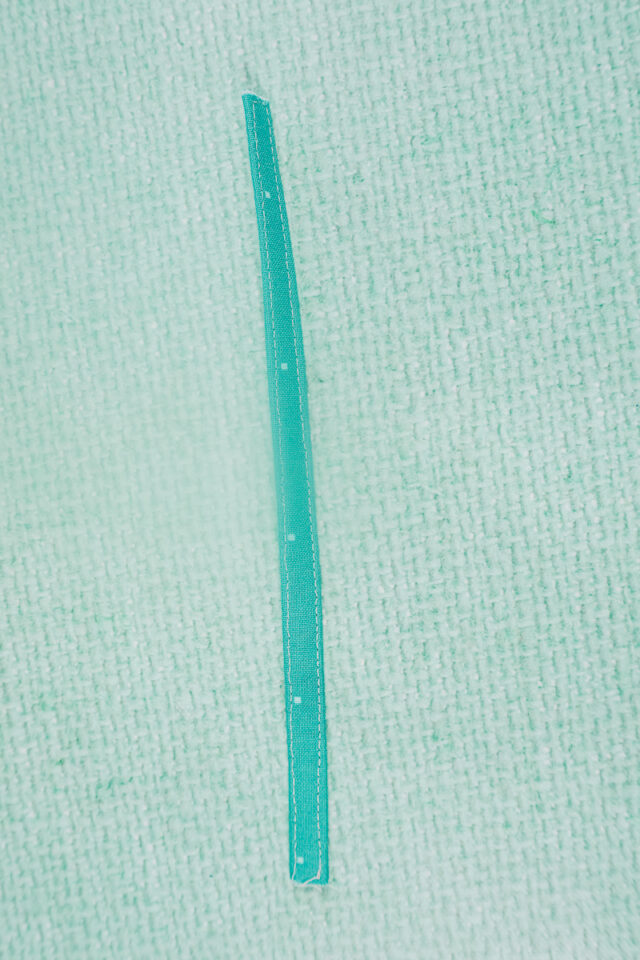
Sew along each long edge 1/8 inch from the edge to secure the folds.
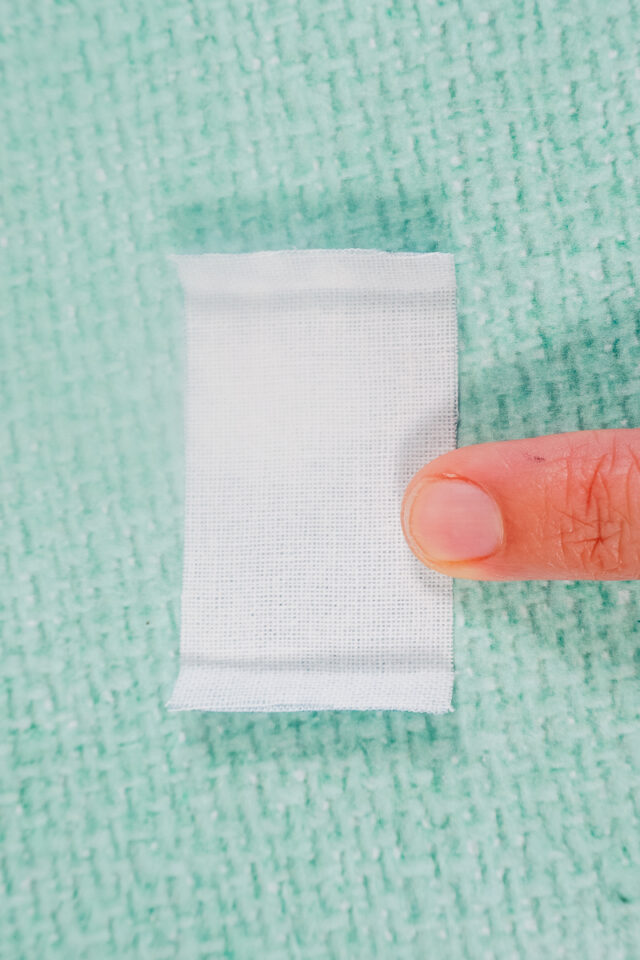
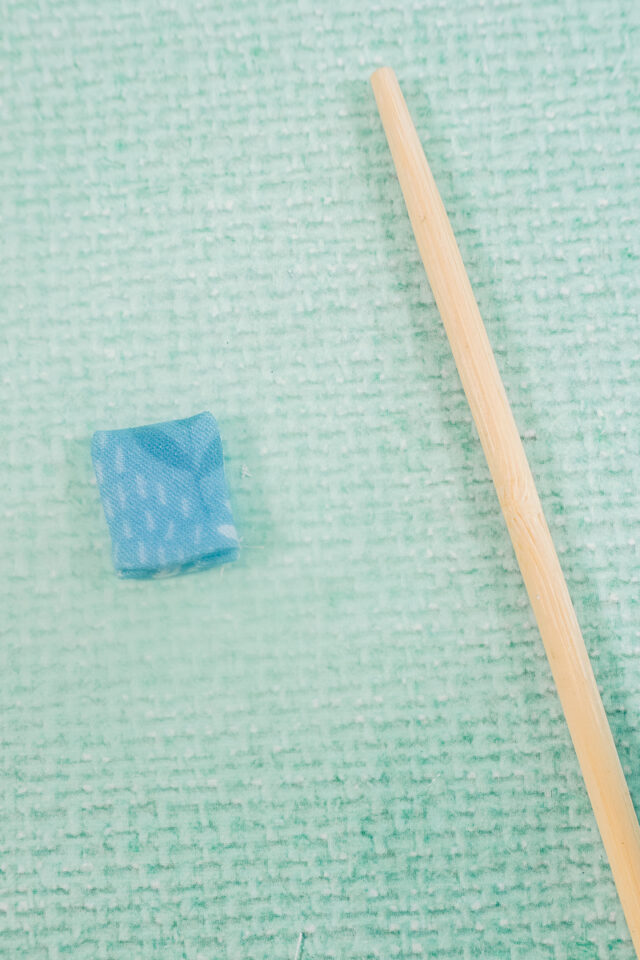
Take the tab and fold the two short ends 1/4 inch towards the wrong side.
Fold it in half so that the folded edges meet and wrong sides together. Keep the 1/4 inch edges folded. Sew along each side at 1/4 inch seam allowance.
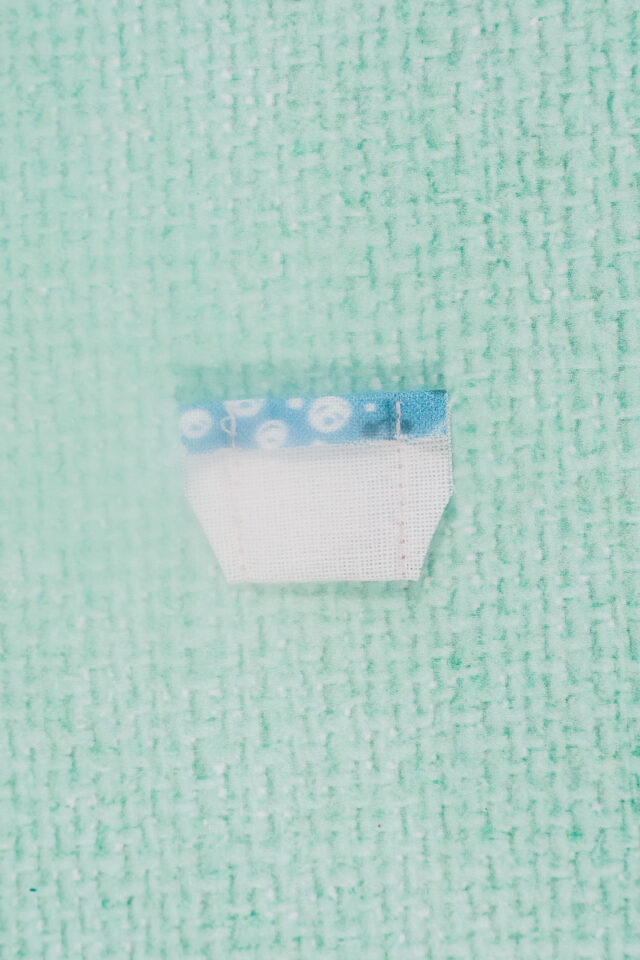
Carefully turn the tab right side out and poke out the corners.
Slide the loop around the lobster clasp.
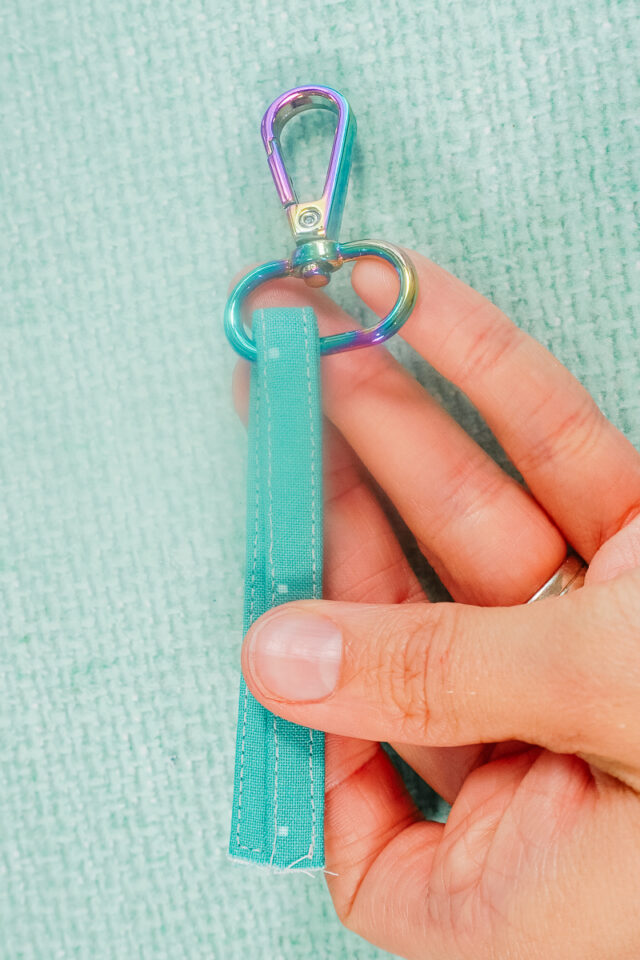
Attach a safety pin to the ends of the loop. Pull the loop through the lining and through the holes in the top of the case.
Push the ends of the loop inside the opening of the tab. Sew around the edges of the tab. This secures the loop and makes the edges look nice.
Pull the loop and lobster clasp all the way up so it’s out of the way. Edgestitch the bottom of the case 1/8 inch from the edge to neaten the edge.
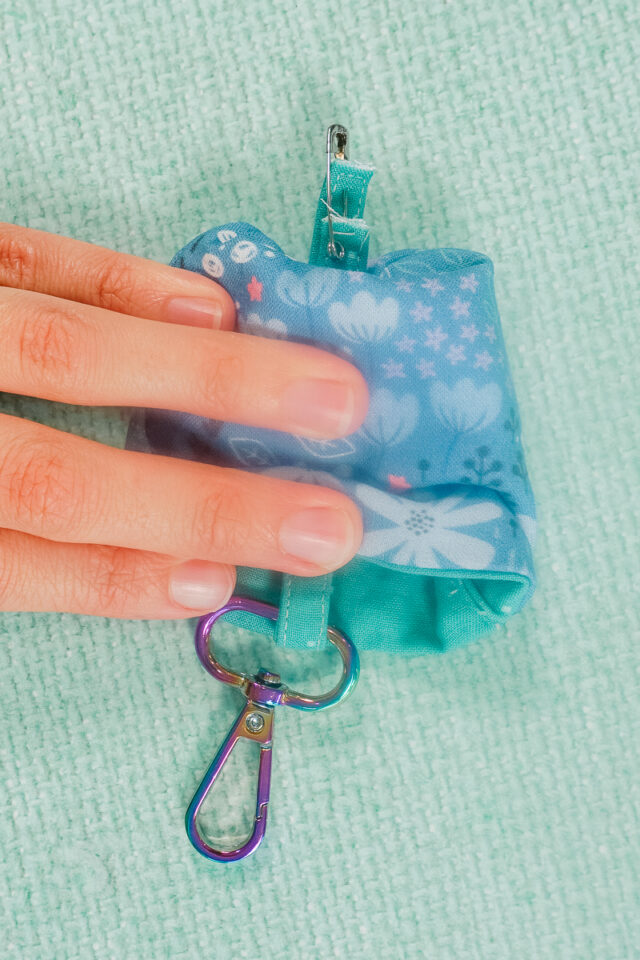
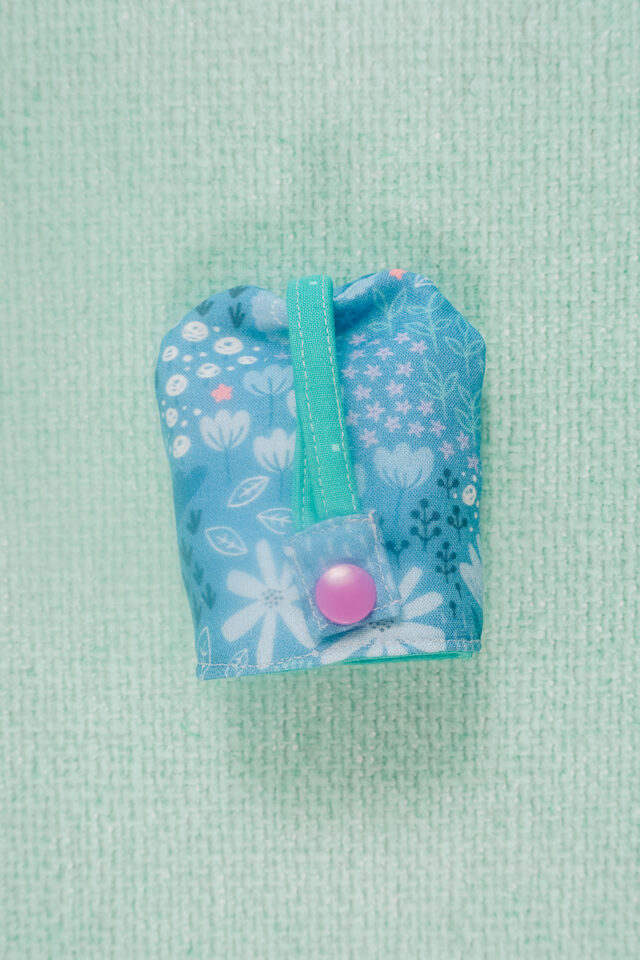
Add one side of a plastic snap to the tab. Pull it down to see if it lines up with the marking. Add the other side of the snap to the case.

The tab should snap to the side of the case when it’s pulled all the way.
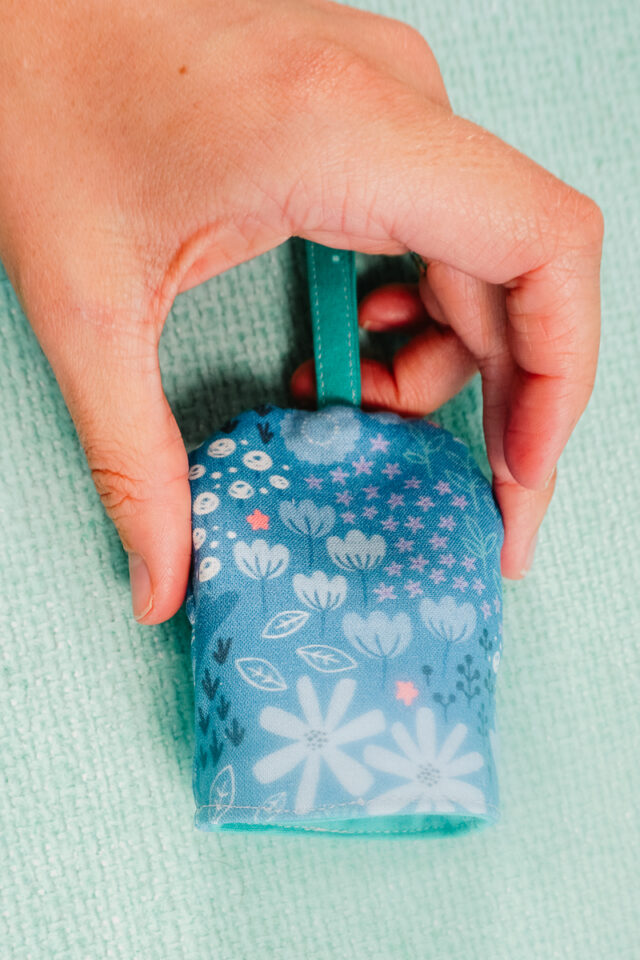
Pull the loop down through the case. The tab will stop it from pulling all the way through.
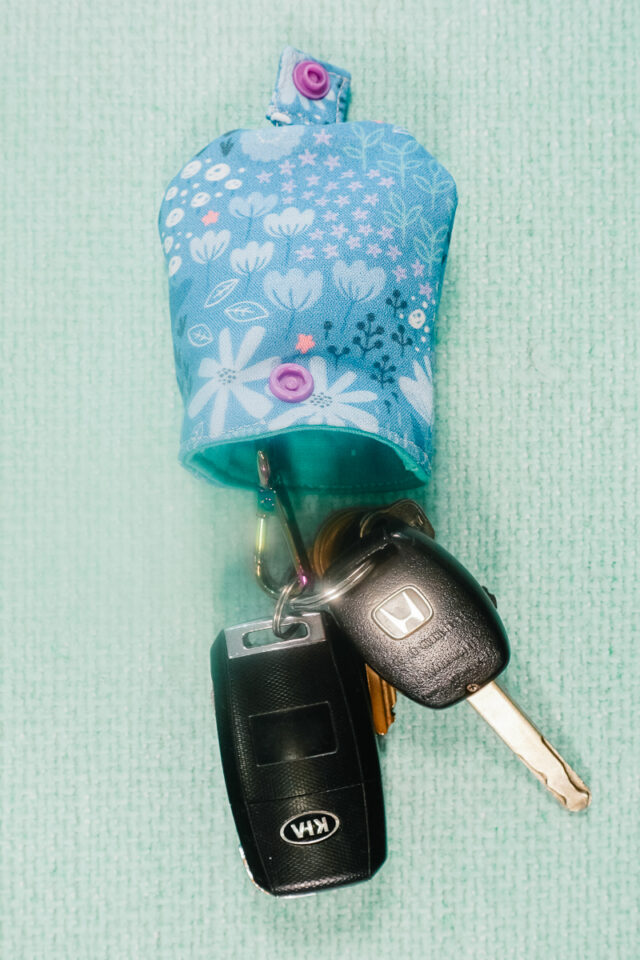
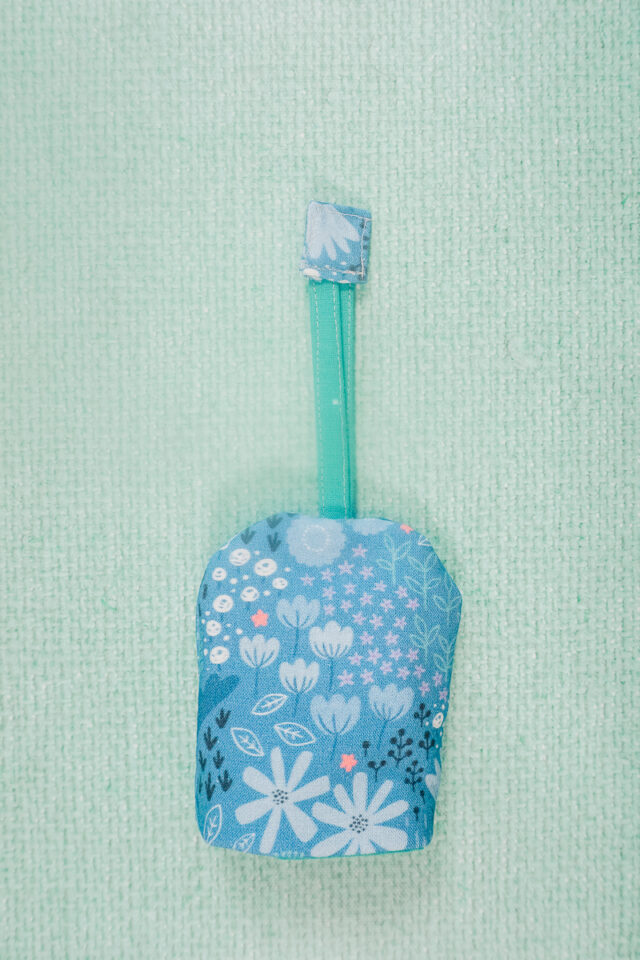
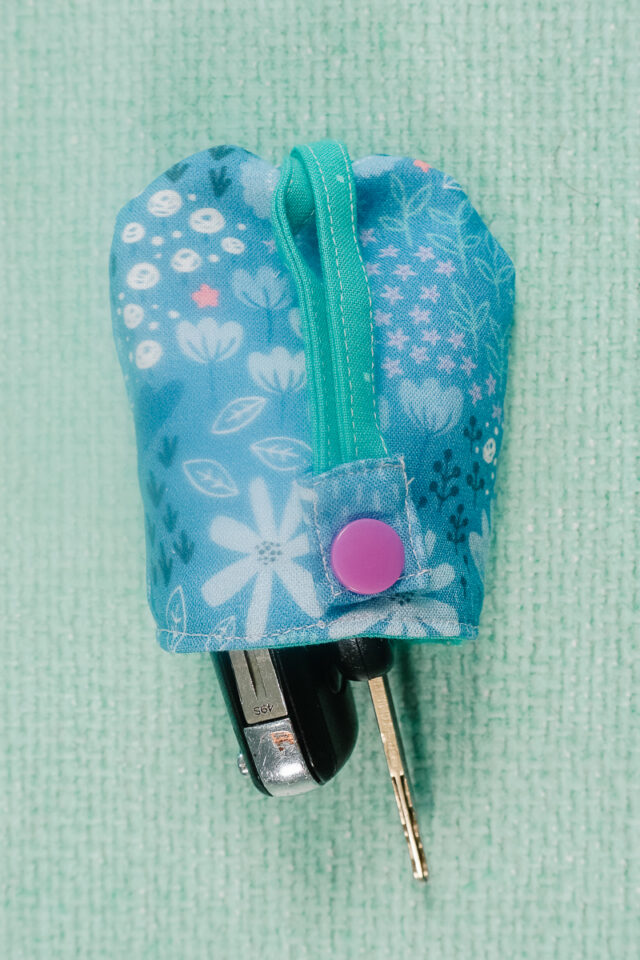
Attach the lobster clasp to your keys.
Pull the loop so the keys get pulled up inside the case.
Get the Free Sewing Pattern here!

If you make something using this sewing project, I’d love to see! Please share it on social media with the hashtag #heatherhandmade and tag me!

I believe small sewing moments can create great joy. Find your own “right” way to sew. -Heather
I literally just saw an ad for one of these the other day, and thought, I could make that! Now you’ve saved me all the trouble of figuring out on my own! Thanks!
yay!
This is so cute! I purchased something like this for my girls and I, but it was only big enough for one or two keys. This is much more practical!
Thank you!