
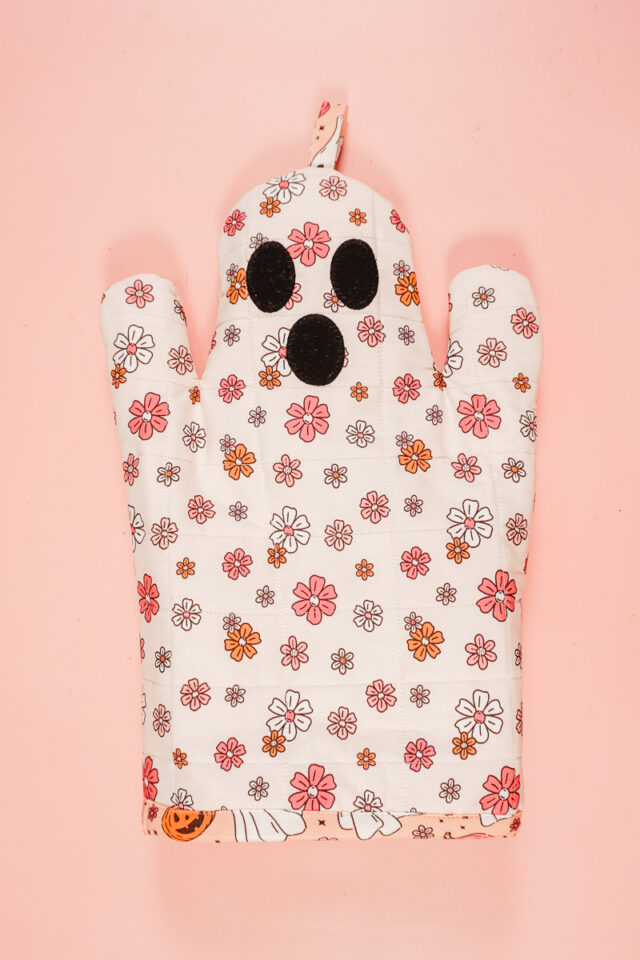
Cute and Spooky Free Ghost Oven Mitt Sewing Pattern

This post may contain affiliate links.
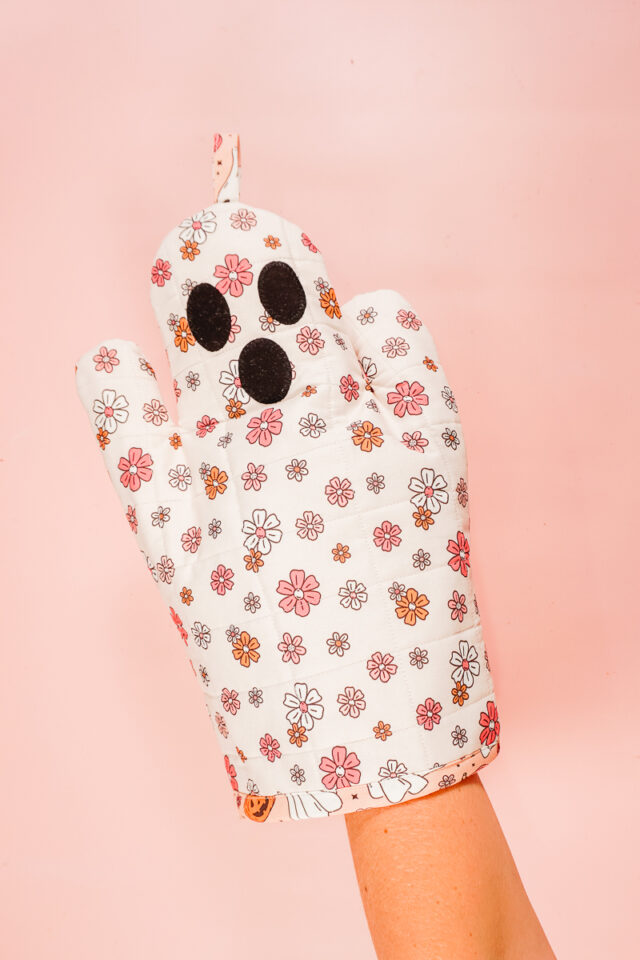
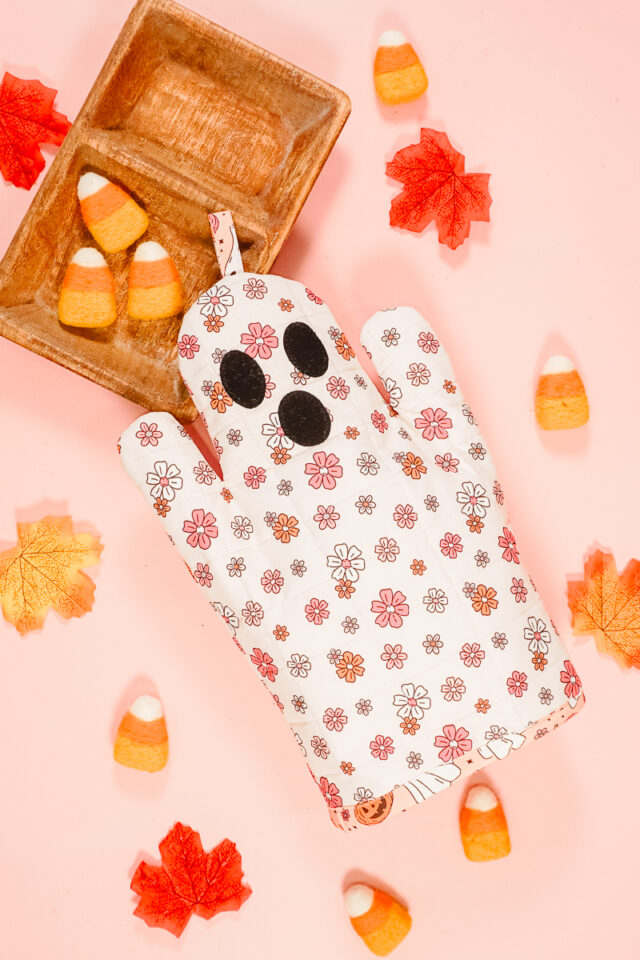
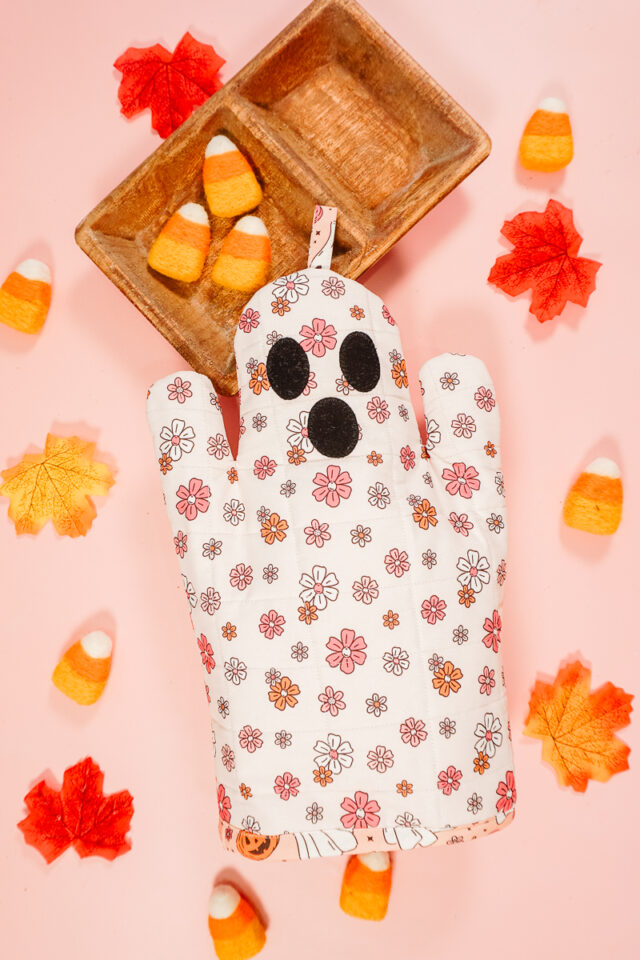
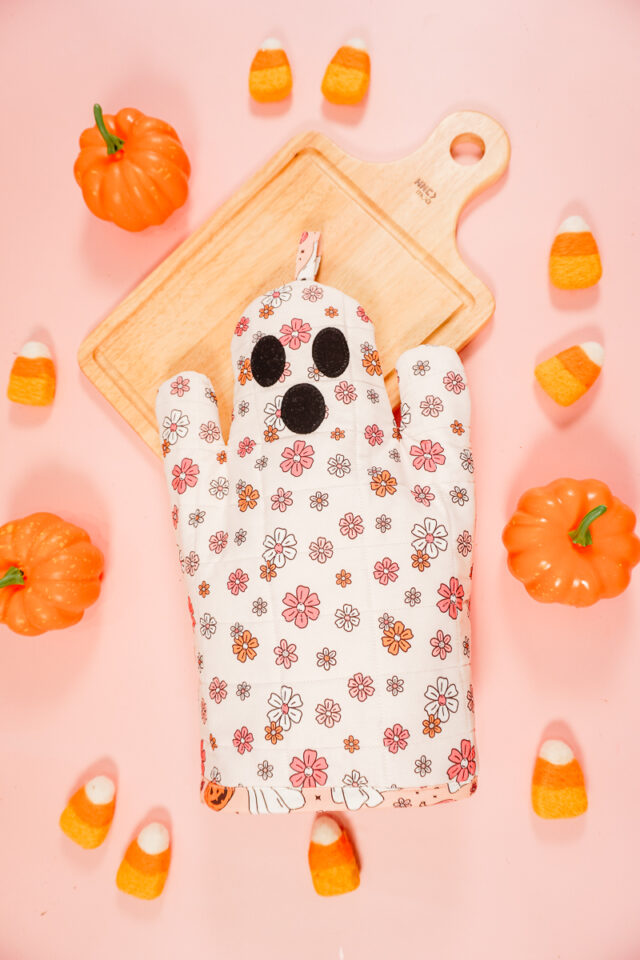
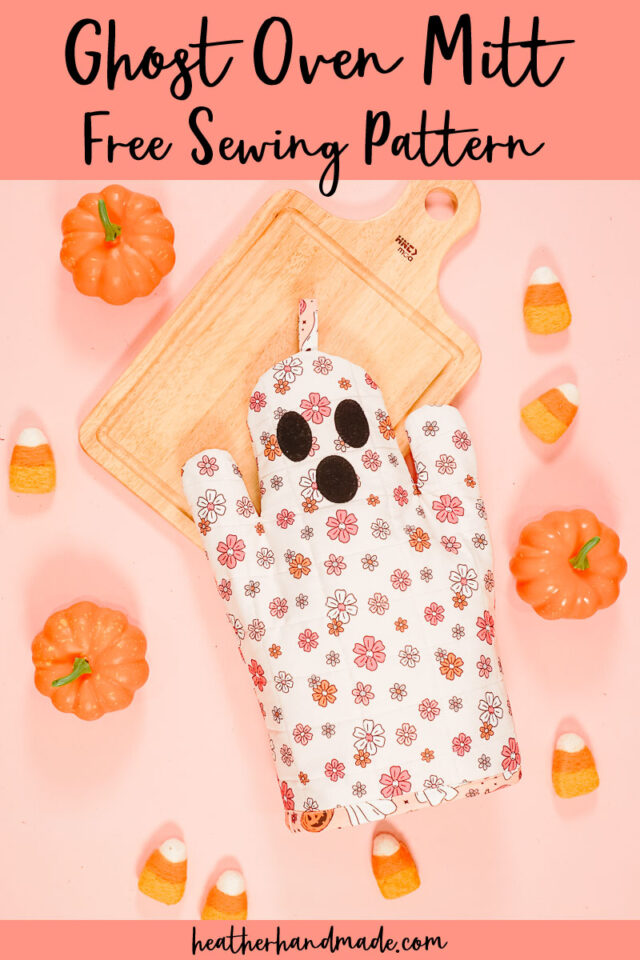
Learn how to sew a spooky ghost oven mitt with a free sewing pattern. This Halloween sewing project is useful and cute for the kitchen.
I love quirky fun home decor for the holidays. It makes me smile whenever I see it. I wanted to make Halloween decor for the kitchen and decided on a ghost oven mitt.
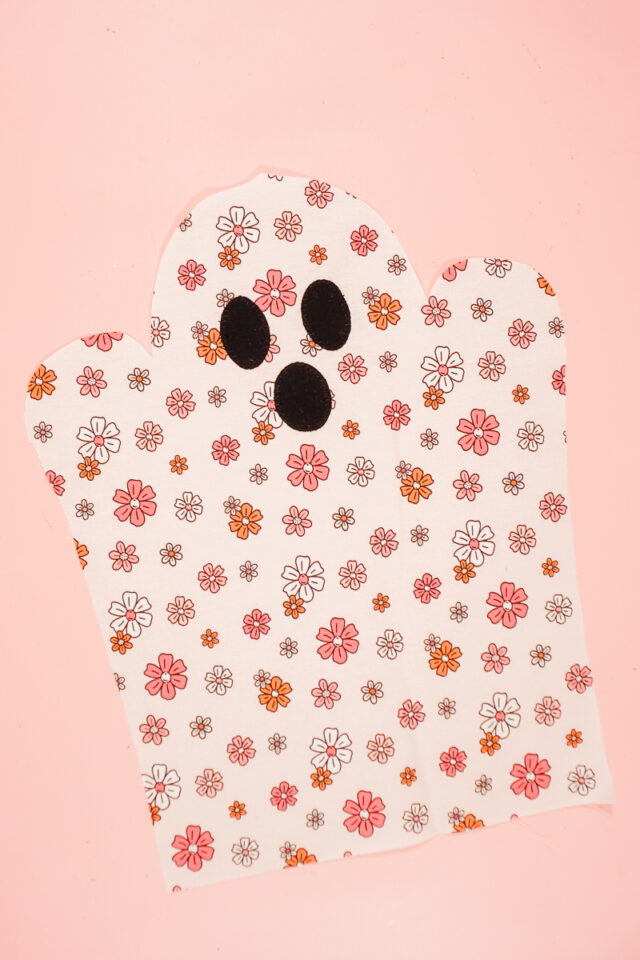
I had so much fun designing this ghost oven mitt. The hands and the face, and the oven mitt is reversible! My daughter says it looks like the ghost is saying, “Augh! I’m going in the oven!”
To get the free sewing pattern, scroll to the end of the tutorial. Put your email address in the form under “Get the Free Sewing Pattern Here.” Once you confirm that you want to receive emails from Heather Handmade, the free pattern will be sent to your email address. Check your spam and promotions for the email.

What fabric should I use to make a ghost oven mitt?
Since this will be around hot things, you need to use 100% cotton fabric like quilting cotton. Cotton is easy to sew and easy to find, it’s also safe around heat, washable, and durable.
What batting should I use to make a ghost oven mitt?
Use 100% cotton batting or use insul-bright batting that has a reflective layer inside to protect against heat. You can add quilting lines for either of these battings.

What thread should I use to make a ghost oven mitt?
Just like all the other products, you’ll need to use 100% cotton thread to keep the oven mitt safe and your hand safe.
Love to sew? Try one of these sewing projects:
How to Sew a Ghost Oven Mitt with a Free Sewing Pattern
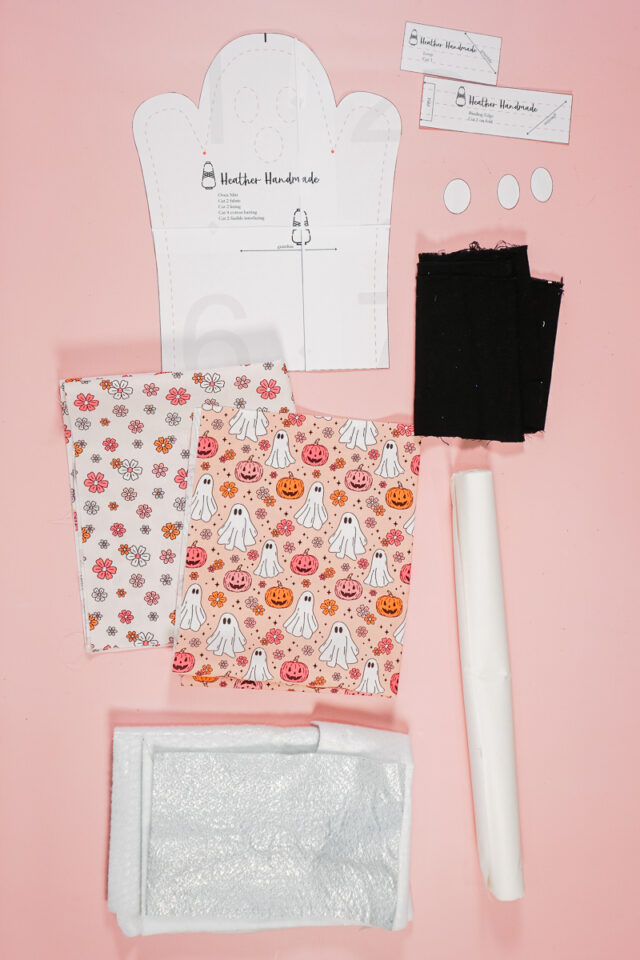
Supplies
- Ghost oven mitt – get the free sewing pattern at the end of the post
- 1/3 yard of quilting cotton for outer fabric
- 1/3 yard of quilting cotton for lining fabric
- 1/2 yard of cotton batting or insul bright
- 100% cotton thread
- Scraps of black fabric
- Scraps of double sided iron on adhesive (like HeatnBond Lite)
- Sewing tools
- Sewing machine
Do you just want the pattern and tutorial as a PDF? Get the pattern and tutorial for just $5. You won’t need to access the internet every time you want to make it.
Instructions
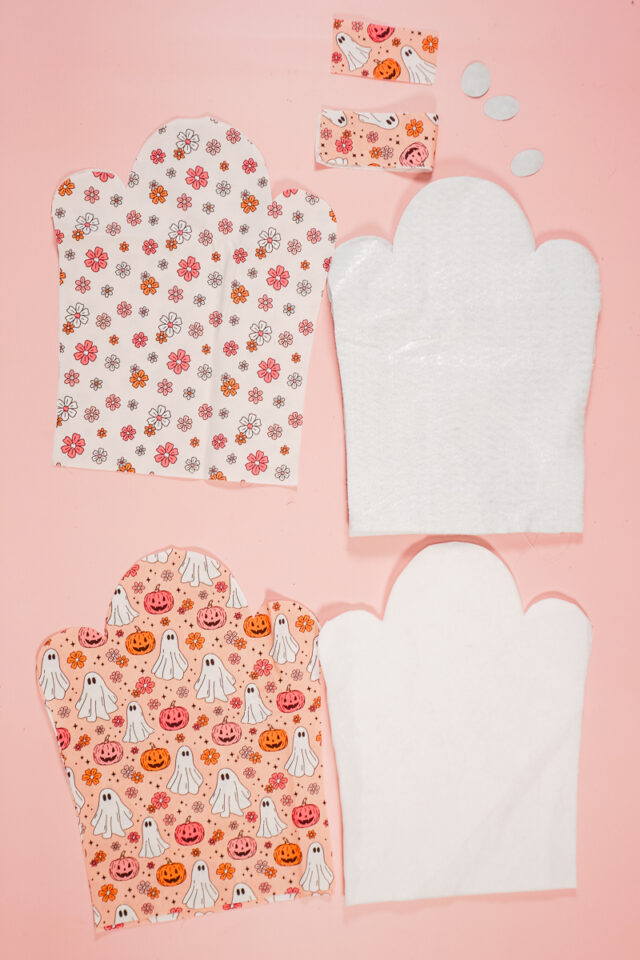
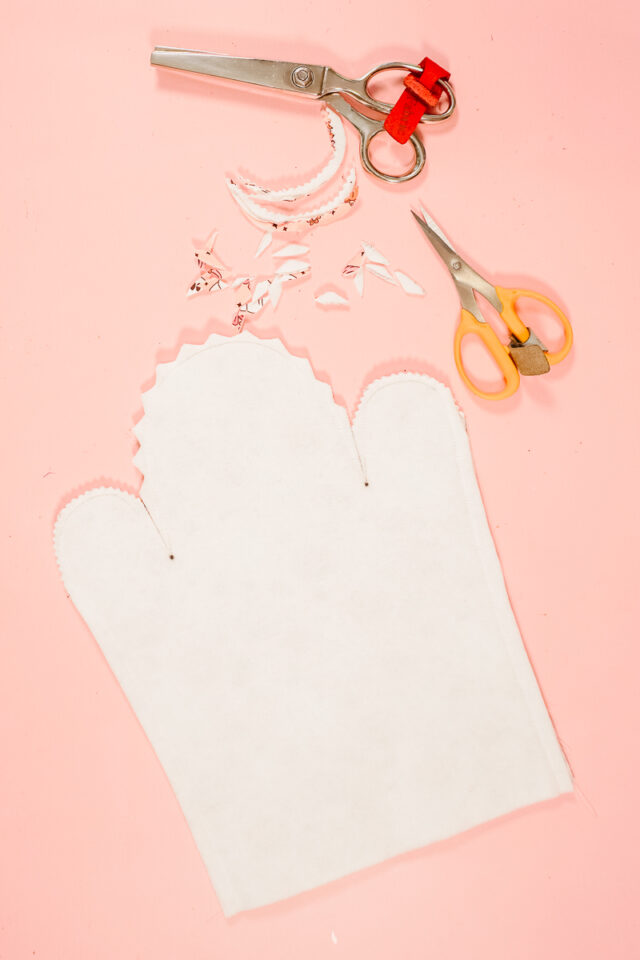
Use the pattern pieces to cut out two mitts from the outer fabric and two mitts from the lining fabric. Cut out four mitts from the batting. I did two cotton and two insul-bright. Cut out one loop and one binding.
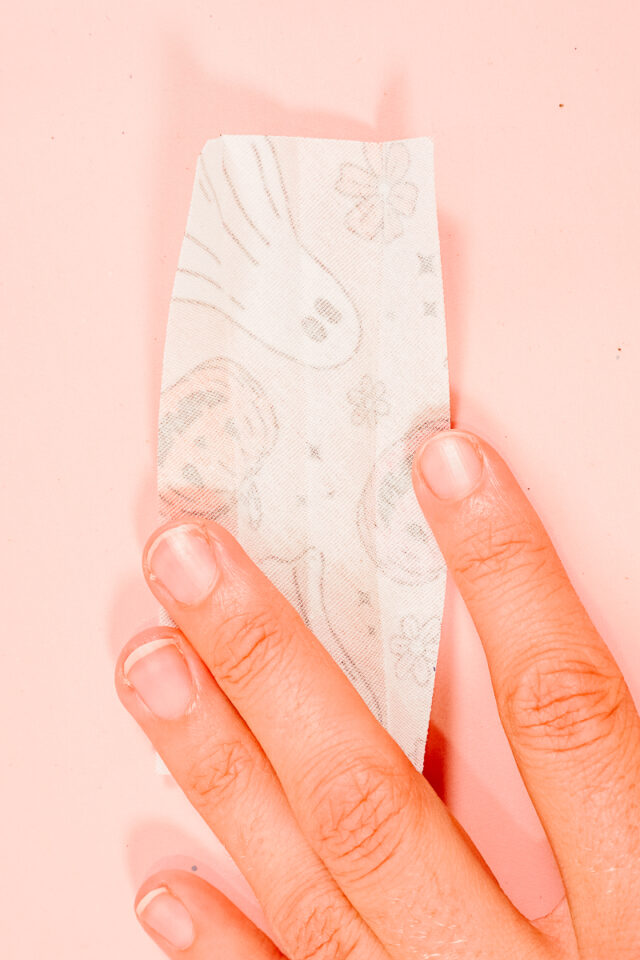
Fuse the double sided iron on adhesive to the back of the black fabric. Draw the shape of the eyes and mouth onto the paper backing. Cut out the eyes and mouth.
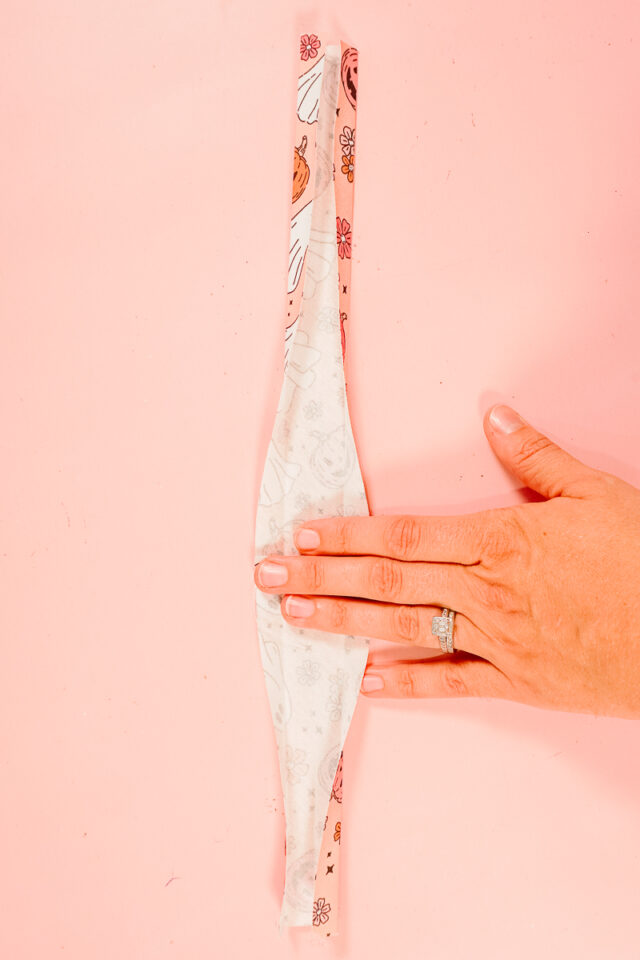
Fold the loop in half with long edges matching and wrong sides together. Press. Fold each long edge in to meet at the center fold and press. Keep the long edges inside and fold the first fold. All the long raw edges will be enclosed inside. Press.
With all the folds folded, stitch along each long side of the loop to secure.

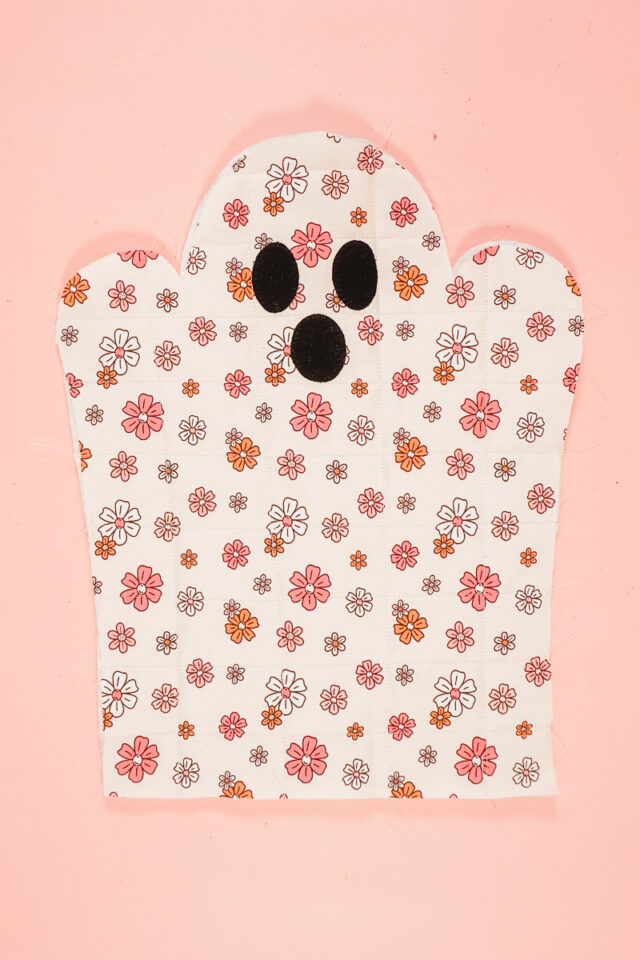
Layer the one outer mitt over the batting. Pin around the edges. Sew your desired quilting lines to secure the layers together.

Peel the paper backing off of the face pieces. Place them on the other outer mitt and iron them in place.
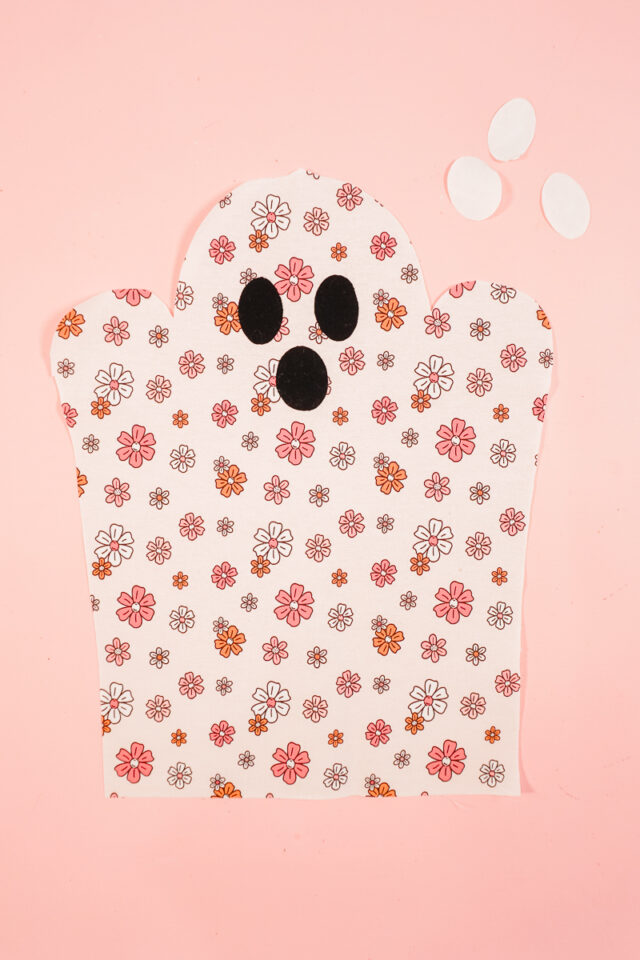
Sew a zigzag stitch around each face piece.
Layer the the face outer mitt over the other batting. Pin around the edges. Sew your desired quilting lines to secure the layers together but avoid quilting through the eyes or mouth.
Fold the loop in half. Line up the short edges with the top of the face head. Baste it in place.

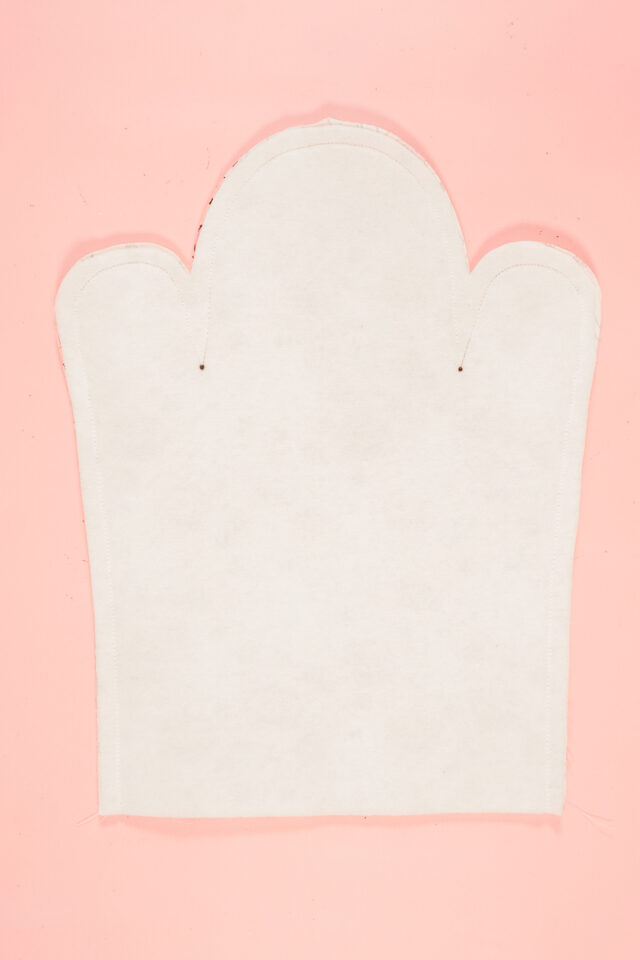
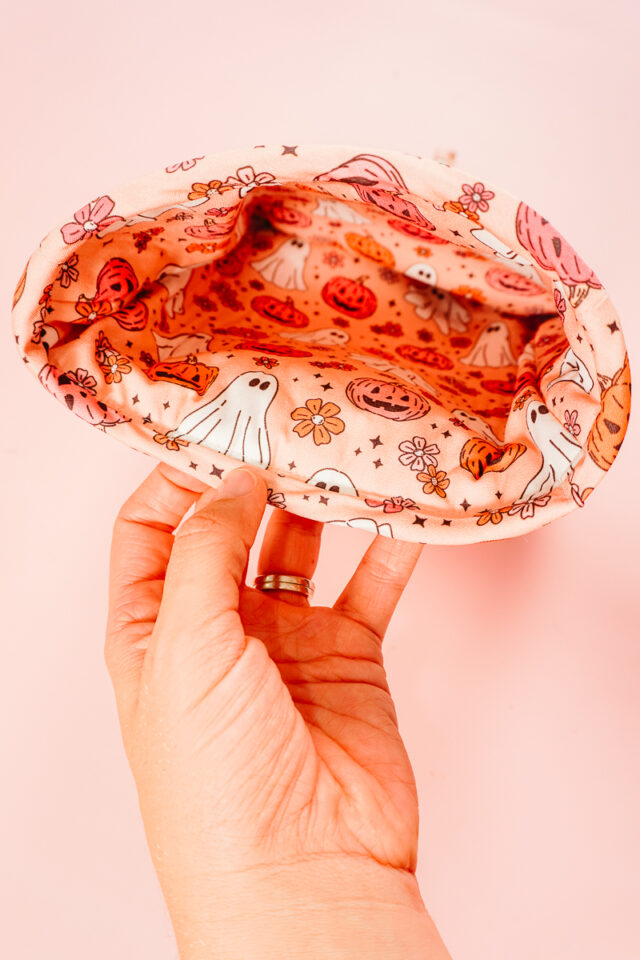
Place the lining fabric pieces right sides together and then layer batting on each piece of fabric. Pin around all the edges to keep the four layers in place. Make sure the two marks between the face and arms are marked. Sew around the edges with a 3/8 inch seam allowance. Sew down to the marks to get the right shape.
Place the outer pieces right sides together. Make sure the two marks between the face and arms are marked. Sew around the edges with a 3/8 inch seam allowance. Sew down to the marks to get the right shape.
For both mitts clip down to the mark getting as close as you can to the stitching without cutting into the stitching.
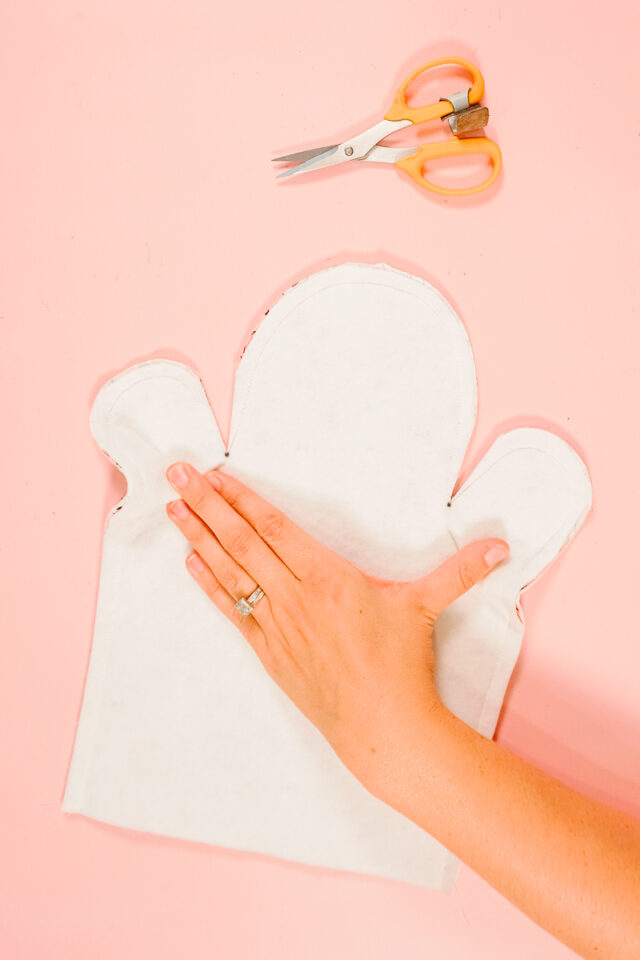
On both mitts notch around the hands and head to reduce the bulk. You can use pinking shears or notch with scissors.
Turn the outer mitt right side out. Push out the curves.

Push the lining inside the outer mitt with wrong sides together. Line up the bottom edges and baste together.

Fold the binding in half with long edges matching and wrong sides together. Press. Fold each long edge in to meet at the center fold and press. Keep the long edges inside and fold the first fold. All the long raw edges will be enclosed inside. Press.
Sew the short ends of the binding right sides together with a 3/8 inch seam allowance.
Place the right side of the binding on the inside of the mitt, lining up the bottom of the mitt with one edge of the binding. Sew the binding with a 3/8 inch seam allowance.
Flip the binding around to the right side of the mitt with the raw edge folded inside. From the outside sew the binding in place.
You finished!
Get the Free Sewing Pattern here!
If you make something using this sewing project, I’d love to see! Please share it on social media with the hashtag #heatherhandmade and tag me!

I believe small sewing moments can create great joy. Find your own “right” way to sew. -Heather
Heather, what fabric line is this?
I actually got it on Amazon: https://www.amazon.com/dp/B0D8KSC7KW?ref=ppx_yo2ov_dt_b_fed_asin_title&th=1