
Free Easter Basket Sewing Pattern

This post may contain affiliate links.
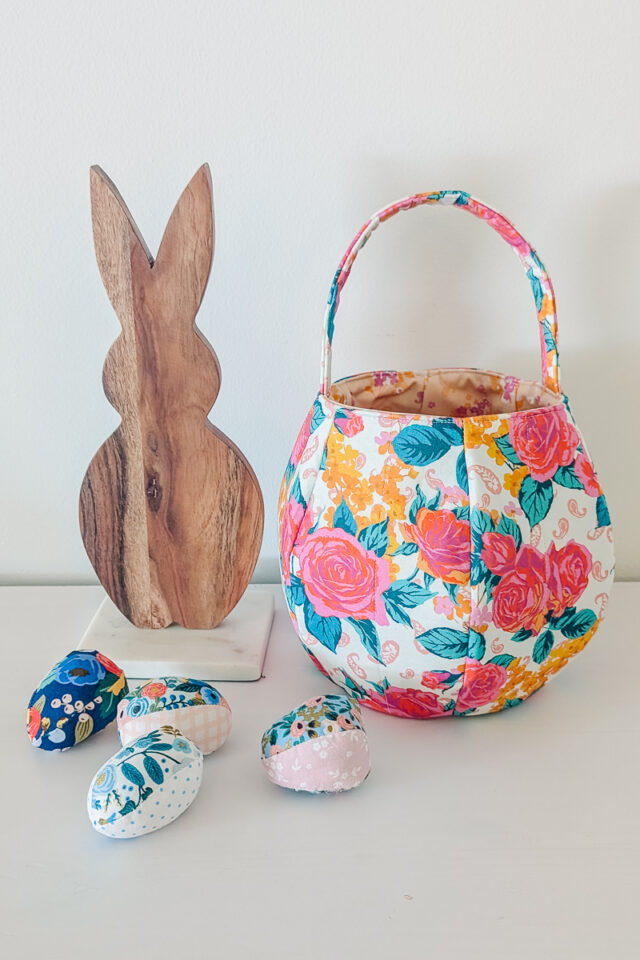
Learn how to sew an Easter basket with a free sewing pattern. This beginner sewing pattern is great for decorating and carrying eggs and candy.
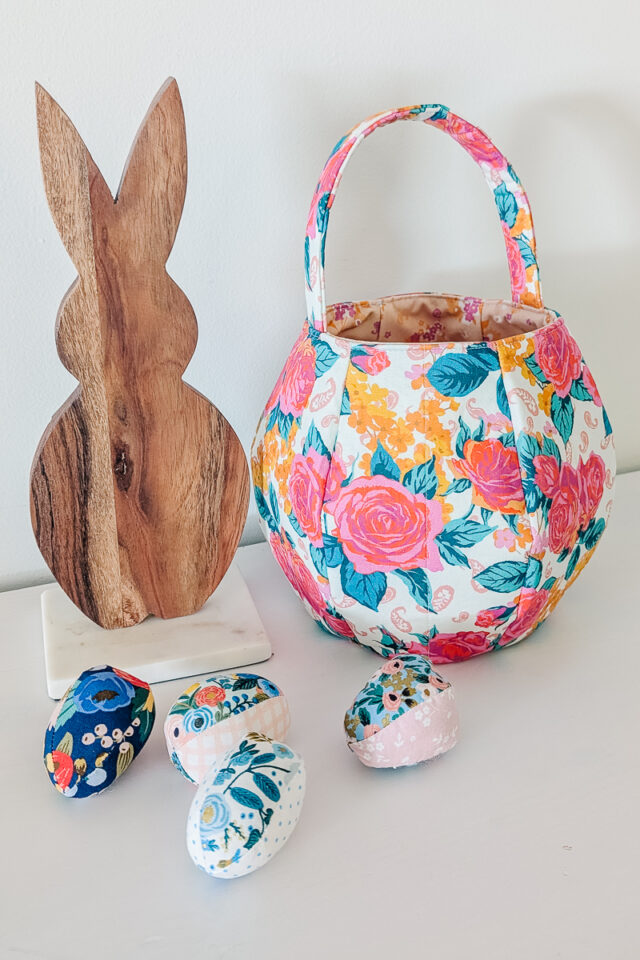
At Easter do you hide eggs for kids to find or do you have a whole Easter basket stuffed with goodies for them to find? I have a larger Easter Basket pattern that is perfect as a basket stuffed with goodies, but I’ve never made a small Easter basket that is a better size for collecting eggs.
Last Fall I made an adorable Trick or Treat basket pattern, and it was well loved. When Spring came around, I realized that basket was the perfect shape for a smaller Easter basket. I’m resharing the free Trick or Treat basket pattern as an Easter basket pattern!
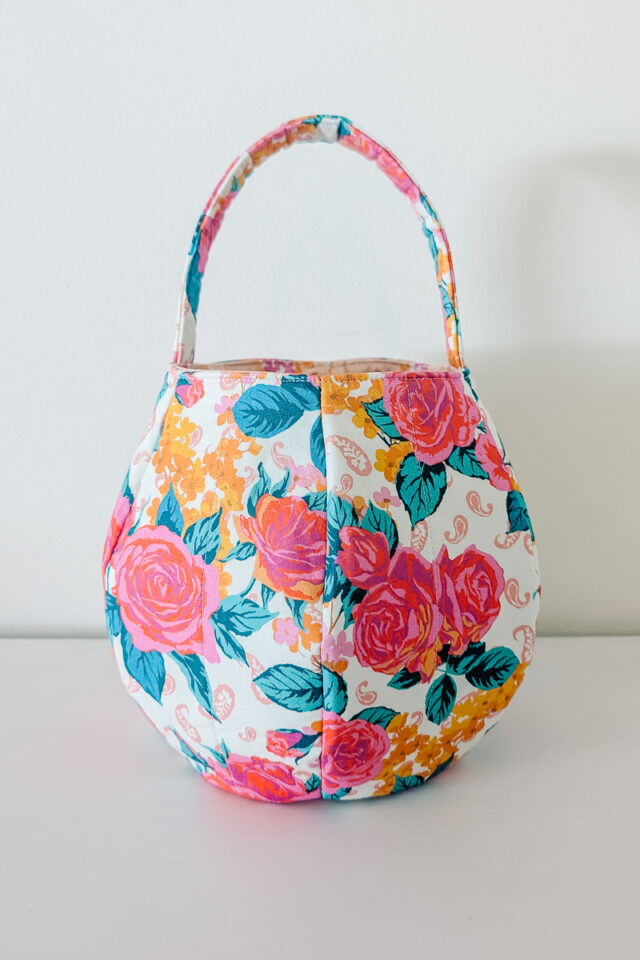
This Easter basket pattern holds it shape, holds a good amount of candy and eggs, but it can be flattened to be stored for the next year. Get the free sewing pattern at the end of the post!
What fabric should I use to make an Easter basket?
This Easter basket works great with quilting cotton. Quilting cotton is easy to find and easy to sew. You can use solid colors to coordinate with your home decor, or you can use fun Easter print fabric. Quilting cotton presses well, and it’s durable and washable.
How do I make the Easter basket stand up?
This Easter basket uses both medium weight fusible interfacing and fusible fleece. The combination of these two makes the basket stand up and hold its shape. It will be durable and will hold it’s shape even after being washed.
Love to sew? Try one of these fun sewing projects:
How to Sew an Easter Basket
Supplies
- Free Easter basket – get it at the end of the post
- 1 fat quarter for the outer fabric
- 1 fat quarter for the lining fabric
- 1 fat quarter of medium fusible interfacing
- 1 fat quarter of fusible fleece
- Sewing tools
- Sewing machine
Do you just want the pattern and tutorial as a PDF? Get the pattern and tutorial for just $5. You won’t need to access the internet every time you want to make it. Or get the Pattern Bundle with ALL the PDF tutorials!
Instructions
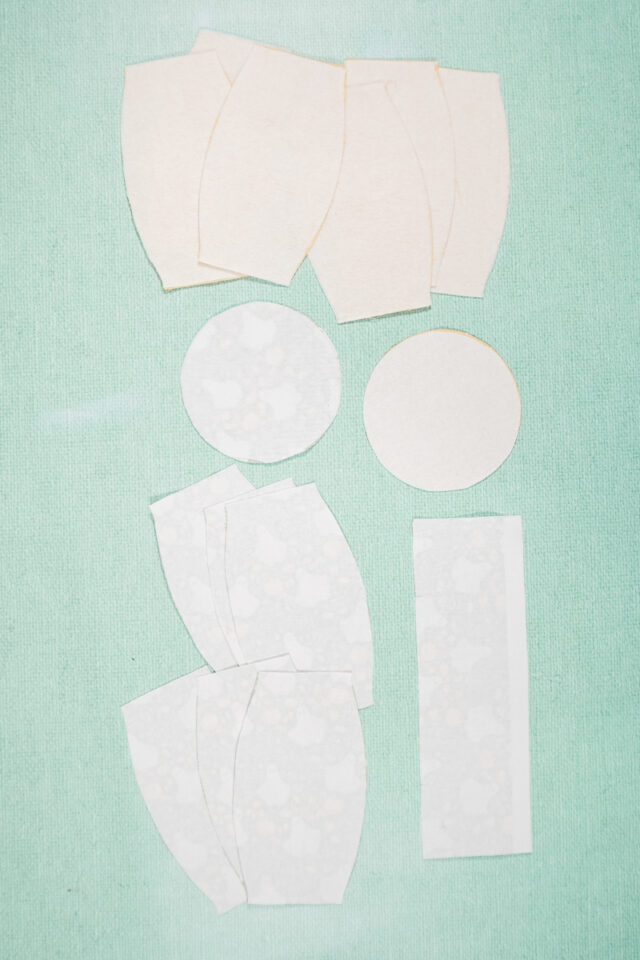
Cut out six side pieces, a bottom, and strap from the outer fabric. Cut out six side pieces and a bottom from the lining fabric.
Cut out six side pieces and a bottom from fusible fleece. Cut out six side pieces, a bottom, and strap from the fusible interfacing.
Fuse the fusible fleece to the outer pieces. Fuse the interfacing to the lining pieces and the strap.
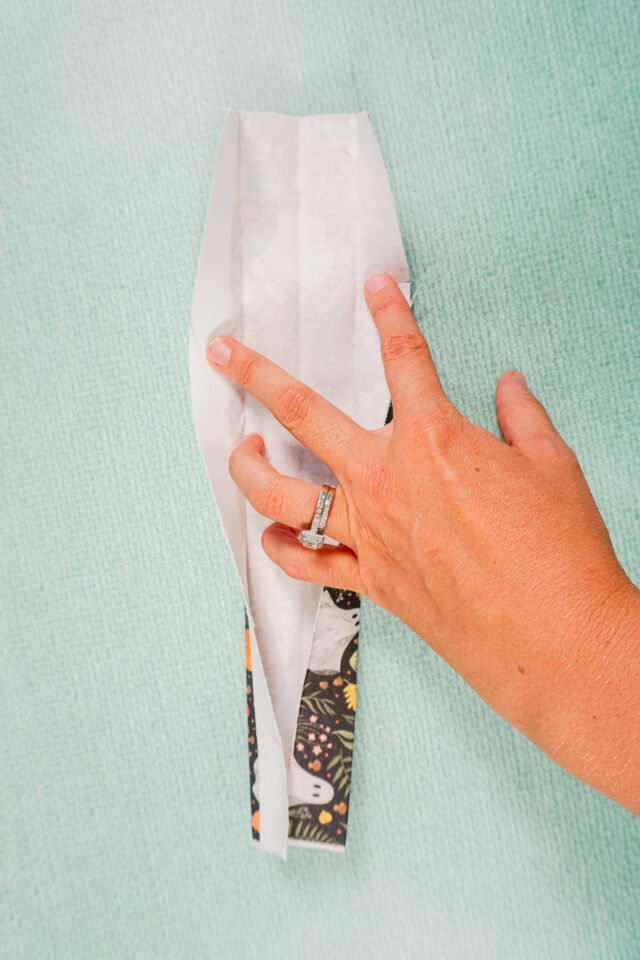
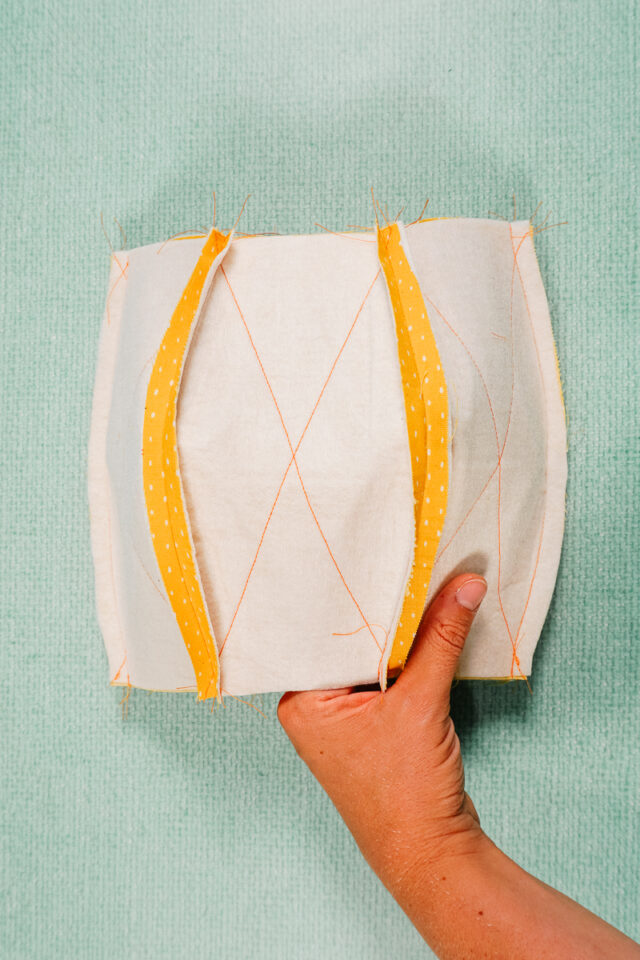
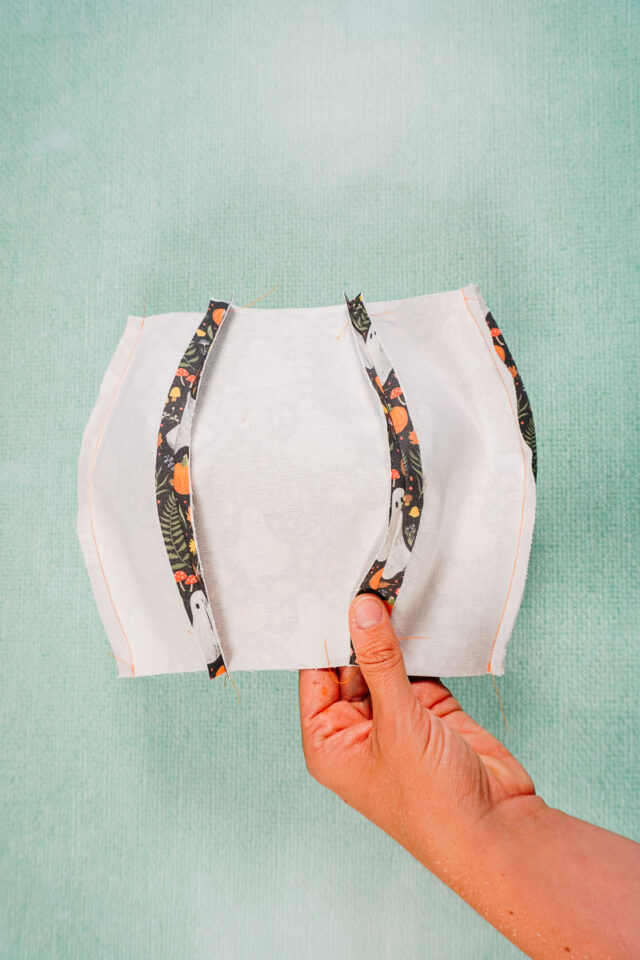
Fold the strap in half wrong sides together and matching the long edges. Press. Open back up. Bring each long edge in to meet at center front with wrong sides together. Press. Fold the center fold so that the long edges are enclosed inside. Press again. You now have three folds.
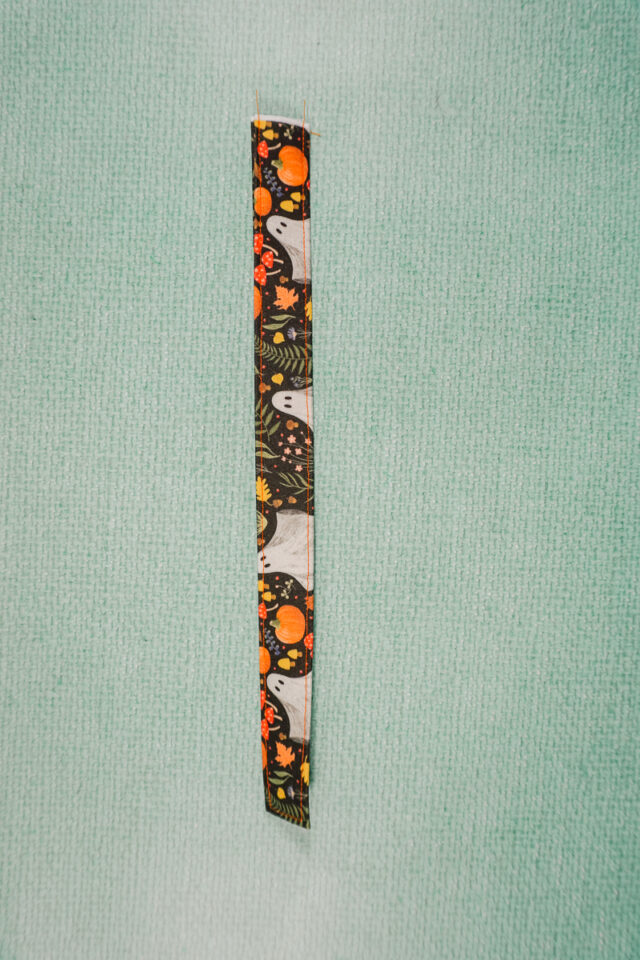
With all folds folded and the long edges enclosed, sew along each long edge 1/8 inch from the edge to secure the folds.
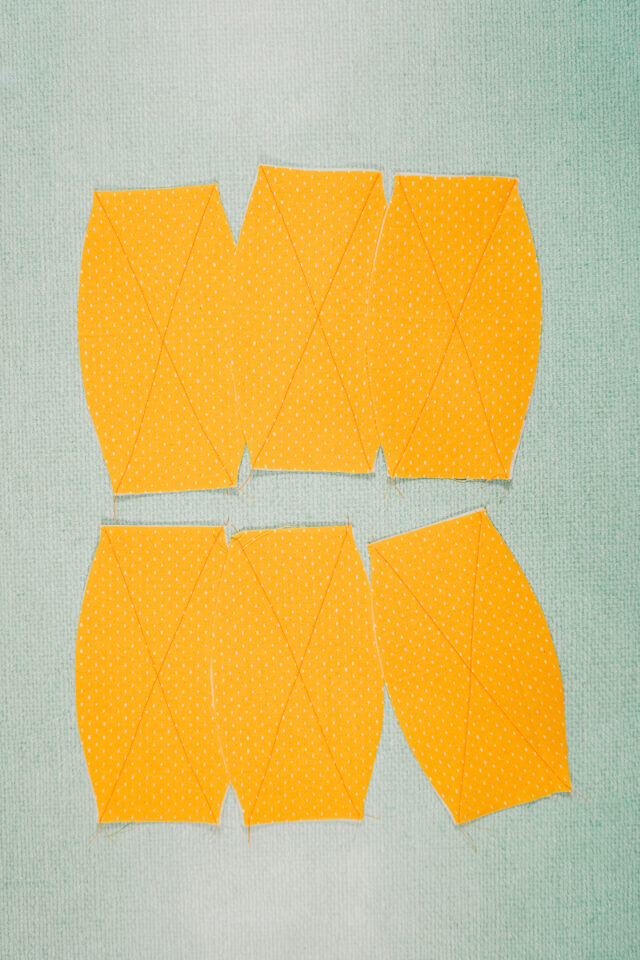
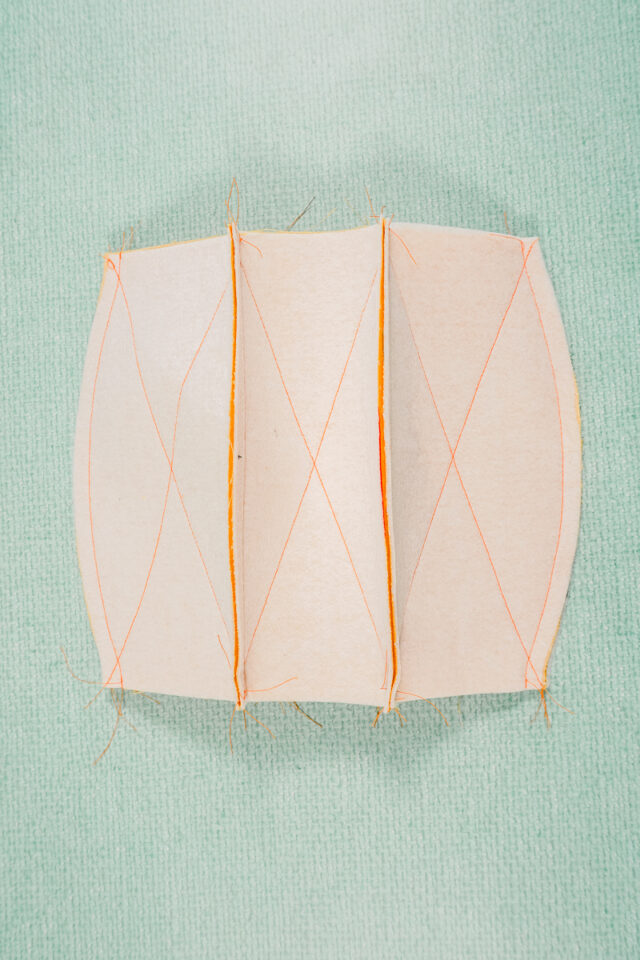
Sew quilting lines through the fabric with fusible fleece. Choose whatever style of quilting you want.
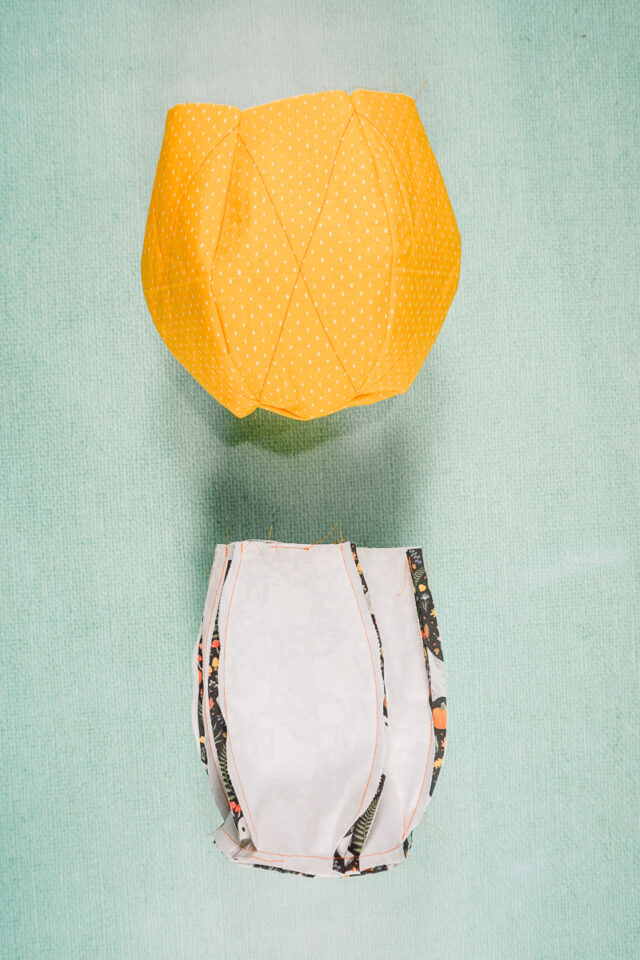
With right sides together, match up the curved edges of two sides. Sew with a 3/8 inch seam allowance. Keep matching up another side and sew until all six pieces are sewn together and it forms a “tube”.
Do the same to the lining pieces.
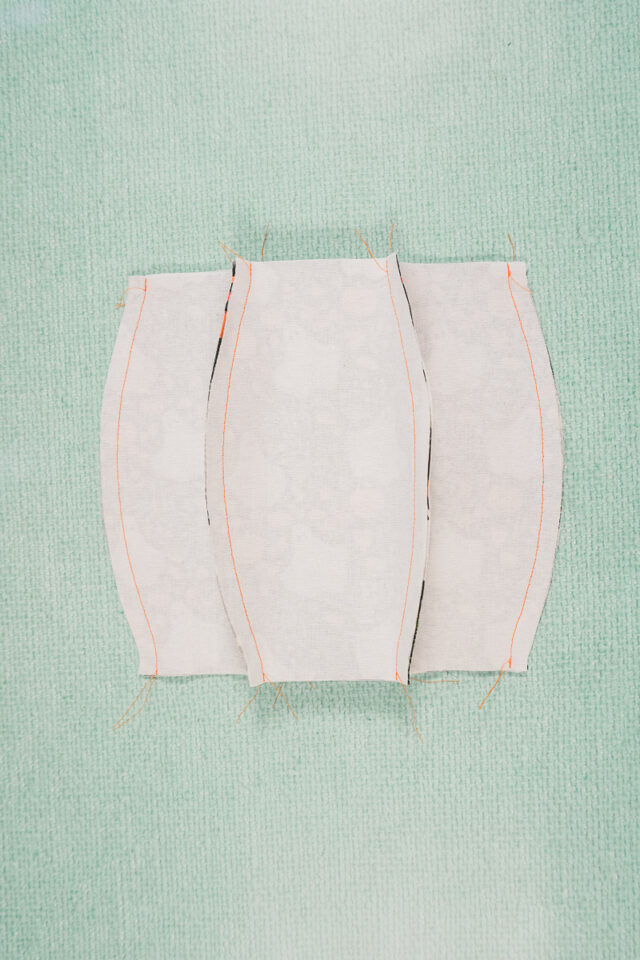
Press the seams open on both “tubes”.
Divide the bottom into four. Divide the bottom of the “tube” into four. Match up and pin the sections with right sides together. Make sure the side seam allowances are open. Do the same to the other piece.
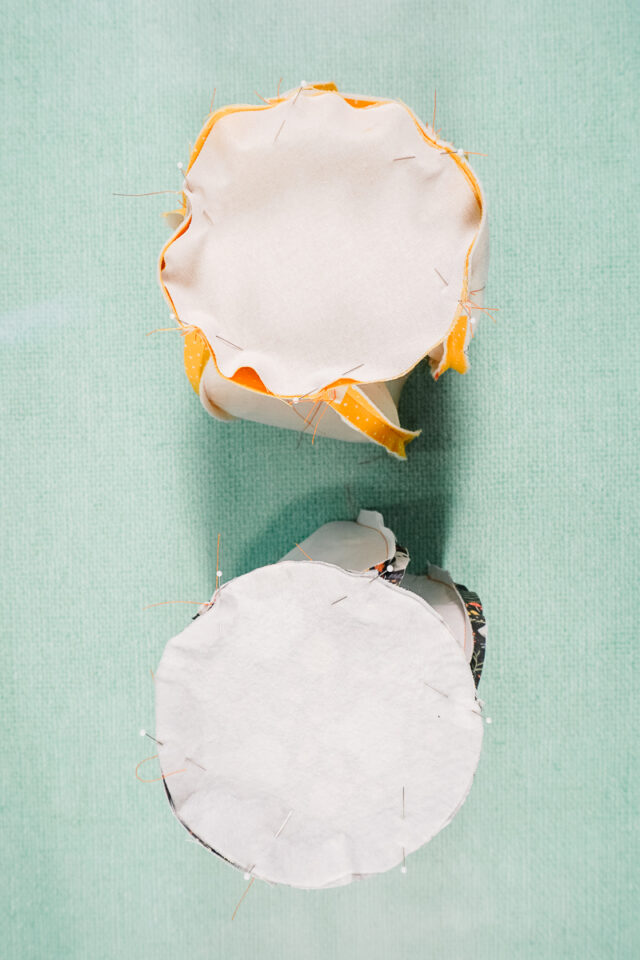
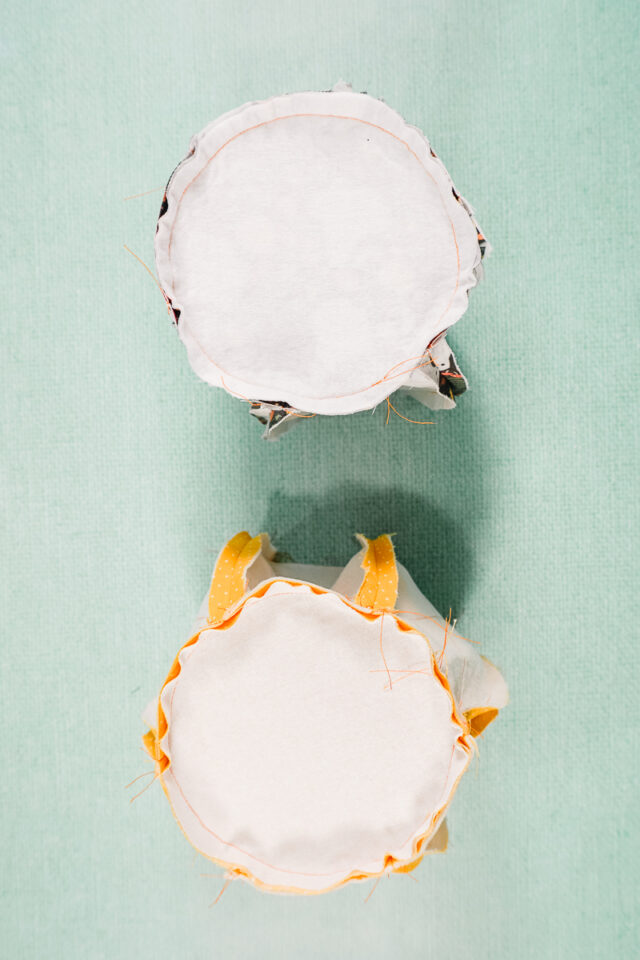
Sew the bottom to the sides with a 3/8 inch seam allowance. I found it was easiest to sew with the bottom up and the sides down in my sewing machine, but it might feel more comfortable looking at it the other way.
Do the same to the other piece.
Pin the short ends of the strap on opposite sides of the top. Baste the strap ends in place.
Turn one of the buckets right side out.
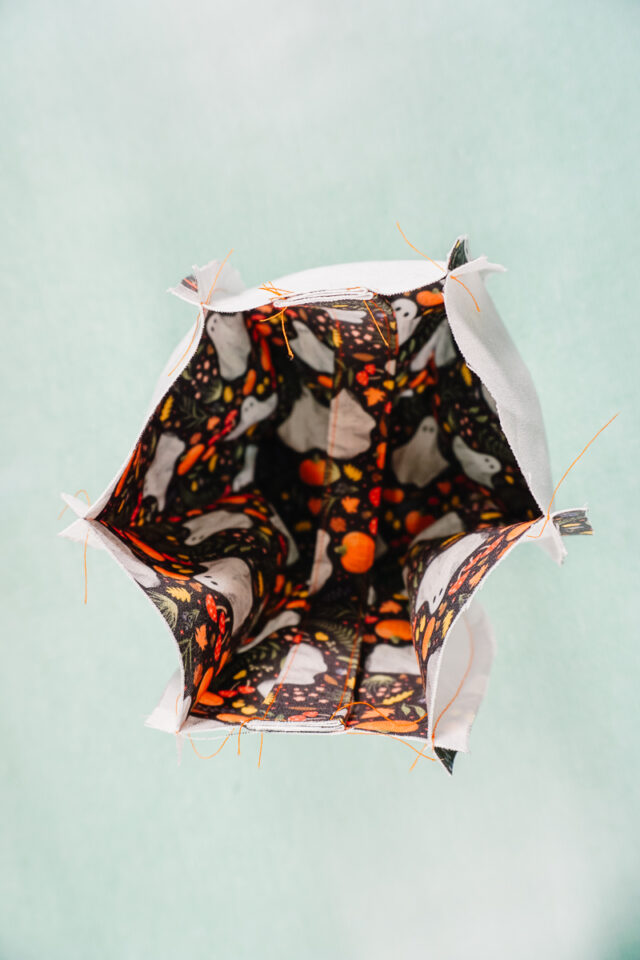
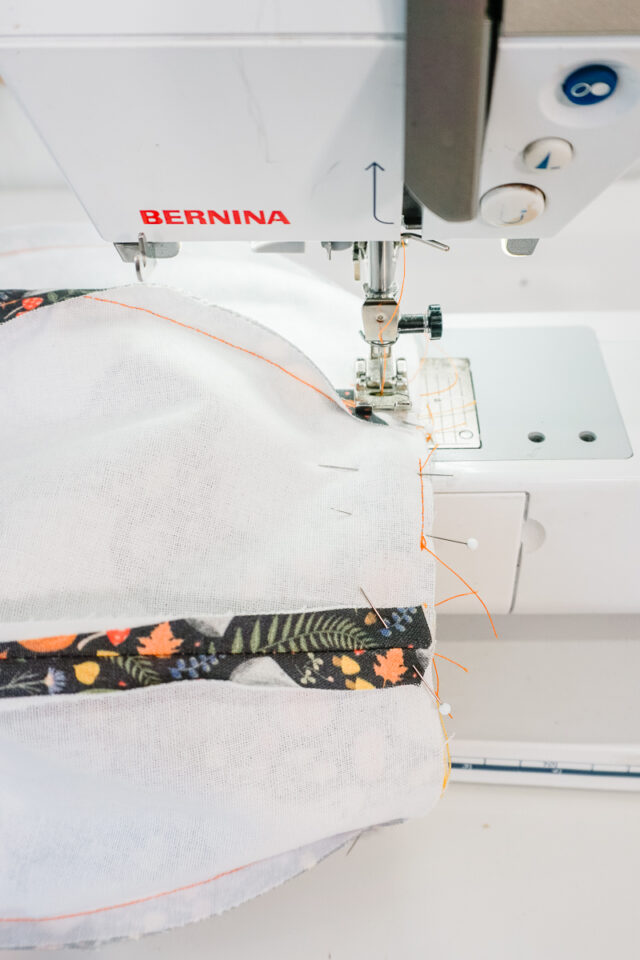
Put the right side out bucket inside the wrong side out bucket. Match up the top edges. You won’t be able to push the inner bucket all the way down because of the strap so it’ll be squished inside.
Pin the top edges together matching the side seams. Make sure all the side seams are open.
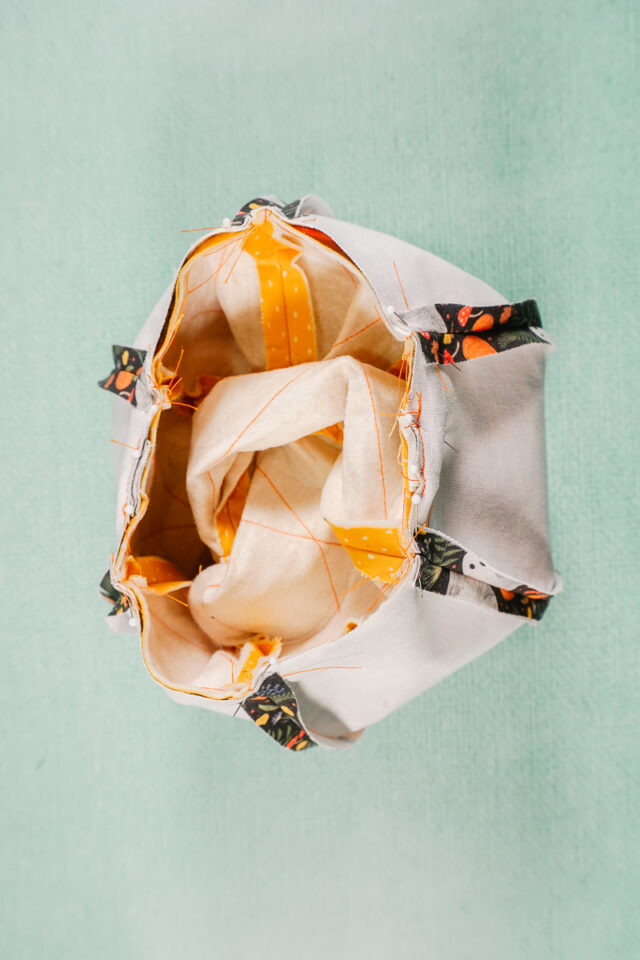
Sew the top edge with a 3/8 inch seam allowance. I found this to be easiest if the bucket was slid onto the arm of my sewing machine.
Make sure to leave a 2-3 inch hole for turning right side out.
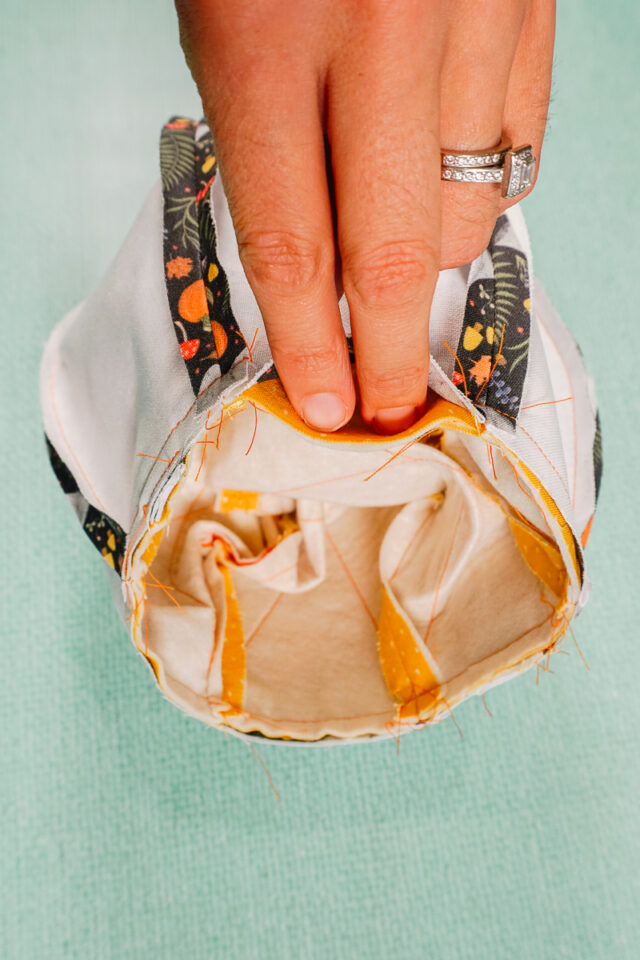
Turn the bucket right side out.
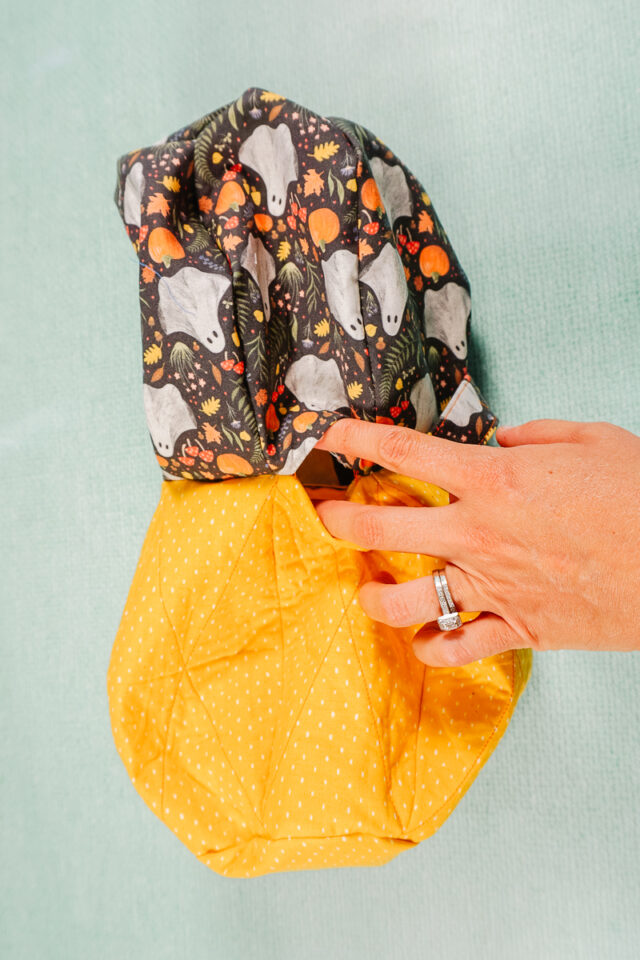
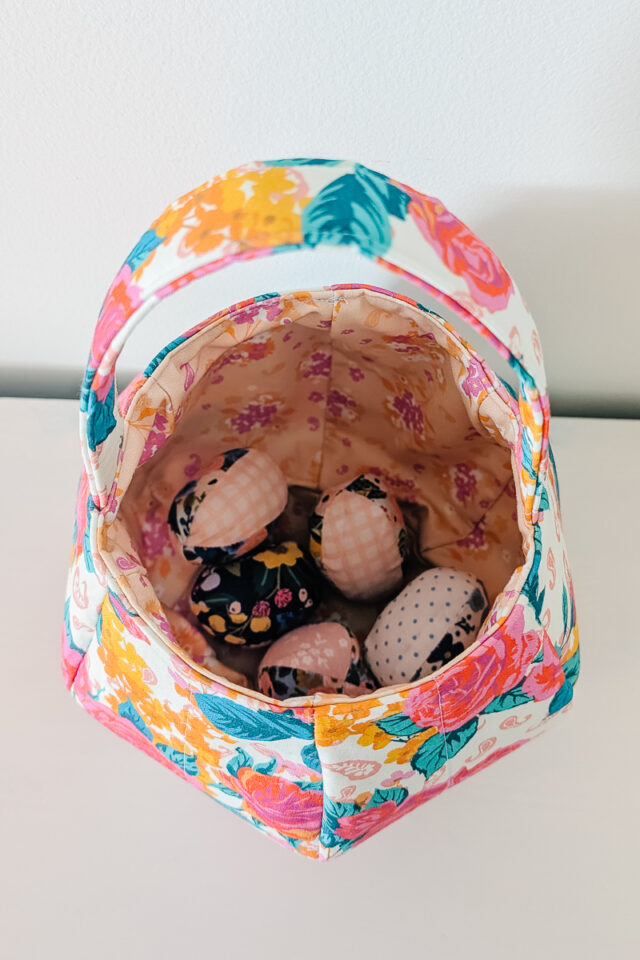
Push the lining inside the basket. Roll the top edge so that the seam is pulled all the way out.
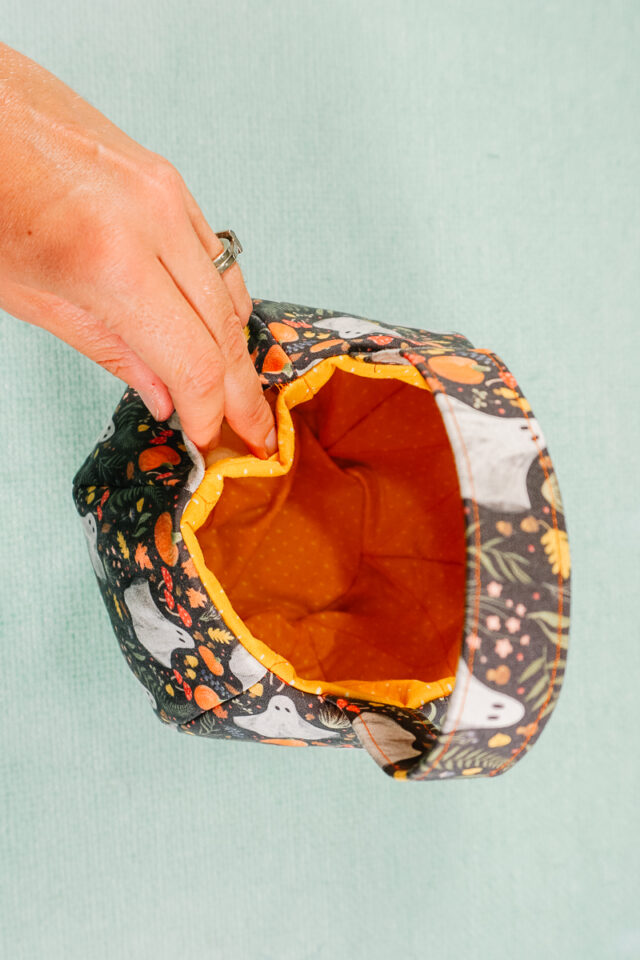
Pinch the hole closed. Sew around the top 1/8 inch from the edge closing the hole and making the edge look nice and neat.
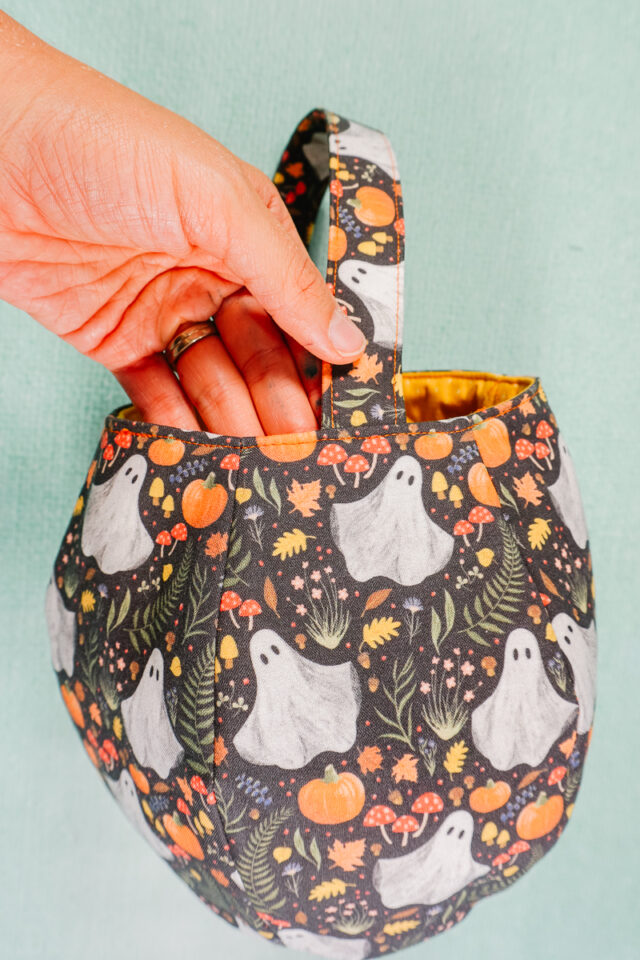
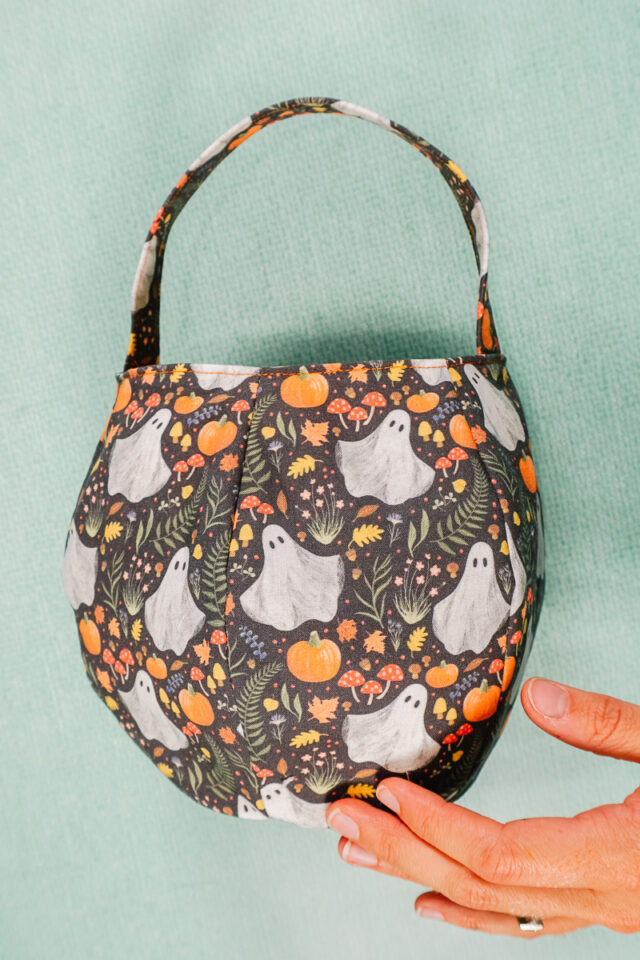
You finished!
Get the Free Sewing Pattern here!

If you make something using this sewing project, I’d love to see! Please share it on social media with the hashtag #heatherhandmade and tag me!

I believe small sewing moments can create great joy. Find your own “right” way to sew. -Heather