
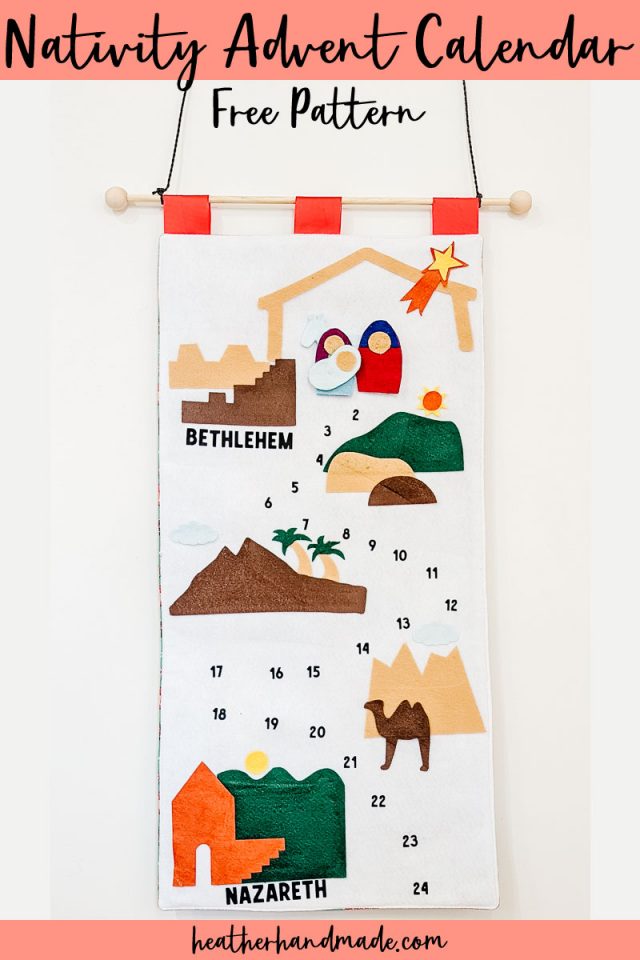
Felt Nativity Advent Calendar + Free Sewing Pattern

This post may contain affiliate links.
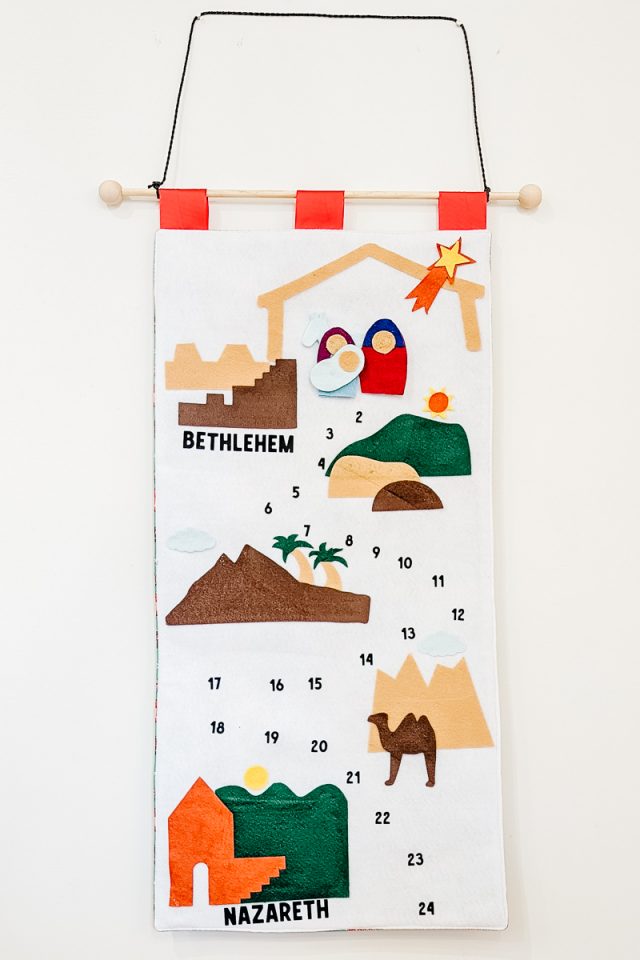
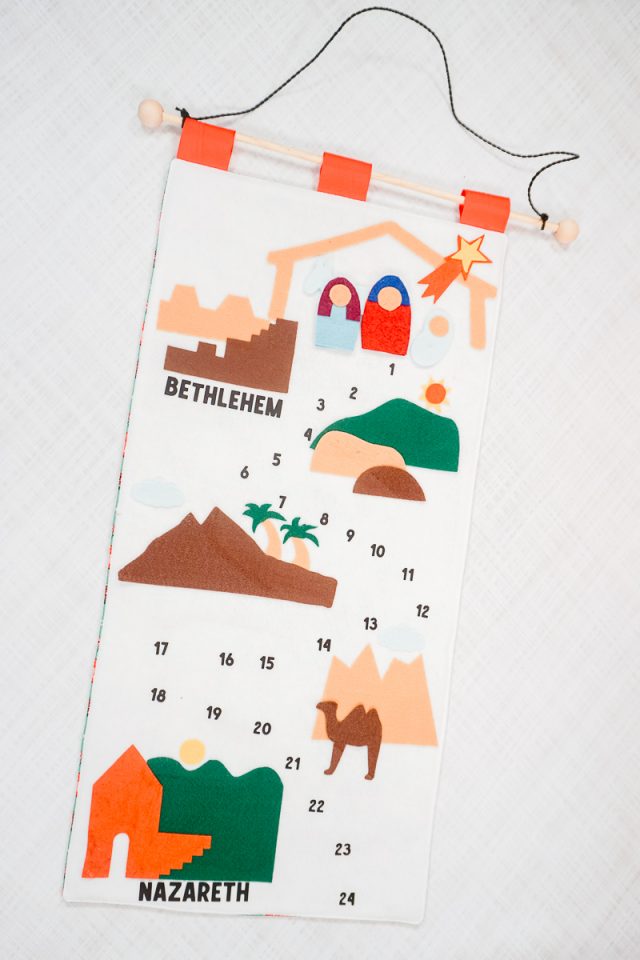
Make a felt Nativity Advent calendar with a free sewing pattern and SVG cut file. This Christmas sewing project is fun for counting down.
I grew up with a Christmas Nativity Advent calendar that my aunt had made for my family. I loved seeing my mom get it out every year and using it to countdown the days. Now I have it for my kids, but it’s starting to show it’s age.
I decided to design a new felt Nativity Advent calendar inspired by the one I grew up with. The free download has both a PDF sewing pattern and SVG cut files so that you can choose to cut it with or without a Cricut Maker. You can choose your own colors and materials to make it however you want.
What materials work best for a Nativity Advent calendar?
There are lots of different materials that work well for a Nativity Advent calendar. I used felt for the background, the people, and all the scenes. I liked that the velcro will stick to the felt easily, and you don’t have to finish the edges of felt. Leather would also be a great material to use.
I would recommend felt for the background, the people, and all the scenes. You can write the words and numbers in, or you can use iron on vinyl. The background should be felt on the front, and interfaced quilting cotton on the back.
Do I need a Cricut Maker to make this pattern?
This pattern does come with SVG cut files for all of the scenes and people to make it quick and easy to cut out. The pattern also comes with everything in a PDF pattern format, so that you can make everything without a Cricut Maker.
Do you love to sew? Try one of these fun sewing projects:
How to Make a Felt Nativity Advent Calendar
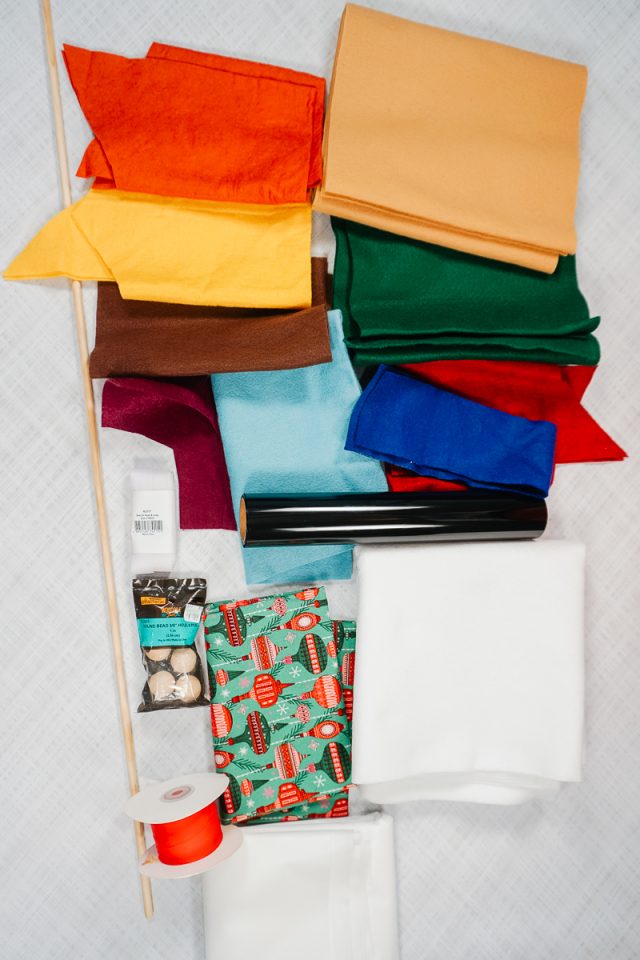
Supplies
- Free felt Nativity Advent calendar pattern – get it at the end of the post behind the locked content box
- Felt pieces 12 inches by 12 inches in all different colors
- 1/2 yard white felt
- 1/2 yard non-directional print quilting cotton OR 1 yard directional print quilting cotton
- 1/2 yard fusible interfacing
- Scraps of ribbon to make the loops
- 2 small pieces of Velcro – hook side only
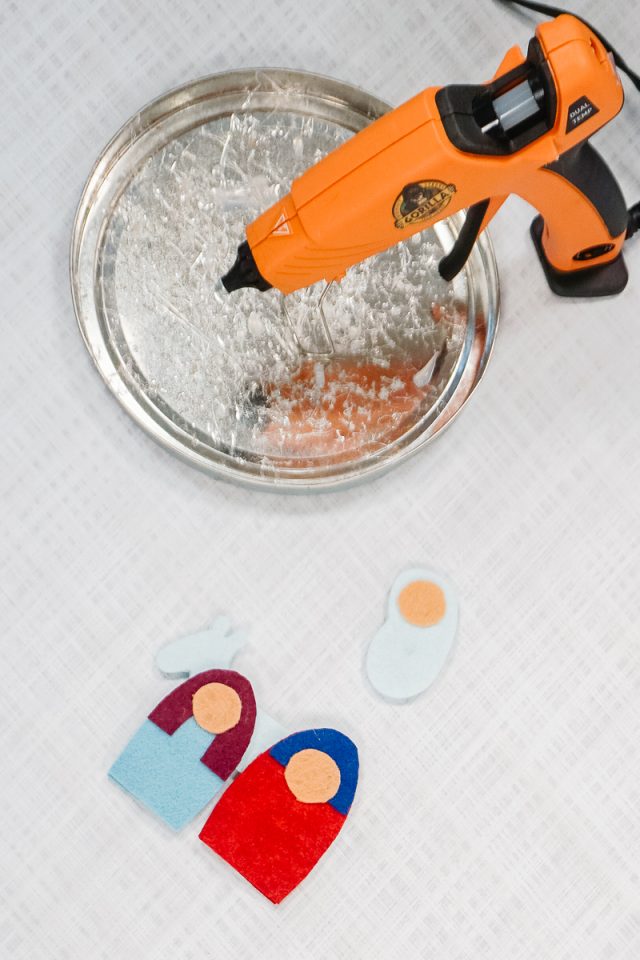
- Hot glue gun and hot glue
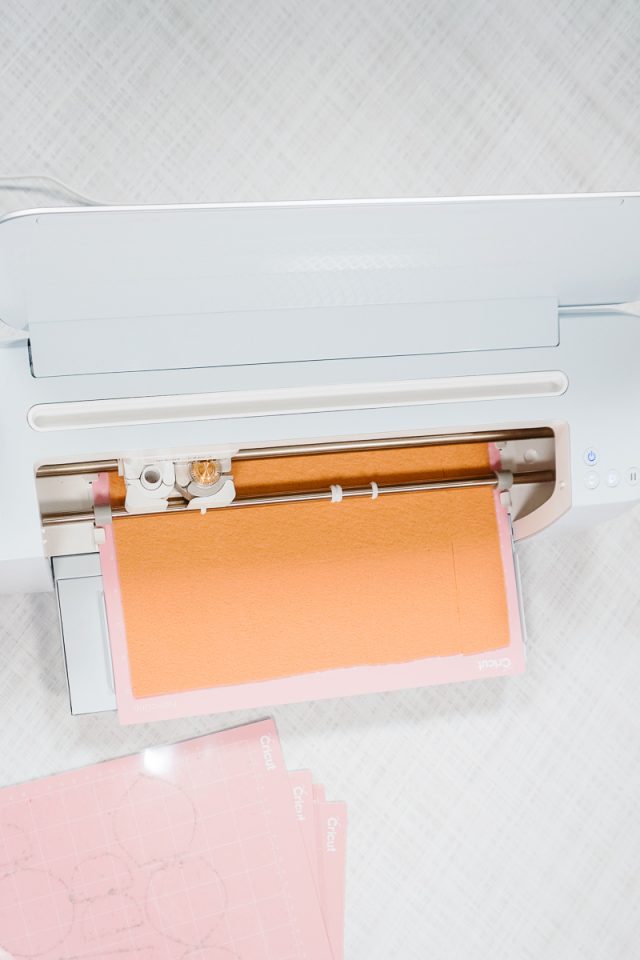
- Optional: Cricut Maker and tools
- Optional: Black iron-on vinyl
- Optional: Easypress
- Wooden dowel
- Wooden beads that fit onto the dowel
- Sewing tools
- Sewing machine
Do you just want the pattern and tutorial as a PDF? Get the pattern and tutorial for just $5. You won’t need to access the internet every time you want to make it. Or get the Pattern Bundle with ALL the PDF tutorials!
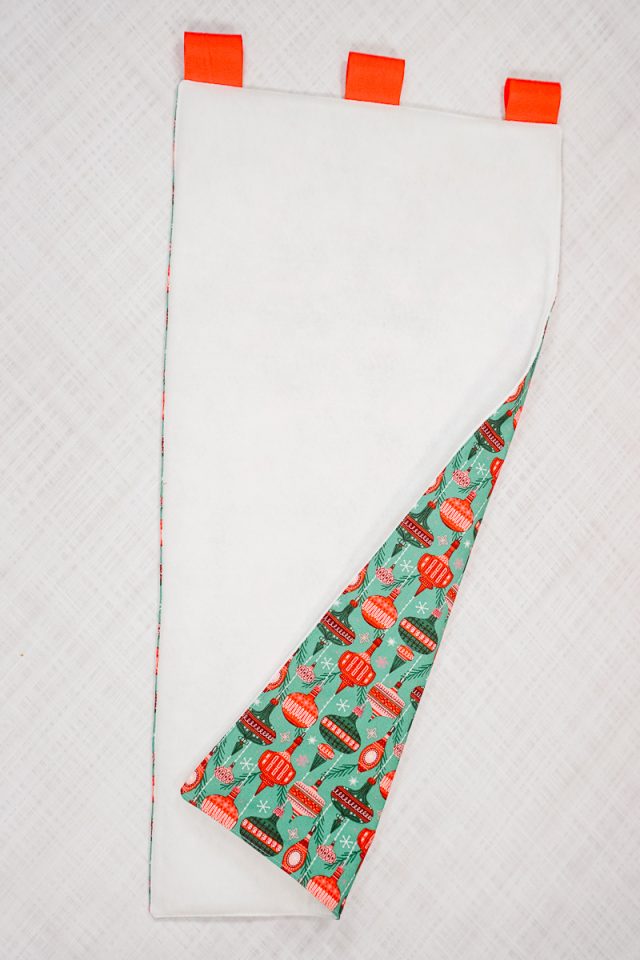
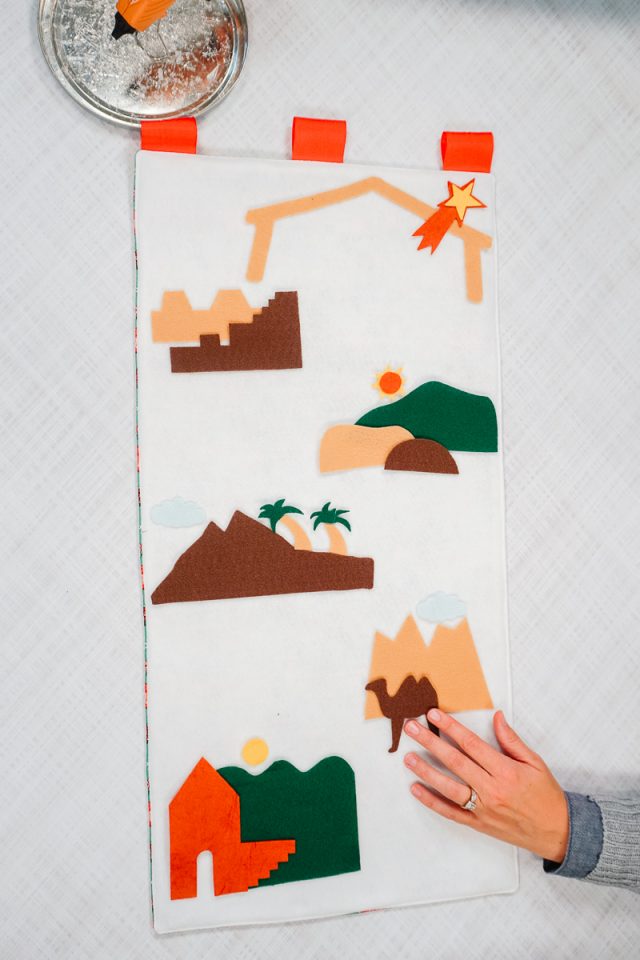
Cut the fabric, white felt, and interfacing into pieces that are 15 inches wide and 30 inches tall.
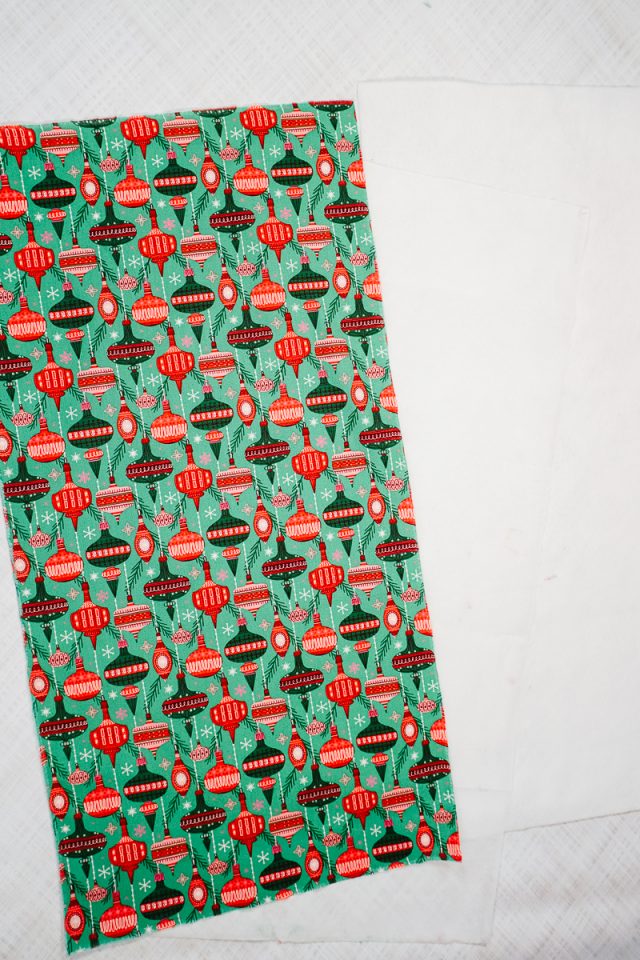
Fuse the fusible interfacing onto the back of the fabric.
Cut 3 pieces of ribbon 6-8 inches long.
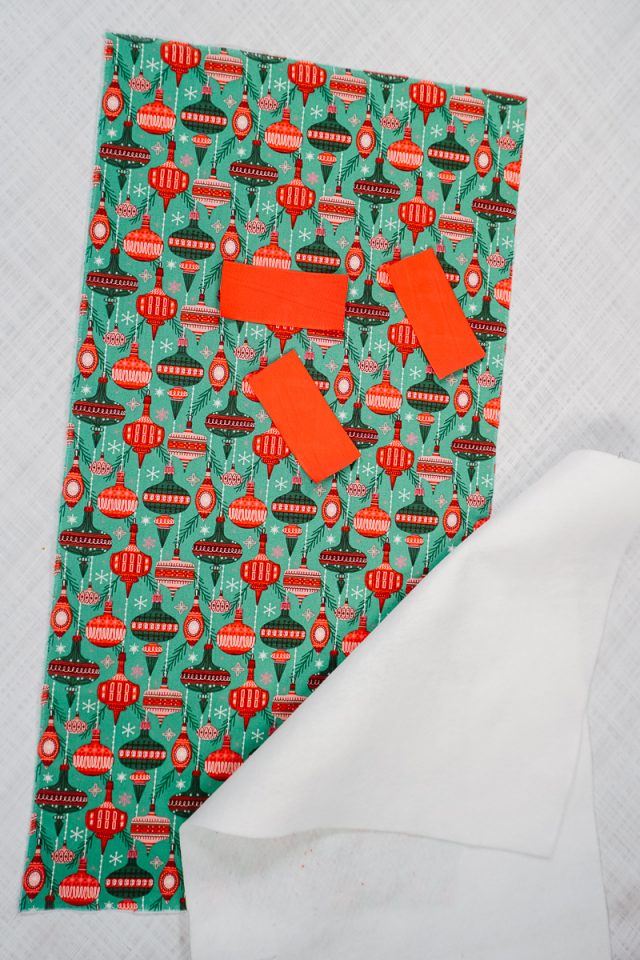
Fold the ribbon in half and pin the cut edges onto the top of the fabric: one on each side and one in the middle. Make sure the ones on each side are about 1/2 inch in from the edge so they don’t get caught in the side seam.
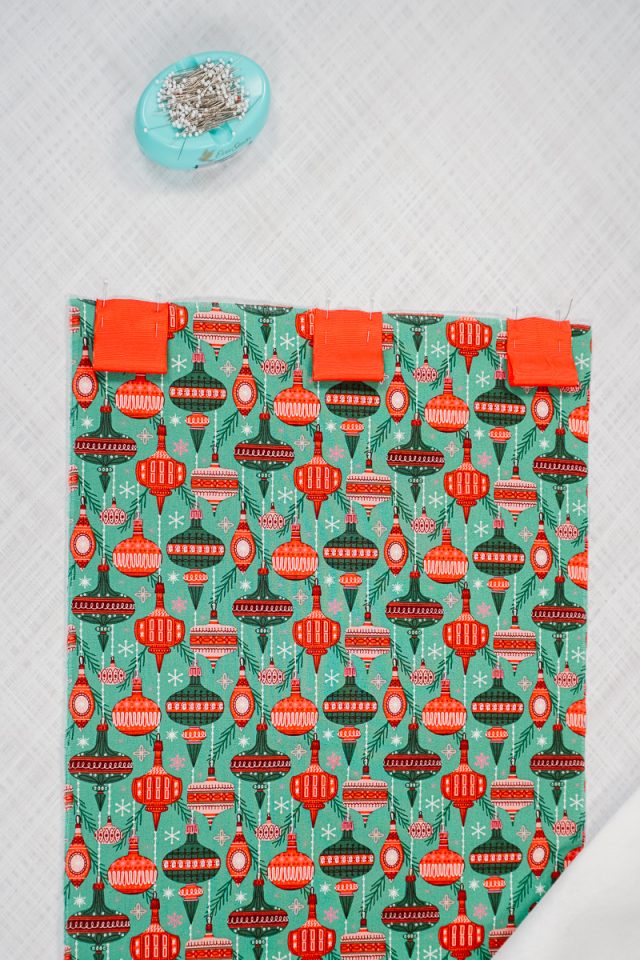
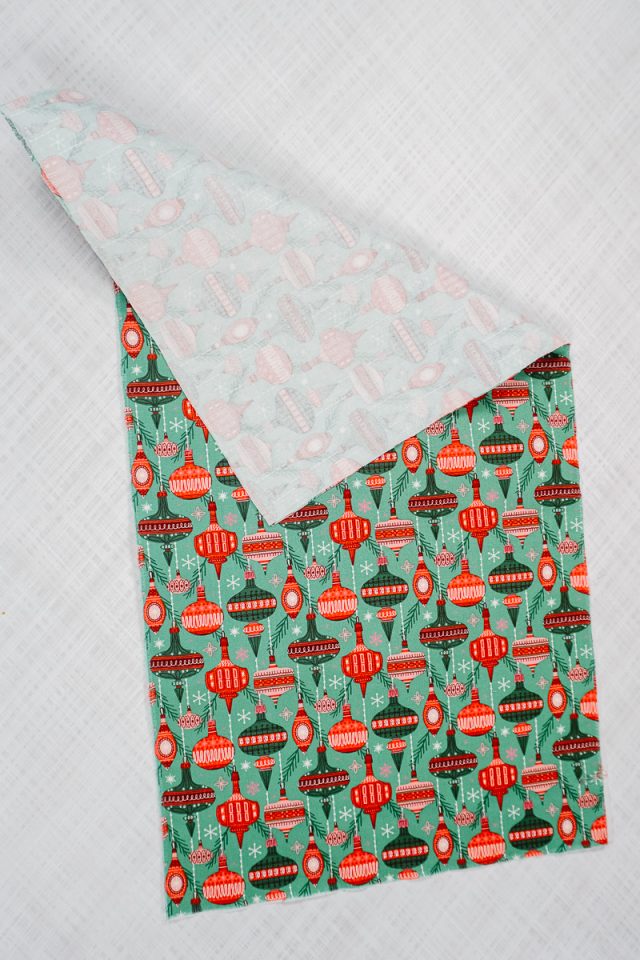
Place the fabric and felt right sides together and pin. Sew around the edge with a 3/8 inch seam allowance and leave a 4 inch hole to turn it right side out. Backstitch when you start and when you stop.
Clip the corners to reduce the bulk.
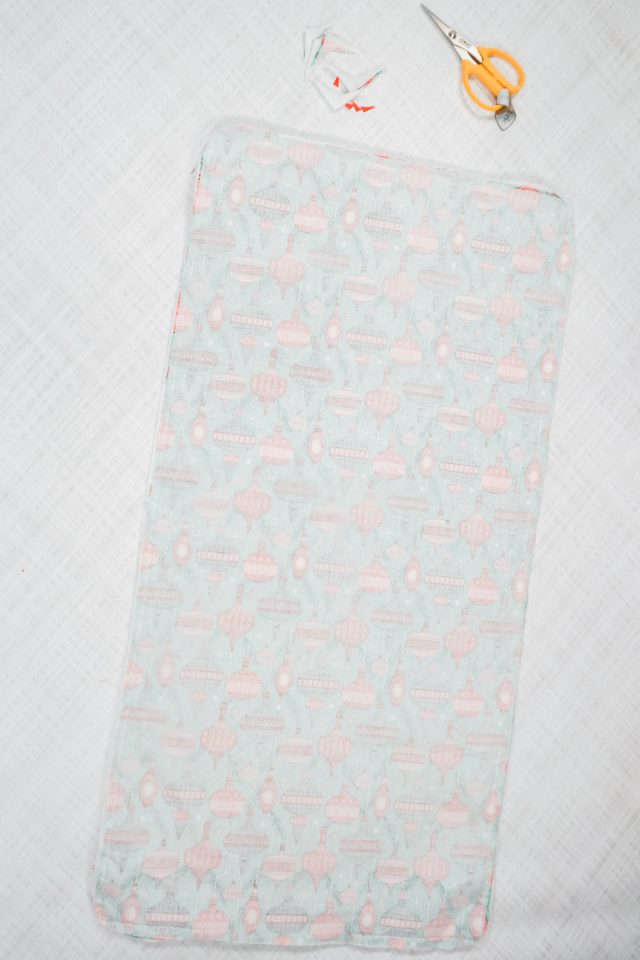
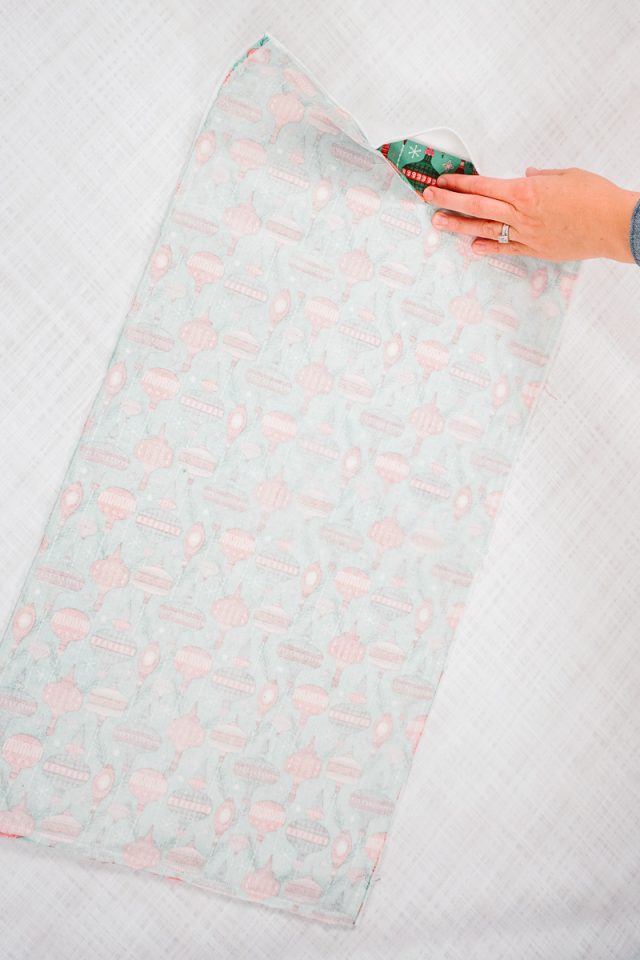
Turn the background right side out through the hole. Press the edges flat and the hole pinched closed.
Edgestitch around all four sides to close the hole and to create a finished look.
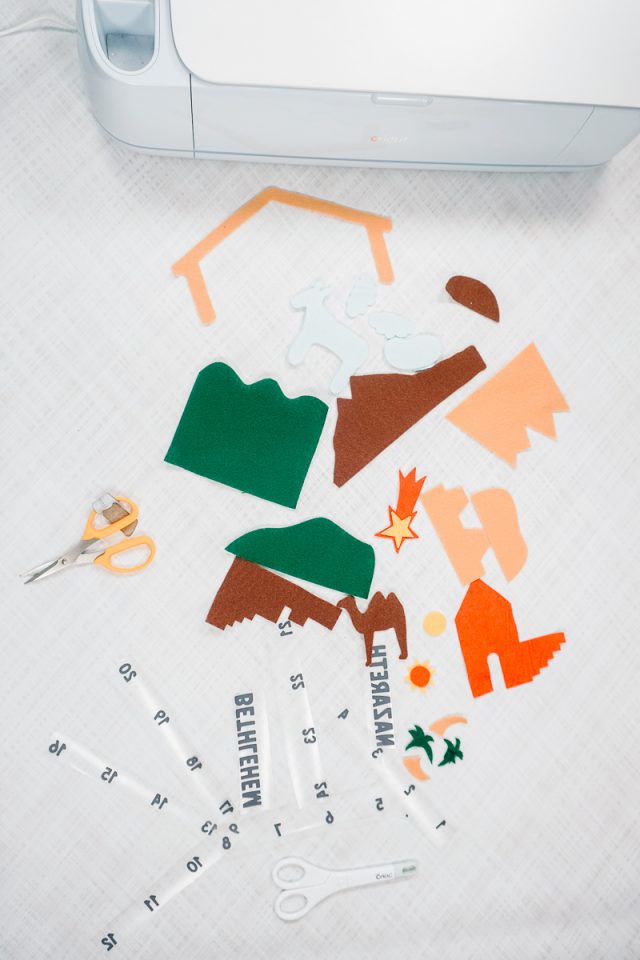
Use the Cricut Maker to cut out all the felt pieces OR cut out all the felt pieces by hand.
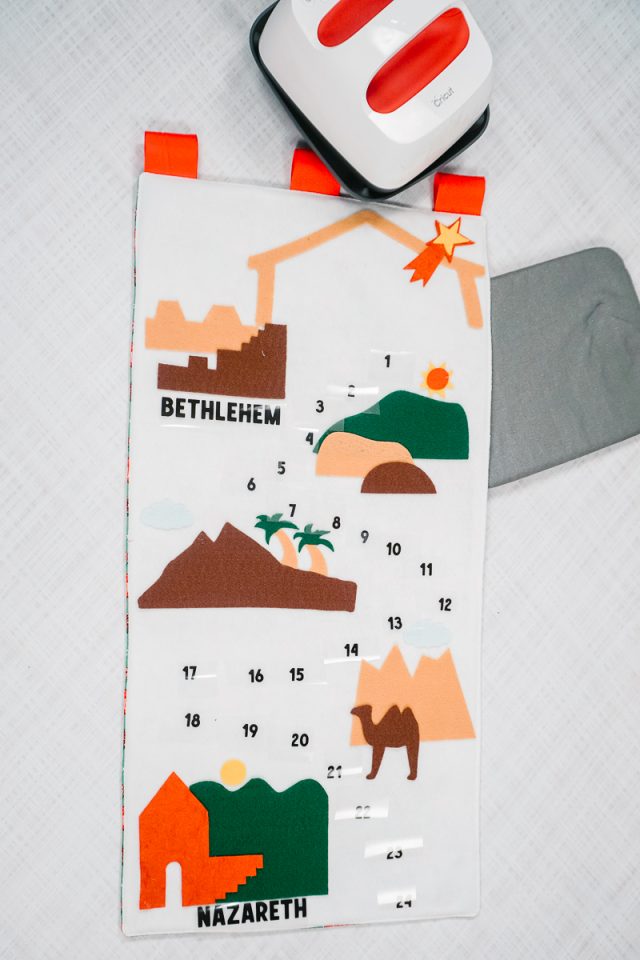
Use the Cricut Maker to cut the words and numbers out of iron on vinyl.
Get all the felt pieces organized. Weed the words and numbers and cut them apart.
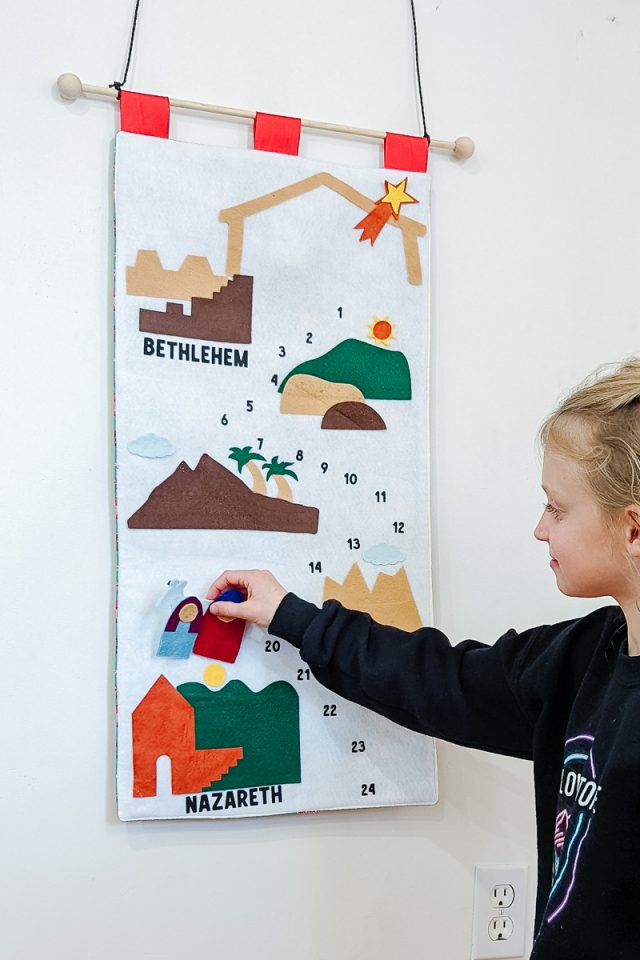
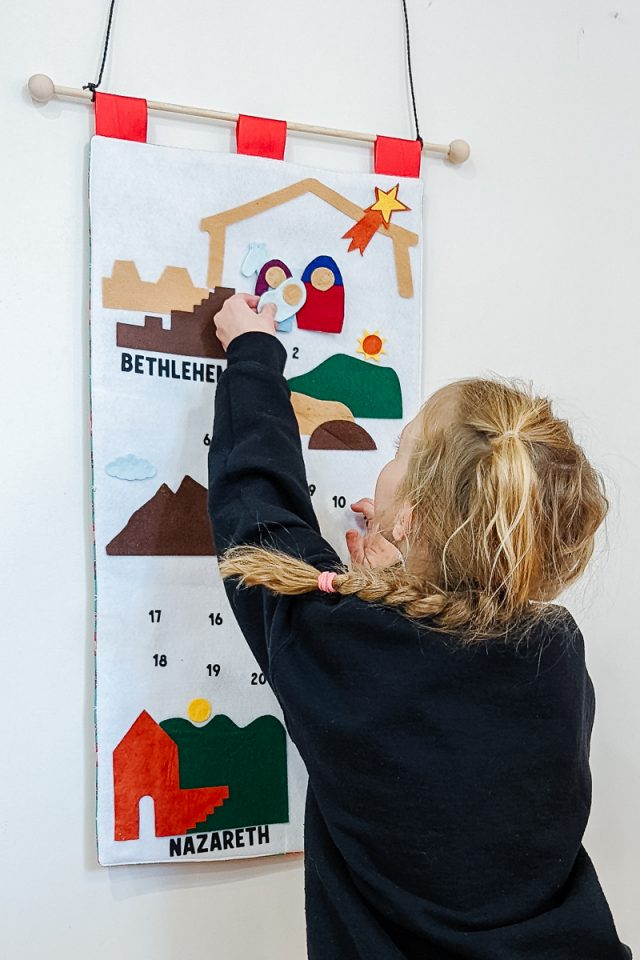
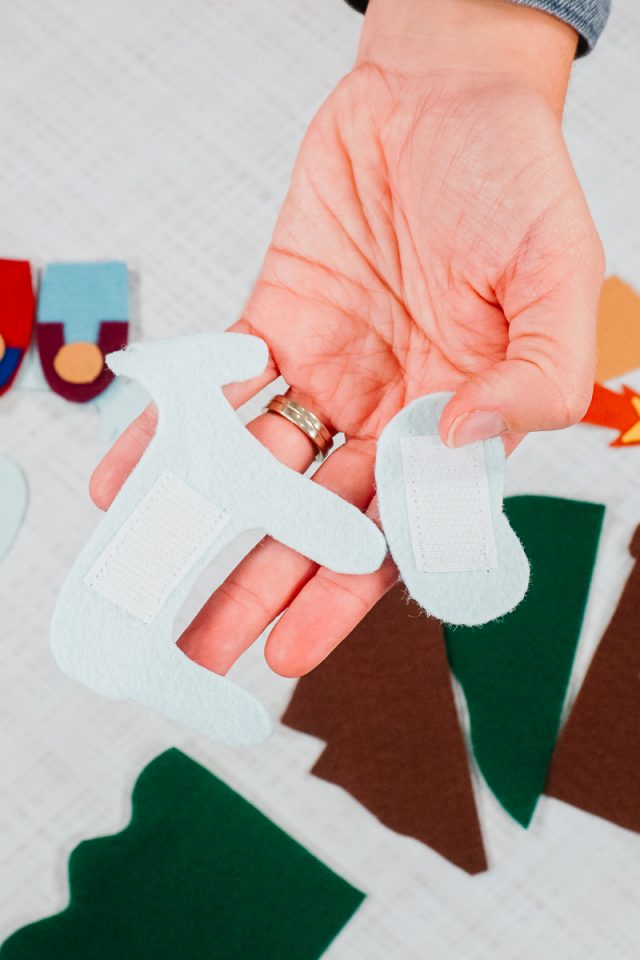
Sew velcro onto the back of one donkey and one baby.
Glue the baby layers together. Glue Mary, Joseph, and the donkey separately and then glue them all together.
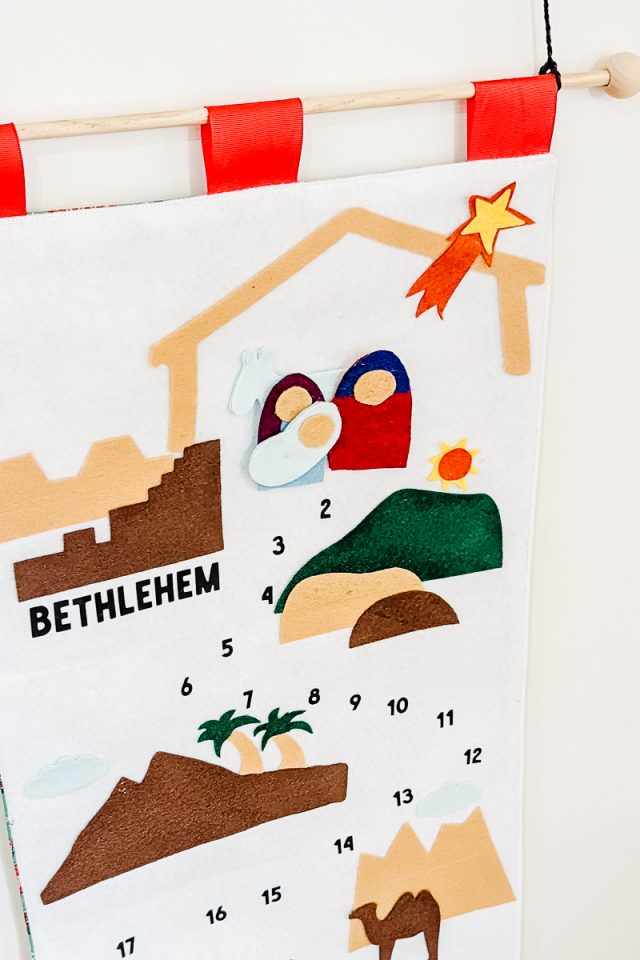
Glue all of the scenes onto the background.
Easypress the words and numbers onto the background.
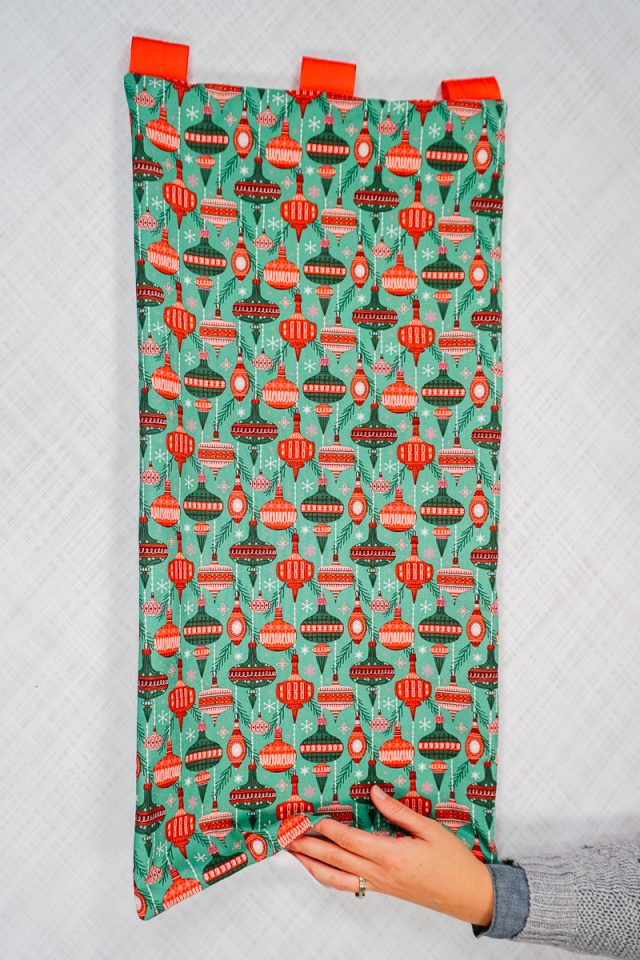
Cut the dowel to the right size and then glue the beads onto each end.
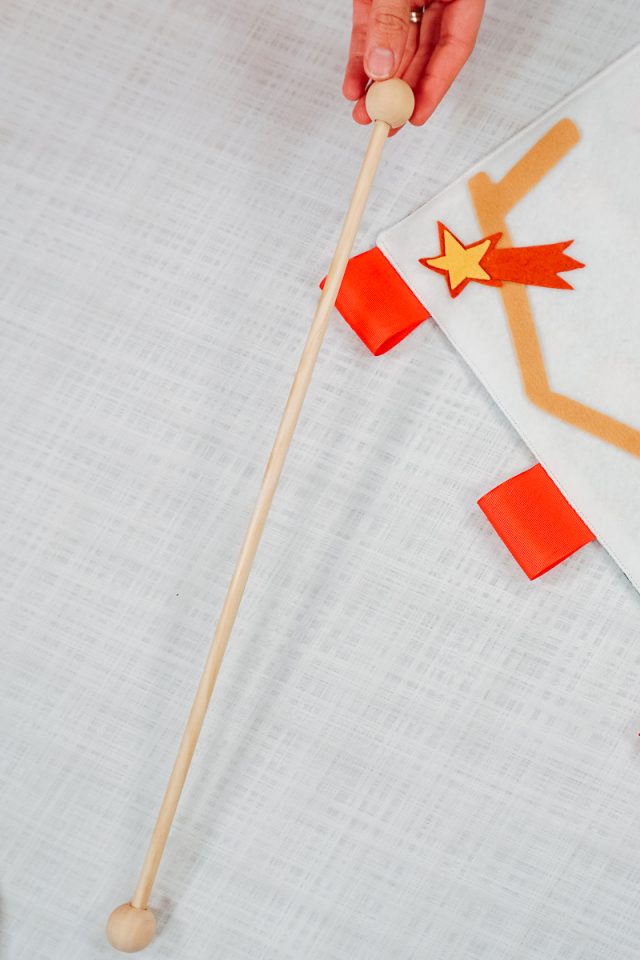
Slip the dowel into the ribbon loops. Tie a ribbon to the dowel so that it can be hung up. You finished!
Get the Free Sewing Pattern here!
Get the free felt Nativity Advent calendar sewing pattern
If you make something using this sewing project, I’d love to see! Please share it on social media with the hashtag #heatherhandmade and tag me!

I believe small sewing moments can create great joy. Find your own “right” way to sew. -Heather
cant get the free pattern to print
have you opened the zip file to see the PDF?