
DIY Snuffle Mat for Dogs

This post may contain affiliate links.
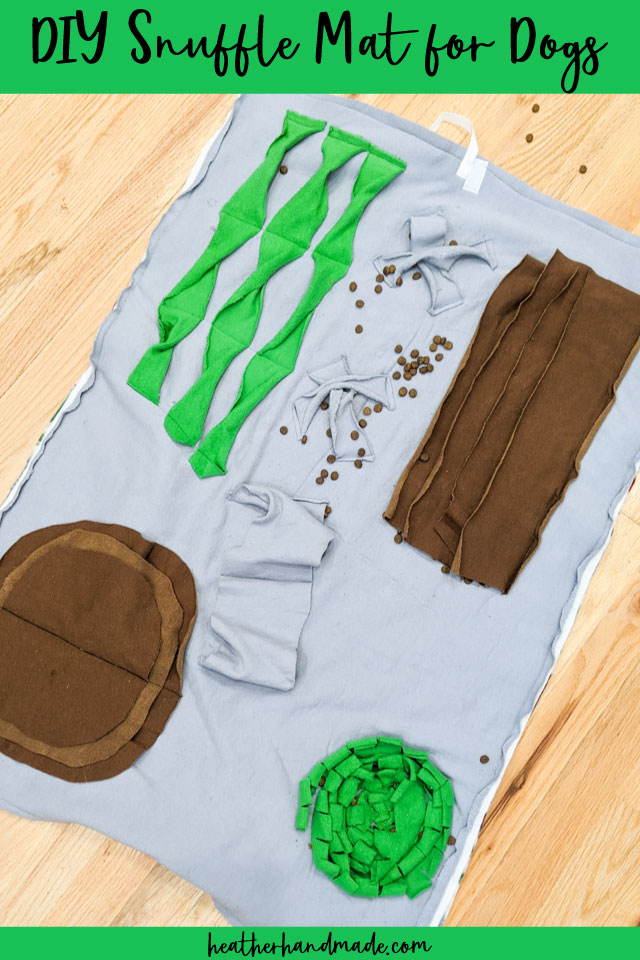
Learn to make a DIY snuffle mat for dogs that is an interactive feeding toy. This homemade sewing project is washable and keeps dogs busy!
We have a sweet young dog that we love so much, but when the kids are at school he often gets bored with nobody to play with. I love to play with him, but I still have things to get done.
I started researching interactive games and toys for dogs, and I loved the idea of snuffle mats but knew I could make one easily with fabric in my stash.
The great thing about a DIY snuffle mat is that they are interactive and washable, and they work a dog’s mind and nose. Since I finished this for our puppy, he loves eating breakfast this way!
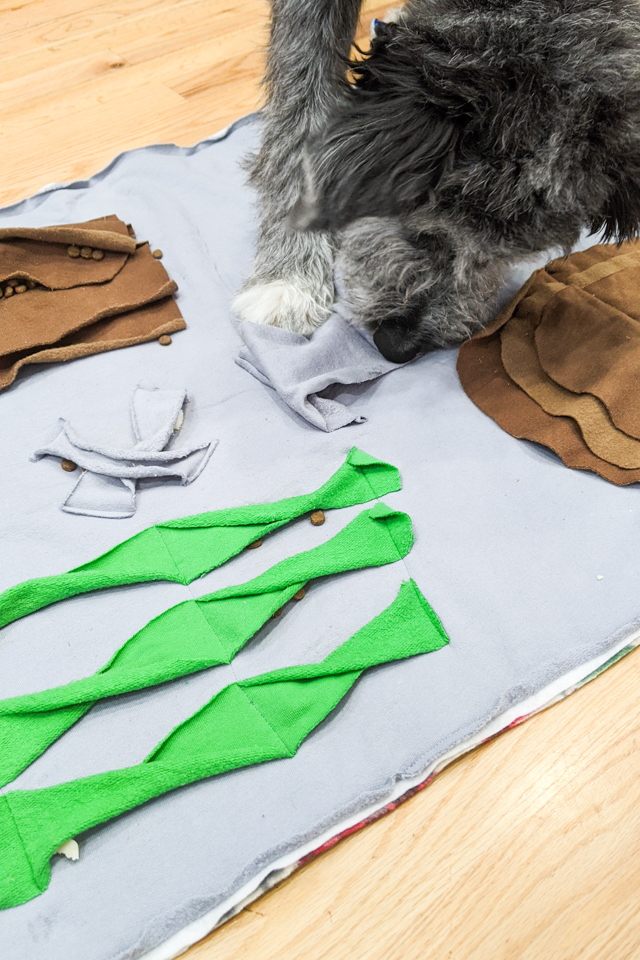
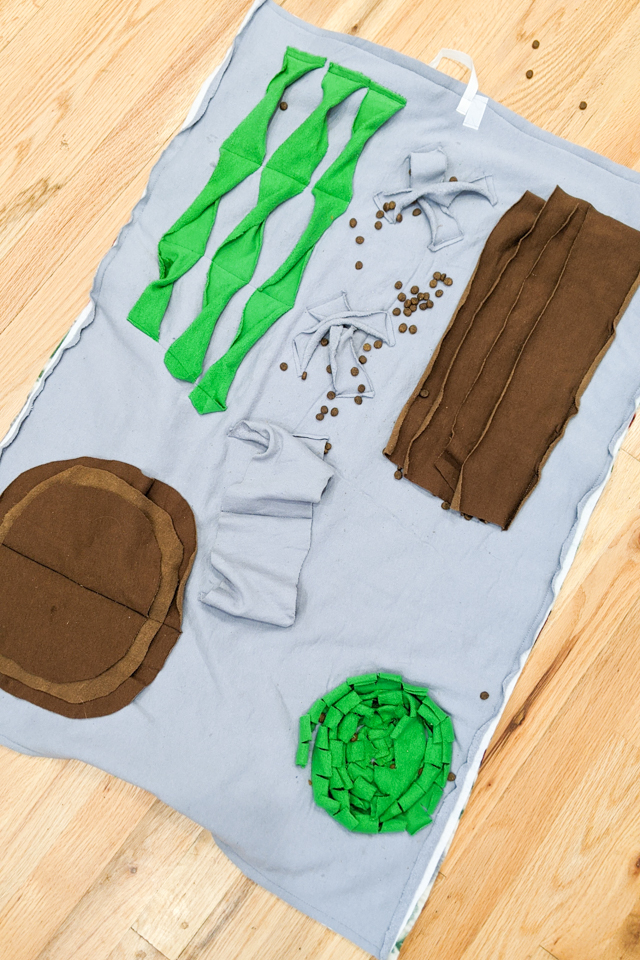
When using the DIY snuffle mat just attach the ribbon around two table or chair legs. Then add food or treats in all the little hiding spots.
We started the using the snuffle mat with a mix of kibble and treats so that our dog, and now we just use kibble because he loves it. I love that I can wash it whenever it gets dirty!
Do you love to sew? Try one of these sewing projects:
DIY Snuffle Mat for Dogs
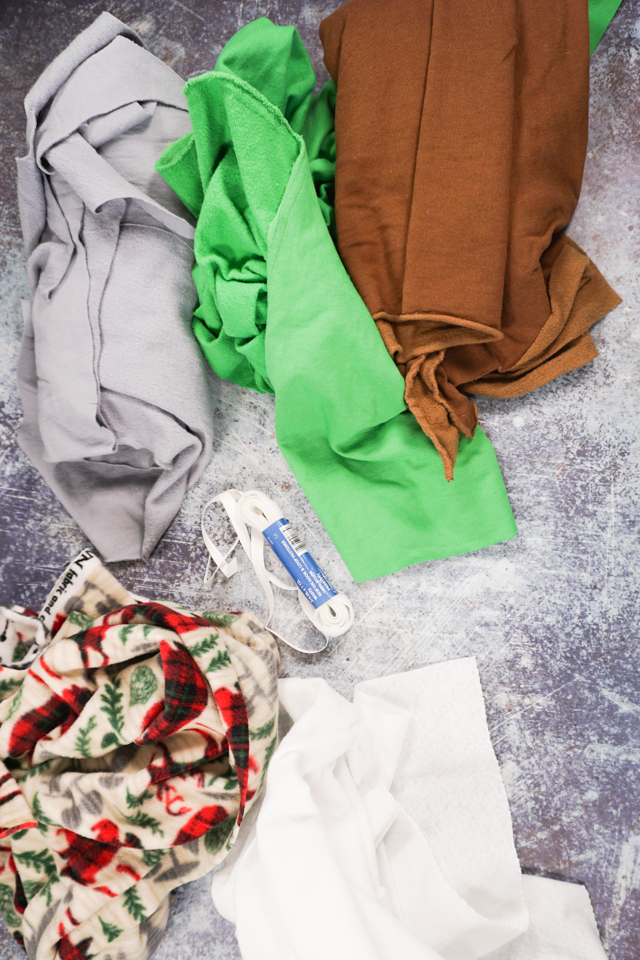
supplies and materials
- 2 yards of polar fleece
- 1 yard of felt
- Scraps of polar fleece or sweatshirt fleece
- Pieces of ribbon and Velcro
- Sewing tools
- Sewing machine
Cut the felt to 24 inches wide by 36 inches tall.
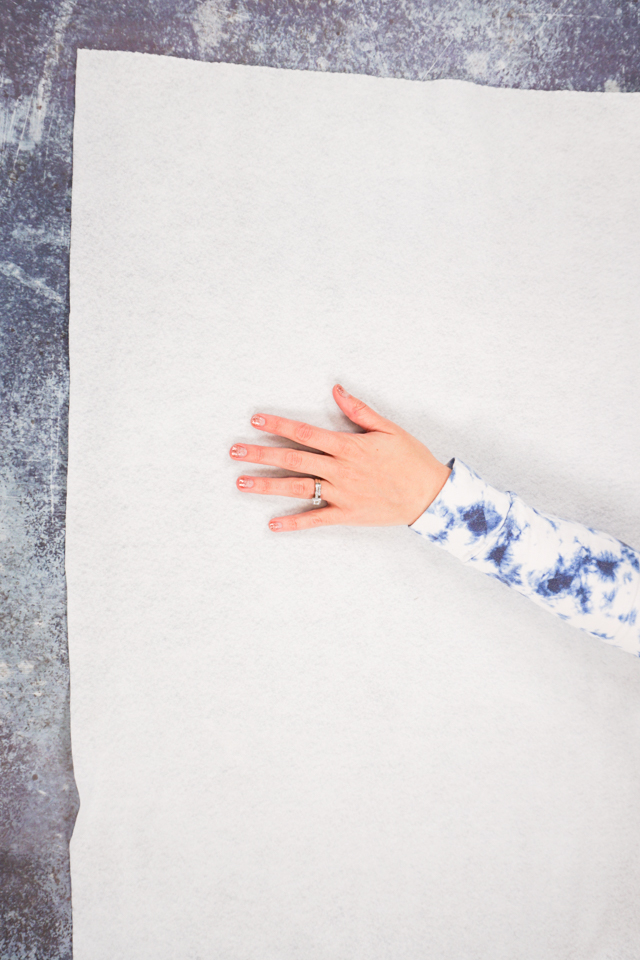
Cut a piece of fleece to the same size, 24 inches by 36 inches.
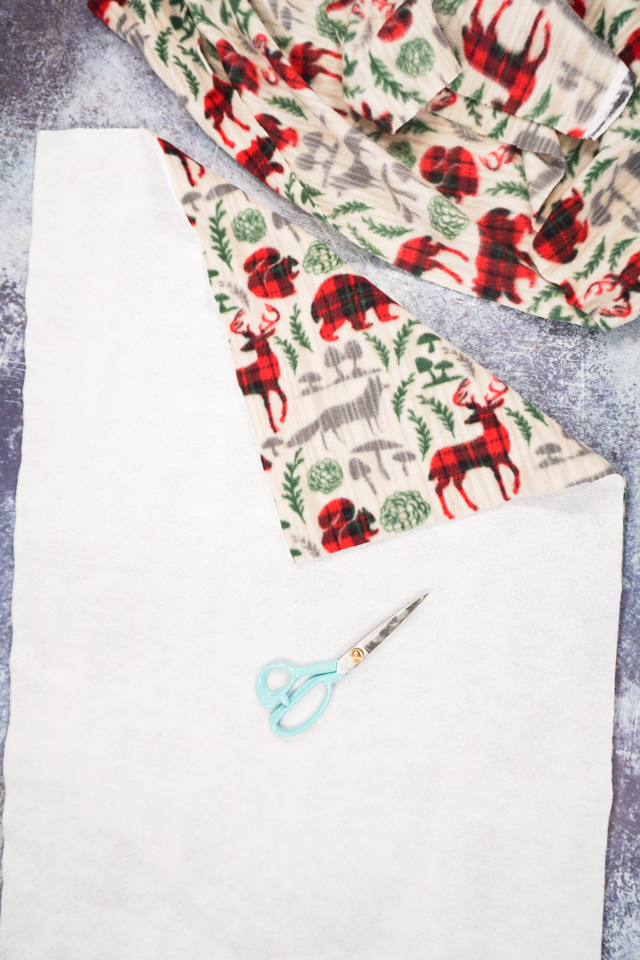
Cut another piece of fleece to the same size, 24 inches by 36 inches.
Layer the fleece, then the felt, then the fleece in a little sandwich.
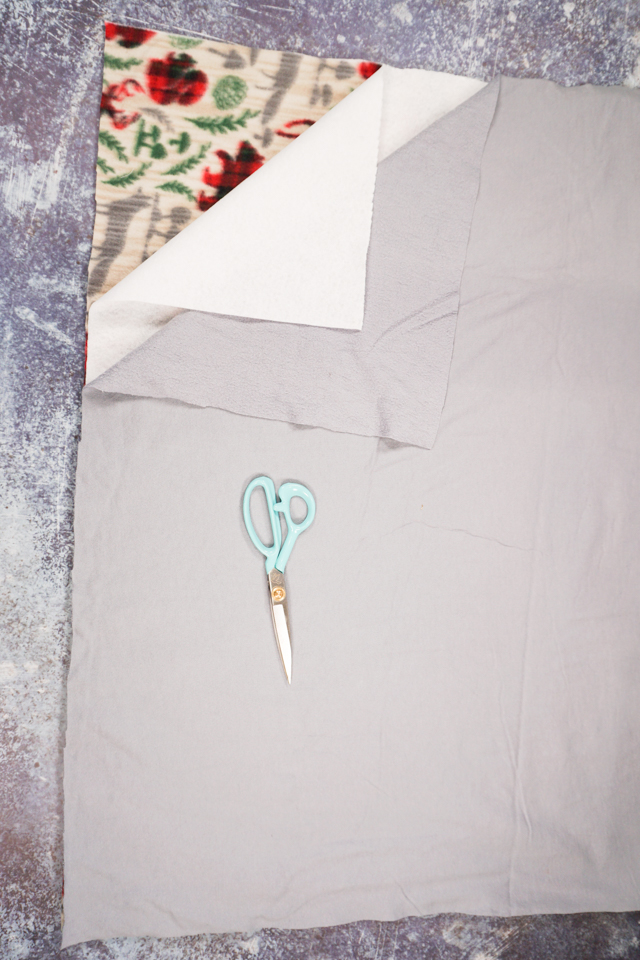
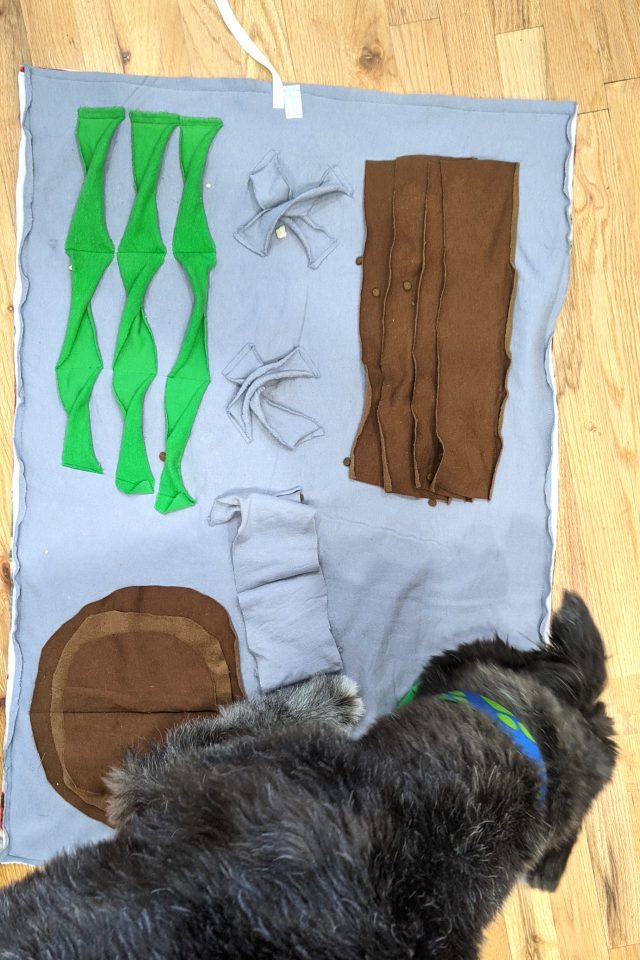
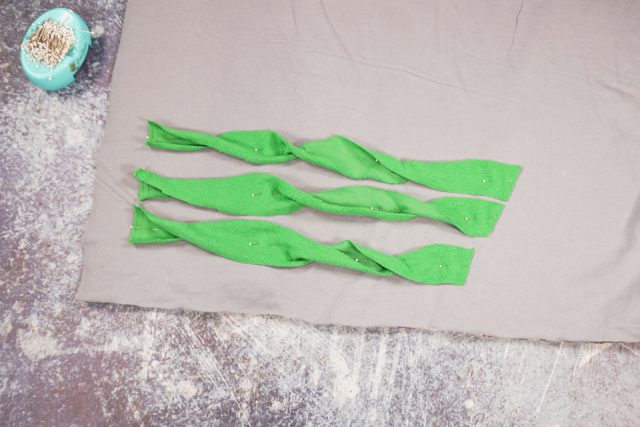
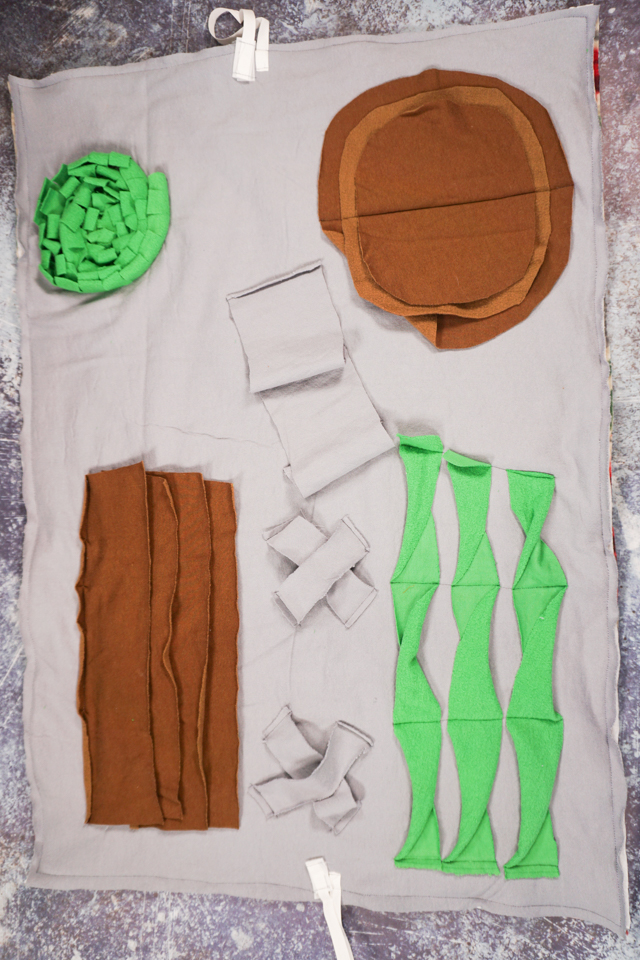
Cut three strips of fleece.
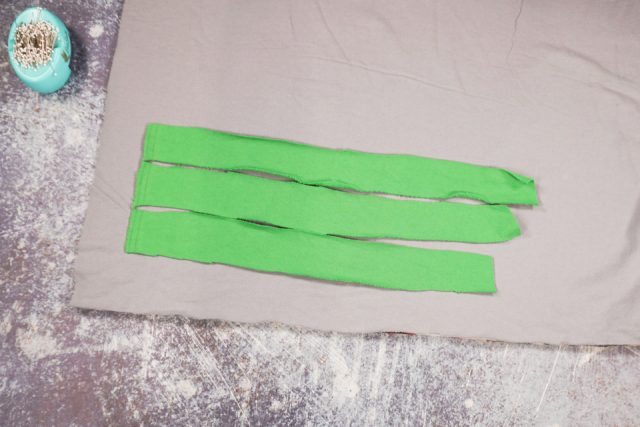
Pin the strips to the fleece sandwich. Pin in four places and twist the piece in between the pins. Sew on each side and at each pin.
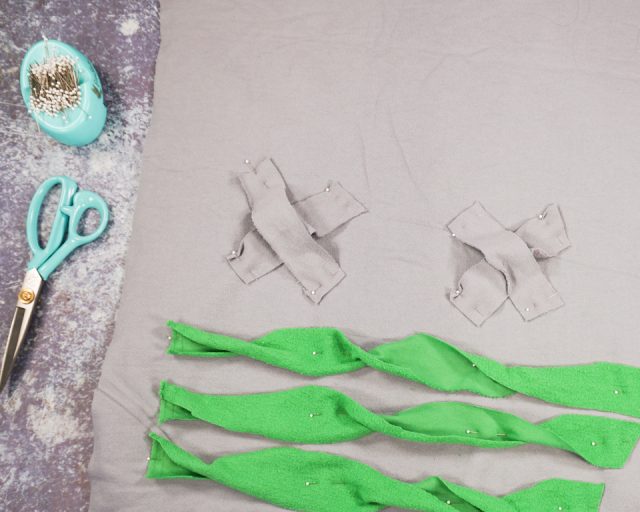
Cut four strips of fleece. Pin them to the fleece sandwich in two “X” shapes. Pull the center up a little before pinning so there is a gap under the fabric. Sew on each of the strips to secure.
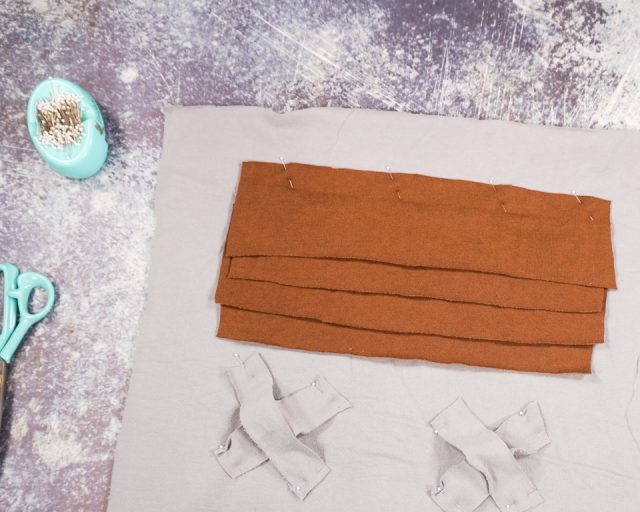
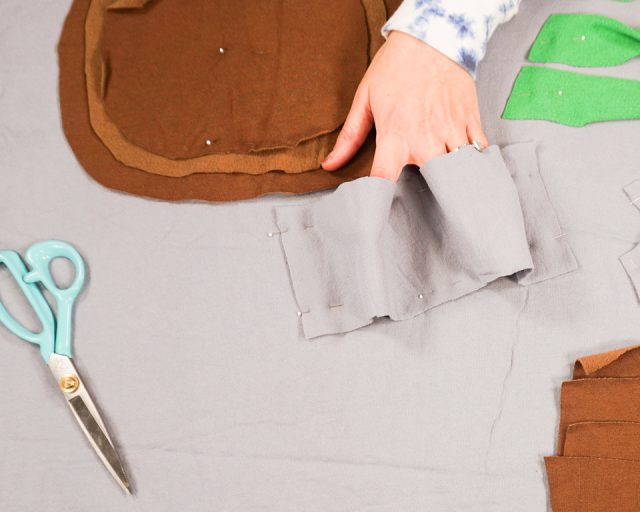
Cut four large rectangles. Layer them to create something like shingles. Pin one long side of each rectangle and then sew along that edge. Flip the other layers out of the way while you’re sewing so they don’t get caught in the seam.
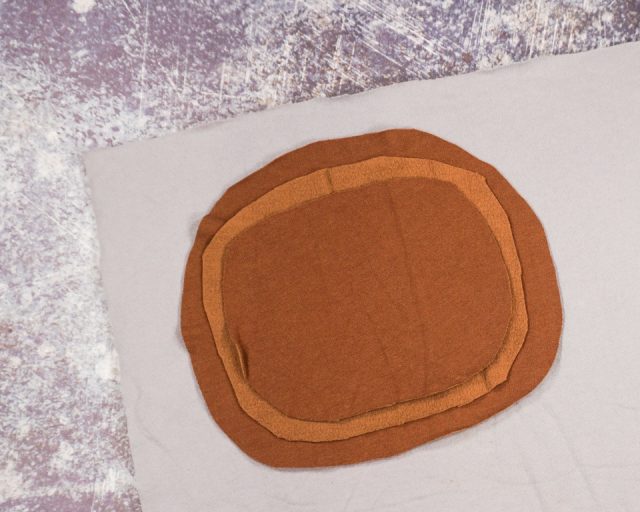
Cut out three large circles and layer them larger to smaller on the fleece sandwich. Pin down the center of the circles through all the layers. Sew down the center of the circles.
Cut a rectangle and then pin it to the fleece sandwich with two tunnels. Sew a straight line on each short side and down the center.
Cut two long strips of fabric. Cut slices through one long side of each piece. Sew the uncut side in a spiral onto the fleece sandwich. Once one piece is sewn on start sewing on the other piece.

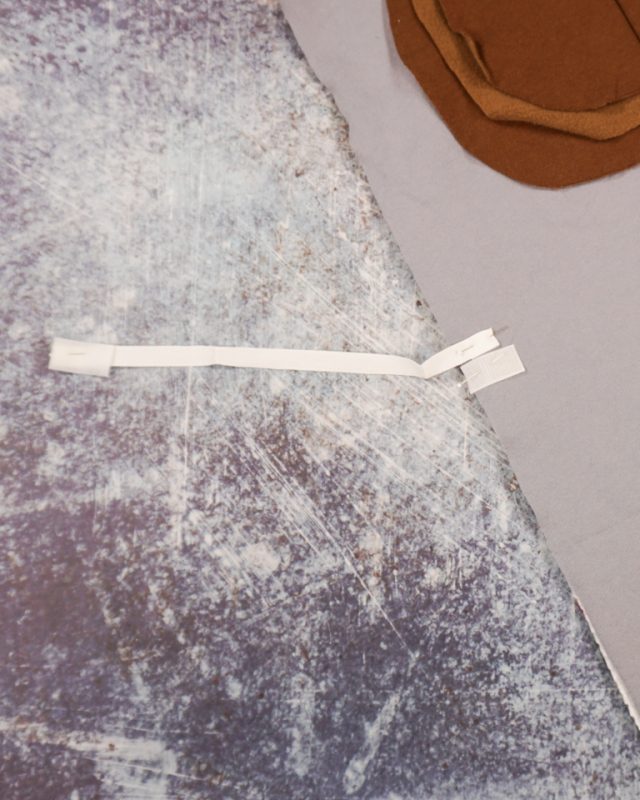
Cut two pieces of ribbon. Cut some velcro for each side. Sew the ribbon and the velcro onto the center of each side.
Sew around the fleece sandwich 1/2 inch from the edge. If the fabric has adjusted at all then you might need to trim the edges to match.
If you make something using this sewing project, I’d love to see! Please share it on social media with the hashtag #heatherhandmade and tag me!

I believe small sewing moments can create great joy. Find your own “right” way to sew. -Heather