DIY Reusable Duster

This post may contain affiliate links.
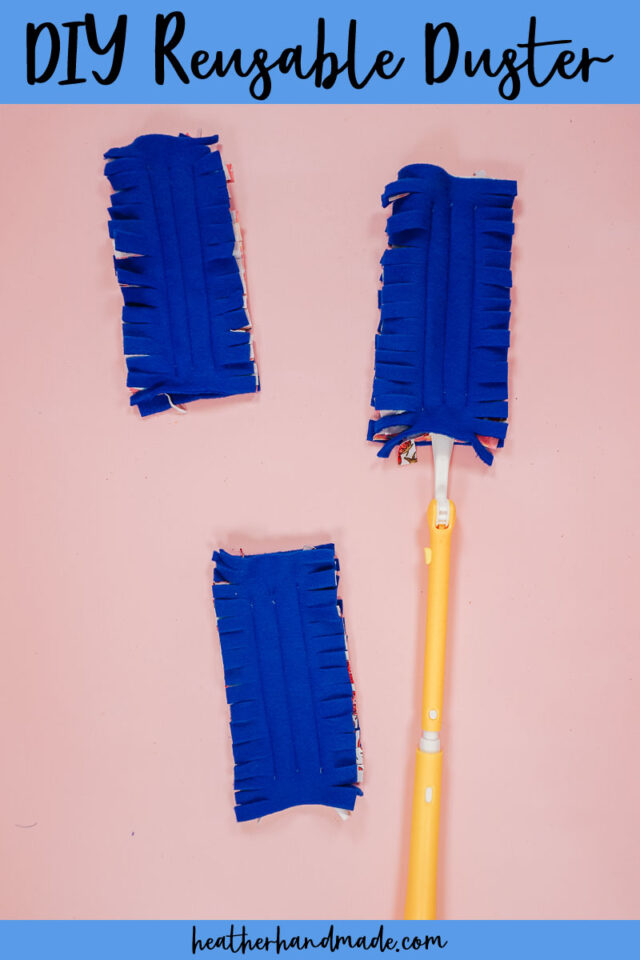
Learn how to make a DIY reusable duster cloth for duster wands. This easy sewing project it uses up fabric scraps, and it’s washable.
Sometimes you start with a new goal by buying the tool that will help. We wanted to be better at dusting this year, figured out how to add it to our chores, and bought a duster handle with disposable duster cloths. We’ve been dusting every week, but we’ve used up the disposable duster cloths at this point.
I didn’t want to forget to buy duster cloths, and I wanted to save money so I decided to make my own reusable duster cloths. I used two different polyester fabrics to catch the most dust. I can’t wait to teach you how to make this easy sewing project!
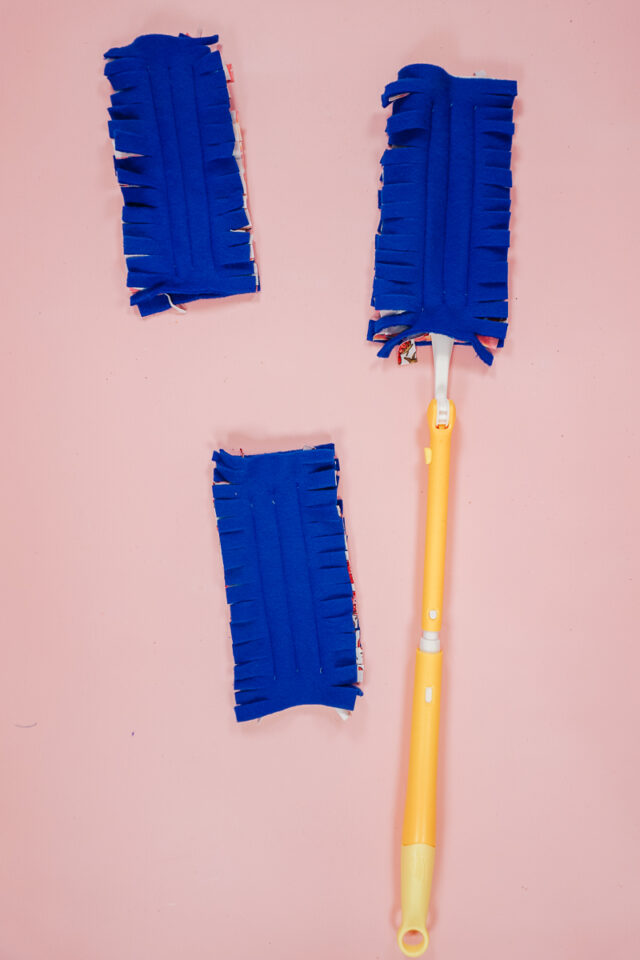
What is a duster?
A duster is a wand handle that has a spot at the top to put on or take off duster cloths. There are different lengths, designs, and brands, but they all have the same function.
The duster cloths that you buy are a material that is staticky and attracts dust. It also has lots of slits so that there’s a lot of surface area for catching dust.
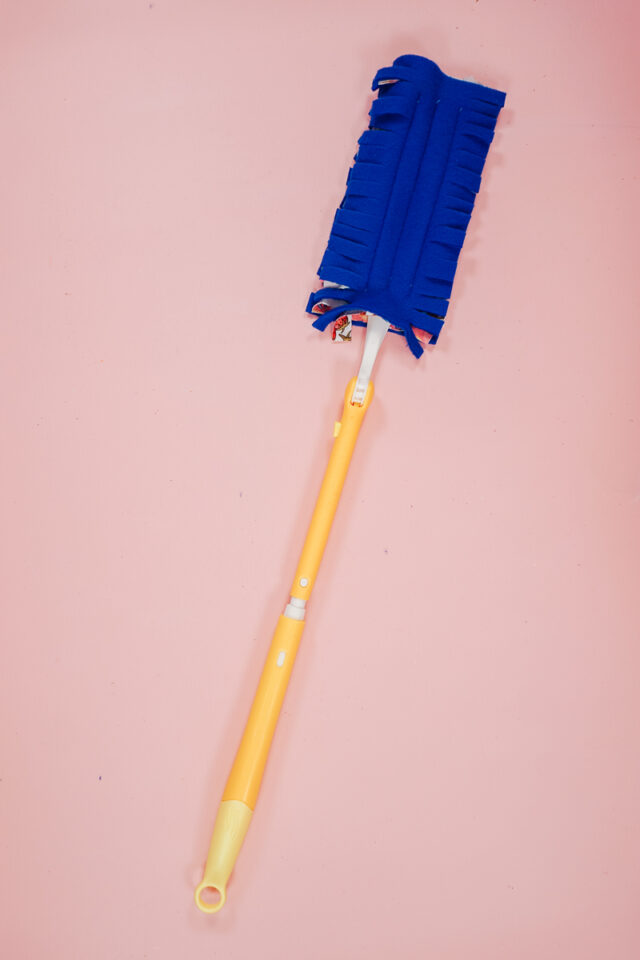
How to make a duster reusable?
You can make the same shape and size of duster cloth with fabric that is washable and durable while also attracting dust. Using washable fabric means you can wash it after dusting so that you can use it again on another day.
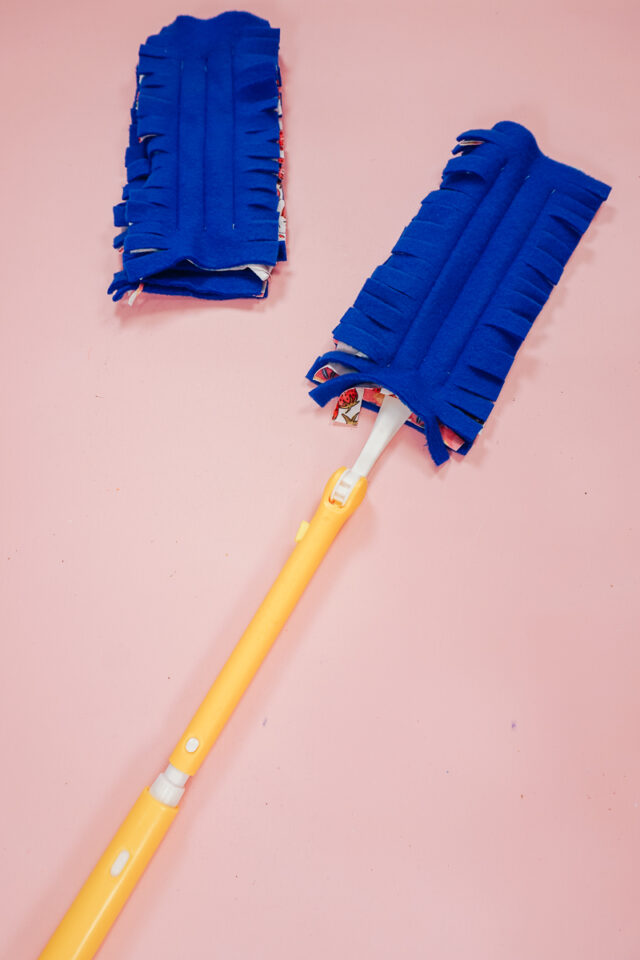
What fabric to use for a dust cloth?
Do you know what fabric attracts dust? Polyester. Polyester can get staticky so it’s a great fabric to use.
I used a combination of polar fleece which is thick, washable, and durable, and double brushed poly which is thin and can have several layers to catch more dust.
Love to sew? Try one of these sewing projects:
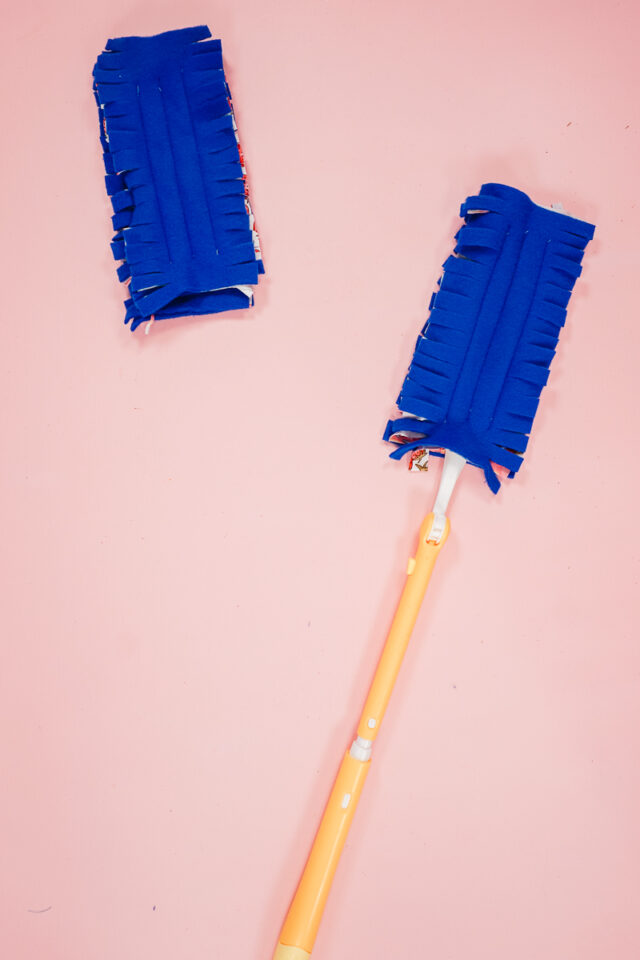
DIY Reusable Duster
Supplies
- Scraps of polar fleece
- Scraps of knit polyester fabric like double brushed poly
- Duster and disposable dust cloth
- Sewing tools
- Sewing machine
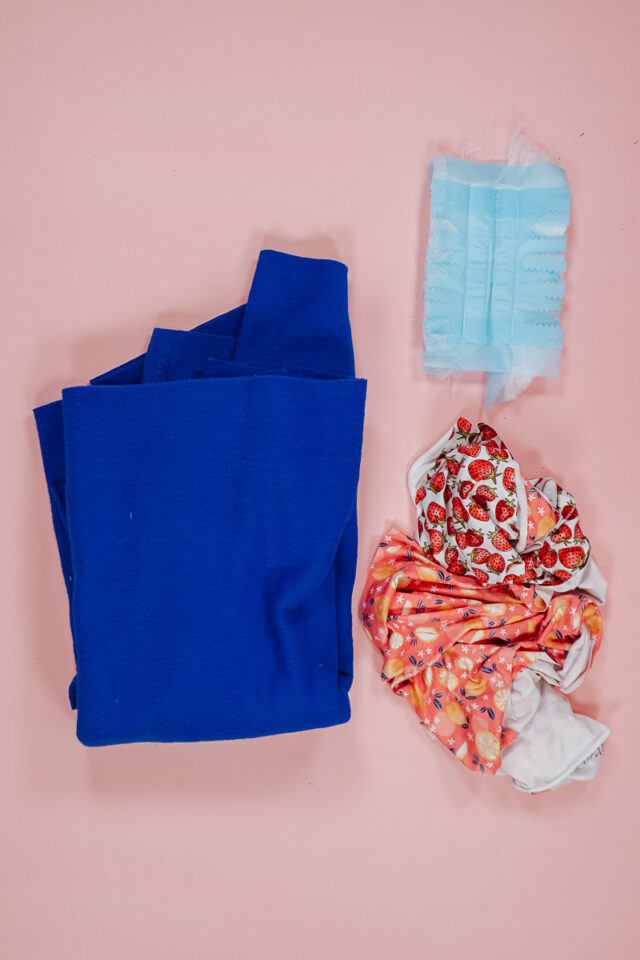
Measure your disposable dust cloth. Mine was about 4 inches wide and 8 inshes tall.
Using your rectangle measurement, cut two pieces of fleece for each dust cloth you are making. Cut two or more pieces of double brushed poly for each dust cloth you are making. (You’ll have four pieces or more for each dust cloth you make.)
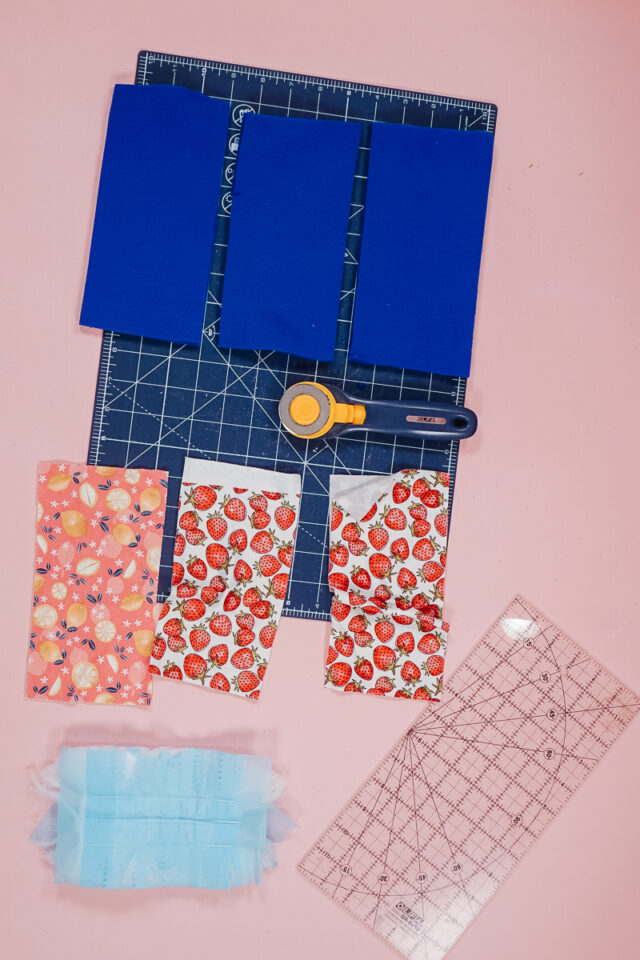
Layer the pieces by putting the fleece down first, then all the pieces of the double brushed poly, and then the fleece on top. It doesn’t matter which way the double brushed poly faces because it’ll all fluff together in the end.
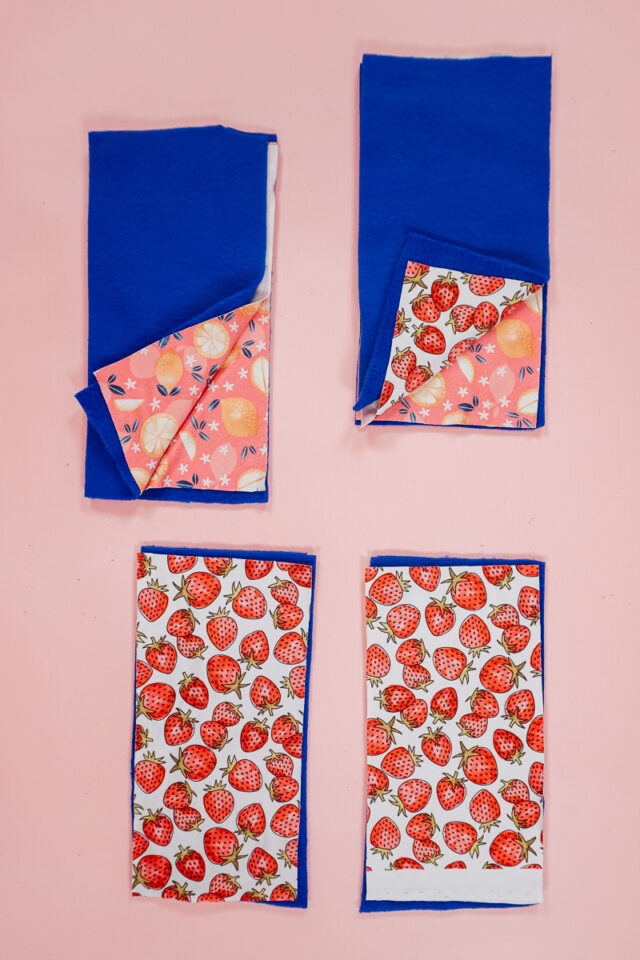
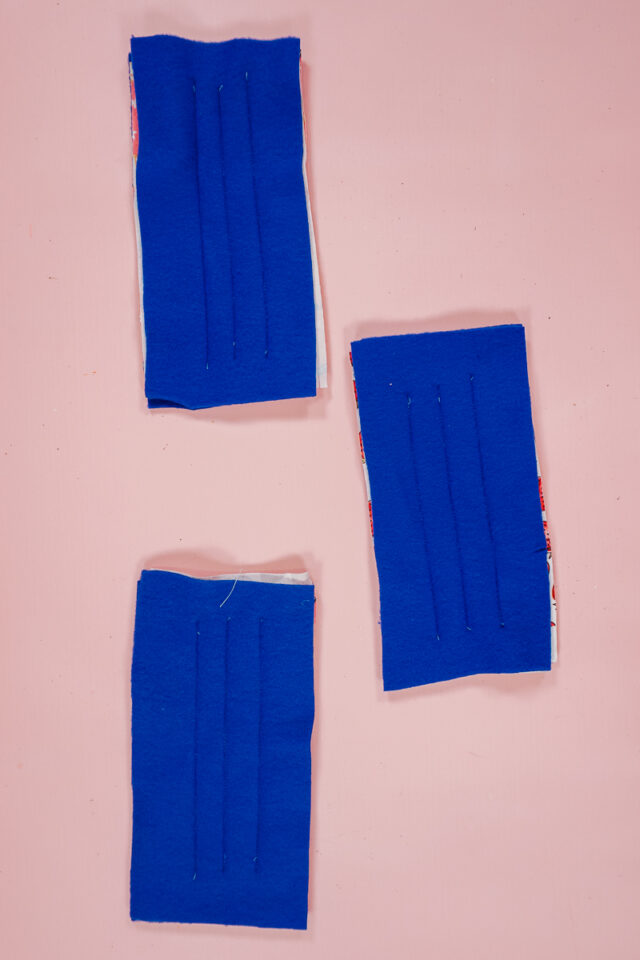
Determine where the lines are on the duster cloth. Sew three lines on the reusable duster cloths in the same place.
Don’t start and the end, but start about 1 inch from the ends. Make sure you backstitch when you start and when you stop.
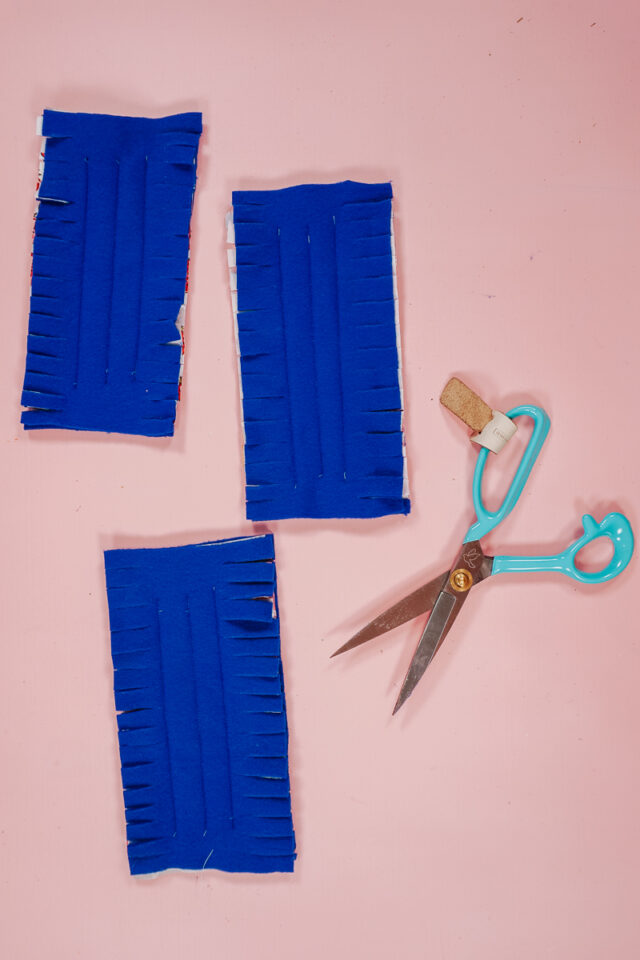
Cut slits up and down the long edges of the duster cloth. Cut through all layers, but do not cut through any stitch lines.
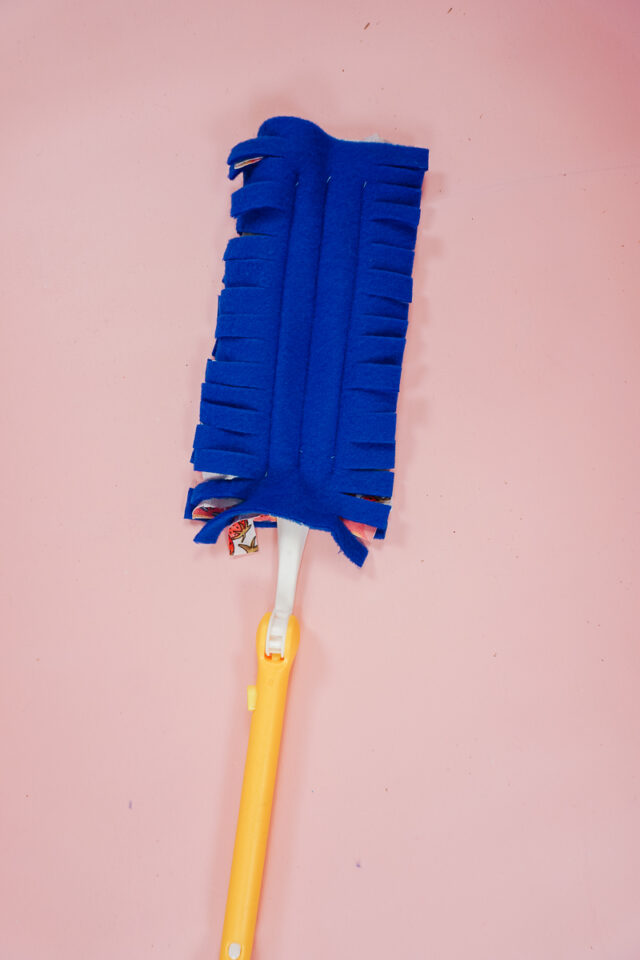
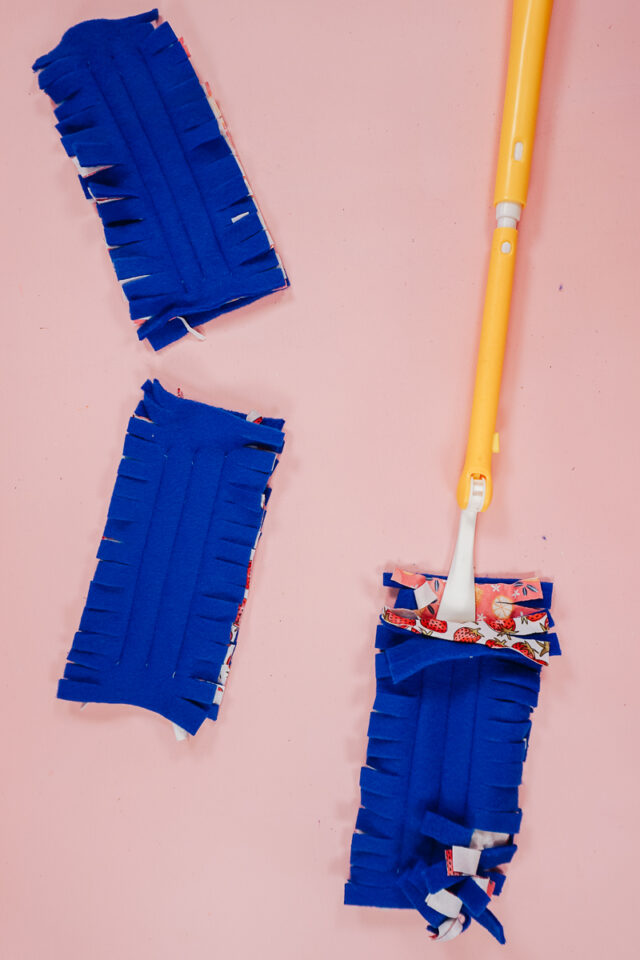
Slip the duster cloth onto the duster handle by sliding it between the double brushed poly fabric layers. You finished!
If you make something using this sewing project, I’d love to see! Please share it on social media with the hashtag #heatherhandmade and tag me!

I believe small sewing moments can create great joy. Find your own “right” way to sew. -Heather
