
DIY Halloween Sweatshirt with Patches

This post may contain affiliate links.
Learn how to make a DIY Halloween Sweatshirt with ghost patches. This Halloween sewing project is great as a sew or no-sew project.
I’m so excited for Halloween this year! I love getting holiday themed sweatshirts, but they are even better when I make them. I have made so many different Halloween sweatshirts for myself and for my kids over the years, but this year I needed something really quick and easy.
I have loved all the cute Halloween patches I’ve been seeing. (I already made a throw pillow and a towel with patches!) I knew that I could make a really great ghost Halloween sweatshirt with some fun and unique ghost patches. Let me show you how to make one!

What patches to use?
You can use any sew on or iron on embroidered patches to make a Halloween sweatshirt. You can also use chenille patches (patches with a fuzzy towel like texture) that are very popular right now. Since a sweatshirt will get washed regularly, you’ll need to make sure the patches are very secure and washable.
Iron on or sew on?
Iron on embroidered patches are much easier to apply since you can just iron them on. Sometimes the glue bond is really strong and the patch never falls off, but sometimes the glue bond isn’t great and the patch eventually falls off. You can add some stitching to the iron on patch, but sometimes the patch and glue are too thick to sew through.
Sew on embroidered patches are harder to apply since you are sewing it on, but they are very secure and don’t ever fall off. These take much longer to apply. These work much better for clothing!

Tips for sewing on a patch
- Use a washable glue stick to glue the patch to the sweatshirt, or use pins to pin the patch in place.
- The patch will be stiff which will make it easier to sew onto a sweatshirt.
- Don’t pick a sweatshirt or sweater that is too thick or it will be really hard to sew.
Where to buy patches?
I found a lot of great patches on Amazon:

Love to sew? Try one of these sewing projects:

DIY Halloween Sweatshirt with Patches
Supplies
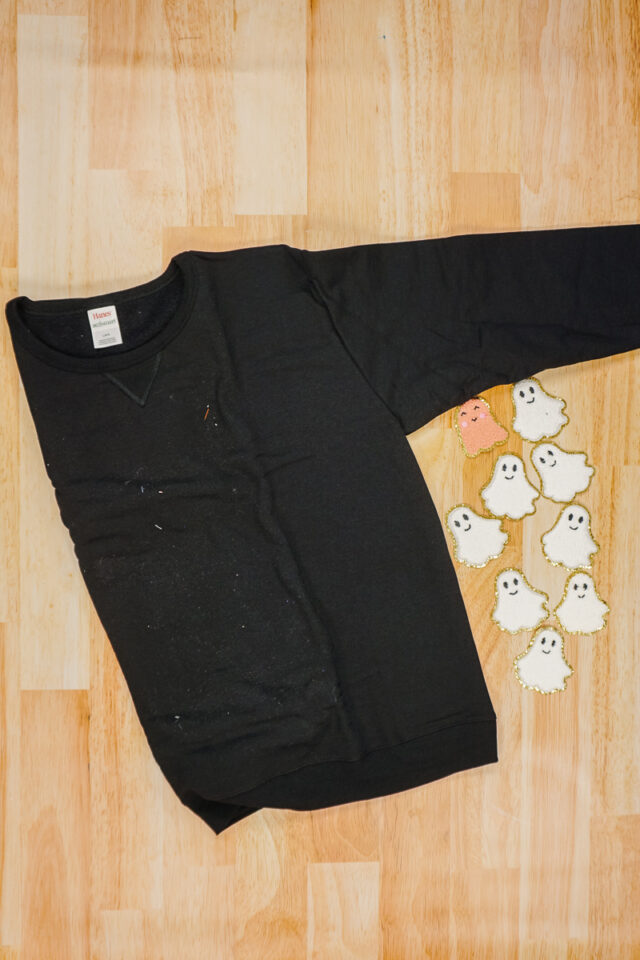
- Sweatshirt that fits you
- Ghost patches* in white and pink
- Sewing tools
- Sewing machine
Instructions
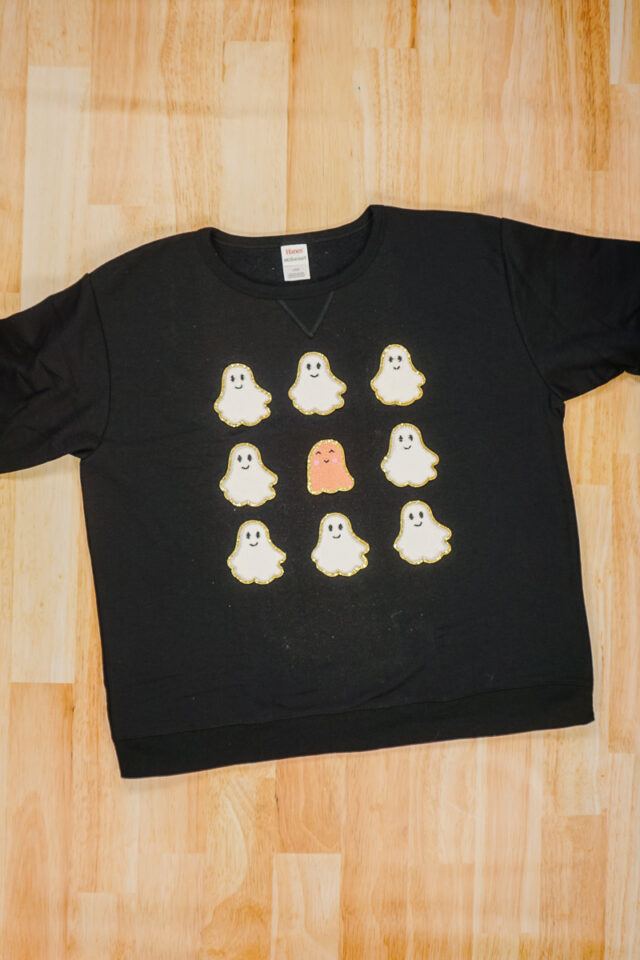
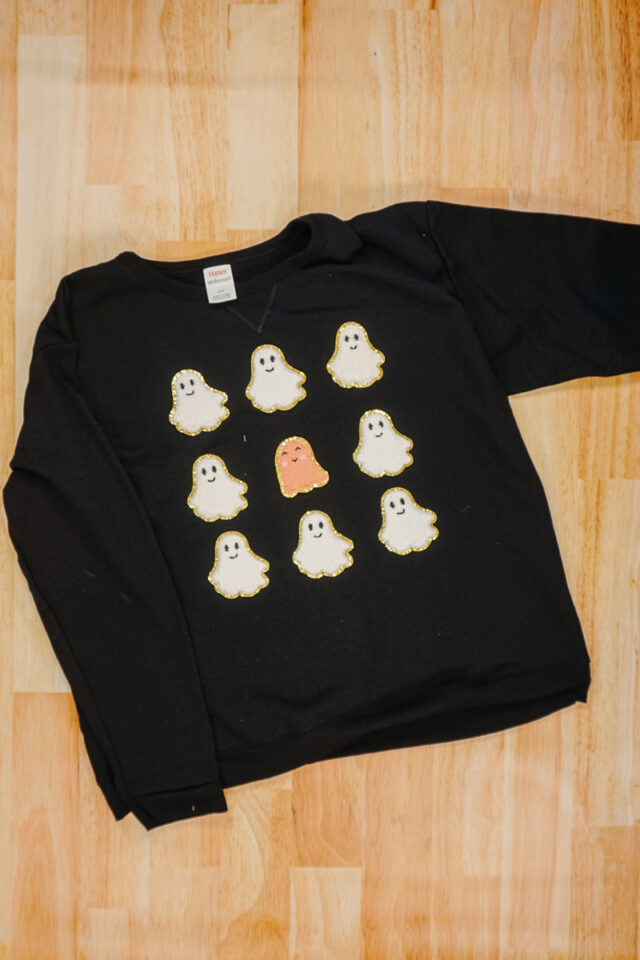
I decided to use nine patches: eight white ghosts and one pink ghost. I played around with the layout for awhile before I decided on the white ghosts surrounding the pink ghost.
Lay out the patches on the sweatshirt in the decided design.
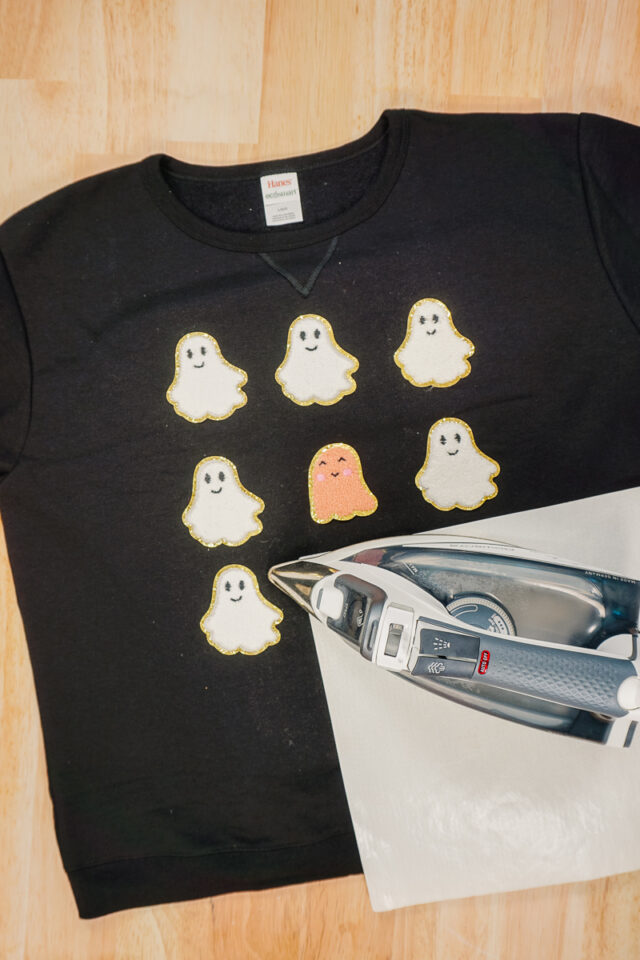
With a hot iron, iron the patches onto the sweatshirt. Make sure to use a press cloth or teflon sheet to protect the patches from the direct heat of the sweatshirt.
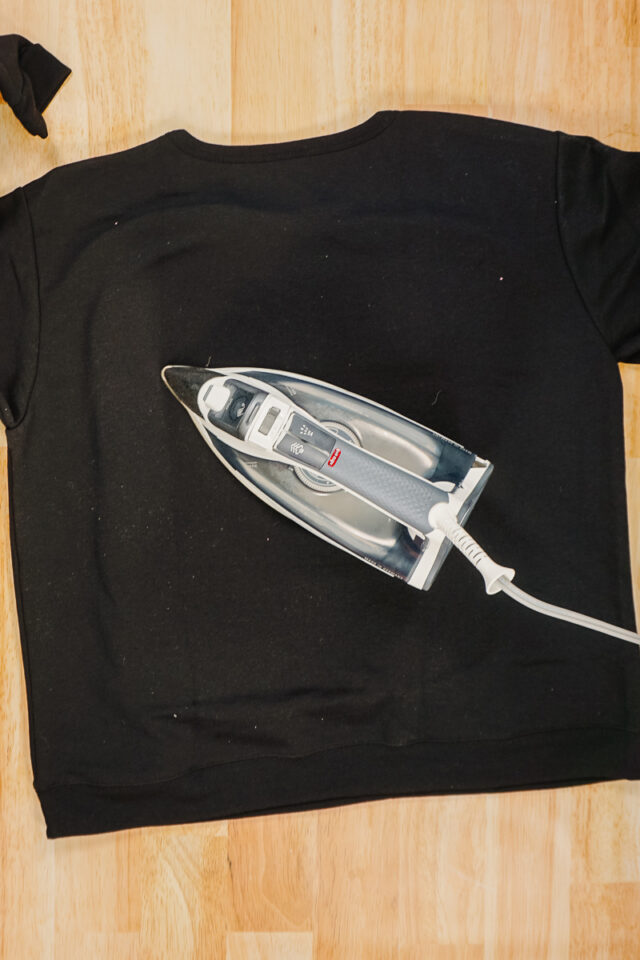
Once the patches are somewhat fused, turn the sweatshirt over. Iron the patches from the back to heat the glue again and make it more secure.
Sew the patches onto the sweatshirt with matching thread. I didn’t worry about being super accurate with the stitch line. I just wanted the sewing to double secure the patches.
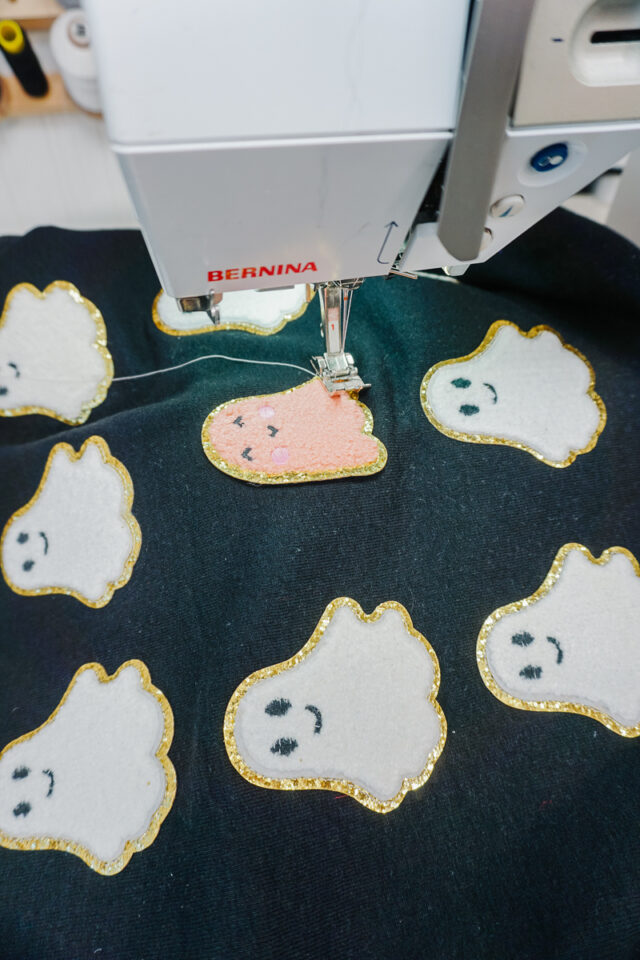
If you look closely you can see that my stitch line is a bit wobbly and doesn’t perfectly follow the shape of the ghost. The fuzzy patches hides my stitches, and you can’t see it from a couple of feet away.

You finished!
If you make something using this sewing project, I’d love to see! Please share it on social media with the hashtag #heatherhandmade and tag me!


I believe small sewing moments can create great joy. Find your own “right” way to sew. -Heather