
DIY Fabric Tree Decoration for Christmas

This post may contain affiliate links.
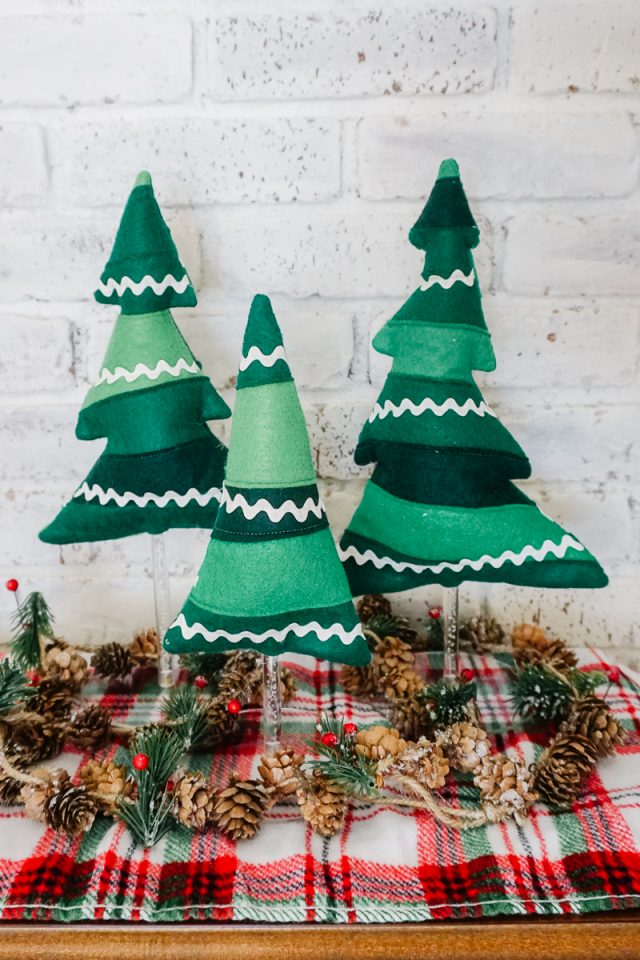
Learn how to make a DIY fabric tree decoration for Christmas. With stands and felt, these trees are a great Christmas sewing project.
There are lots of things that I love about the Christmas holiday, but a Christmas tree is one of my favorite parts of the Christmas holiday. There’s so many great activities that go along with the tree: picking out a real tree, decorating a tree, sitting under the Christmas tree lights, and all the presents that sit under the tree.
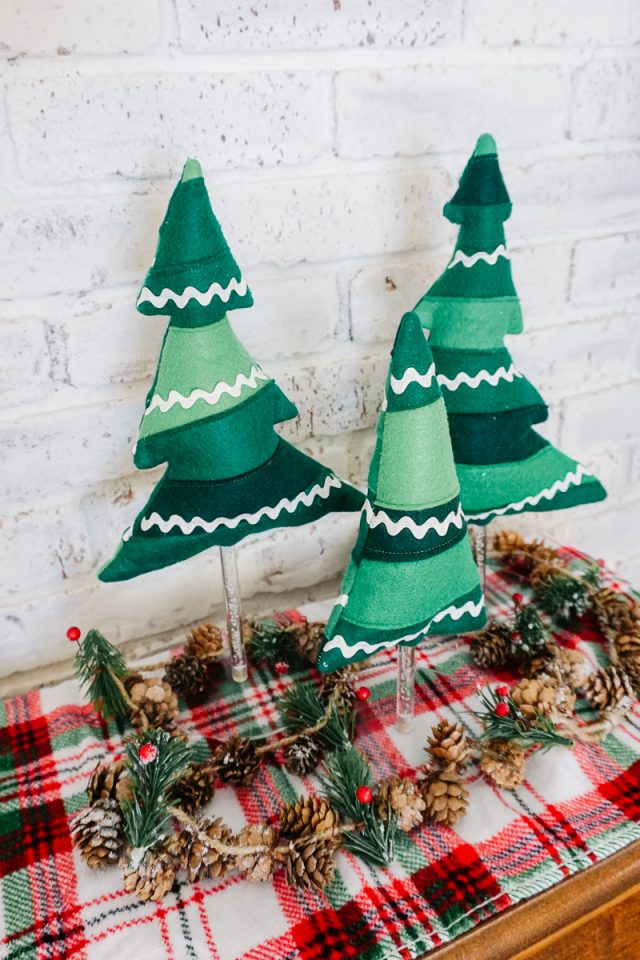
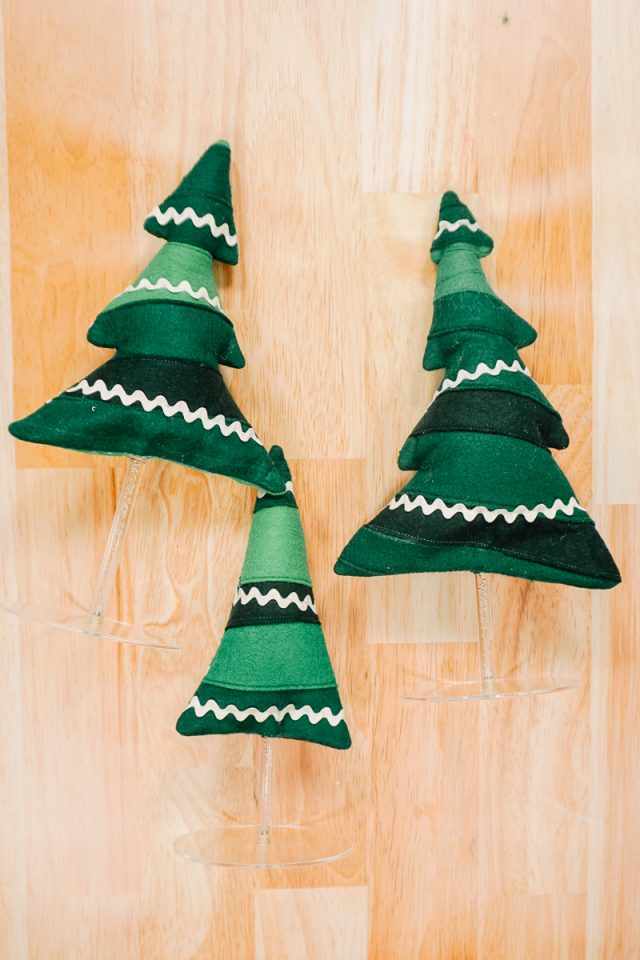
I wanted to make some fabric trees that I can decorate with. They are a mix of green felt with pieces of white rick rack that look like snow or garlands. Each tree is on an acrylic stand so that they stand on their own, and I can place them in different places to decorate.
What fabric should I use for fabric trees?
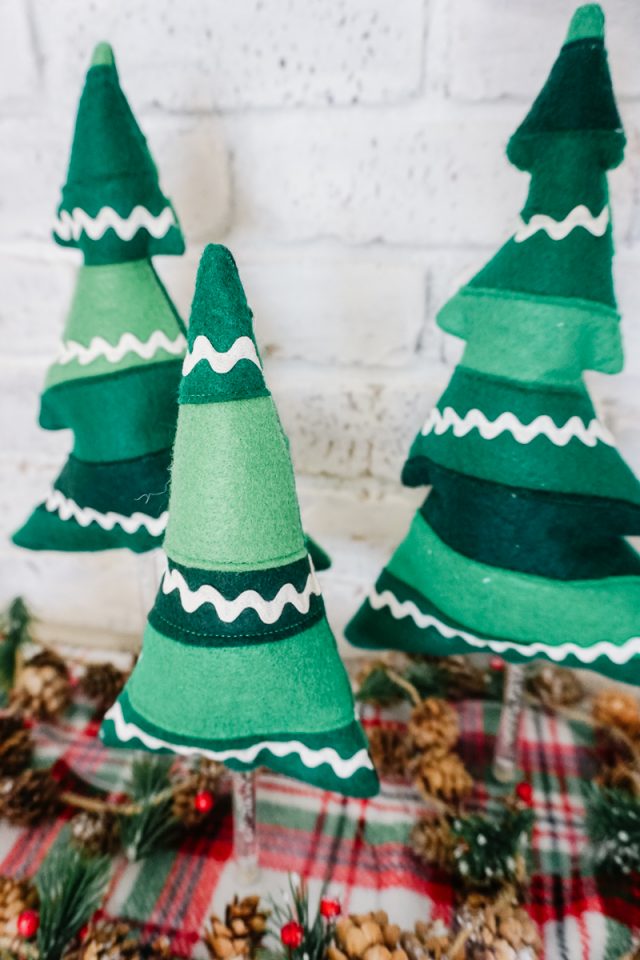
I love the look of felt during the holidays, so I decided to use all my green felt to make these trees. I essentially created felt fabric by sewing green strips next to each other, and then I cut and sewed the trees.
If you prefer the tree to be one color, you can use felt or quilting cotton. Felt will give a certain cozy look, but quilting cotton will look smoother and you can choose a solid or a print.
I decided to keep my trees simple and add white rick rack to look like snow, but you can add colorful trim or buttons to look like ornaments. You can also leave the trees empty for a simple look.
Do you love to sew? Try one of these sewing projects:
- Christmas sewing projects
- Free Christmas sewing patterns
- DIY Christmas pillow ideas
- DIY stocking ideas
- DIY ornaments to make
DIY Fabric Tree Decoration for Christmas
Supplies
- 1/3 yard of felt or quilting cotton – you can also use several pieces of felt in different colors of green
- 1/3 yard of muslin
- 1 yard of rick rack
- Poly-fil
- Hot glue gun and hot glue
- Acrylic donut stand*
- Sewing tools
- Sewing machine
If you are working with odd shapes of felt or you like the pieced look that I did, then cut your felt into about 2 inch tall by 15 inch wide strips.
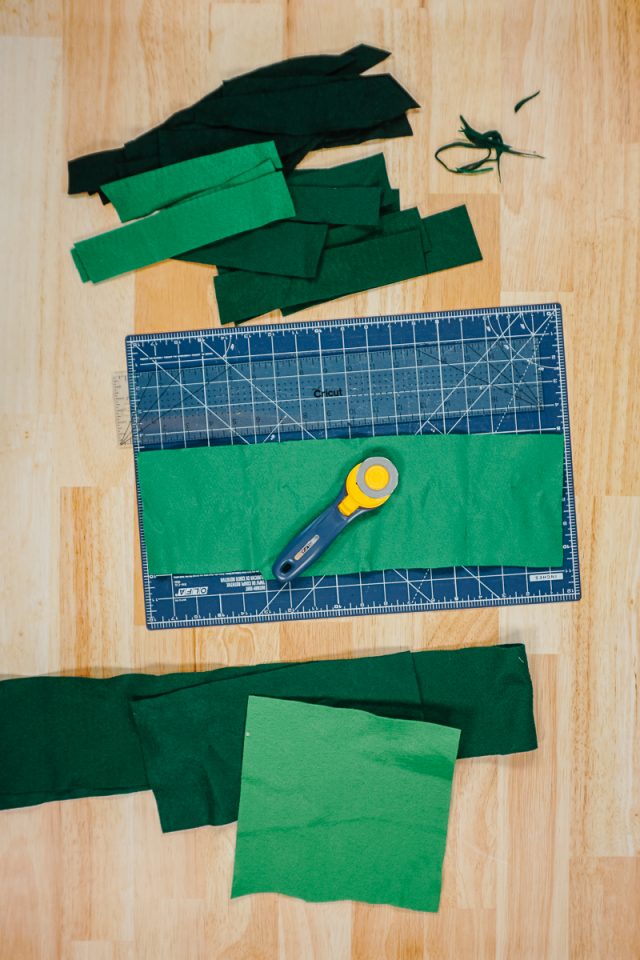
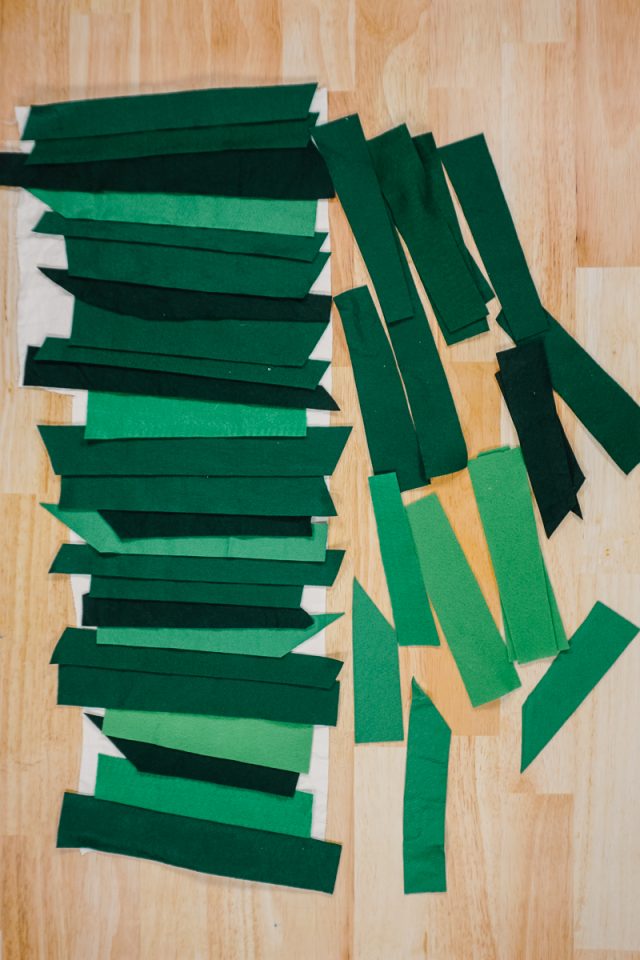
Layer the felt pieces over each other across the muslin fabric. You are kind of creating a new felt fabric that is multi colored.
Sew each side of each felt piece to secure it to the muslin.
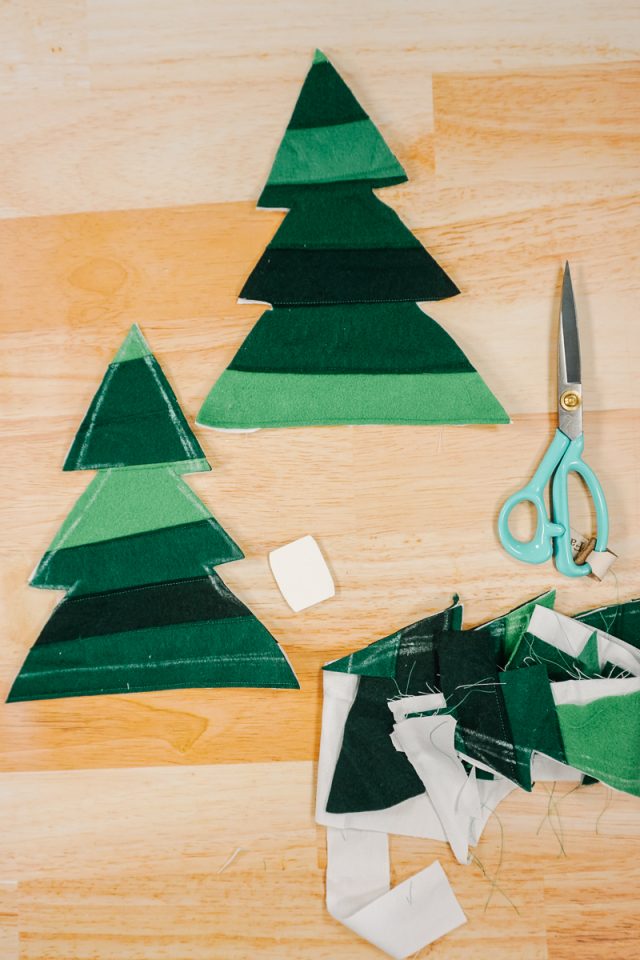
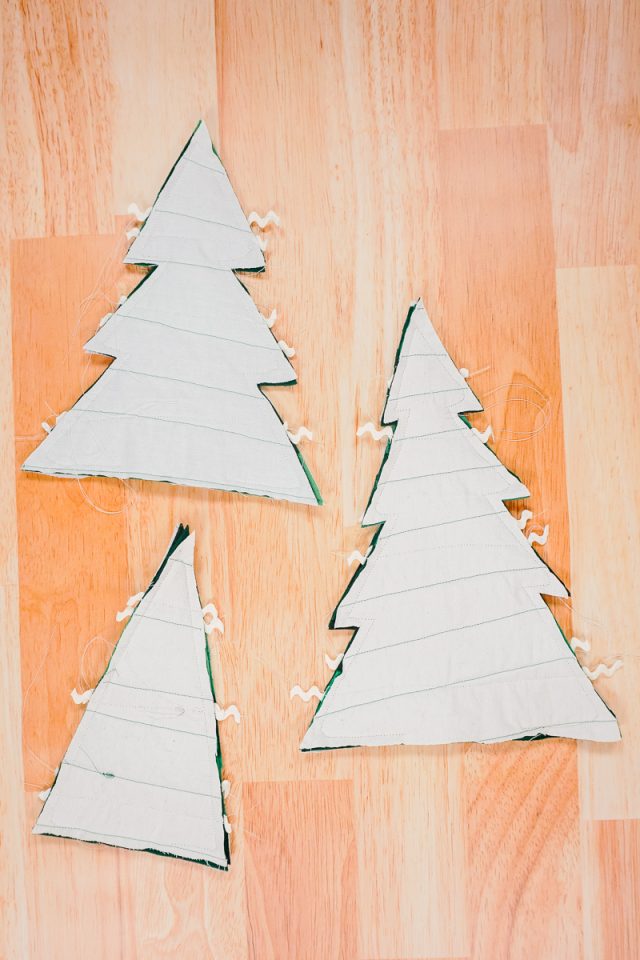
Cut out two tree shapes or triangles for each tree you want to make. I love the look of the tree shapes, but the top of the tree shape is pretty tricky to turn right side out. Don’t make the skinny section near the top too skinny or you won’t be able to turn it right side out.
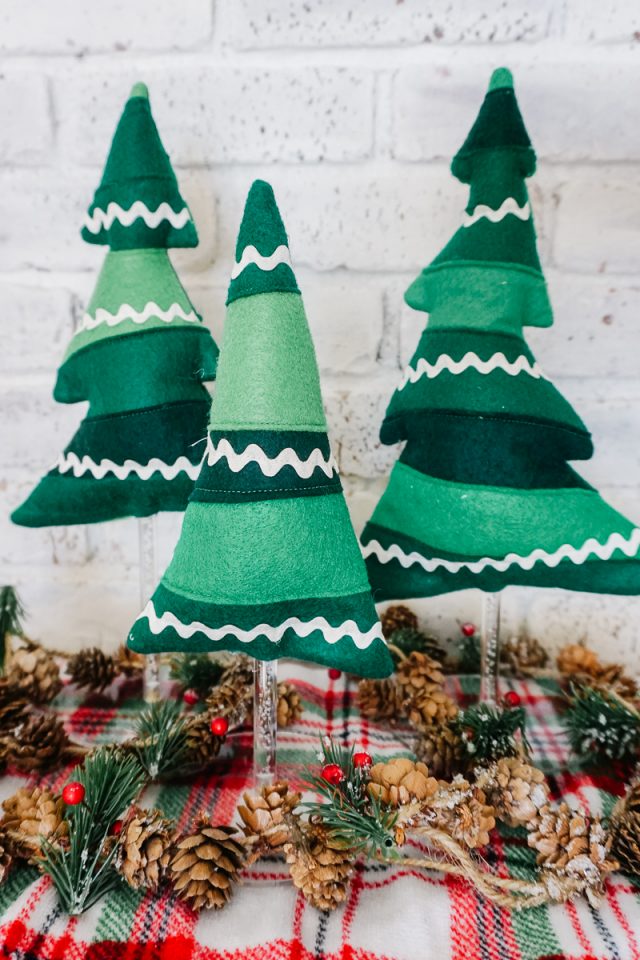
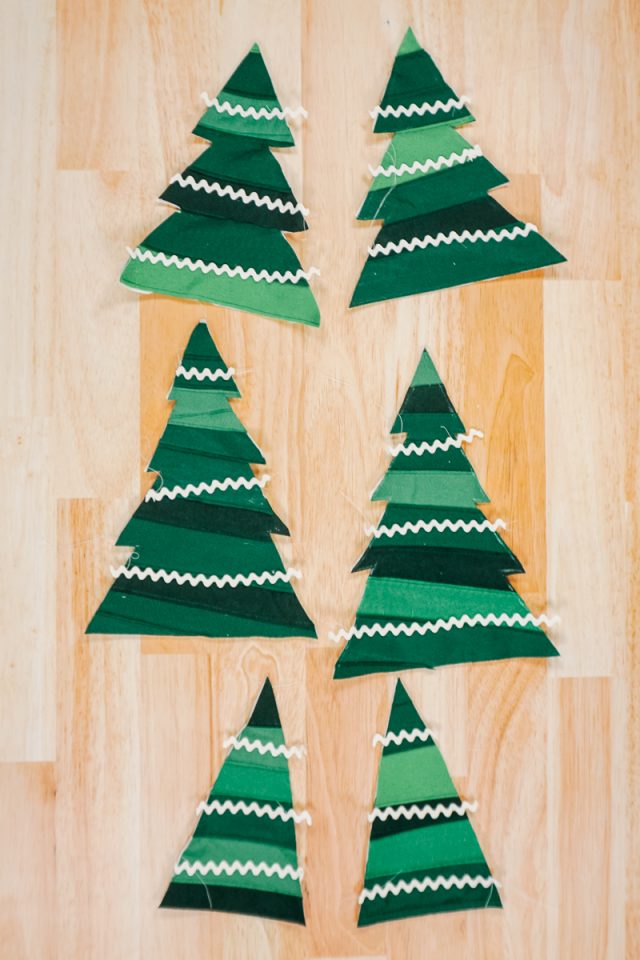
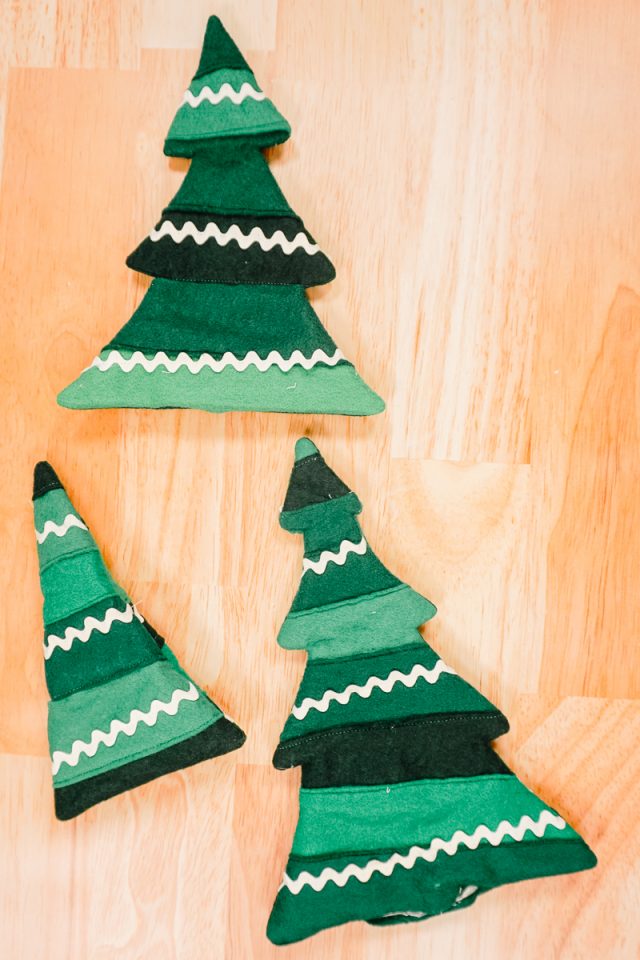
Sew pieces of rick rack across the front and back of each tree. I did three pieces for each side.
Place the tree shapes right sides together and sew around each one. Leave a 3 inch hole in the bottom center for turning it right side out.
Trim all the outer points and clip the inner points.
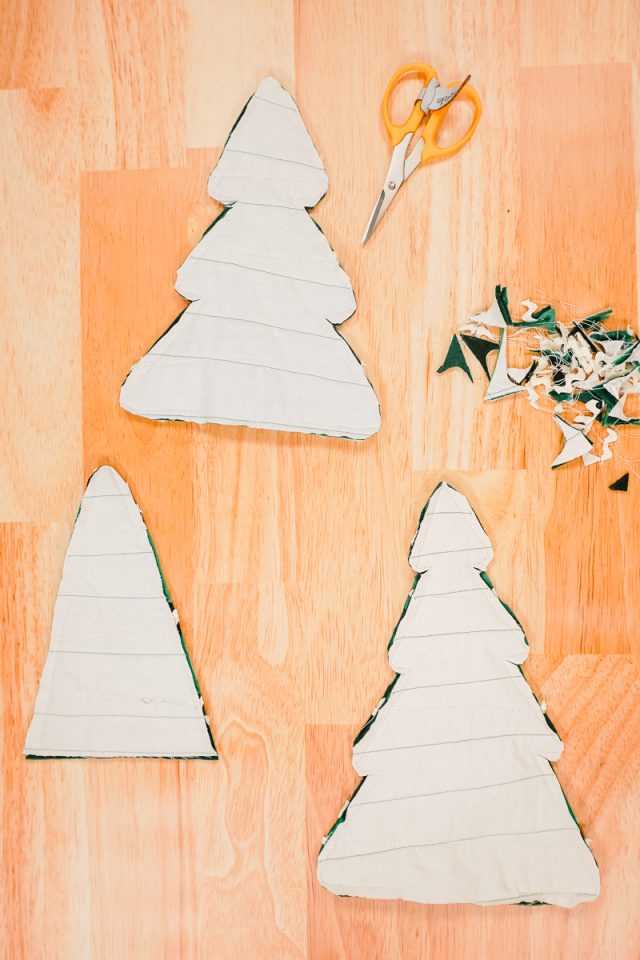
Carefully turn each tree right side out.
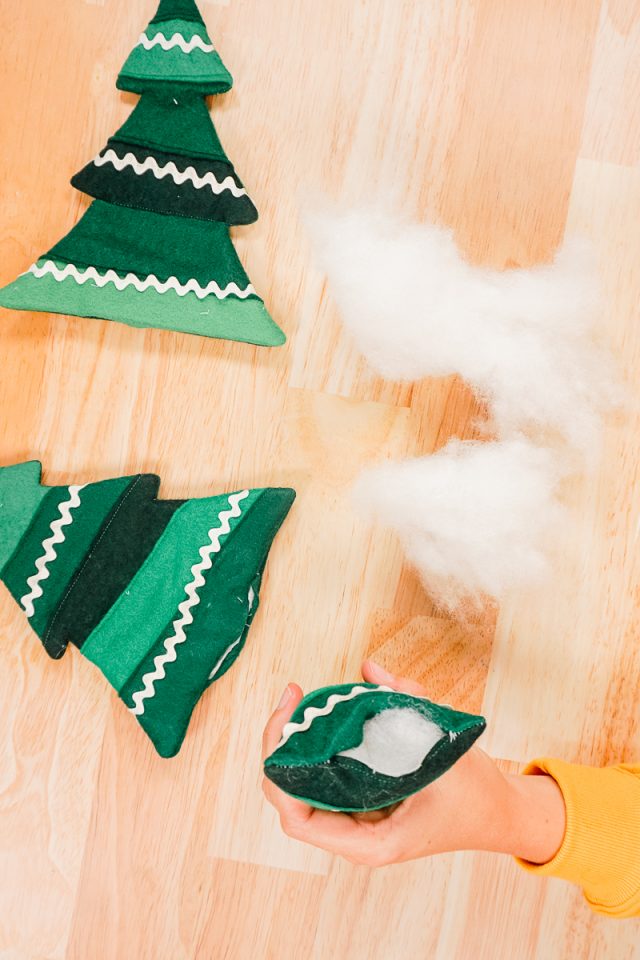
Stuff each tree with poly-fil to give it shape.
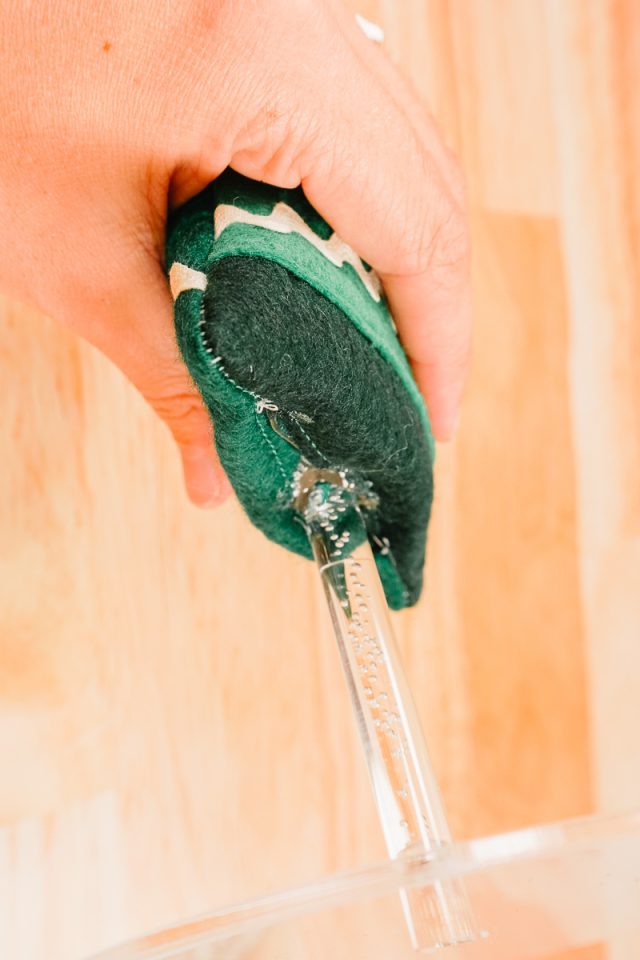
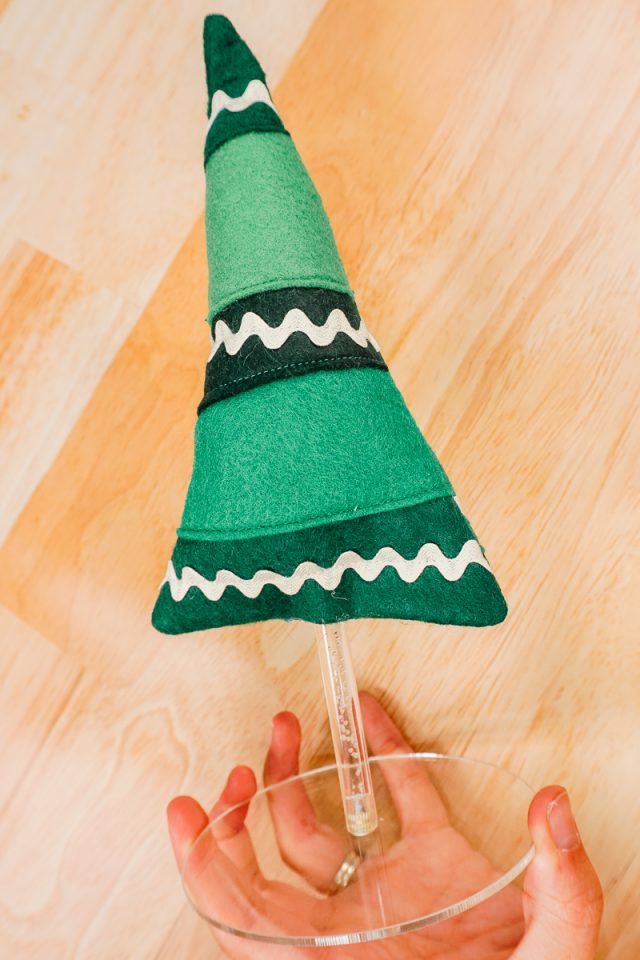
Assemble the stand you are going to be using and add a big glob of hot glue to the top of the stand. Slide the stuffed tree over the stand so that the top of the stand ends up in the top point of the tree. You have to move quickly before the glue cools too much.

Pinch the bottom of the tree. Hot glue it closed and hot glue it to the stand at the bottom.
You finished!
Finish all your other trees and then set them up throughout your Christmas decorations.
If you make something using this sewing project, I’d love to see! Please share it on social media with the hashtag #heatherhandmade and tag me!


I believe small sewing moments can create great joy. Find your own “right” way to sew. -Heather