
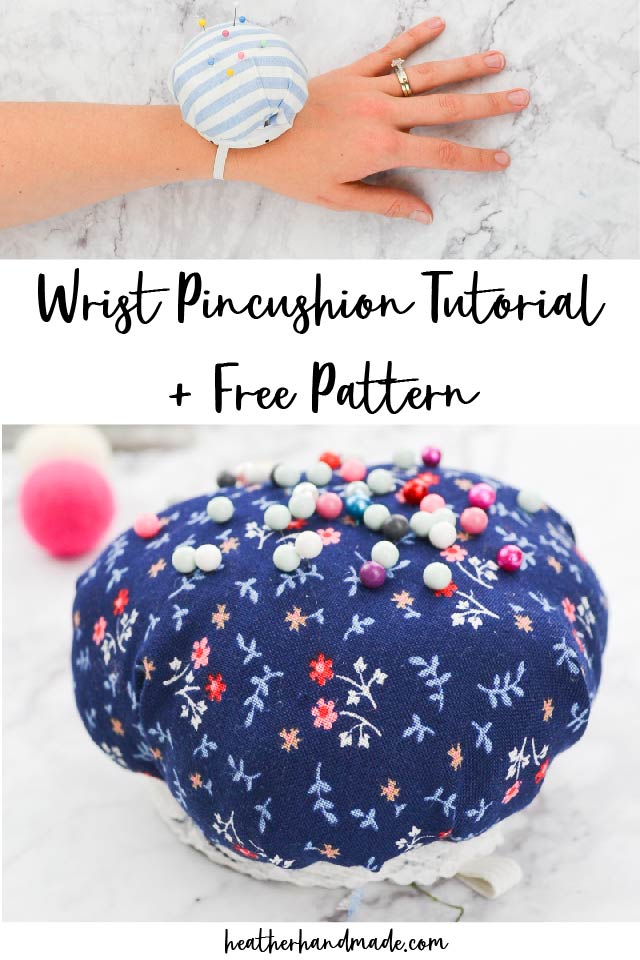
Wrist Pincushion Tutorial + Free Pattern

This post may contain affiliate links.
Use this wrist pincushion tutorial to make your own pincushion using fabric scraps and a jar lid! This fabric scrap project uses up your pretty scraps, and would make an easy and quick gift!
I love being able to use what I have to make new things in my sewing practice. I love using up scraps or odds and ends.
Learn to make a wrist pincushion using scraps of fabric, ribbon, elastic, stuffing, and a jar lid. Instead of throwing those things away combine them into a fun handmade gift!
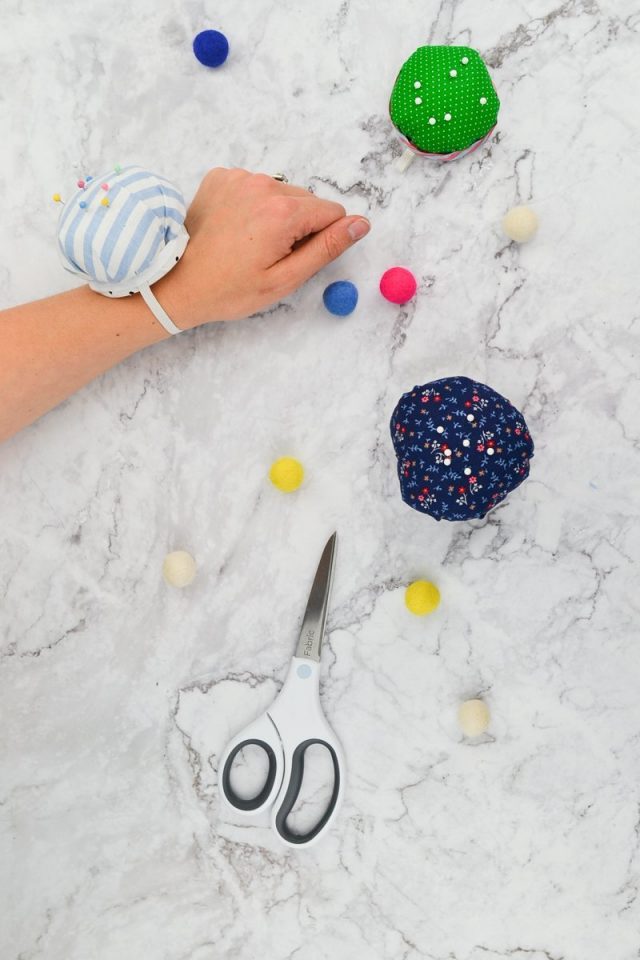
These wrist pincushions can be pretty and fun depending on the fabric you use. You don’t have to worry about poking yourself with a pin because the hidden lid protects you from the pins!
This free pincushion pattern is simple and is more of a guide so that you can make the cushion part as small or large as you like. You can use contrasting fabric, matching fabric, or coordinating fabric.
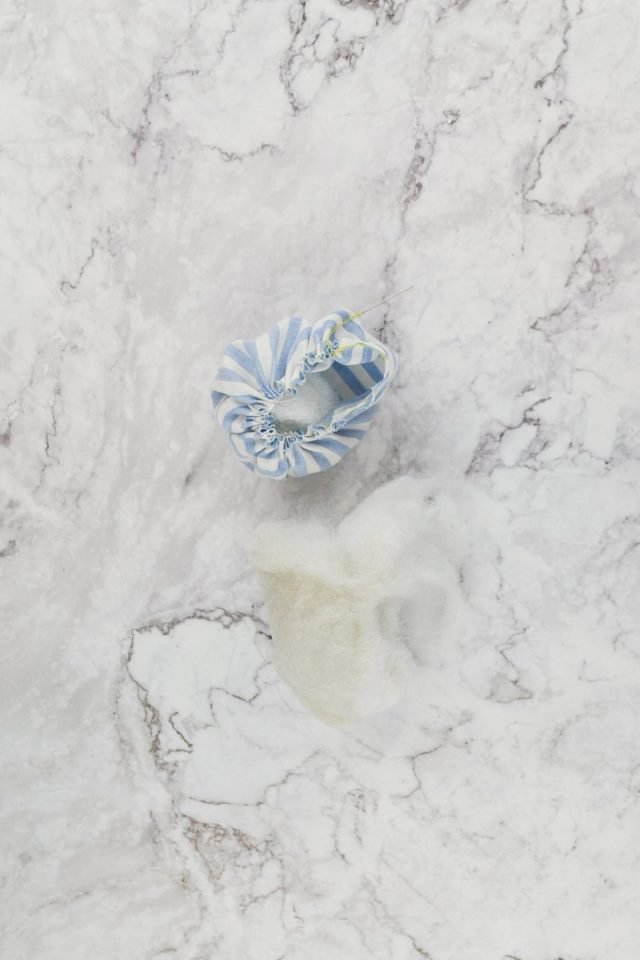
Add steel wool to the inside of the cushion so that your pins get sharpened everytime they are pulled in or out of the pin cushion.
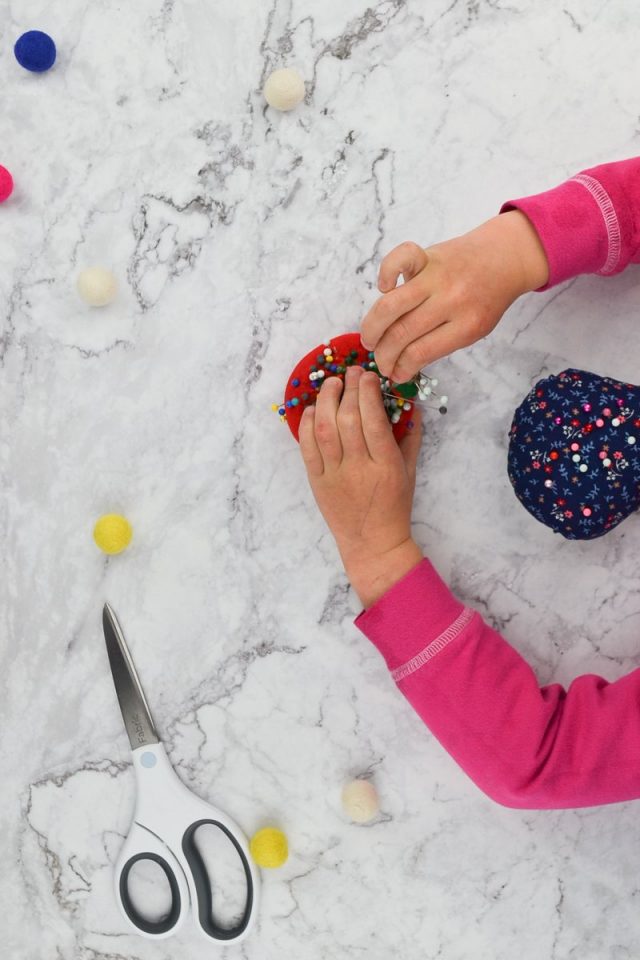
This wrist pincushion tutorial would be great for a kid to make as one of their first sewing projects. There’s minimal sewing but they get the satisfaction of making something that will help them in their sewing practice.
They can wear it without getting poked by pins, and they will never lose their pincushion! This is such a great beginner sewing project!
Do you love to sew? Try one of these sewing projects:
- Beginner sewing projects
- Scrap fabric sewing projects
- Fat quarter sewing projects
- Gifts for a seamstress
- Sewing projects to sell
Wrist Pincushion Tutorial
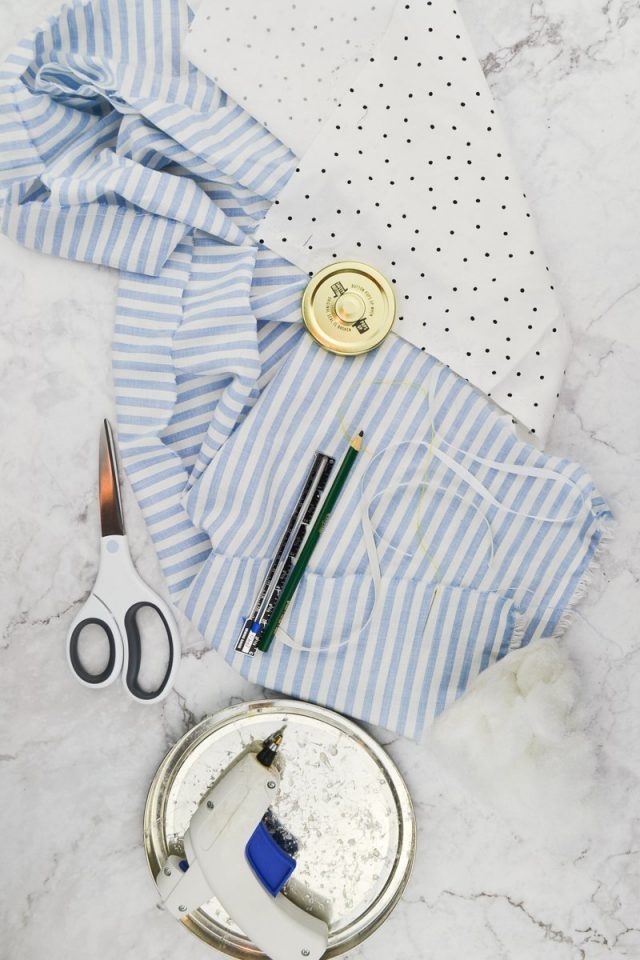
Supplies
- Washed jar lid
- Scrap fabric
- 1/4″ elastic – here are some ideas for finding elastic to reuse
- Ribbon, lace, or twill tape
- Stuffing
- Hand needle and thread
- Hot glue gun and glue
- Sewing tools
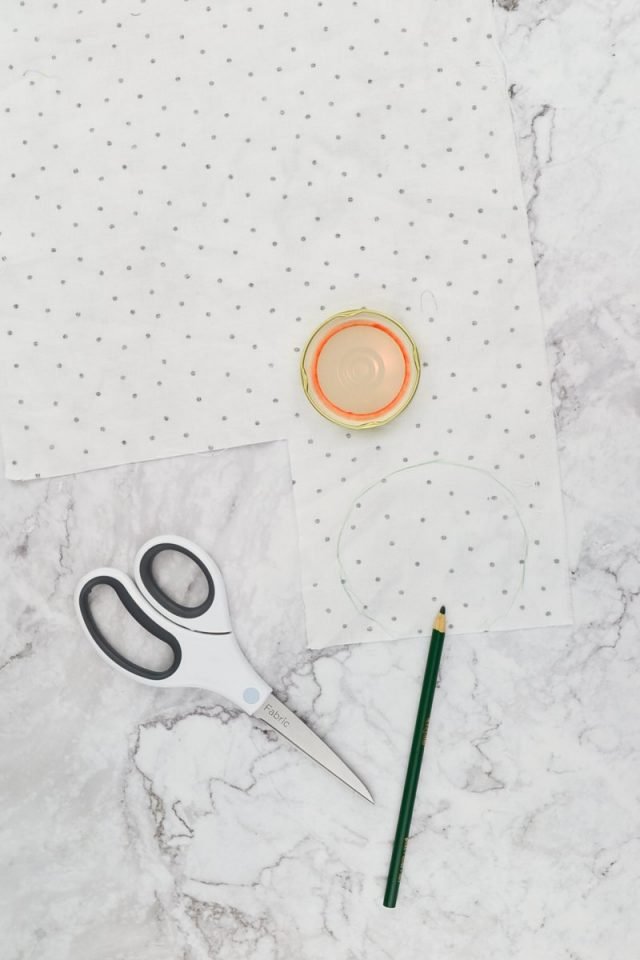
Draw a circle 1/2″ larger than your jar lid. I used a regular colored pencil since the ends won’t show in the finished pincushion. Cut out the circle.
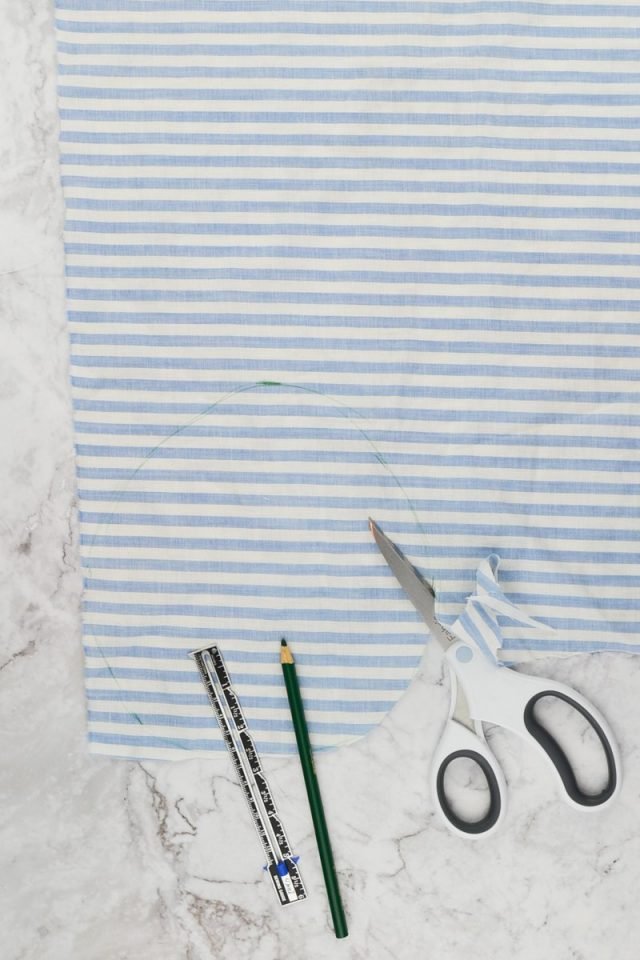
Draw a circle 6″ to 8″ in diameter. The larger the circle the larger the poof of the pincushion will be.
Thread a hand needle with a double thread. Sew a simple basting stitch around the outside of the circle.
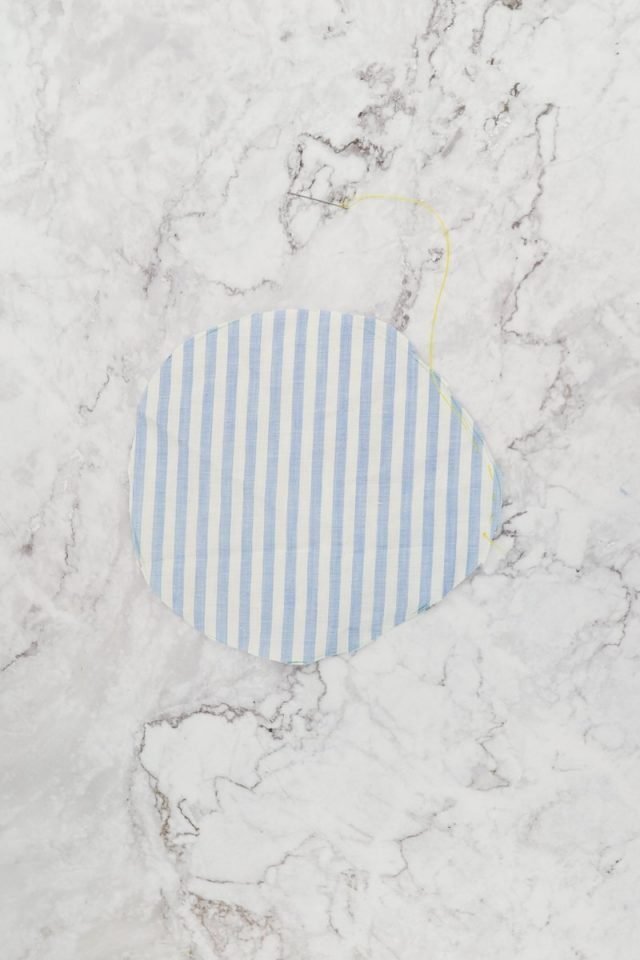
Carefully pull the thread to gather the edges of the circle. Take small pieces of the stuffing to stuff the cushion until it’s full and tight.
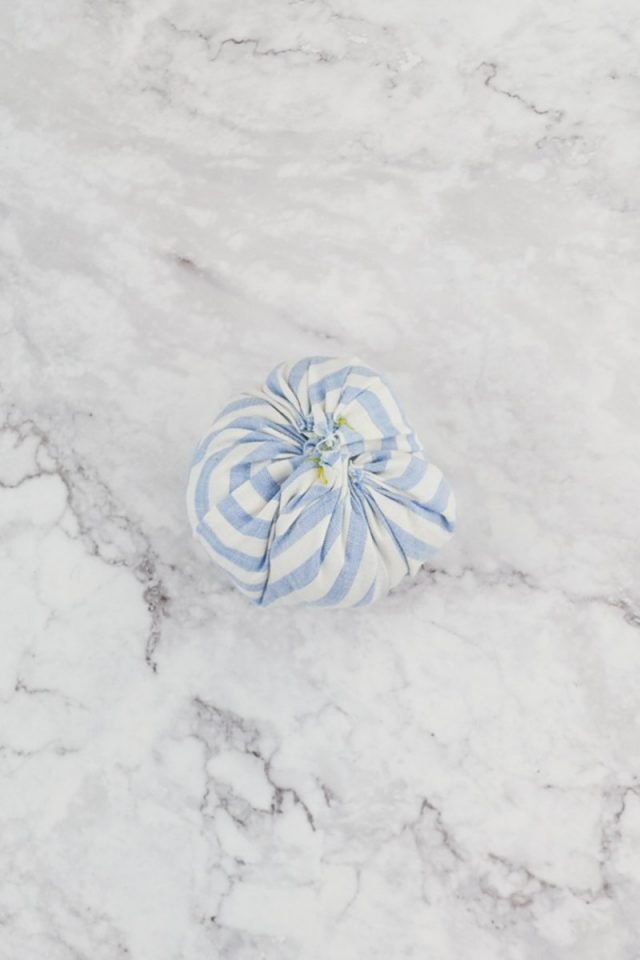
Sew an “X” with the thread to pull the edges in tightly. Tie off with a knot.
Take your lid and the small circle. Put a dot of hot glue in the center of the outside of the lid.
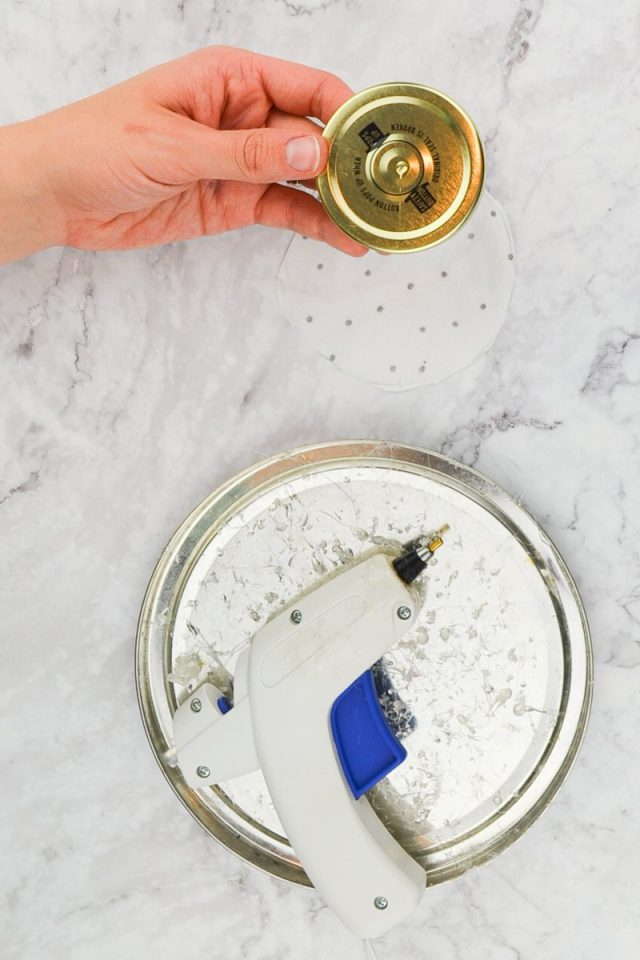
Glue the small circle to the lid.
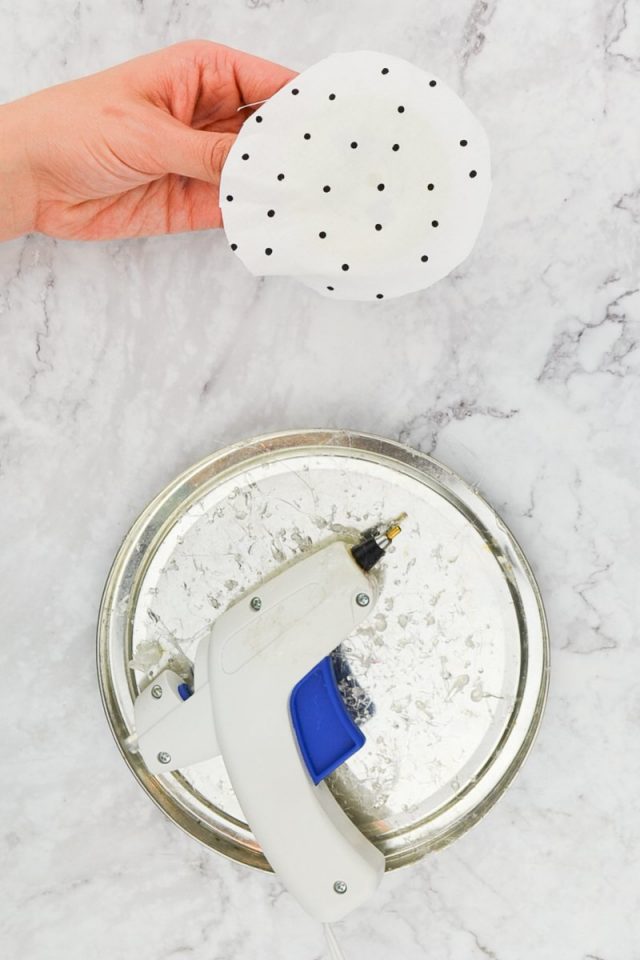
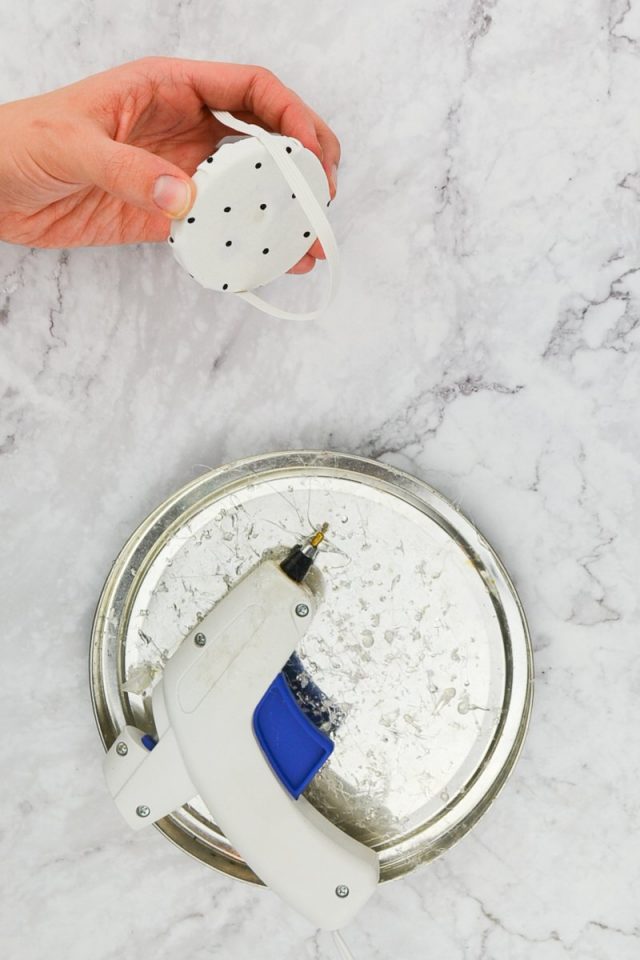
Flip the lid over and add glue the inner lip of the lid. Fold down the edges of the circle until the circle is completely wrapped around the lid.

Take your elastic and glue one end to the inner lip of the lid. The elastic will go around the outside of the lid and back around to the other side of the inner lip. Make the loop as large as you need to get your hand through.
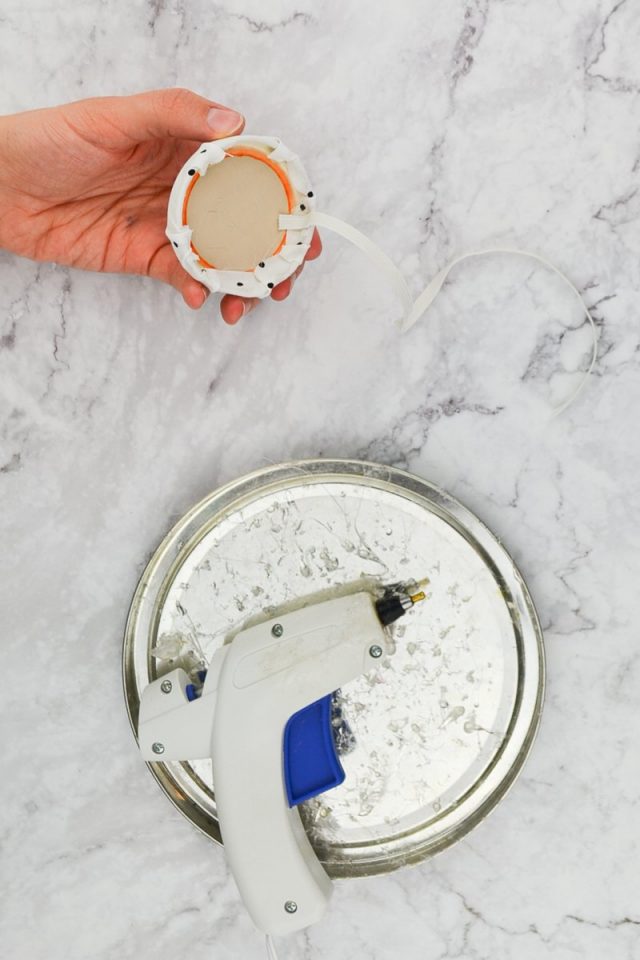
Trim the excess of the elastic off.
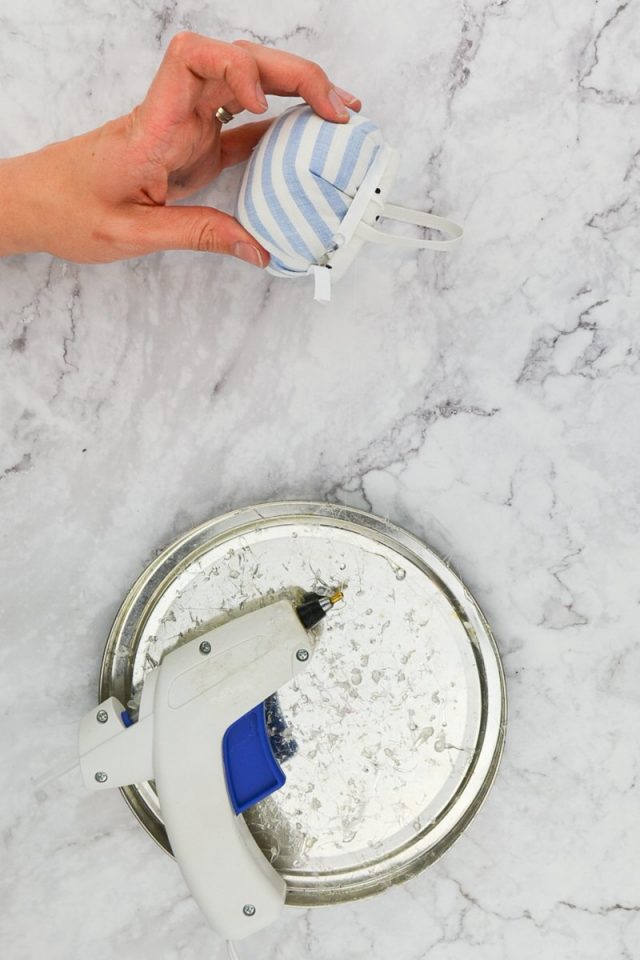
Add a bunch of hot glue to the inside of the lid.
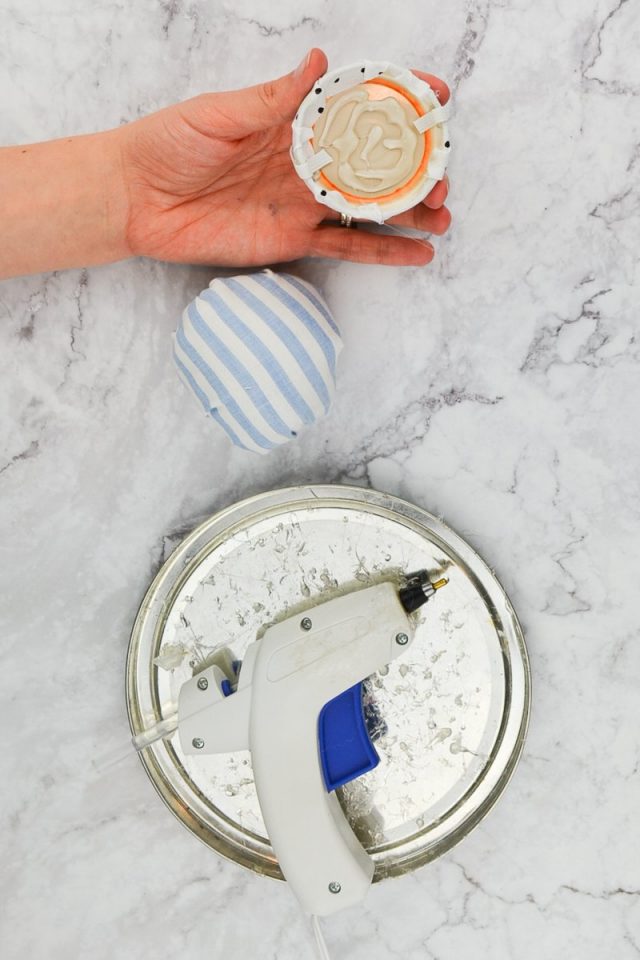
Place the cushion with the sewn side down on the lid. Hold it in place until the glue dries and cools and holds the cushion in place.
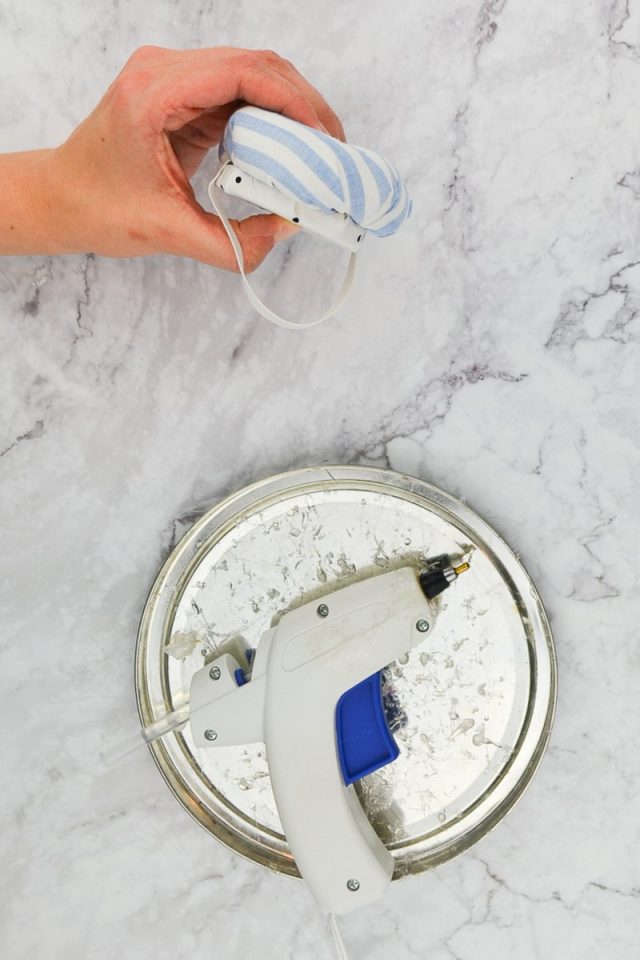
Glue a piece of ribbon, lace, or twill tape around the edge of the lid and cushion. Do you best to hide the gap between the lid and the cushion. At the end fold the raw edge over and glue down.
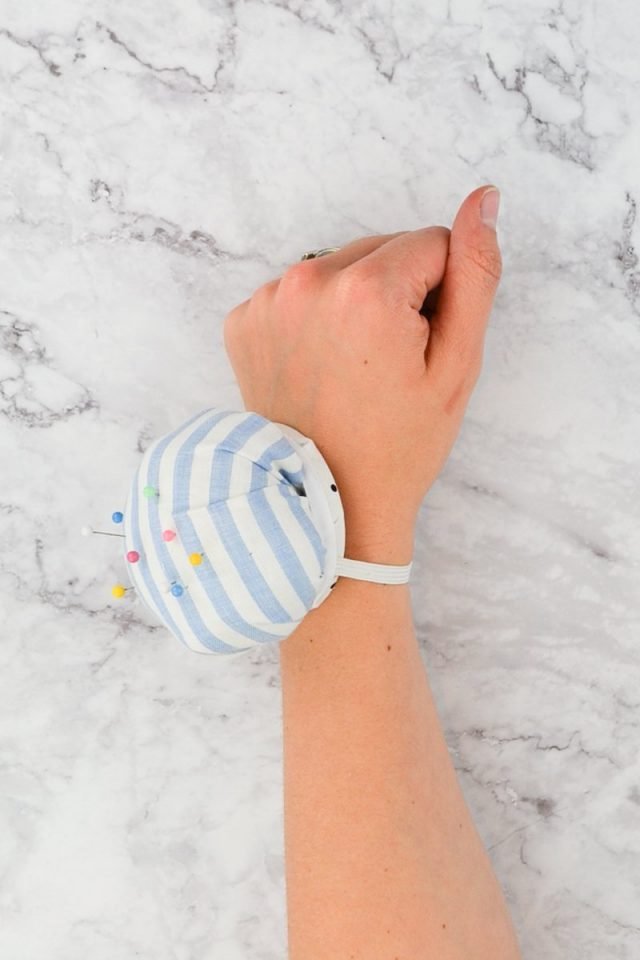
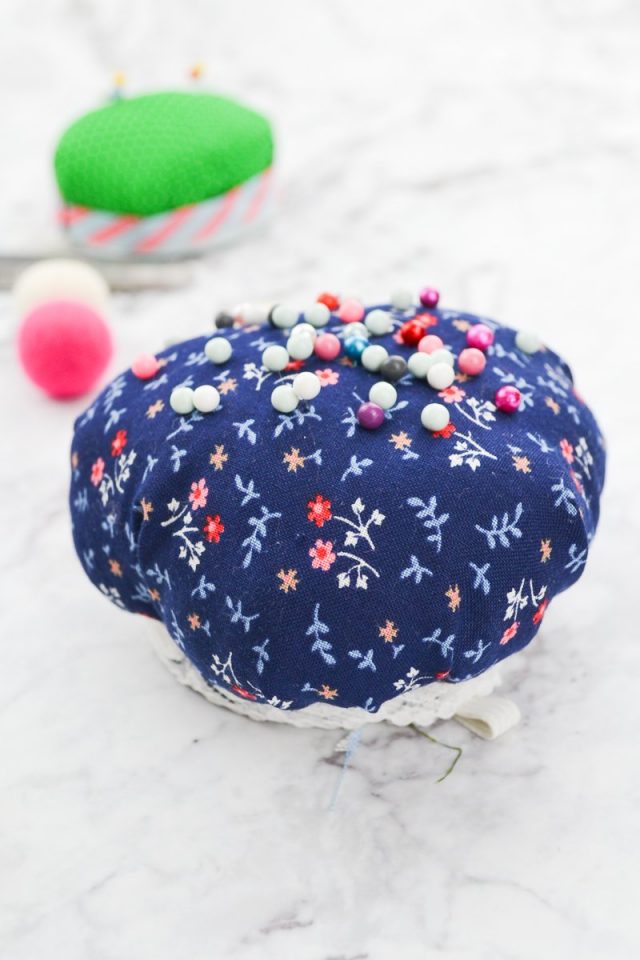
Slip your new wrist pincushion onto your wrist and add some pins!
If you make something using this sewing project, I’d love to see! Please share it on social media with the hashtag #heatherhandmade and tag me!

I believe small sewing moments can create great joy. Find your own “right” way to sew. -Heather
When you say add steel wool to the inside to help sharpen the pins would it go on near the top or closer to the bottom (lid)?
It would be closer to the bottom (lid)
Cute! so handy when doing hems. I like the magnet add too.
I made one of these not too long ago. I also glued a flat fridge magnet outside the lid (facing the arm) so I could swipe it over the pins for instant pickup.
What a great idea!
This is so handy! I never know where my pins are when I am sewing so this would be a great solution for me and I love how easy it is.
This is such a fun idea!! I feel like there will be a lot of these in my future
I totally need to make one—I lose my pin cushion way too often