
How to Sew a Collar Professionally

This post may contain affiliate links.
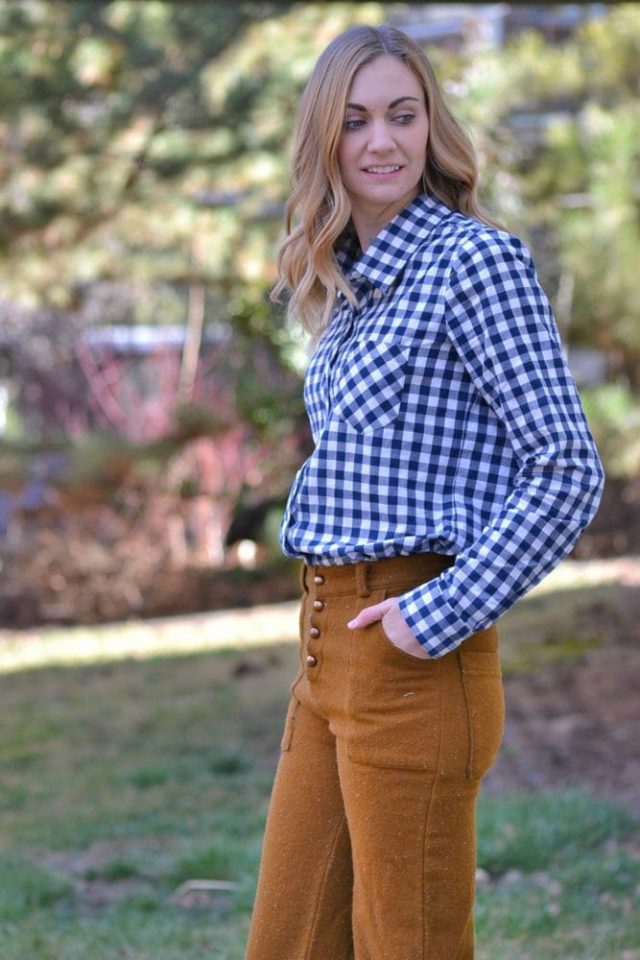
Learn how to sew a collar with a special sewing technique to keep your collar from flipping up. The collar lays flat and looks professional.
I love wearing and making button up shirts. It’s one of my closet staples. They can be classic or modern, simple or unique, solid or patterned.
Because of my different backgrounds in sewing, I have learned how make clothing look professionally made. There have been many times that I try to fix a collar after it’s finished because the points keep flipping up.
This is the best sewing tip to sew a collar and have it look professional. The collar will lie flat and will never flip up!

What is a Collar?
A collar is a piece of fabric around the neck of a shirt, dress, jacket or coat. It either stands up or folds over depending on the design.
A collar works by having two pieces of fabric: a top piece and a bottom piece. The bottom piece is called the under collar.
Generally, both pieces of the collar are cut exactly the same and one is then interfaced
What is an under collar?
On well design coats there are separate under collar pattern pieces which is actually smaller than the main collar.
We achieve the same smaller under collar look in this sewing tutorial.
Do you need to interface collars?
Yes, it’s very important to add interfacing to a collar. Interfacing adds strength, stability, durability, and it makes it so you don’t have to iron the collar as much. You can use fusible interfacing on the outer collar or sew-in interfacing on the inner collar.
An uninterfaced collar is floppy, won’t stand up, and gets wrinkled quickly and easily when washed. An interfaced collar is firm, stands up, won’t curl up at the points, and holds it’s shape when washed.
When do you Make the Collar Facing or Under Collar Smaller?
Whenever you want to make your under collar lie flat it should be smaller than the top collar.
It works with coat collars, button up shirt colllars, and peter pan collars. It is not for standing collars because there is no fold involved.
This tip works for all kinds of faced collars with a fold, faced pocket flaps that need to lie flat, faced pockets, etc.
This will not work for standing collars, hem facings, or neckline facings.
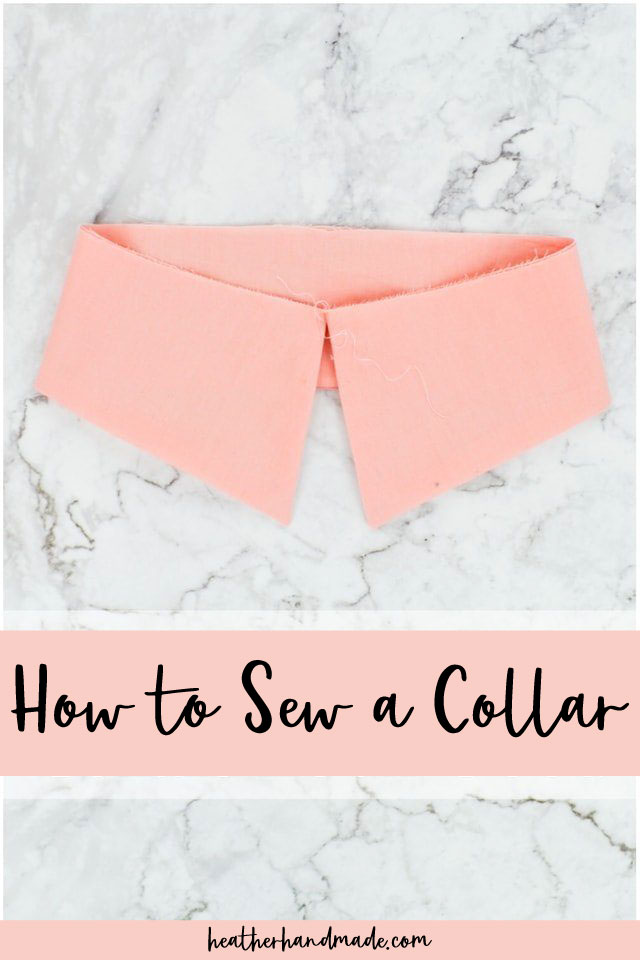
How to Sew a Collar
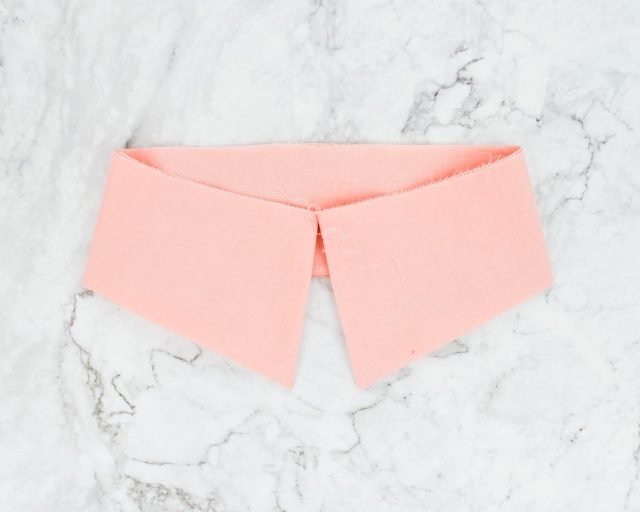
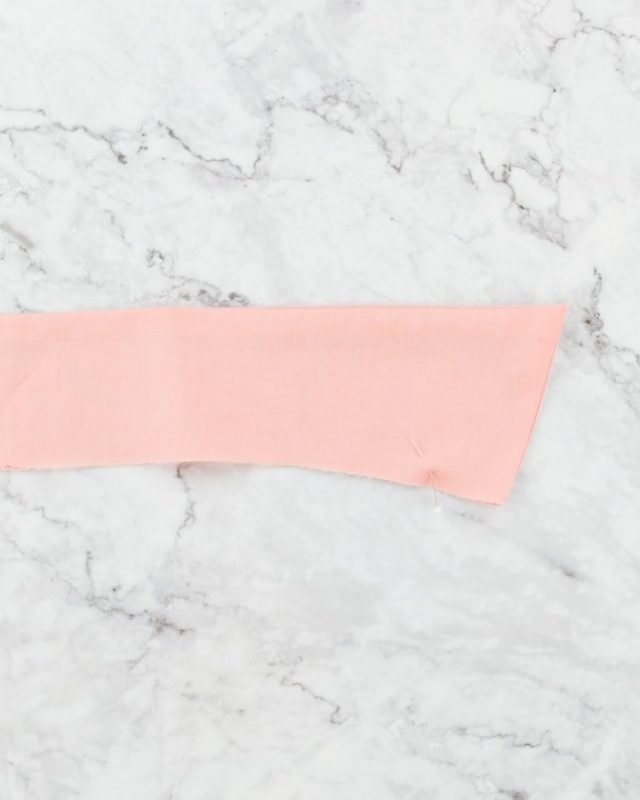
Interface the collar the way you want with either sew-in interfacing or fusible interfacing. Place both collars together with right sides together.
Pull the under collar or facing 1/8 inch past the edge of the collar on all edges except the neck edge.
In this picture I have pulled the navy fabric, the facing, out on all edges except the bottom neckline edge.
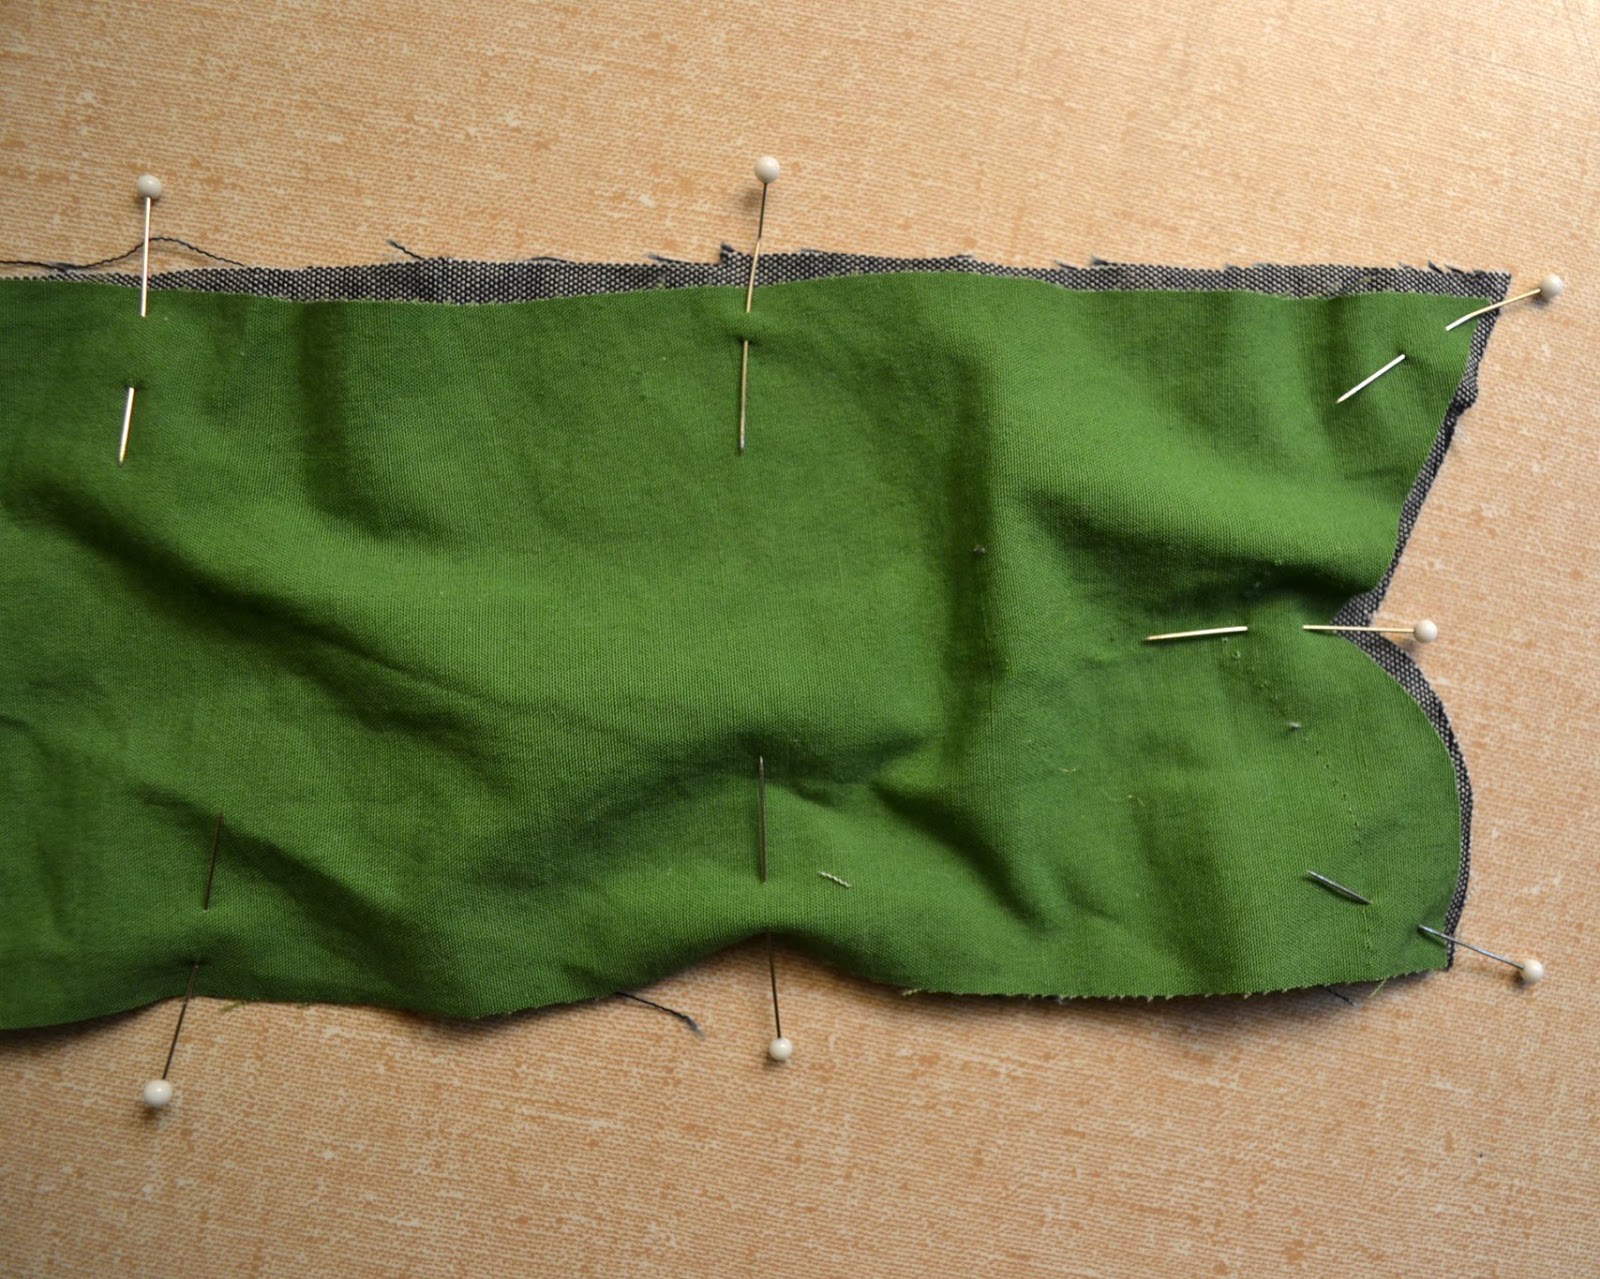
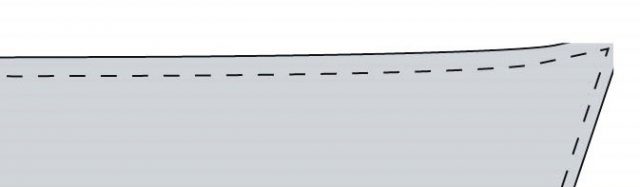
Sew the two collars together with the regular seam allowances. This means, if you are sewing at 1/2 inch you will sew 1/2 inch from the collar edge, not the facing edge!

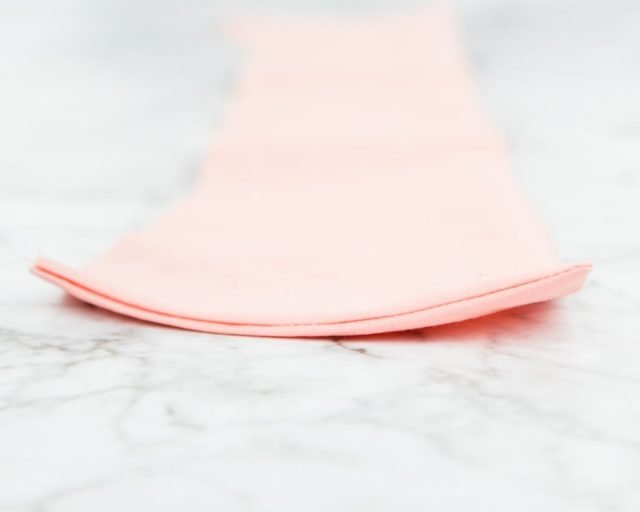
Trim and grade the seam allowances and especially at the points.
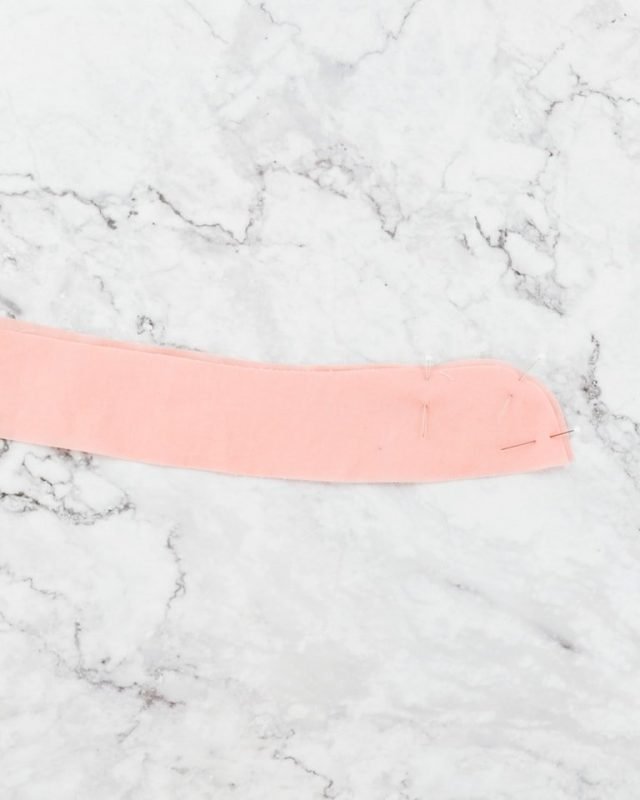
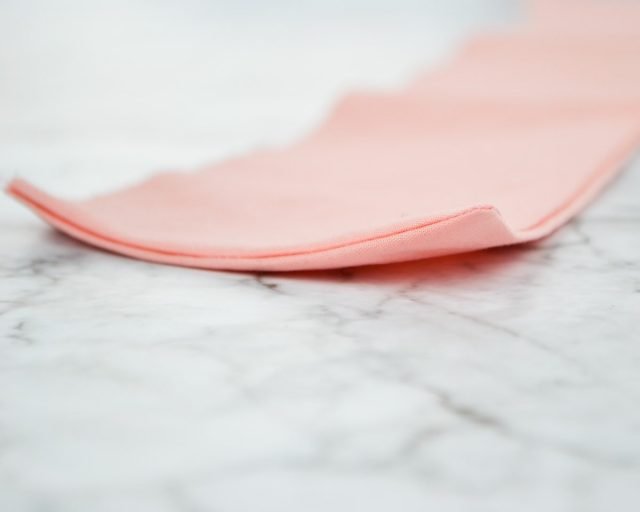
Turn the collar right side out through the neck edge. Carefully poke the corners out. Baste the neck edges together.
Without any ironing, the collar will start to curl towards the under collar.
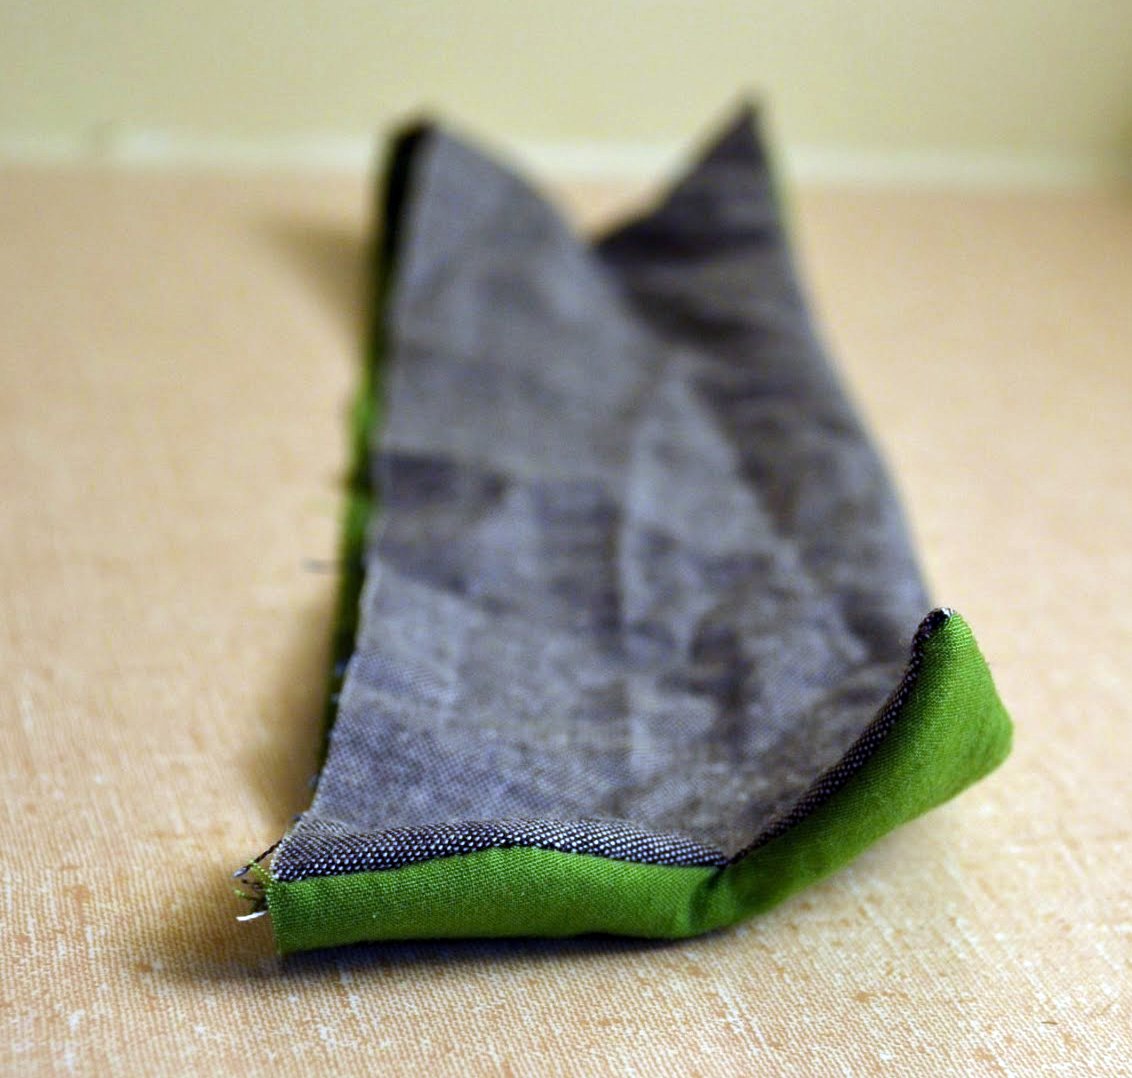
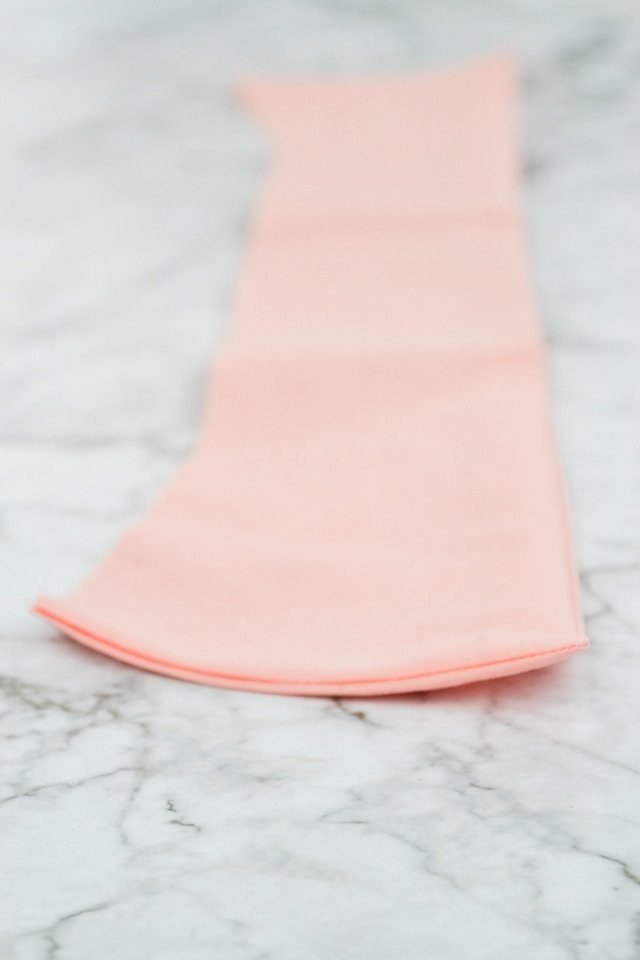
Press the collar. Since the collar is curling towards the under collar the seam will be pulled to the under collar which will pull the seam to the under collar and make your collar look really good.
When you sew the collar on, it will curl down towards the body like a collar should. This is the trick to getting your collars to lying flat against your body.
If you make something using this sewing project, I’d love to see! Please share it on social media with the hashtag #heatherhandmade and tag me!

I believe small sewing moments can create great joy. Find your own “right” way to sew. -Heather
Do you also pull the ends of the collar in? By ends I don’t mean the neckline seam or the collar edge, just the short seams at the sides of the collar.
Yes, I do pull the short sides to help the collar lay flat. It’s a little harder to pull the sides, but I do the best I can.
Thanks so much!
Thank you a very simple explanation correct something I have puzzled over on a few projects
Hello Heather….. Very nice demo of this technique! I cringe when I see a collar with “tip-flip”!
You may have seen this technique on one of my 2 shirtmaking blogs. Professional Shirtmakers like me use this technique.frequently–
Off-The-Cuff-Style.blogspot.com
Off-The-Cuff-Shirtmaking.blogspot.com
There are countless shirtmaking tips and tutorials there. Though I do not blog any longer, the information is timeless (with no affiliate links).
Wow, didn't know it before. Thanks!