
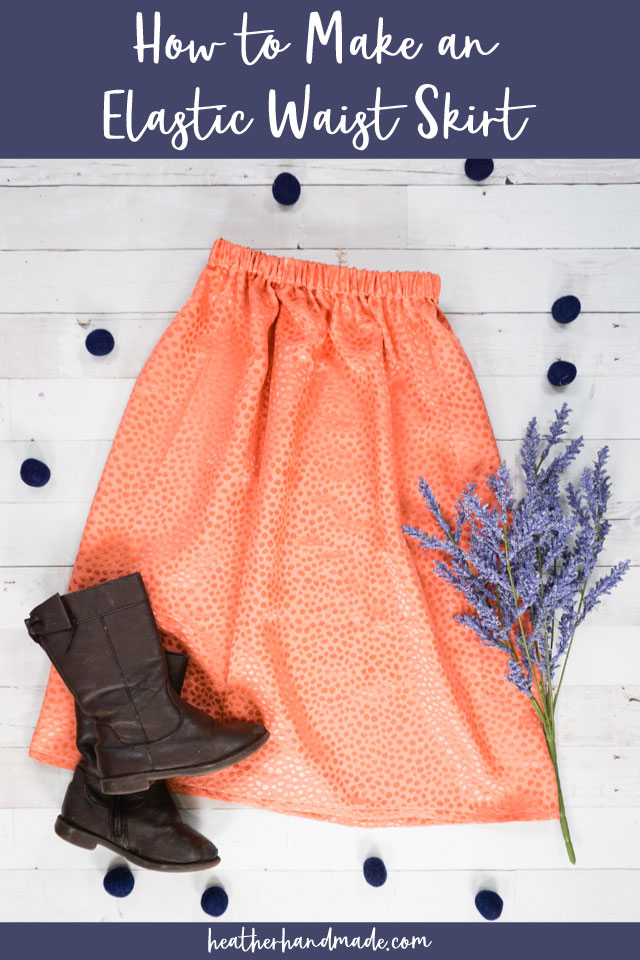
How to Make an Elastic Waist Skirt

This post may contain affiliate links.
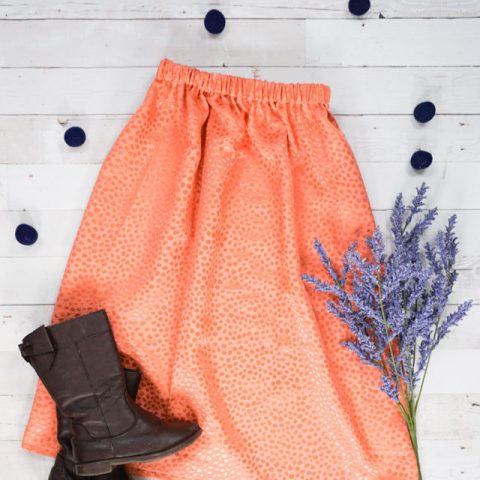
Learn how to make an elastic waist skirt. This skirt is easy to sew and comfortable to wear and can be made for any size or age!
My daughter has started some small and simple sewing projects, but she keeps talking about making skirts. I let her try whatever she wants with her fabric, but when she’s ready I’ll teach her how to make an elastic waist skirt.
An elastic waist skirt is a great beginner sewing project and a great projects for kids to sew. You can use so many different fabrics, and it’s so comfortable to wear. My daughter has already been traipsing around the house every day!

Thank you so much for this wonderful tutorial! I made this skirt for my wife to surprise her for her birthday, turned out perfectly thank you!
-Robert
What fabric should I use for an elastic waist skirt?
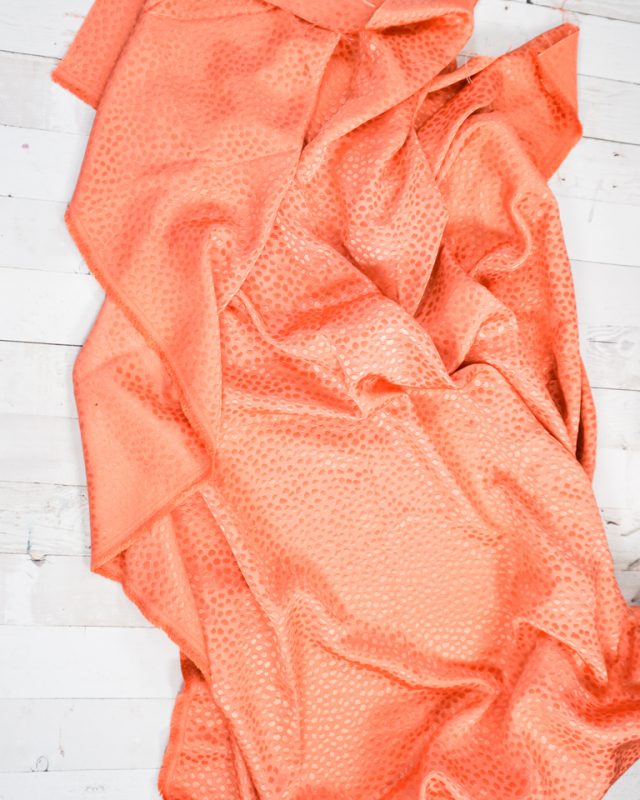
A lightweight to medium weight fabric should be used for this skirt. If it’s too lightweight it could be transparent, so you want a fabric that is opaque. You can use quilting cotton, chambray, cotton lawn, rayon challis, tencel twill, and woven polyester blends.
If your fabric is too thick or heavy the fabric will won’t gather nicely, and it will be really bulky. Anything that is 100% cotton will wrinkle easily and will need to be ironed.
If you are using a slippery fabric you can use these tips for sewing lightweight fabric.
Should I prewash the fabric?
Yes, you should prewash the fabric. Treat the fabric the same way you’ll wash and dry the skirt once it’s finished. Remove any shrinkage before you cut and sew.
How much should my skirt be gathered?
The best gathering ratio for an elastic waist skirt is 1.5 or 2. If your fabric is on the lighter side you can do a ratio of 2:1. If your fabric is a medium weight fabric you can do a ratio of 1.5:1. Be careful to not have too much gathers and fabric in your skirt or it can become bulky.

Do you love to sew? Try some of these sewing projects:
- Free skirt patterns and tutorials
- DIY one seam wrap skirt + free pattern
- DIY half circle skirt + free pattern
- DIY wrap skirt + free pattern
- Easy flat front skirt + free pattern
- DIY easy circle skirt + free pattern
- Free pencil skirt pattern
- Make a square hem circle skirt

How to Make an Elastic Waist Skirt
Supplies
- 1-3 yards of light to medium weight fabric like quilting cotton, chambray, and polyester blends
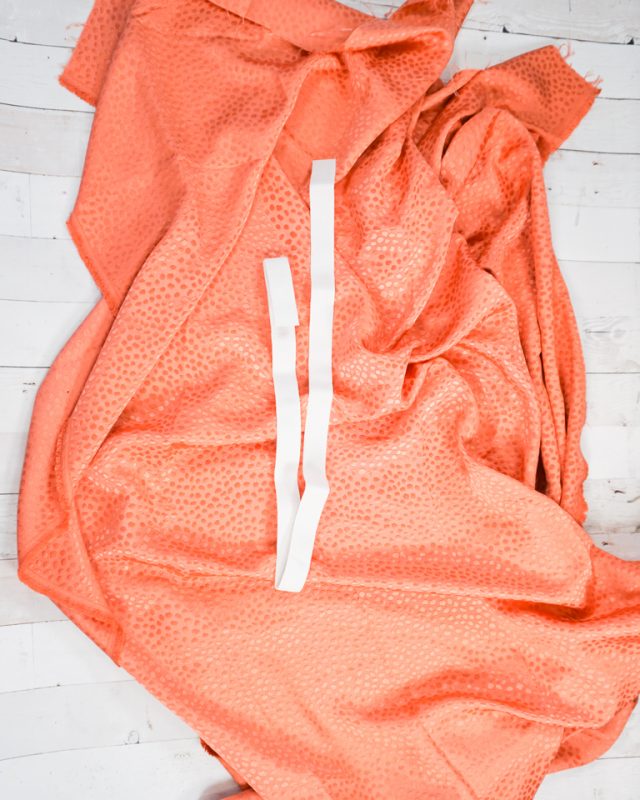
- 1 to 2 yards of 1 inch non-roll elastic
- Sewing tools
- Sewing machine
Measure Yourself
Measure your waist.
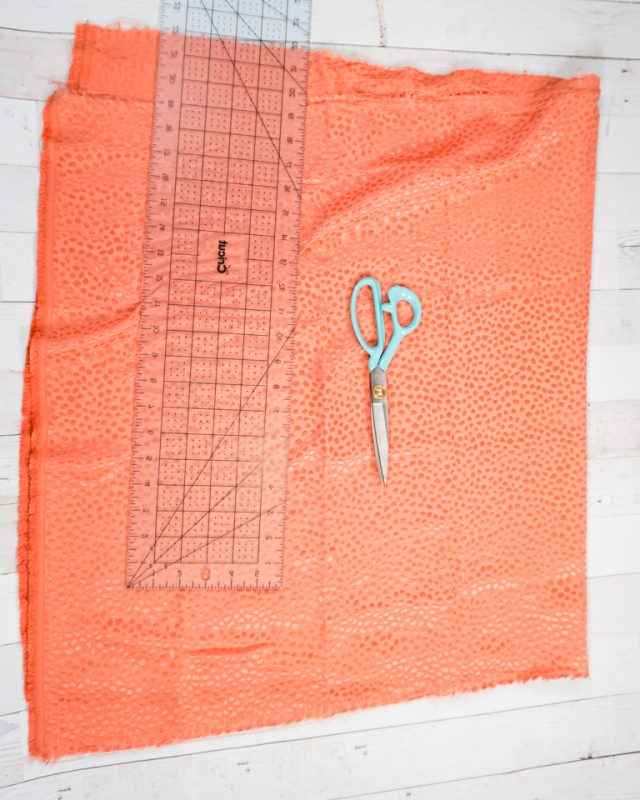
Multiply by 1.5 or 2. Add 1.25 inch. This is the width of the fabric that you will need to cut. If it is wider than the width of your fabric, then you will need to cut two wide rectangles.
Measure the length.
Measure from your waist down to how long you want the skirt to be. Add 1 inch for the hem allowance. Add 1.5 inch for the casing at the top. The total will be the length you will cut.
Sewing instructions
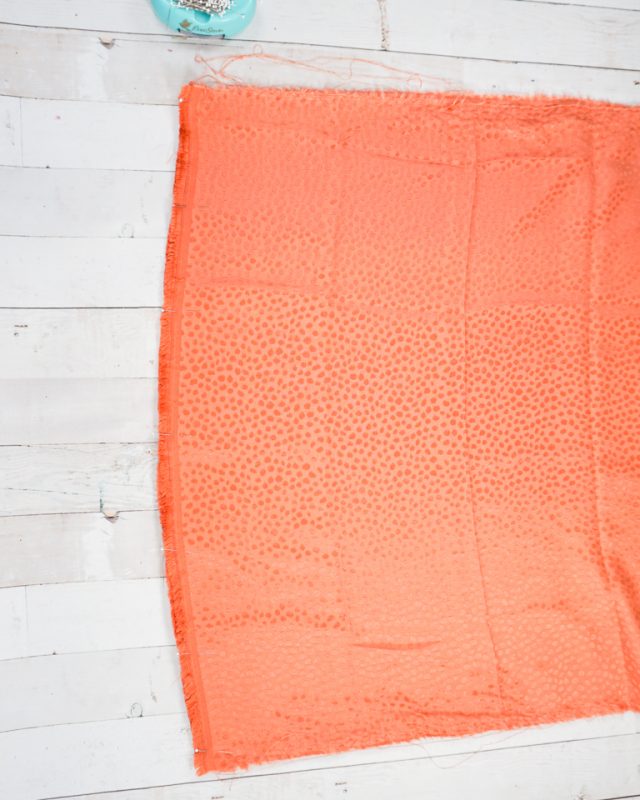
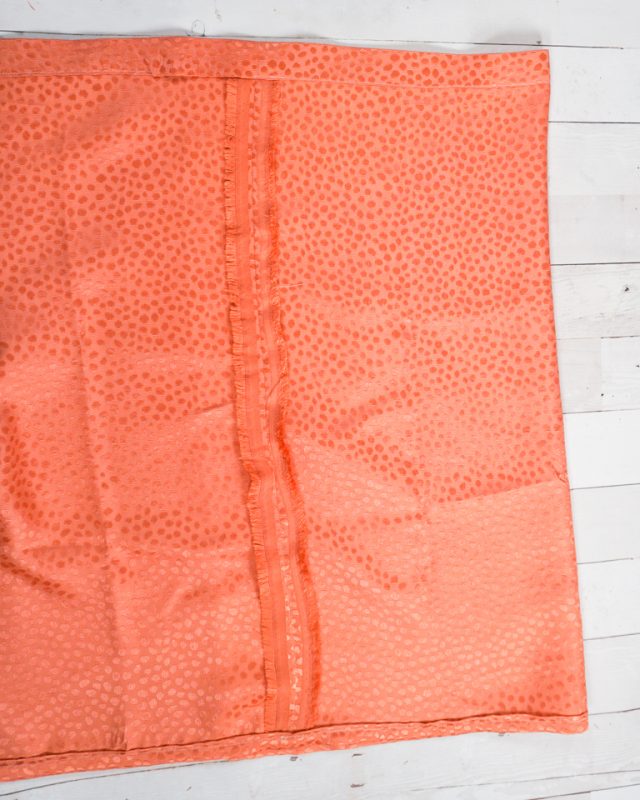
Cut out the rectangle (or rectangles) using the measurements you found. Reuse the selvedge edges on the short ends if possible.
Match up the short ends of rectangle and pin.
Sew a straight stitch along the short end 5/8 inch from the edge. Backstitch when you start and end.
Finish the seam allowances separately.

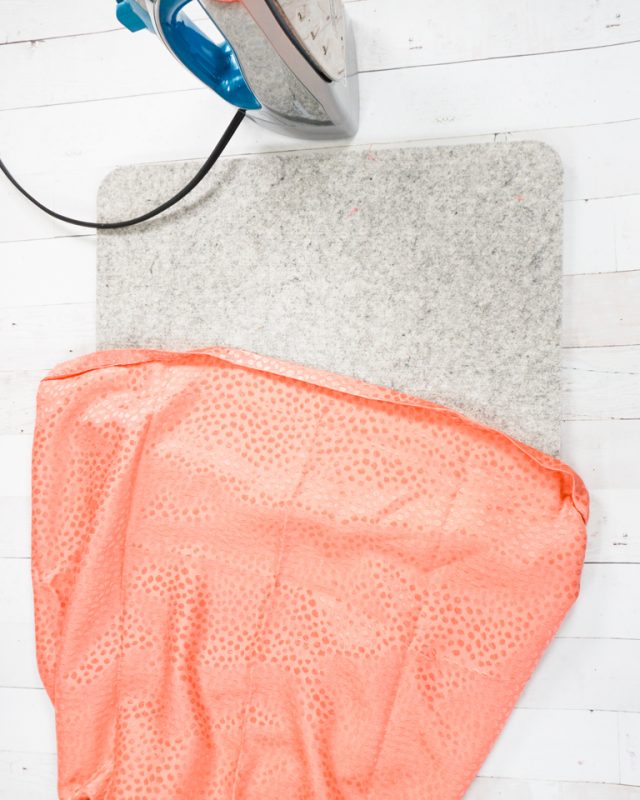
Press the seam allowance open.
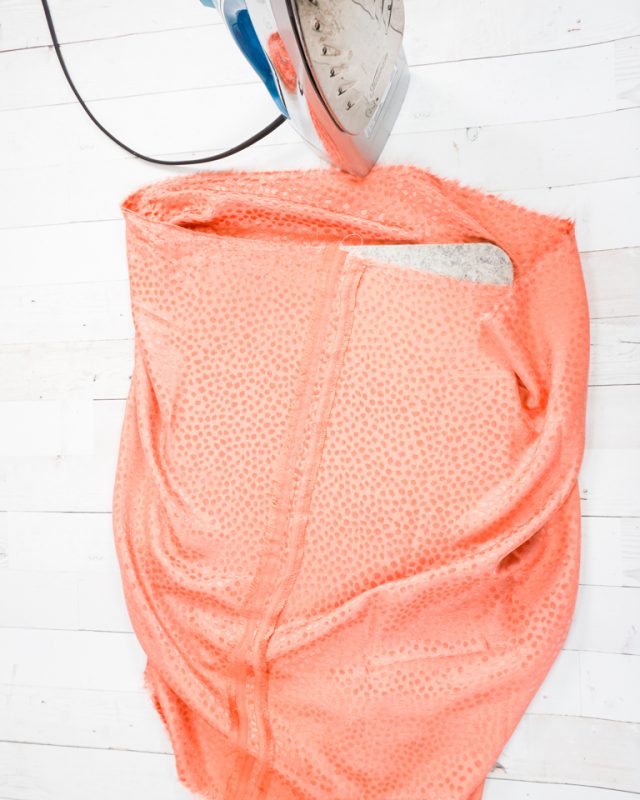
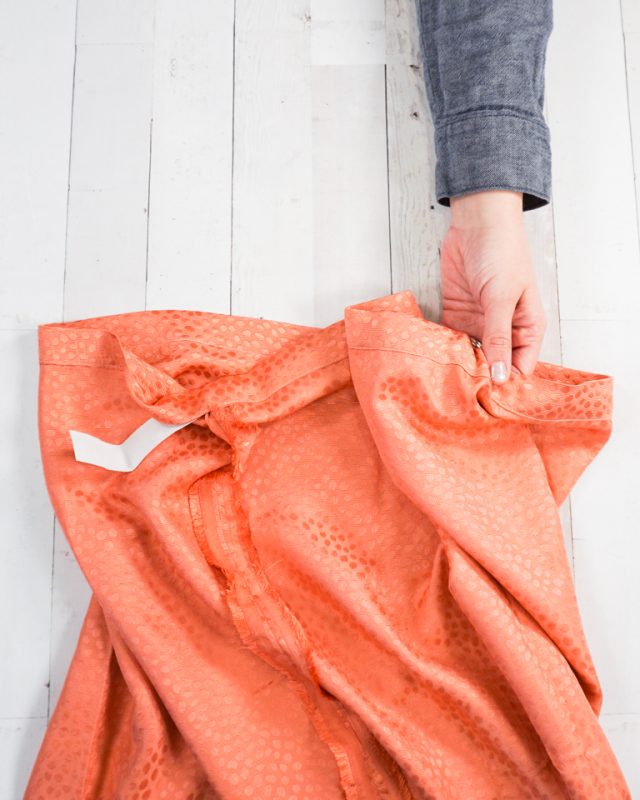
Press the hem up .5 inch.
Fold up the hem up another .5 inch.
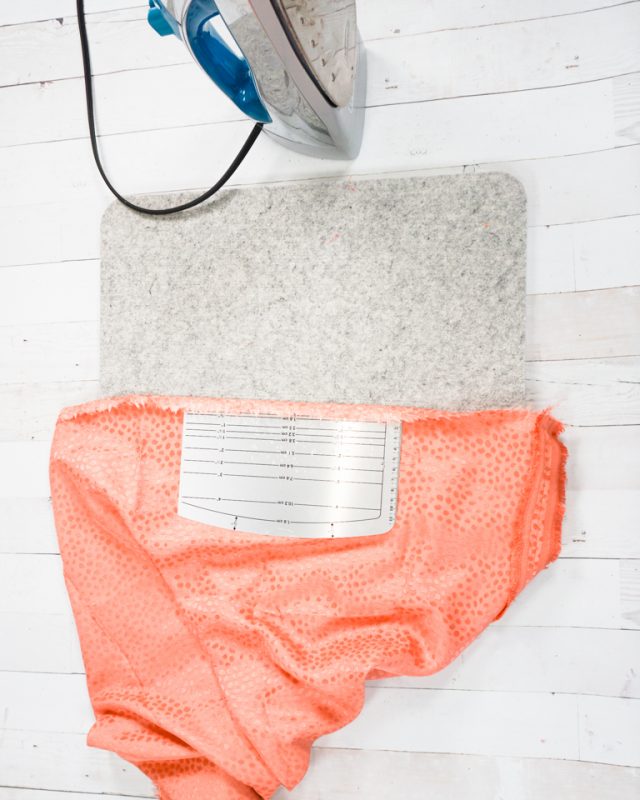
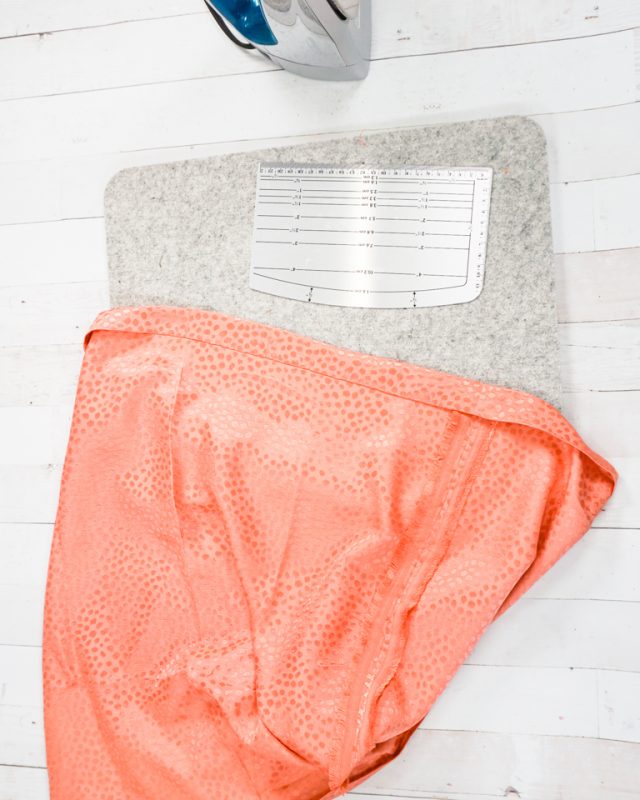
Fold the top down .25 inch and press. Fold it again 1.25 inch and press.
Sew the hem in place 3/8 inch from the bottom.
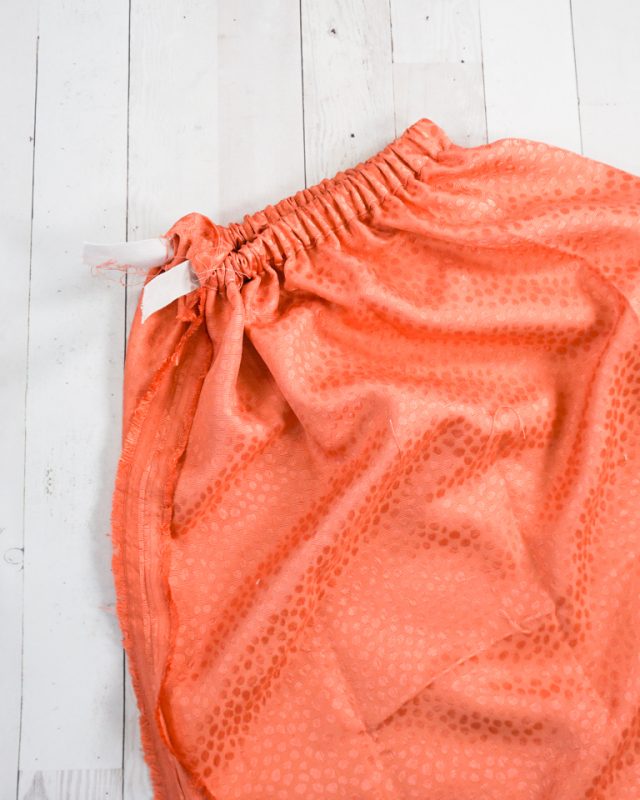
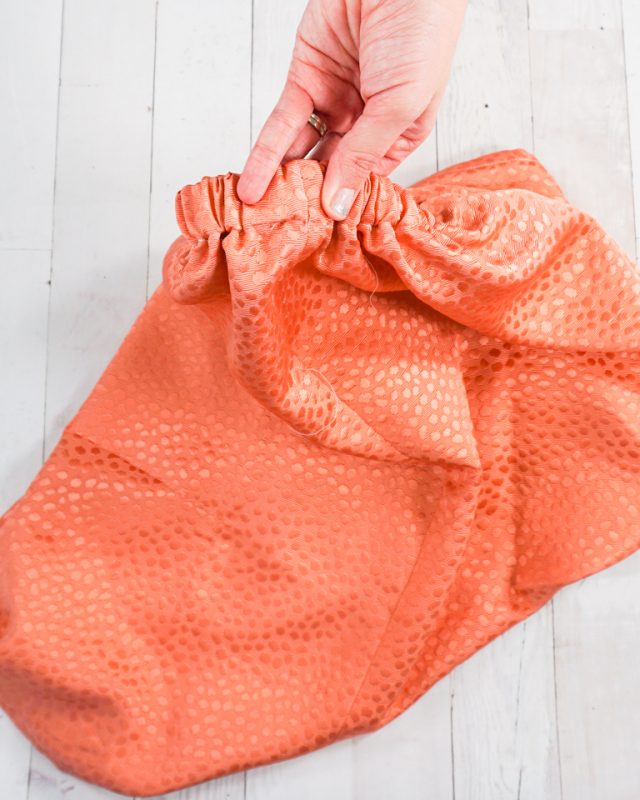
Sew the casing in place 1.25 inch from the top. Backstitch when you start and stop. Leave a 4 inch hole to insert the elastic.
Cut the elastic to 2 inches smaller than your actual waist measurement.
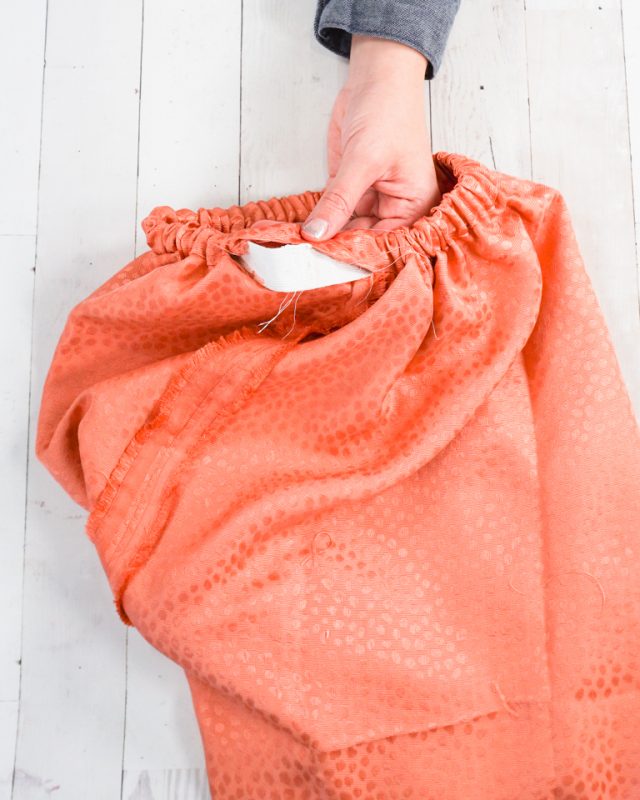
Put a safety pin on one end of the elastic and insert it into the casing. Push the fabric onto the satefy pin and push it along the elastic. Don’t let the other end of the elastic get pulled into the casing.
Slide the elastic all the way through the casing until both ends are sticking out of the hole.
Overlap the elastic by .5 inch and sew a rectangle to secure it together.
Pull the elastic into the casing. Pin the hole closed and sew in place.
Sew a stitch in the ditch on the casing seam to keep the elastic from twisting.
You finished!
How to Make an Elastic Waist Skirt
Learn how to make an elastic waist skirt. This skirt is easy to sew and comfortable to wear and can be made for any size or age!
Materials
- 1-3 yards of light to medium weight fabric like quilting cotton, chambray, and polyester blends
- 1 to 2 yards of 1 inch non-roll elastic
Tools
- Sewing tools
- Sewing machine
Instructions
Measure Yourself
Measure your waist.
- Multiply by 1.5 or 2. Add 1.25 inch. This is the width of the fabric that you will need to cut. If it is wider than the width of your fabric, then you will need to cut two wide rectangles.
Measure the length.
- Measure from your waist down to how long you want the skirt to be. Add 1 inch for the hem allowance. Add 1.5 inch for the casing at the top. The total will be the length you will cut.
Sewing instructions
- Cut out the rectangle (or rectangles) using the measurements you found. Reuse the selvedge edges on the short ends if possible.
- Match up the short ends of rectangle and pin.
- Sew a straight stitch along the short end 5/8 inch from the edge. Backstitch when you start and end.
- Finish the seam allowances separately.
- Press the seam allowance open.
- Press the hem up .5 inch.
- Fold up the hem up another .5 inch.
- Fold the top down .25 inch and press. Fold it again 1.25 inch and press.
- Sew the hem in place 3/8 inch from the bottom.
- Sew the casing in place 1.25 inch from the top. Backstitch when you start and stop. Leave a 4 inch hole to insert the elastic.
- Cut the elastic to 2 inches smaller than your actual waist measurement.
- Put a safety pin on one end of the elastic and insert it into the casing. Push the fabric onto the satefy pin and push it along the elastic. Don't let the other end of the elastic get pulled into the casing.
- Slide the elastic all the way through the casing until both ends are sticking out of the hole.
- Overlap the elastic by .5 inch and sew a rectangle to secure it together.
- Pull the elastic into the casing. Pin the hole closed and sew in place.
- Sew a stitch in the ditch on the casing seam to keep the elastic from twisting.
- You finished!
Recommended Products
As an Amazon Associate and member of other affiliate programs, I earn from qualifying purchases.

If you make something using this sewing project, I’d love to see! Please share it on social media with the hashtag #heatherhandmade and tag me!

I believe small sewing moments can create great joy. Find your own “right” way to sew. -Heather
Thank you so much for this tutorial! My daughter and I followed it to make her a skirt and it was straightforward and her skirt turned out so cute! She’s going to attempt another one more independently with your video in the next couple weeks!
That’s so great! I love that she made a skirt!
If I want to add in seam pockets how far down would from the waist band casing would I add them?
Are you making it for a child or adult? Off the top of my head I would guess 1-2 inches for a child and 2-4 inches for an adult. It depends on where you want the pocket to be in relation to the waistband and if the waistband will sit at the waist or not.
Thanks Heather for all the lovely projects.
you’re welcome!