
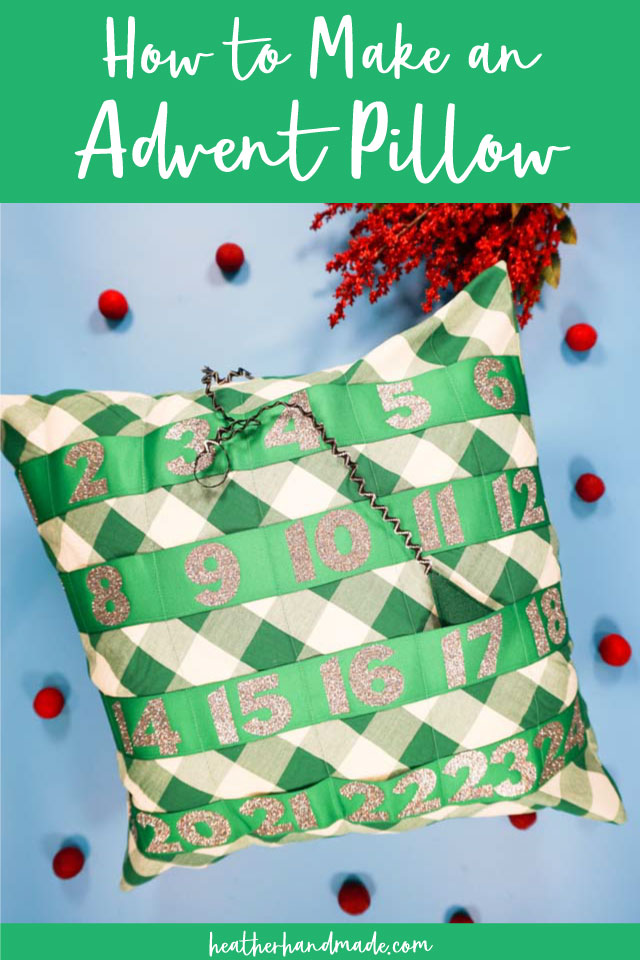
How to Make an Advent Pillow

This post may contain affiliate links.
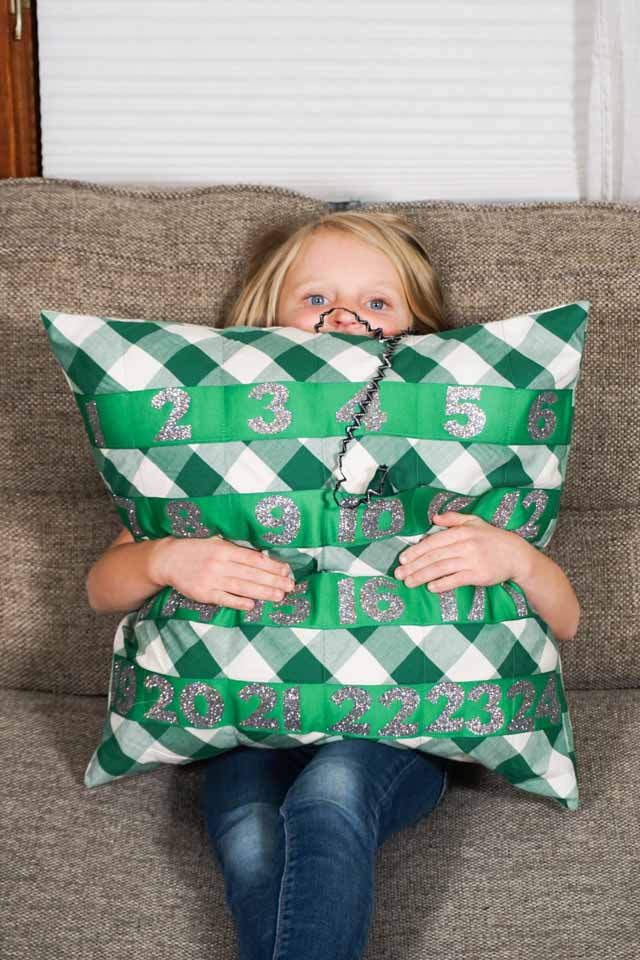
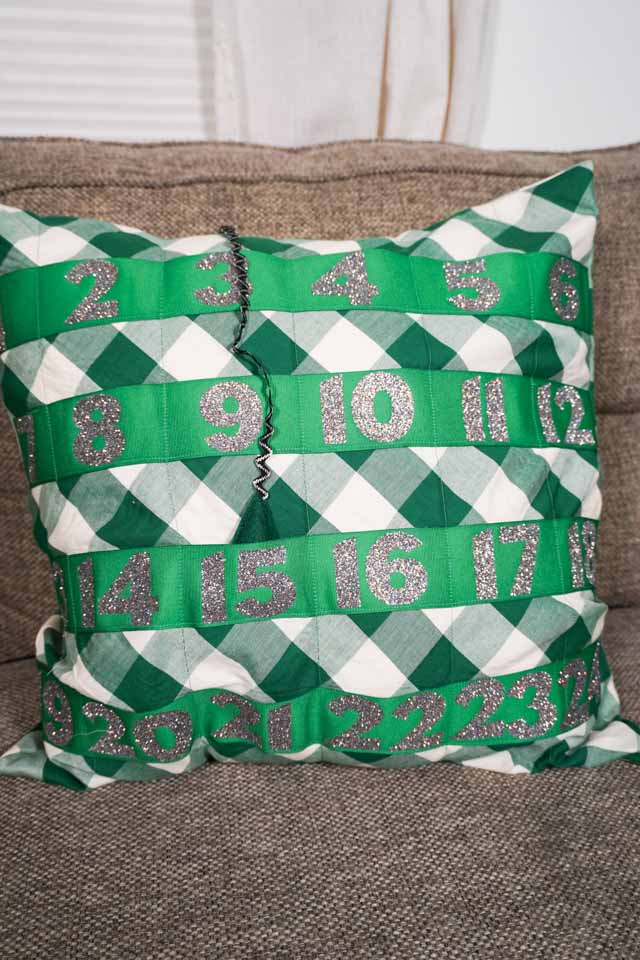
Learn the easy way to make Advent pillow to count down the days until the holidays! It’s a simple pillow cover with ribbon numbered pockets!
My kids love counting down for everything. Anything that is remotely exciting to them gets it’s own hand drawn count down to enjoy.
Christmas is no different and even though we have a couple of advent calendars we always use another one. It makes December so fun with each morning filled with moving the piece on each calendar and seeing the special day get closer.
This advent calendar pillow is so easy to make since it’s just a pillow cover with ribbon pockets and iron-on vinyl numbers. It’s a quick and easy beginner sewing project that can be played with and decorated with!

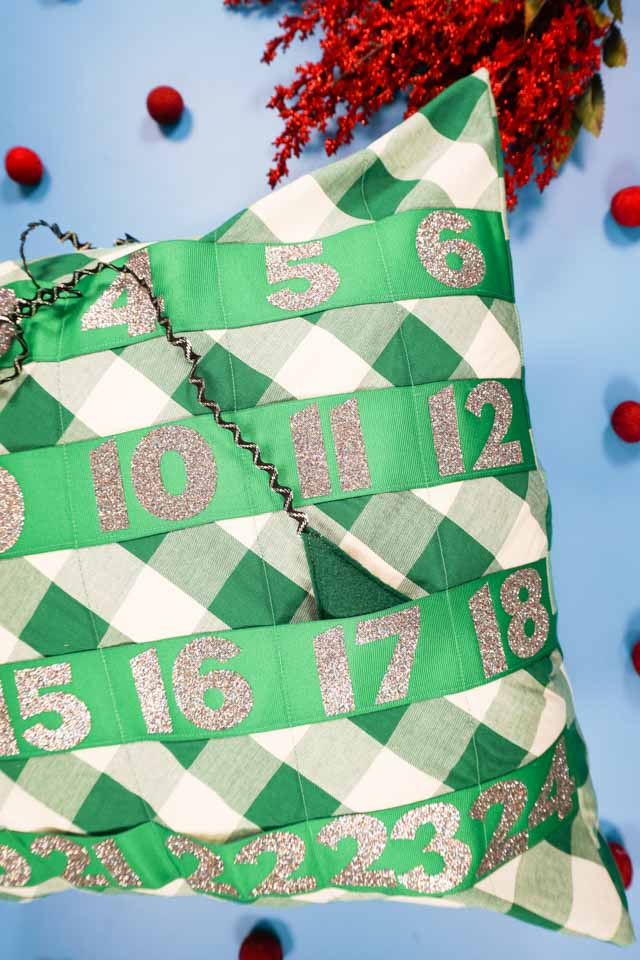
My kids have already started playing with this pillow. They love the big glitter numbers, and I think it’ll help our preschooler recognize her numbers even better.
I chose to make a simple triangle evergreen tree that moves to each number. I love that it won’t get lost becuase it has a connecting ribbon. You can choose a different symbol or design that you like best.
The glitter iron-on vinyl is so fun, but in pictures it comes across as hard to read. In real life the glitter shows up really well and looks really nice. You can choose a different solid color or felt if you like that better.
Do you love to sew? Try some of these fun sewing projects:
- Cricut Maker sewing projects
- Beginner sewing projects
- DIY Christmas tree advent calendar
- Christmas sewing projects
- DIY Christmas pillow ideas
- Cricut Christmas Ideas
- Ways to sew a pillow
How to Make an Advent Pillow
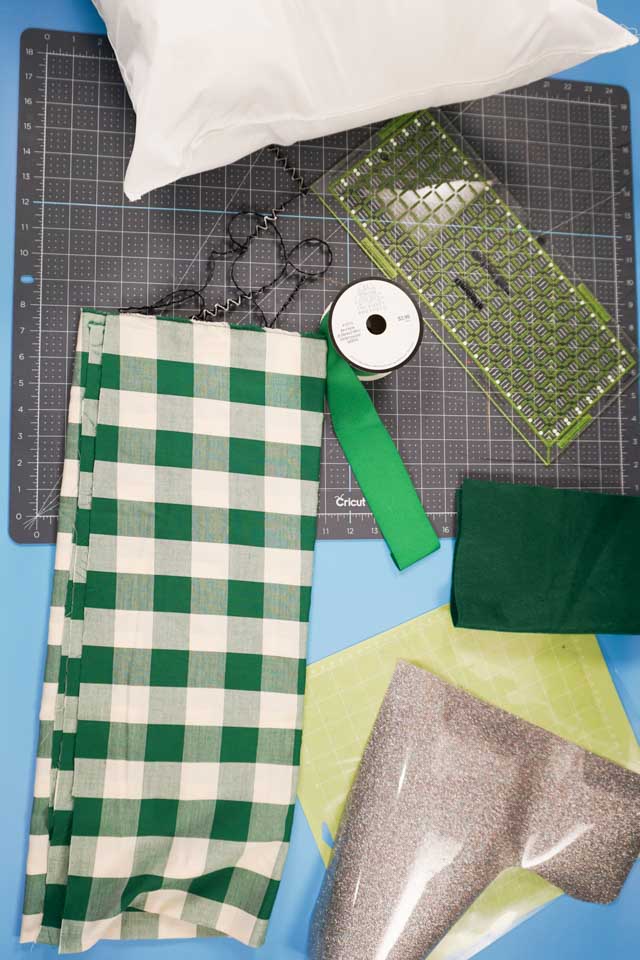
supplies
- 1 yard of quilting cotton fabric – solid, small print, or simple plaid will work best
- 3 yard of 2 inch wide grosgrain ribbon in a solid color that matches the fabric
- 1/2 yard of thin ribbon (or rick rack)
- Felt to make the moving piece (choose your own to coordinate with your fabric)
- 20 inch by 20 inch pillow form
- 2 sheets of glitter iron of vinyl* in coordinating color
- cutting machine (I used the Cricut Maker*)
- Easypress 2*
- sewing tools
- sewing machine
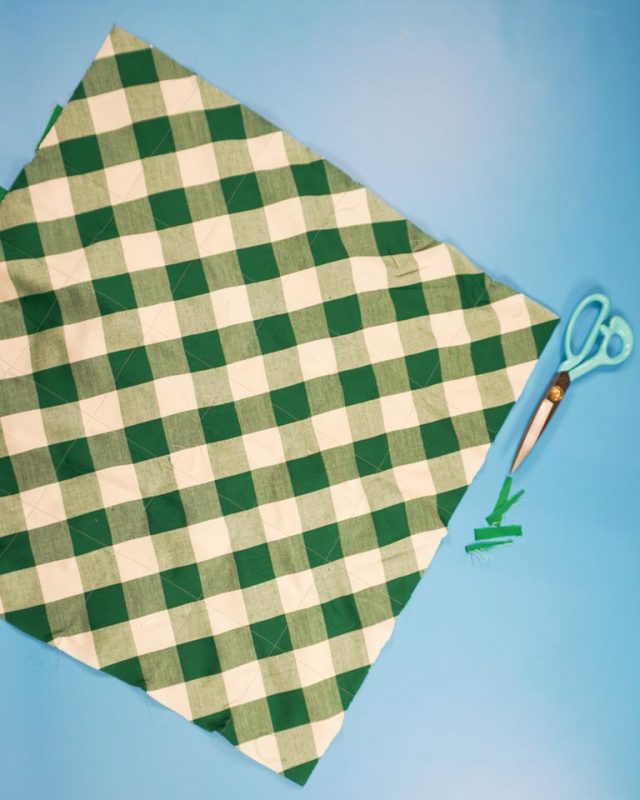
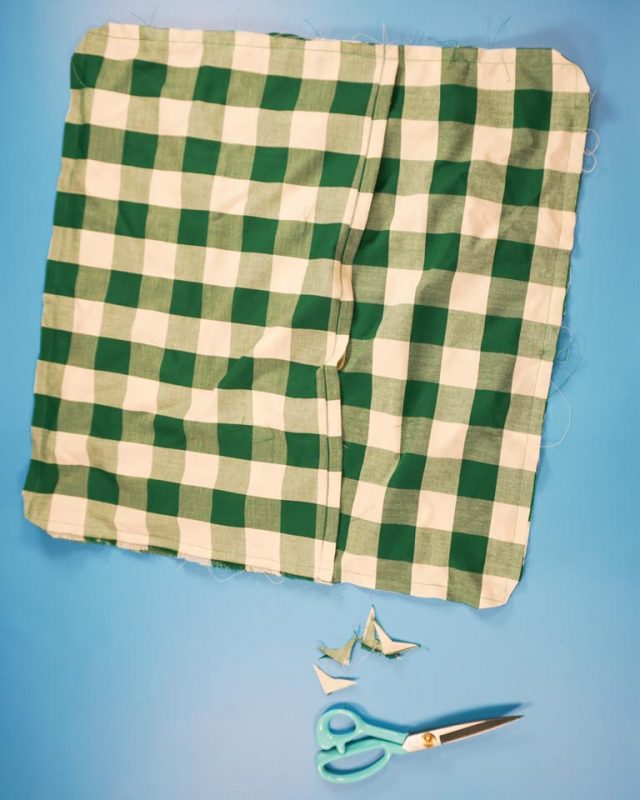
Cut out one square of fabric that is 21 inches by 21 inches. I wanted my plaid to be offset from the ribbons going across so I cut the fabric on the bias. This is optional.
Cut out two rectangles (not on the bias) that are 21 inches tall by 15 inches wide.
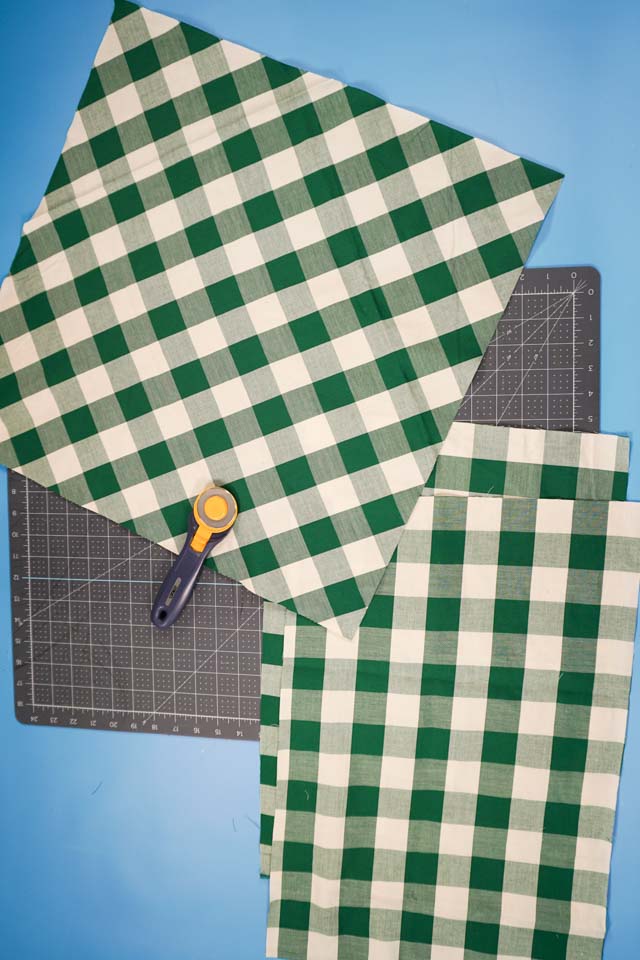
Cut four pieces of ribbon that are 22 inches wide.
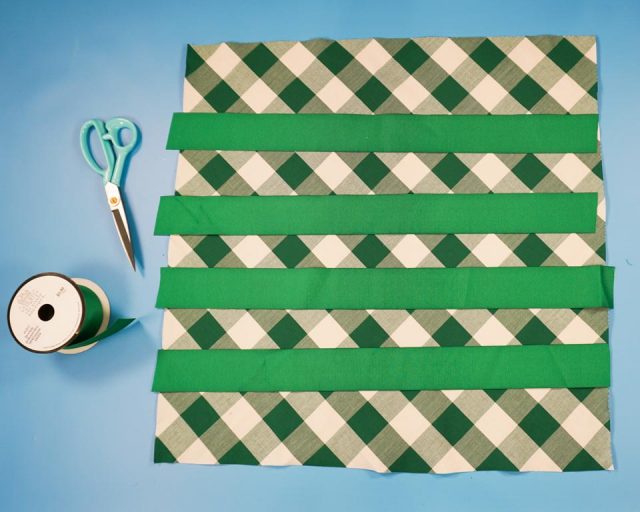
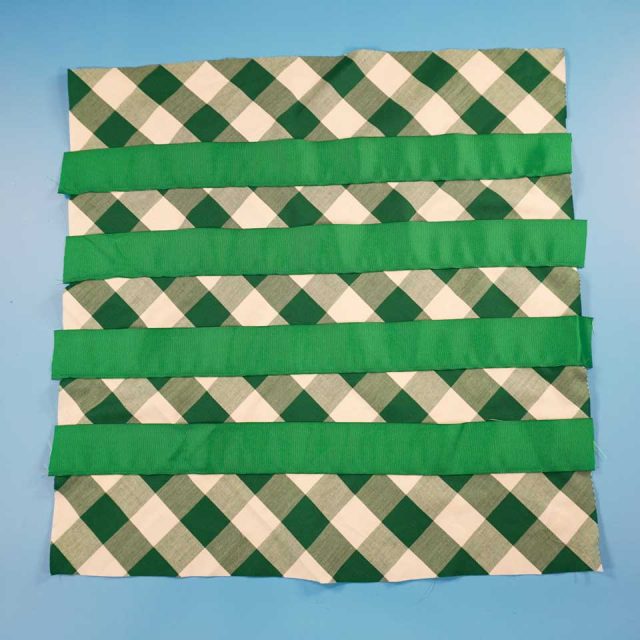
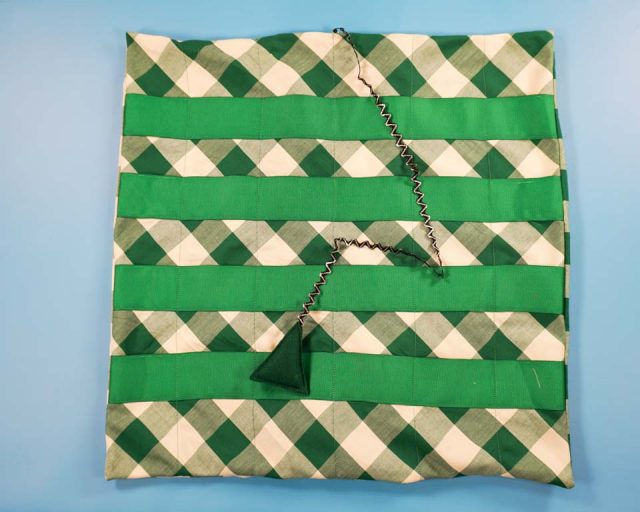
Pin the ribbons onto the square of fabric evenly distributed vertically. Sew the bottom of the ribbon to the fabric with a straight stitch.
Mark 5 lines vertically on the square across the ribbons. The lines will be 3.25 inches apart with a 1/2 inch seam allowance added to each side section.
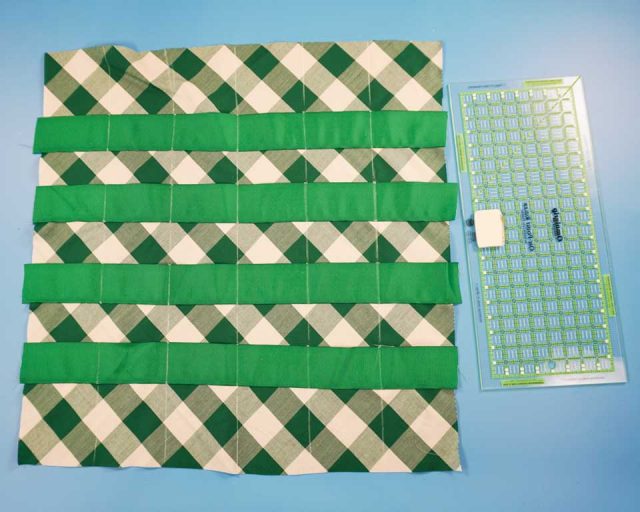
Sew a straight stitch along each vertial mark securing the ribbon and forming little pockets.
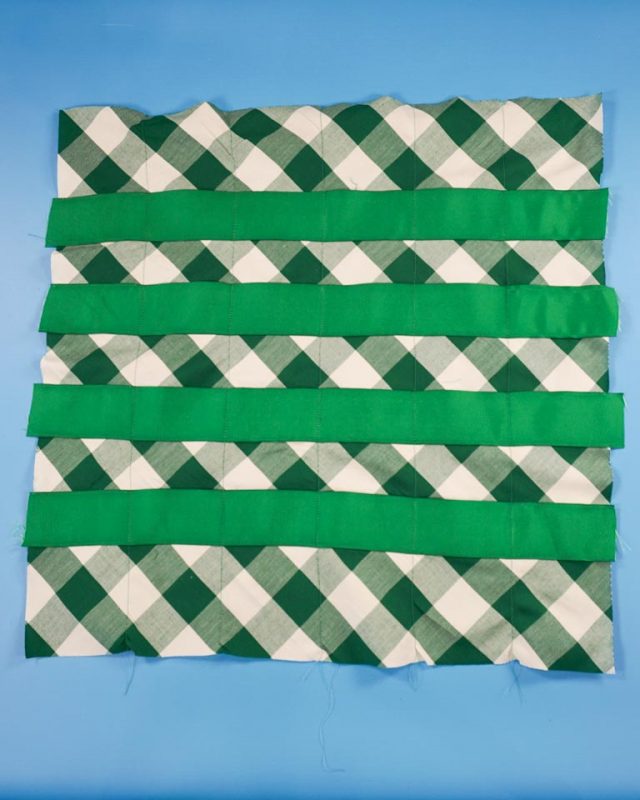
Trim the ribbon edges off on each side.
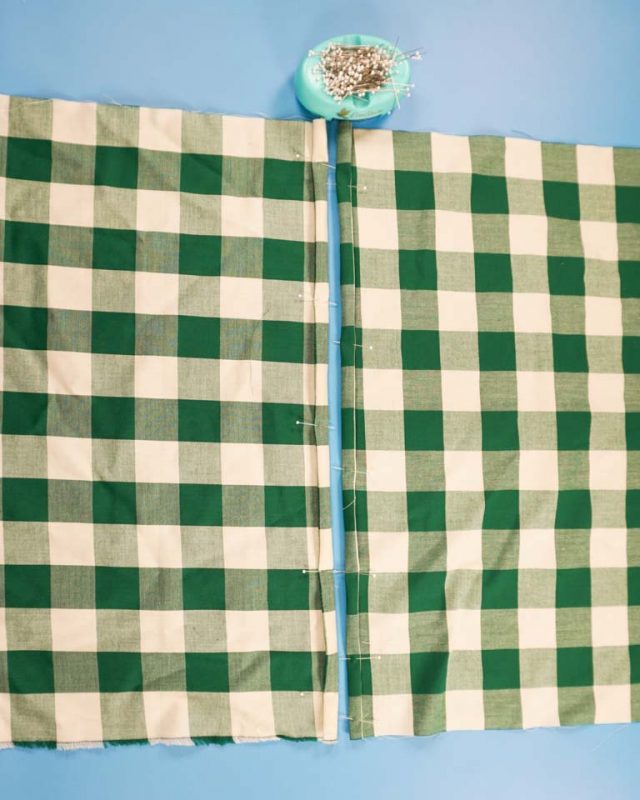
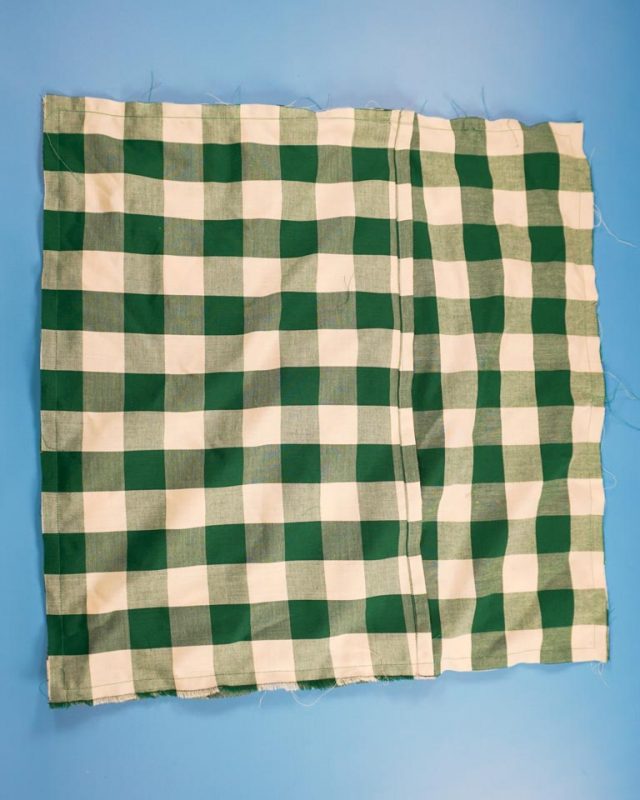
Fold a double 1/2 inch hem on one of the long sides on the two rectangles. Press the hem and then sew in place.
Cut two matching rectangles from green felt. (If you are doing a different design than cut something differently.)
Cut a piece of thin ribbon 20 inches long.

Sew the thin ribbon into the top of the triangle. Stuff the triangle and sew closed.

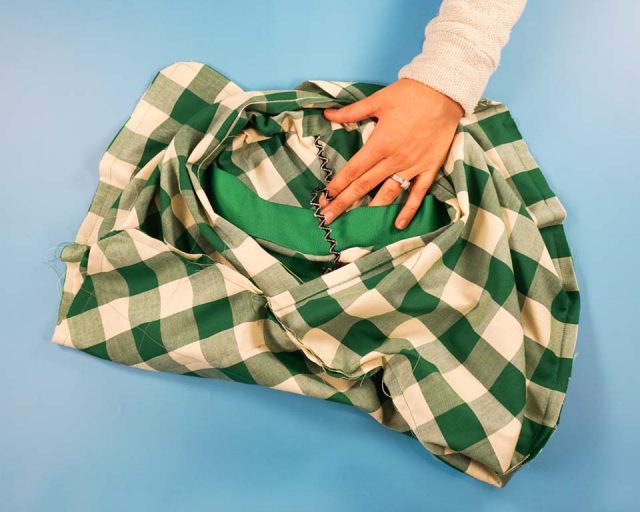
With right sides together place the rectangles onto the square and pin in place. The hems will overlap in the center to make the envelope design.
Pin the raw edge of the thin ribbon to the top of the pillow in the center of the overlap. Make sure it’s pinned at the top of the pillow (top of the pockets).
Sew around the edge of the square with a 1/2 inch seam allowance. Pivot at the corners.
Trim the corners of the pillow cover.
Turn the pillow cover right side out and poke out the corners. Press the pillow to remove any wrinkles.
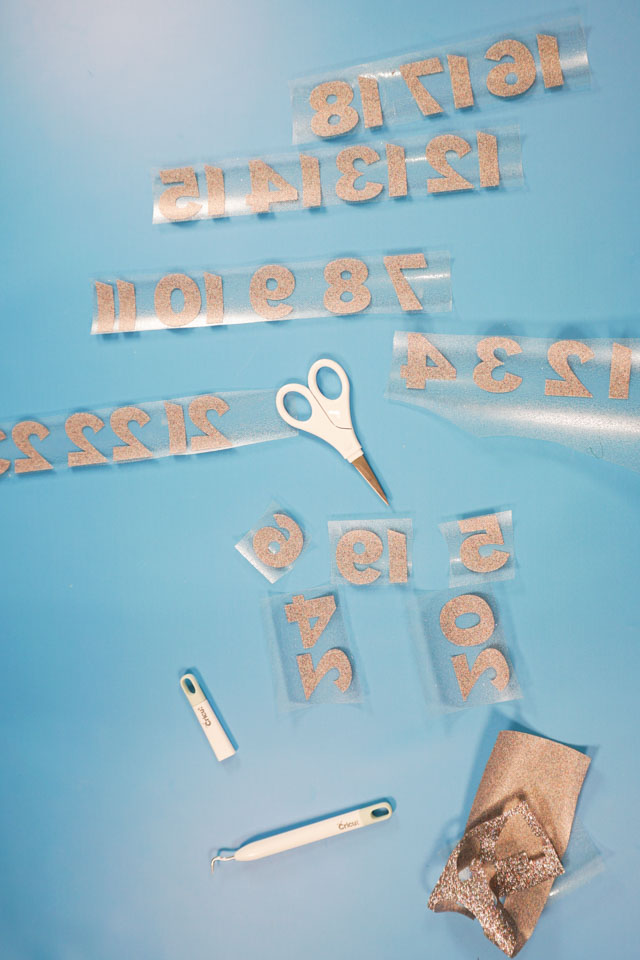
Use your cutting machine to cut out numbers 1-24. Make sure the font is nice and thick so that it’s easy to read. Also remember to mirror your image so the numbers are cut correctly.
Weed the numbers and then cut them apart separately.
Place the numbers on each pocket to identify it. Use an Easypress 2 to apply the iron-on vinyl to the ribbon pockets.
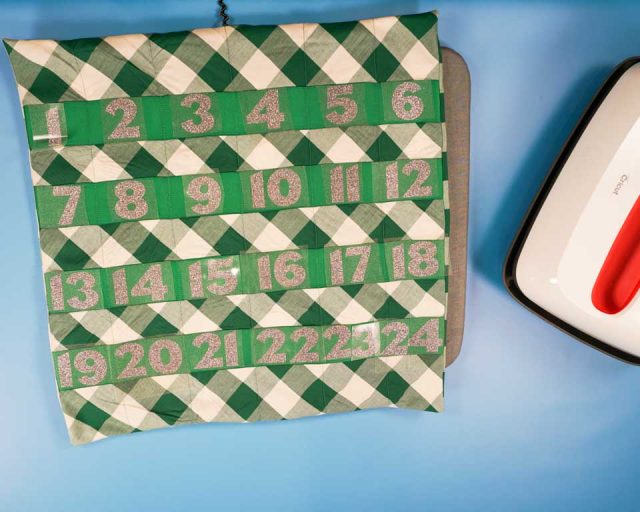
Peel the plastic backing off of each number.
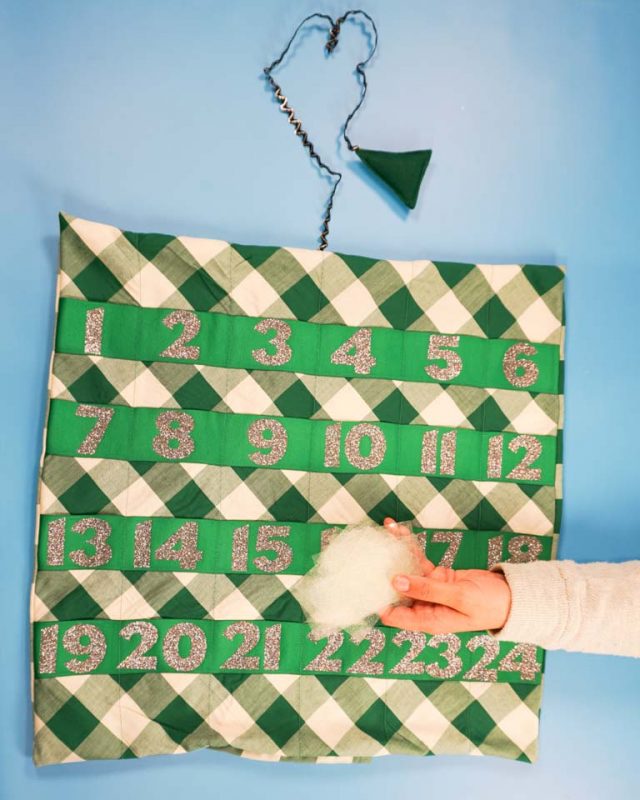
Place the tree in each number to count down the days!
If you make something using this sewing project, I’d love to see! Please share it on social media with the hashtag #heatherhandmade and tag me!

I believe small sewing moments can create great joy. Find your own “right” way to sew. -Heather