
How to Understitch

This post may contain affiliate links.
Learn how to understitch to make your handmade clothing look better and last longer. The lining or facing will never peak out again!
An important basic sewing skill to have is to knowing how to understitch. It can be a little confusing if you’ve never done it before, but it makes your handmade items look professional. It’s great for facings, linings, pockets, flaps, etc. and makes your edges look good.
This is a simple tutorial to show you about understitching, and I used the same solid fabric for both the outside and inside fabric. I also used pink and red topstitching thread to make it easier to see in the pictures. Learn more about all the basic sewing stitches you need to sew clothing.
How to Understitch
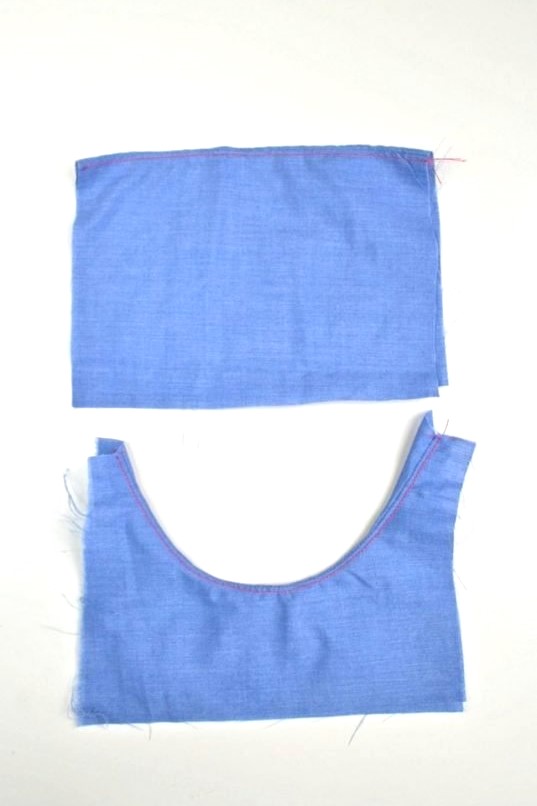
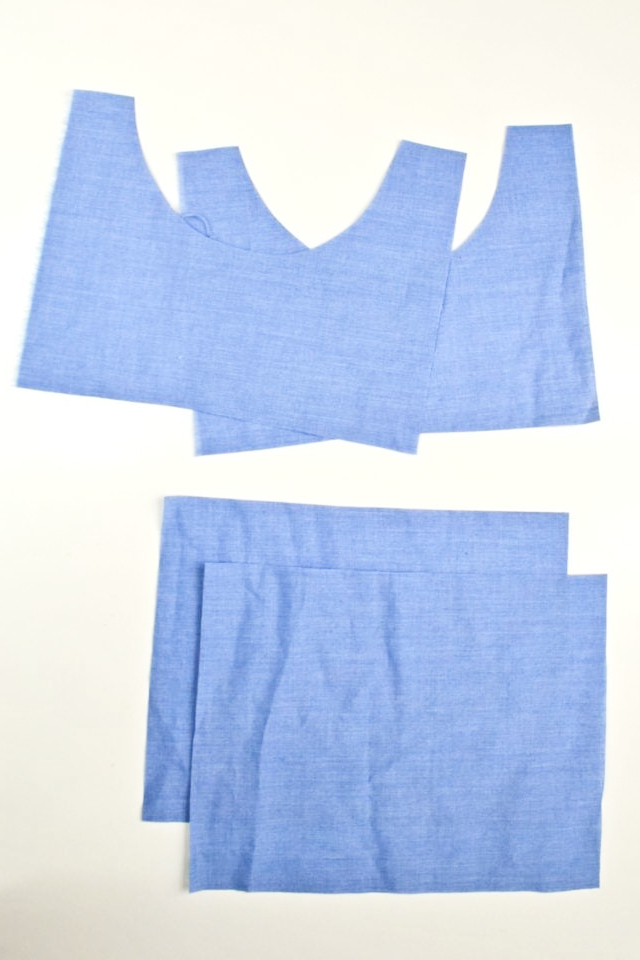
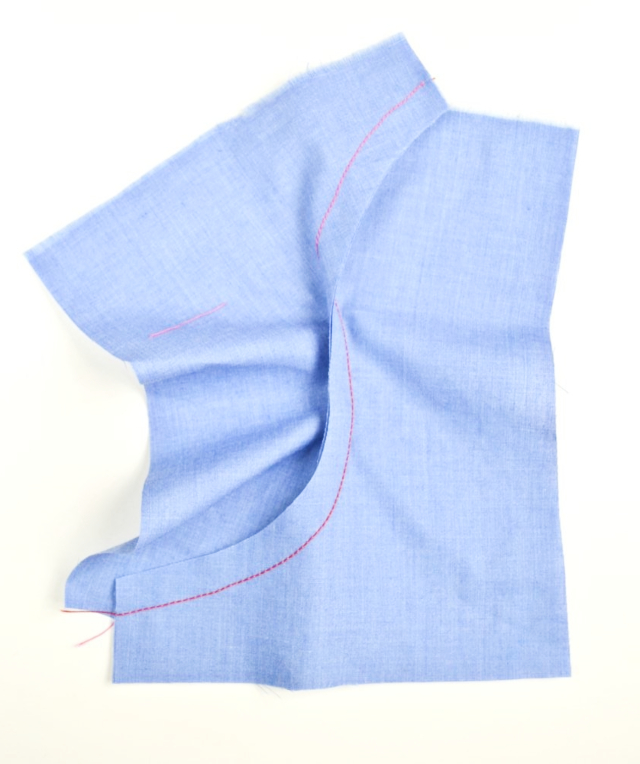
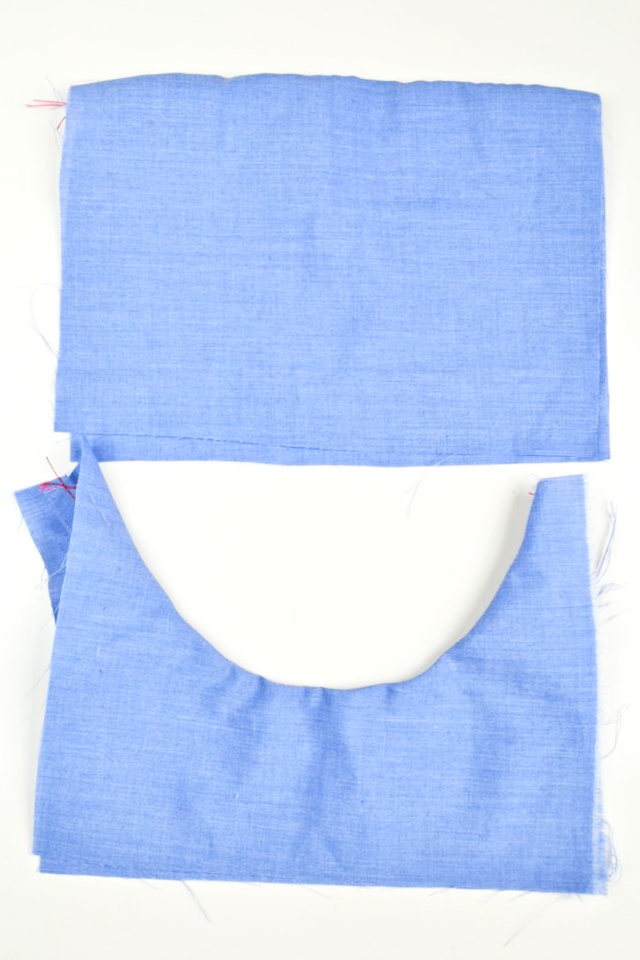
First cut out your pattern pieces. I will be demonstrating with two rectangles and two rectangles with curves. I wanted to show you the difference between a straight seam and a curved seam.
With right sides together sew the seams on each edge.
Understitching straight seams
Press the seam allowance open. Then press the seam allowance towards the facing or inside piece.
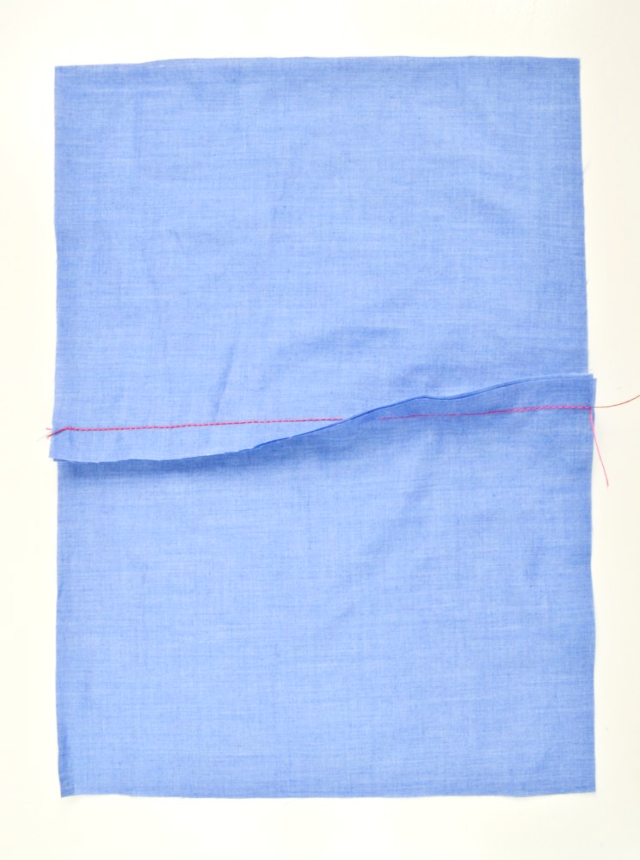
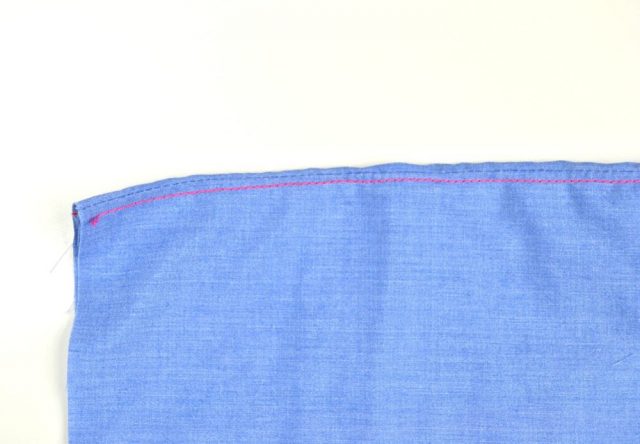
From the front of two pieces sew the seam allowance towards the inside piece 1/8″ away from the seam. From the outside it looks like edgestitching next to the seam.
From the inside it looks like two rows of stitches. That second row is anchoring the seam allowance towards one side.
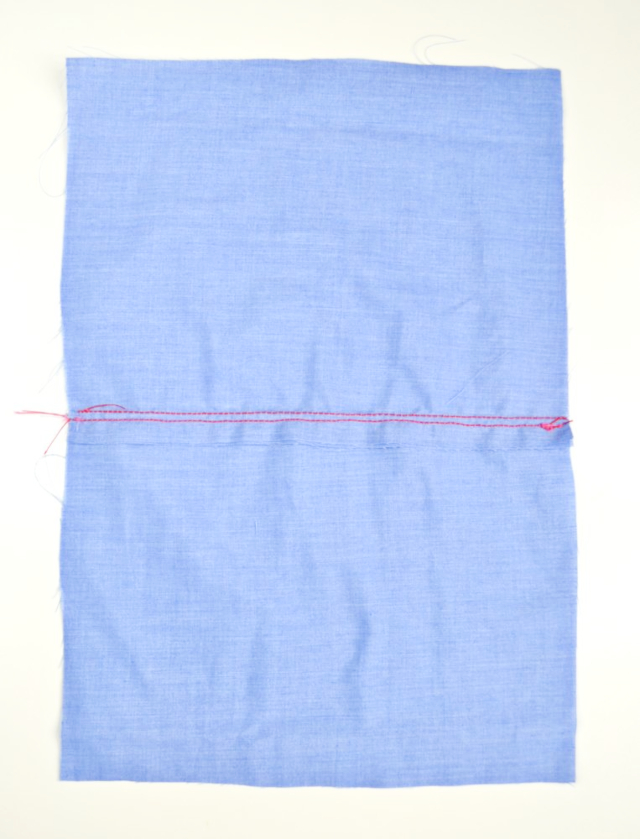
When you turn the piece ride side out and fold the piece along the seam, the facing will not show on the front.
Understitching Curved Seams
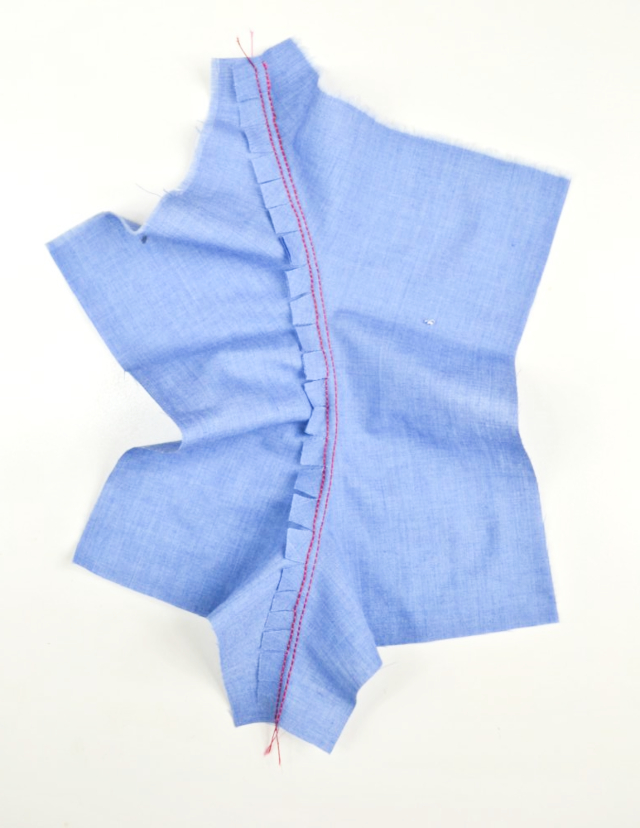
Press the seam allowance open the best you can. CLIP the curved seam allowance. Then press the seam allowance towards the facing or inside piece.
From the front of two pieces sew the seam allowance towards the inside piece 1/8″ away from the seam. You’ll need to adjust as you go to sew the curve.
From the outside it looks like edgestitching next to the seam. From the inside it looks like two rows of stitches. That second row is anchoring the seam allowance towards one side.
When you turn the piece ride side out and fold the piece along the seam, the facing will not show on the front. Understitching is really important to make necklines look nice and lay flat (along with clipping the curve).
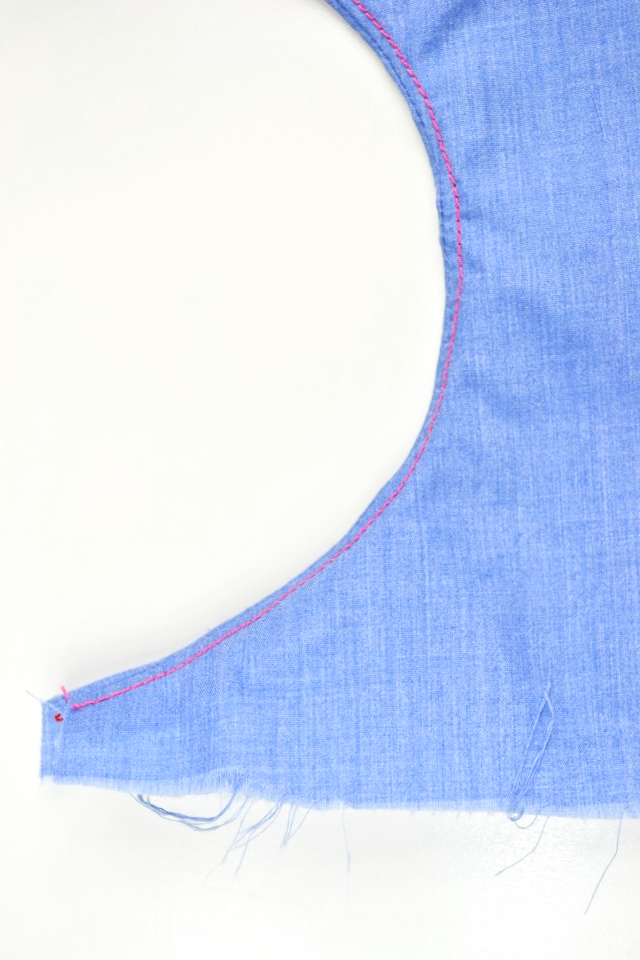
Press well. The understitching helps anchor the inside fabric inside so when the piece is folded along the seam, you can’t see the inside fabric peeking out.
If you are learning how to sew, you can start with sewing 101 for beginners!
If you make something using this sewing project, I’d love to see! Please share it on social media with the hashtag #heatherhandmade and tag me!

I believe small sewing moments can create great joy. Find your own “right” way to sew. -Heather