
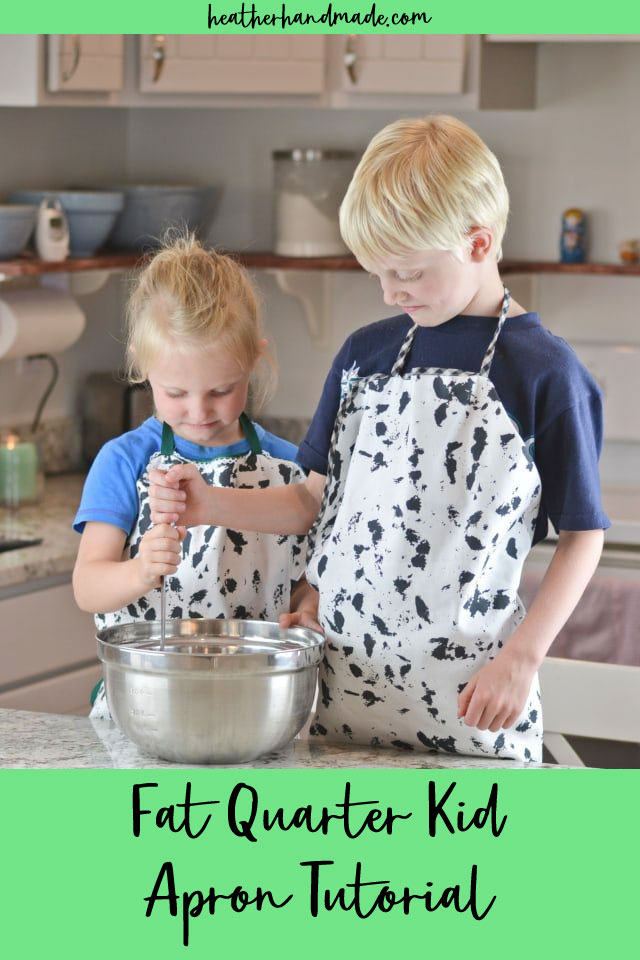
Fat Quarter Kid Apron Tutorial

This post may contain affiliate links.
Learn how to make a kid size apron with just a fat quarter of fabric. This kid apron tutorial is a beginner sewing project perfect as a gift!
With the kids home for summer are they helping more in the kitchen than they usually do? My kids are and it often results in a mess.
To make my life a little bit easier I made a kid’s apron tutorial with just one fat quarter! This is such a great beginner sewing project!
This apron tutorial is fast and easy, and it doesn’t need a lot of fabric. These aprons would make the perfect handmade gift, and one of these aprons could even be sewn by older kids!
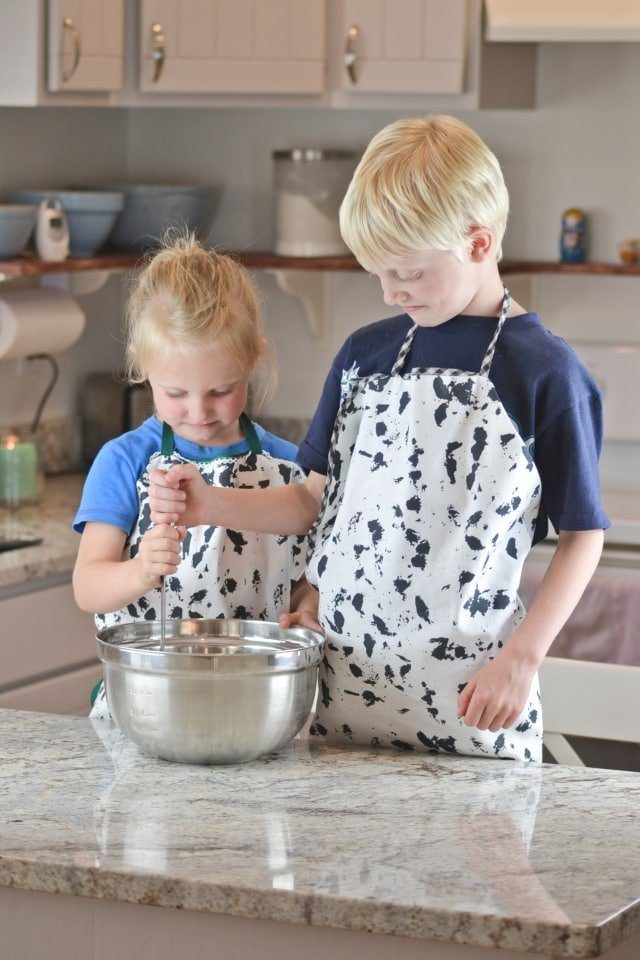
I have two kids that love helping me in the kitchen. They want to pour everything and mix everything. It’s great that they want to learn, but there’s always a mess.
These aprons keep their clothes clean so there’s less cleaning that has to be done after a cooking session.
What fabric should I use to make a kid’s apron?
The best fabric to use to make a kid’s apron is quilting cotton or cotton canvas. You want fabric that will wash well and protect their clothing underneath while still being comfortable to wear. Quilting cotton and cotton canvas are easy to find and come in all sorts of prints and colors.
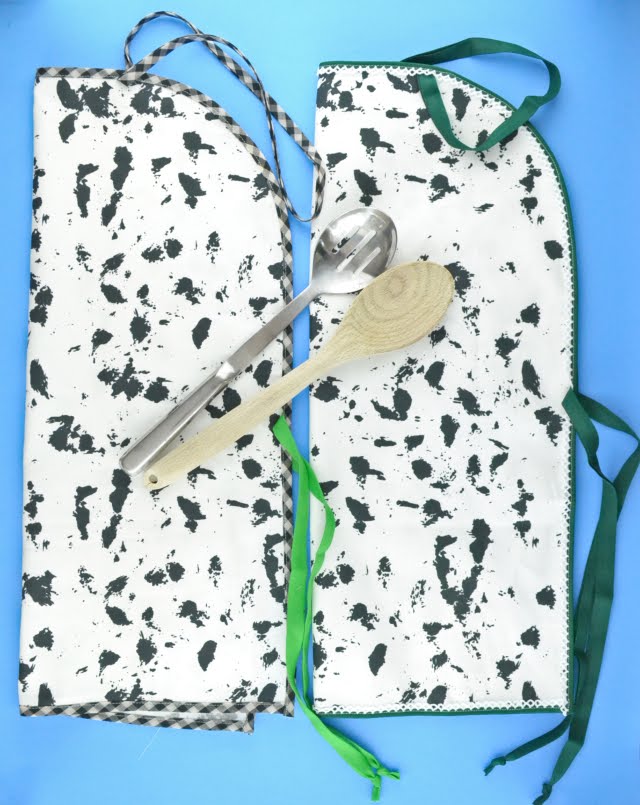
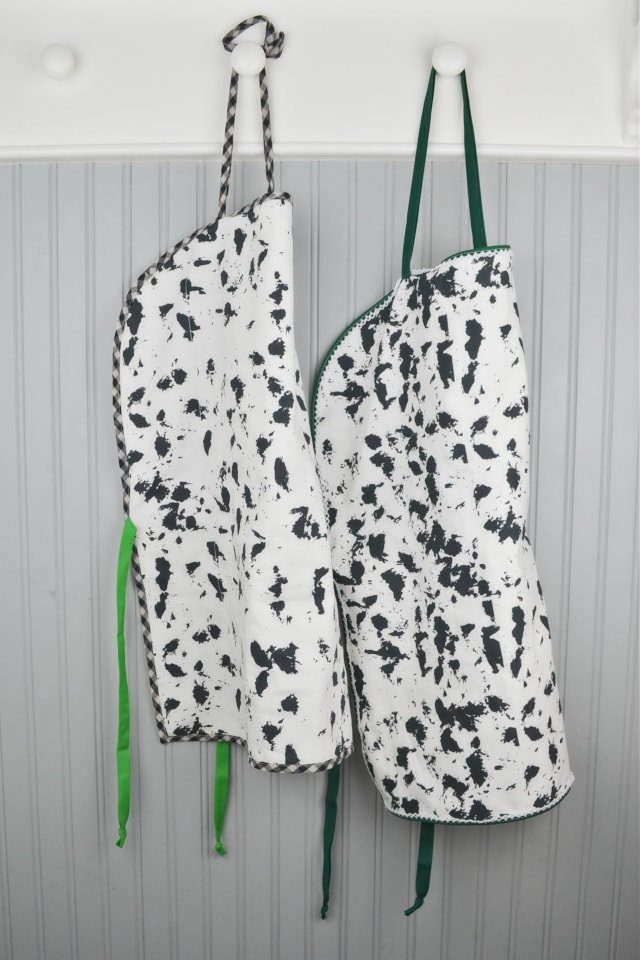
The edge is finished with bias binding which you can buy or make yourself. You can do a simple coordinating color or go bold with a contrast.
I used a paint splatter print from My Fabric Designs so that any stains created will blend right in. You can find a navy paint streak fabric, blue watercolor paint fabric, and black paint splatter fabric. The apron has the long side or crosswise grain going up and down so choose a non-directional print.
Here are some other fun sewing projects:
Fat Quarter Kid’s Apron Tutorial
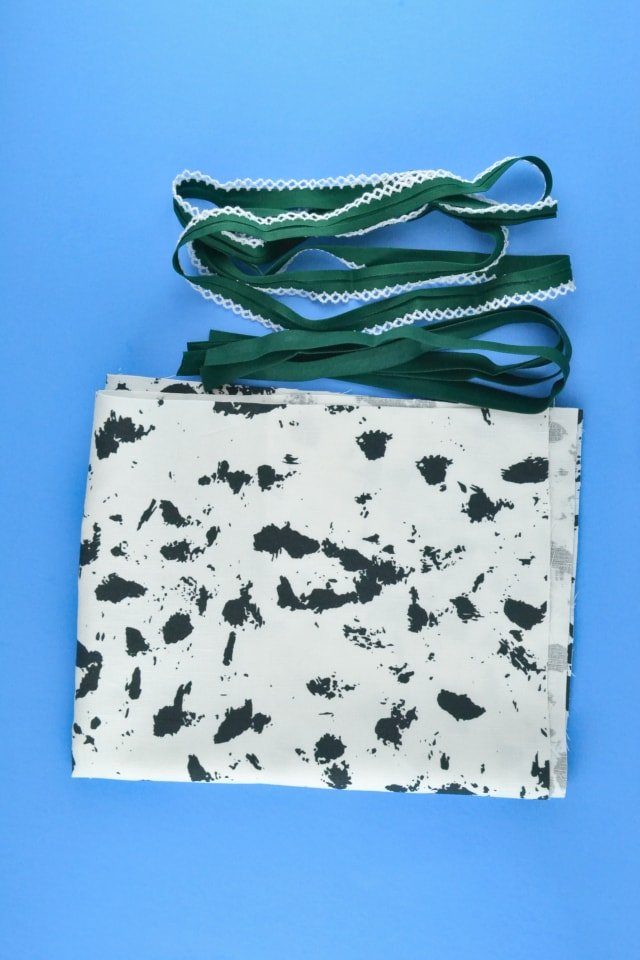
Supplies
- 1 fat quarter of fabric per apron – non-directional print
- 3 yards of coordinating bias binding – either premade or homemade – learn how to make and use bias tape
- Tips for edgestitching
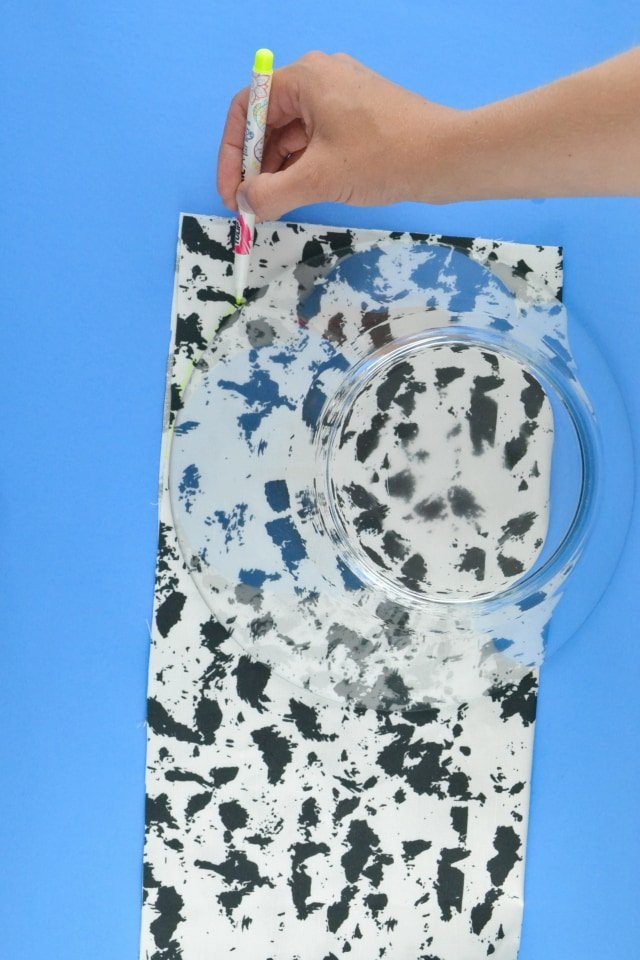
Cutting
The long side of the fabric will be going up and down the body. Use a bowl or plate to draw curves on the top corners.
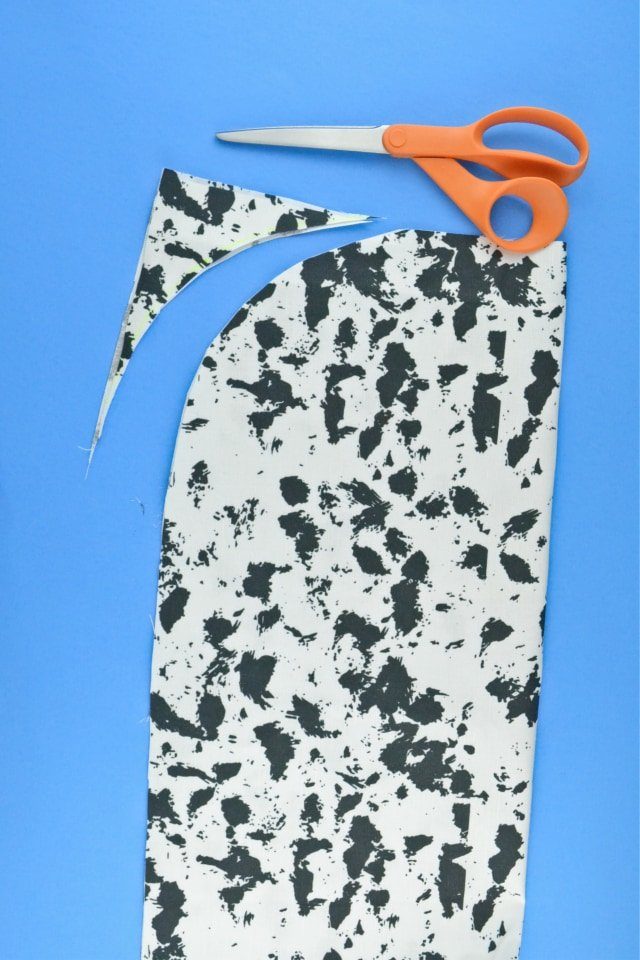
Cut the corners off.
Cut three pieces of bias binding 16 inches long each.
Sewing
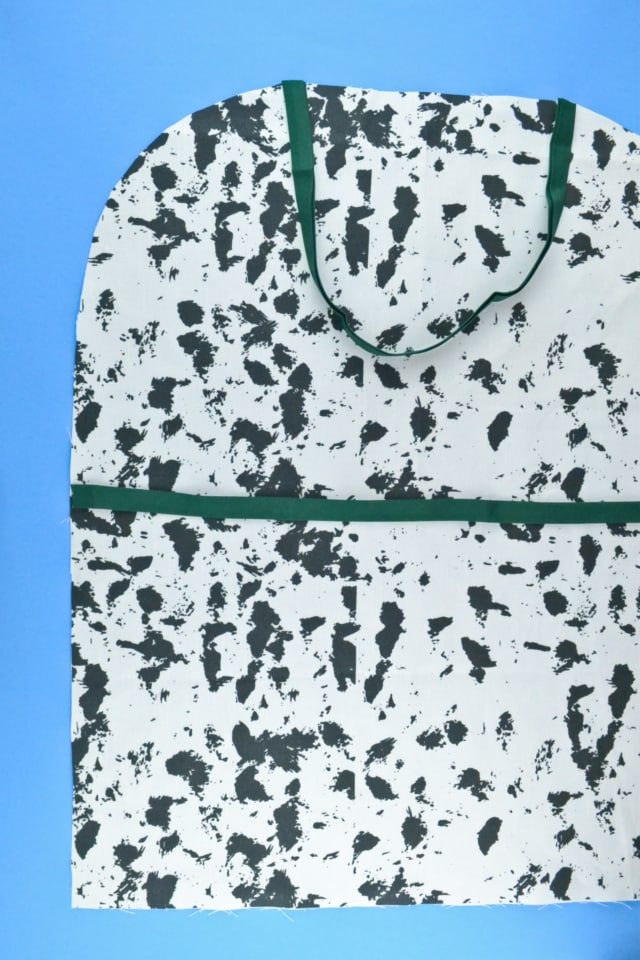
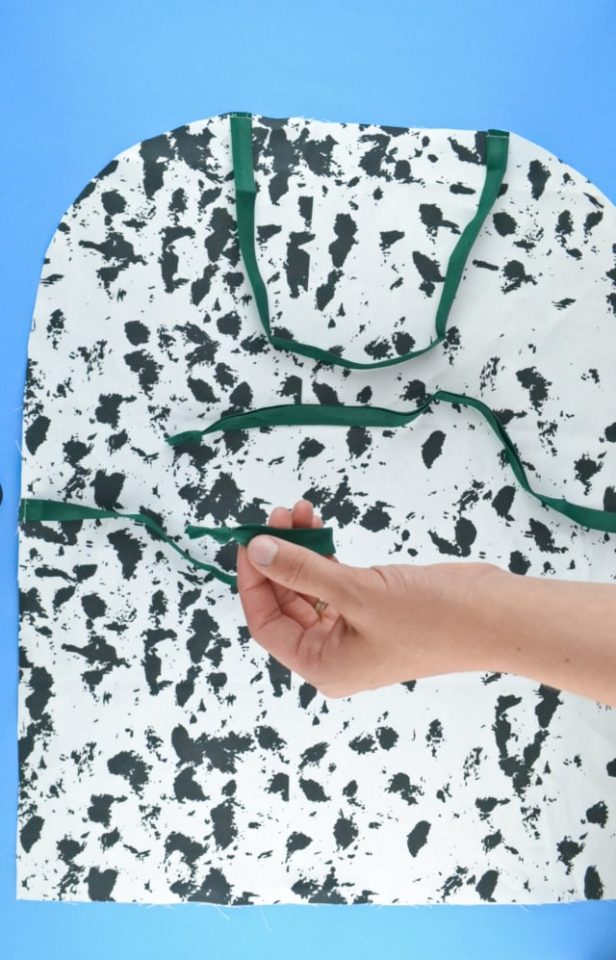
Baste one piece of bias binding onto the top of the apron right where the curves start.
Baste one tie to the center of the long side of the apron. Do the same to the other on the other side.
Tie a knot on the end of each of the waist ties.
You will now finish the edges of the apron. Start by sewing the bias binding along the bottom flat edge of the apron. The bias binding will be cut so there will be raw edges on both sides.
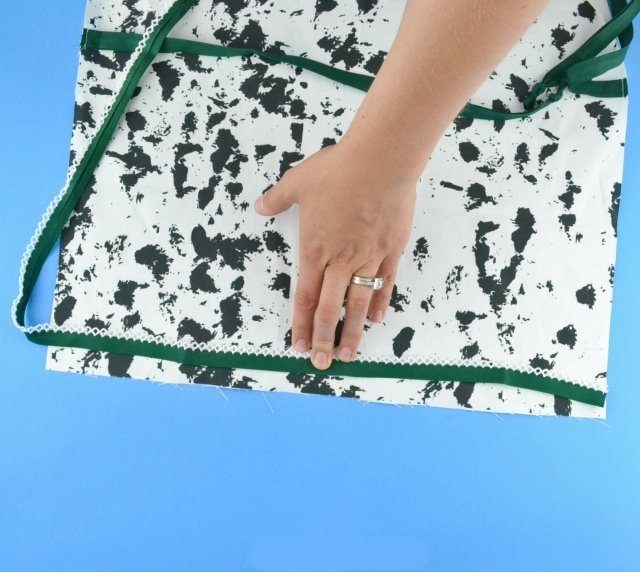
Fold the short edge of the bias binding over to finish the edge.
Line up the newly created fold of the bias binding with the bottom edge of the apron. Sew the bias binding all the way around the the sides and top of the apron.
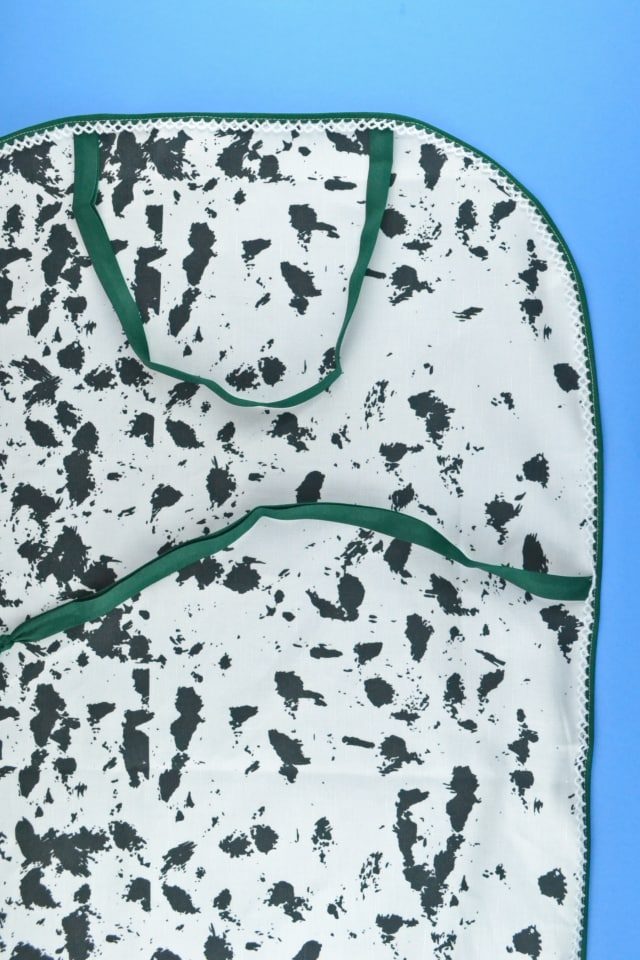
Press the bias binding well and you’re finished!
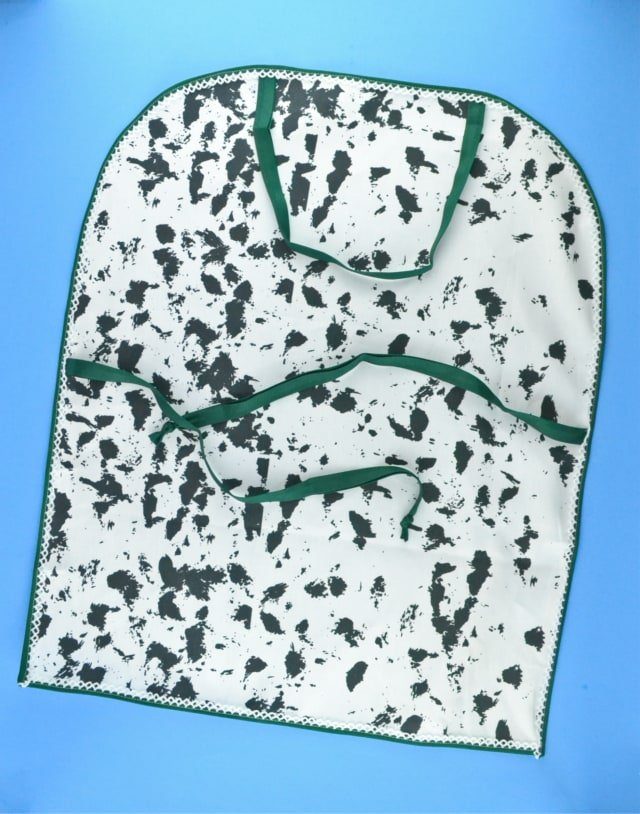
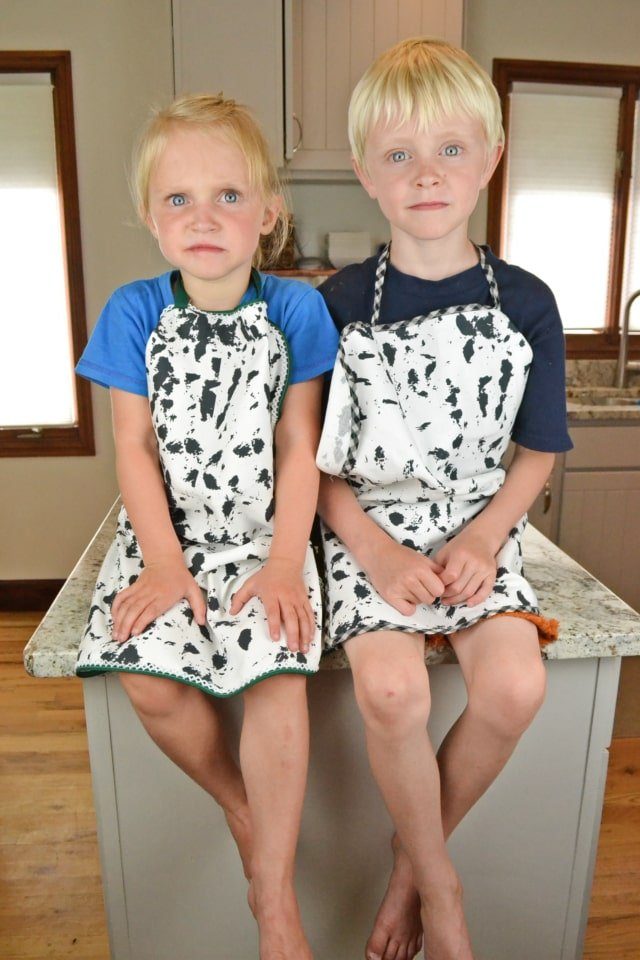
If the top loop is too long feel free the tie a knot to make it shorter. The plaid bias binding stretched out a lot on one of my aprons so I had to tie a knot to make it shorter. But now it’s perfect for growing into!
Thanks for reading! If you make something using this apron tutorial, I’d love to see! Please share it on social media with the hashtag #heatherhandmade and tag me!

I believe small sewing moments can create great joy. Find your own “right” way to sew. -Heather
So cute! Love that there’s no need for a pattern. Would be great for teaching sewing
I find it interesting that you made an outward curve rather than an inward curve for the top/under arm area. I would have done it the opposite way, as I do when I make myself an apron.
I did this because it’s easier to attach bias tape in an outward motion and no corners. I wanted this to be very beginner friendly.